

Resource Center
How To Clean A Bubbler Properly (Step-By-Step Guide)

Continue With This Resource
Got Vape Quick Brief
What You Should Know
Skim this first for the short version: the main points, the questions people ask, and what to consider before you buy.
Overview
Key Takeaways
- Changing stagnant bubbler water after every session prevents mold growth, stops sour odors, and prevents dark resin rings from baking onto the glass water line.
- Cleaning your Bubbler is best accomplished with isopropyl alcohol.
- Using a soft, circular rolling motion rather than aggressive shaking when soaking your bubbler in order to protect delicate internal percolator arms from snapping.
- Always leave plenty of time for your bubbler to air day completely before continuing to smoke.
- Cleaning your Bubbler is the #1 method to preserve output and deliver consistent results.
Questions This Resource Answers
- What's the best way to clean a bubbler?
- How do I use isopropyl alcohol to clean my bubbler?
- What's he proper method of washing off your bubbler after cleaning with isopropyl?
- How long should I soak my bubbler for?
- What critical maintenance mistakes lead to mold growth and ruined flavor?
Recommended Products
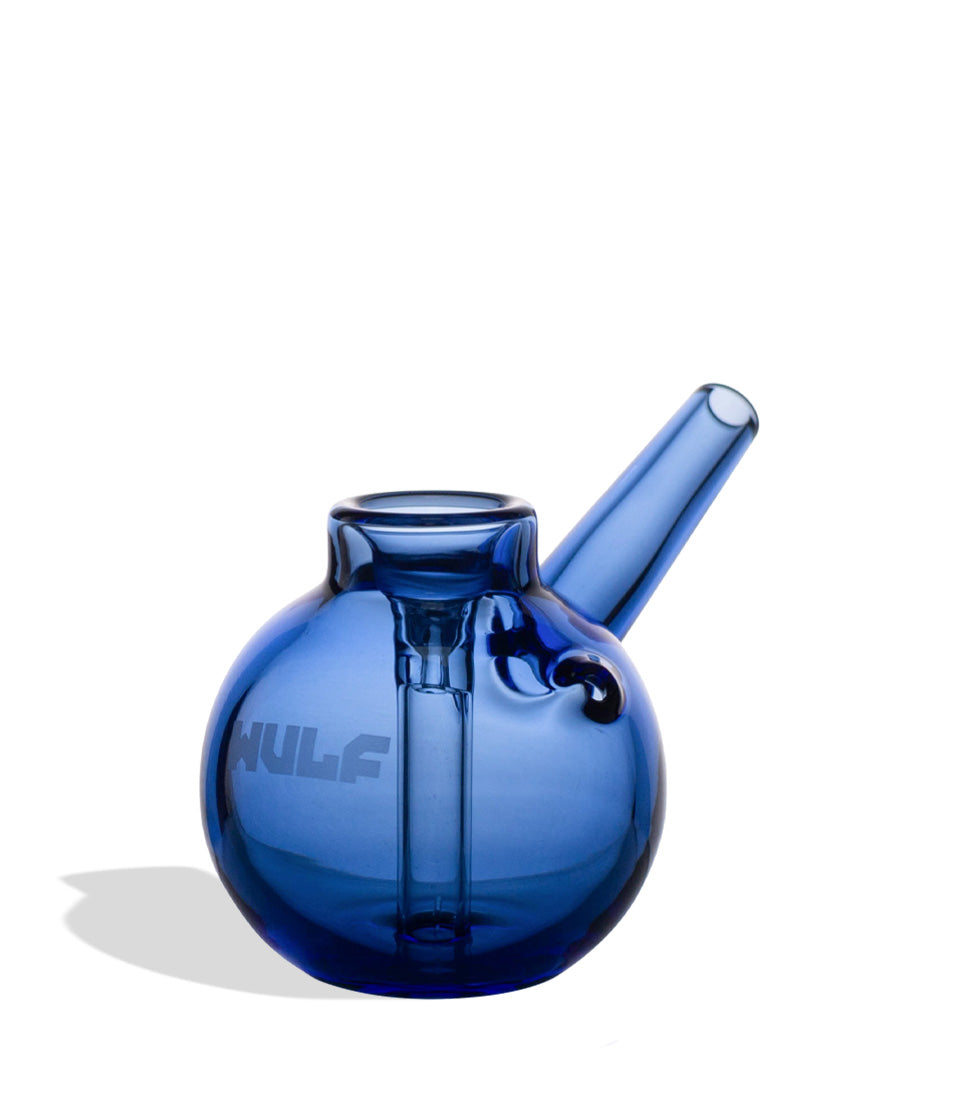
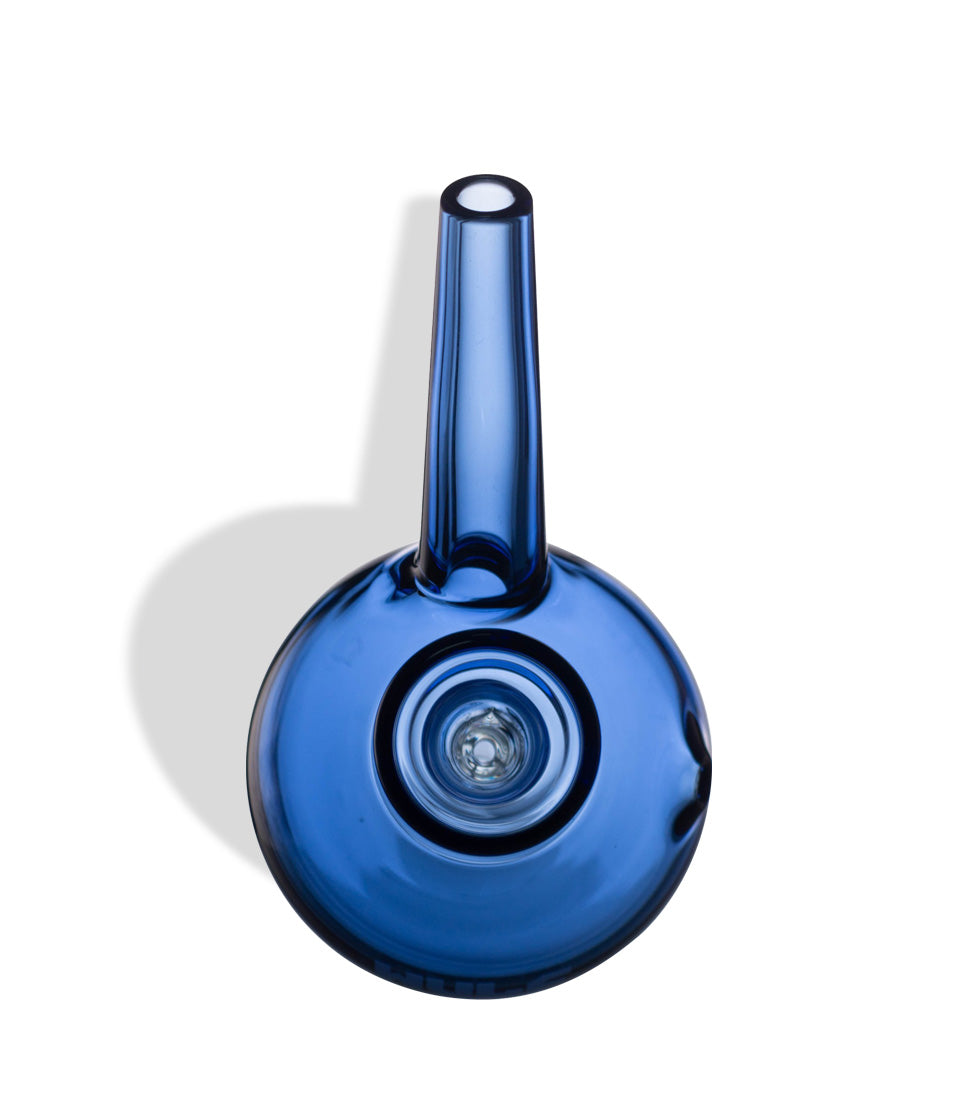
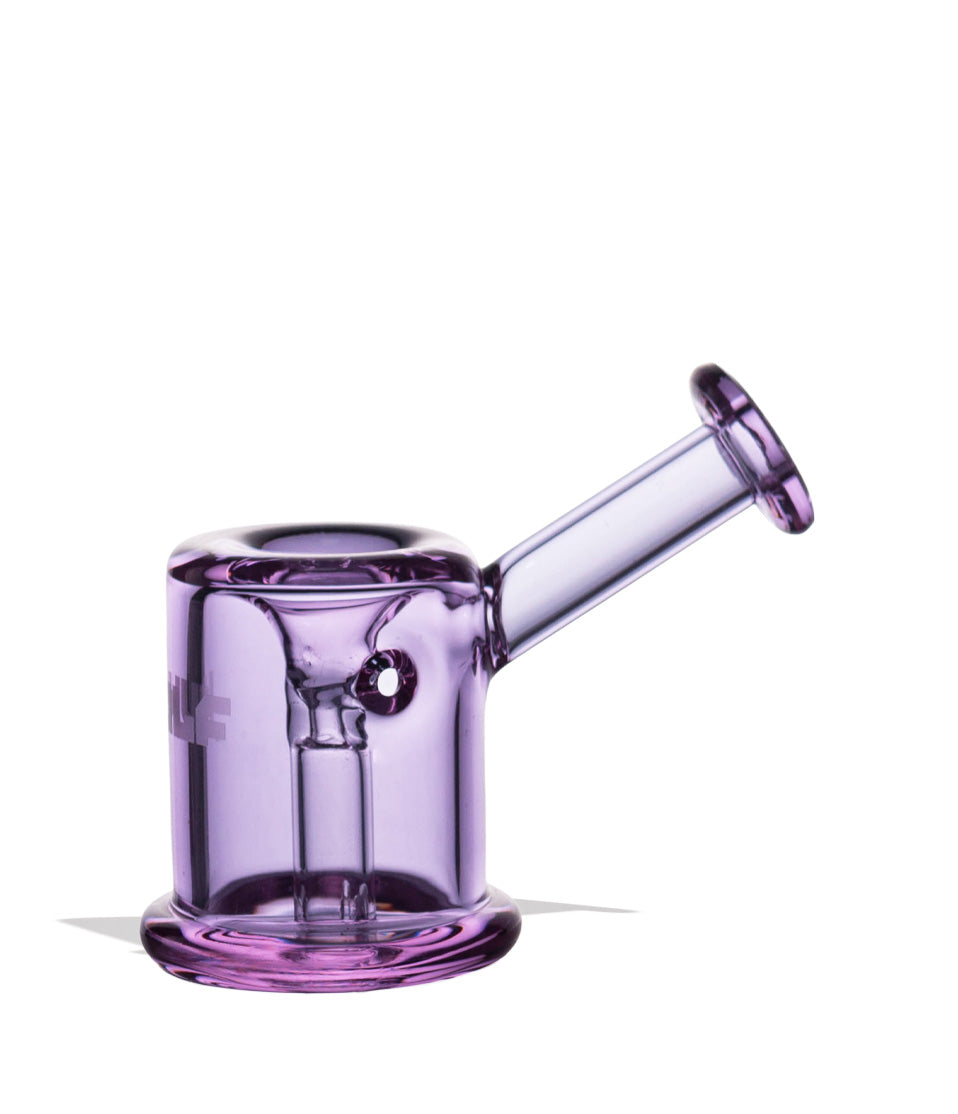
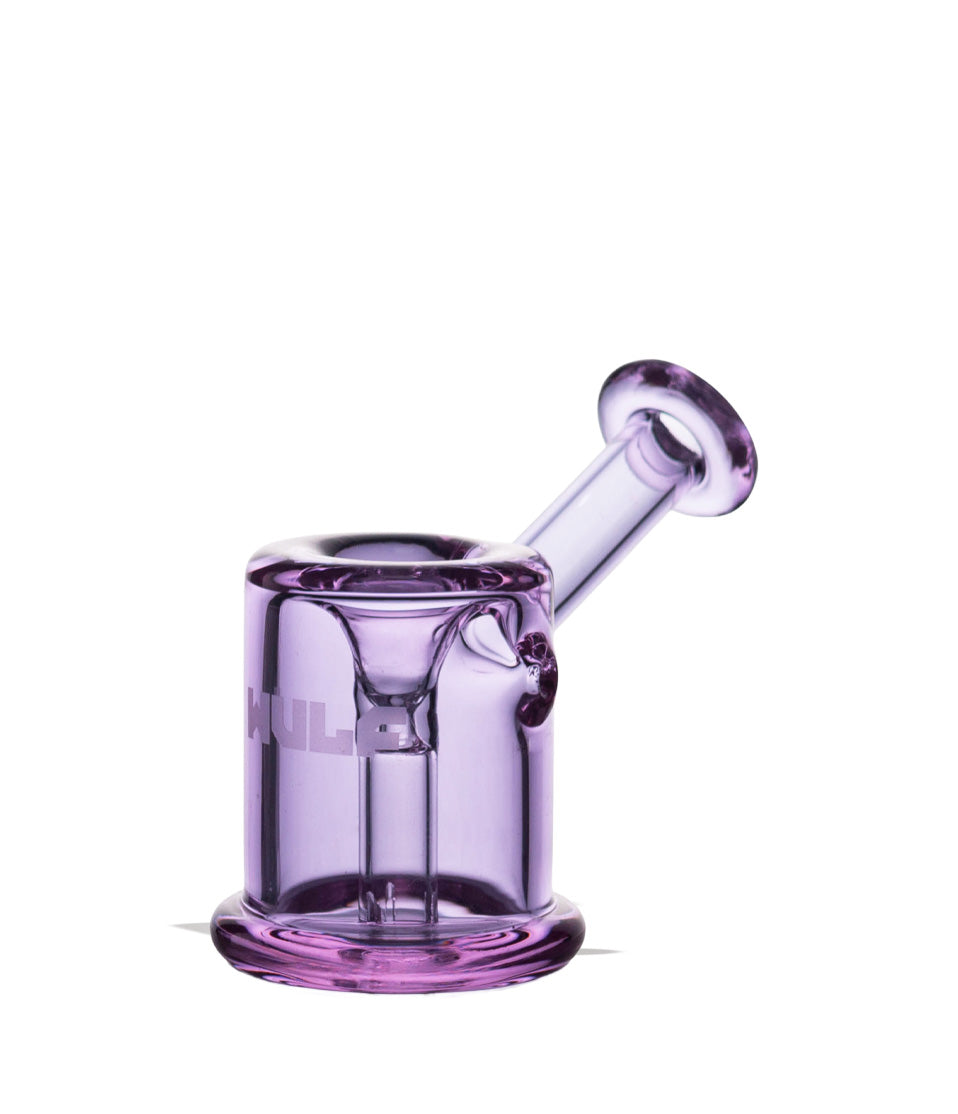
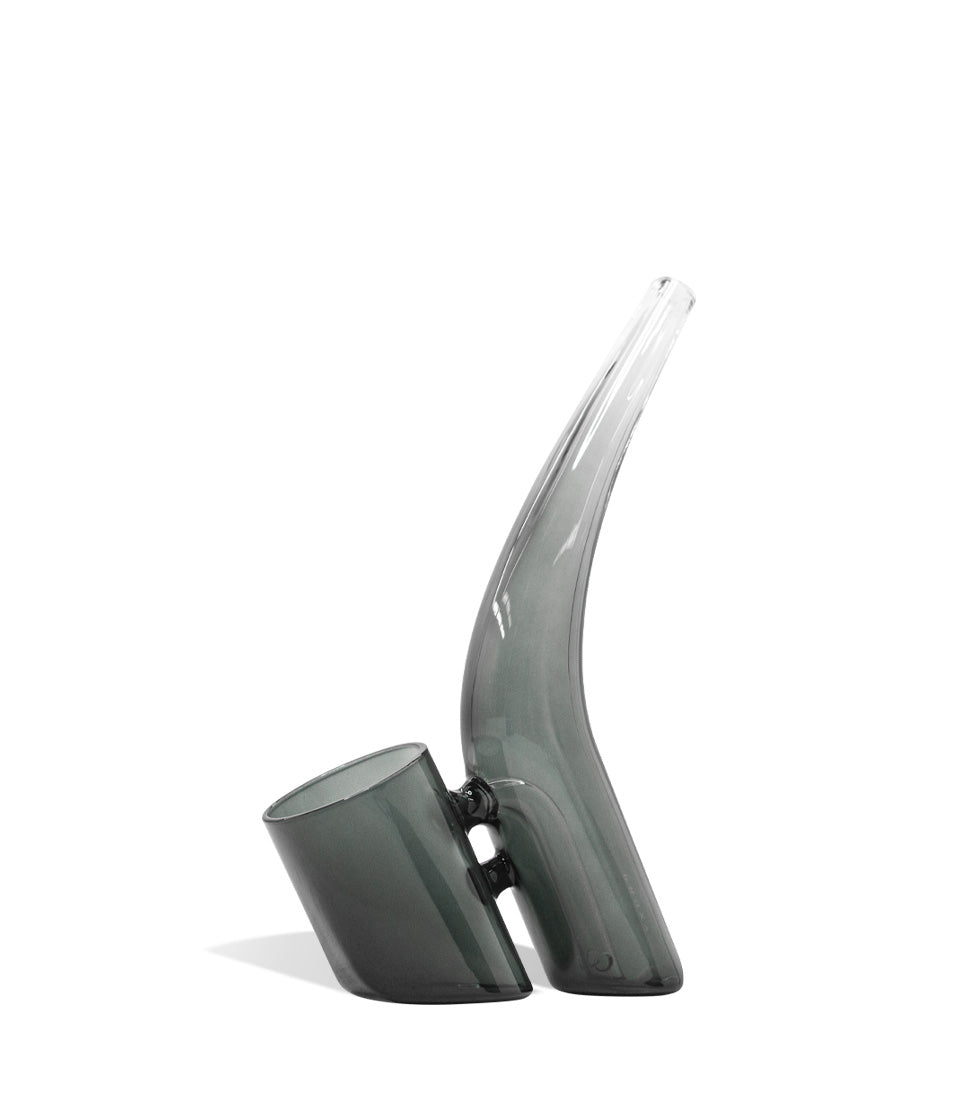
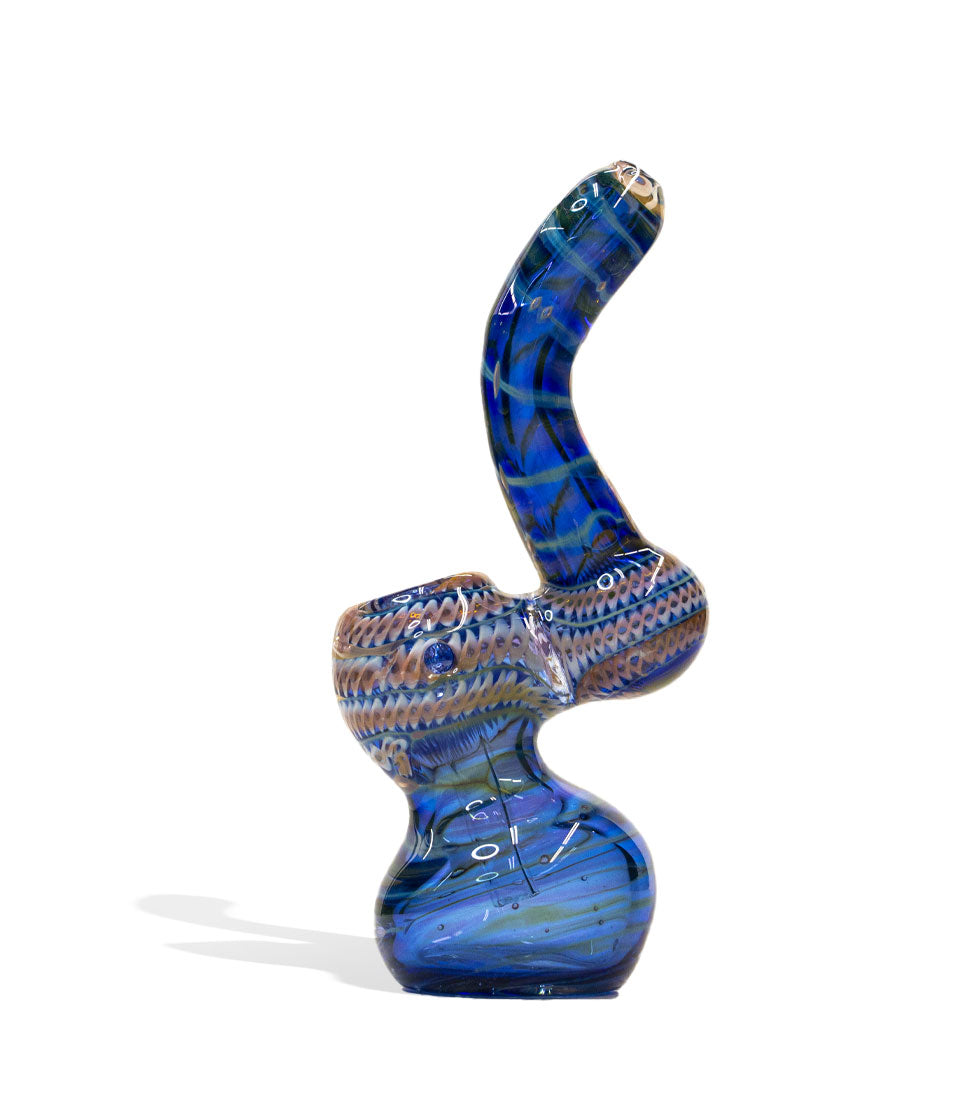
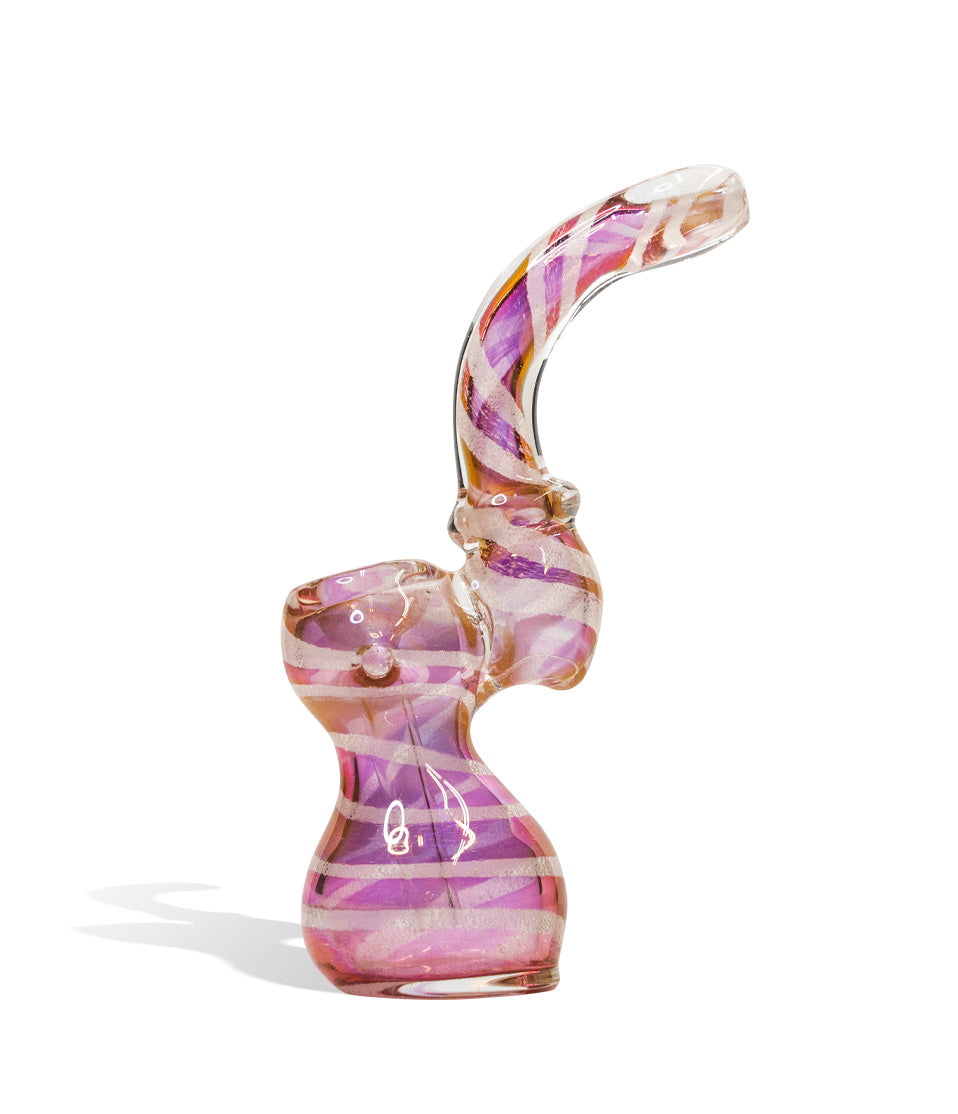
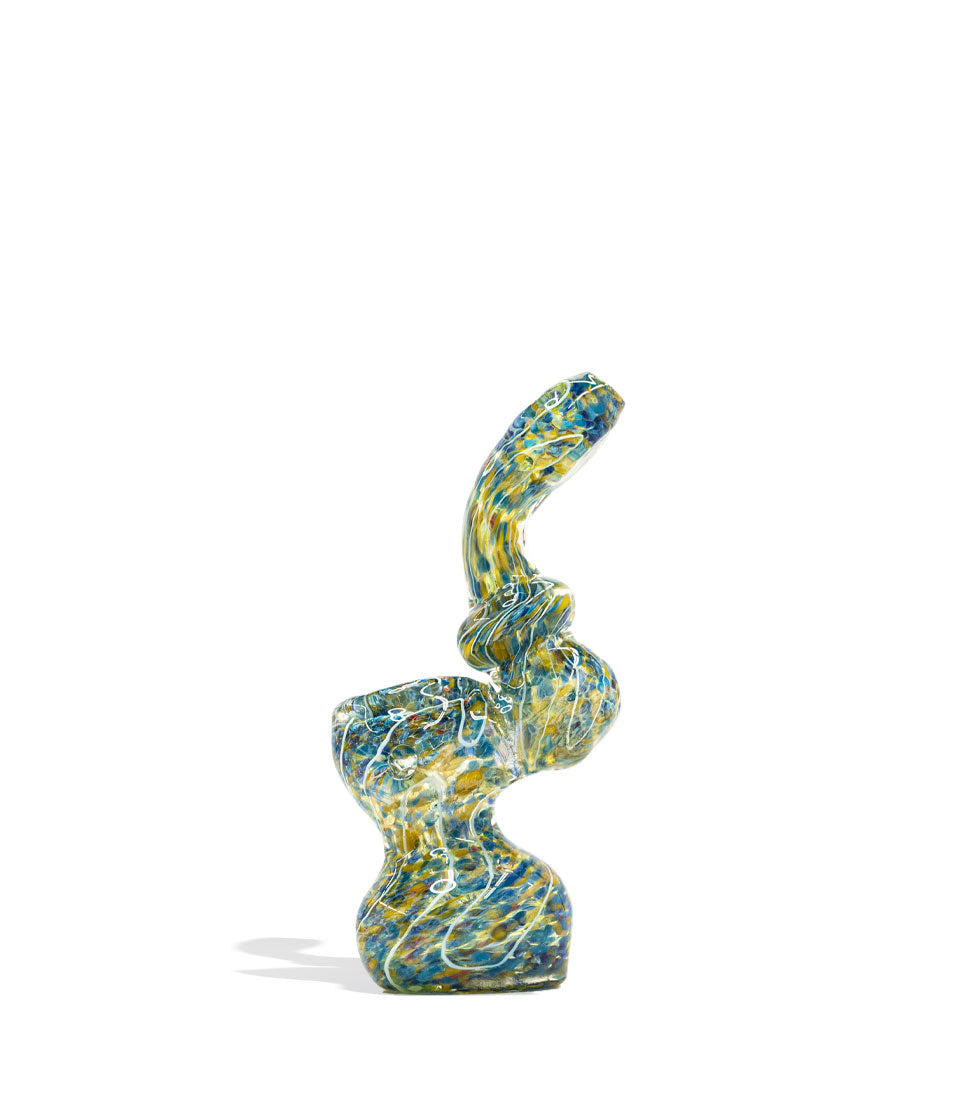
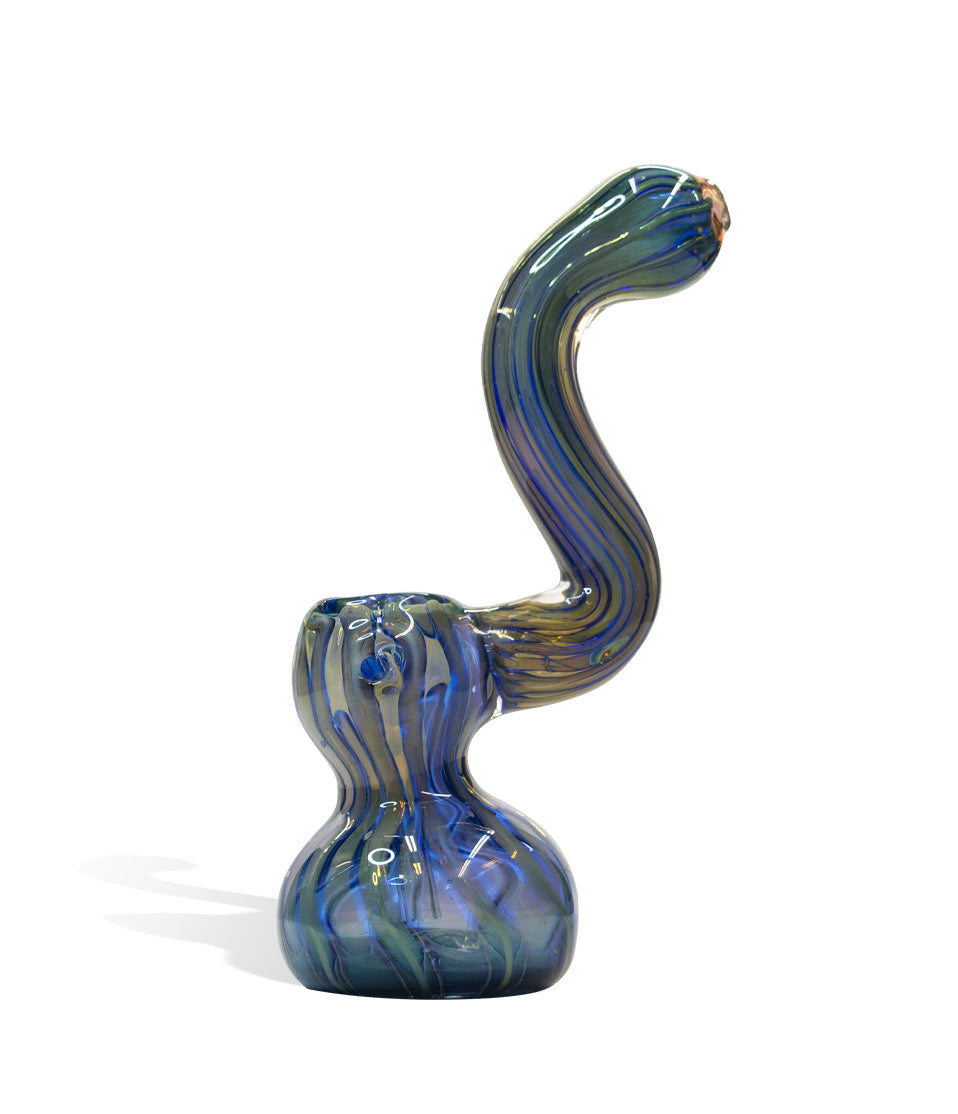
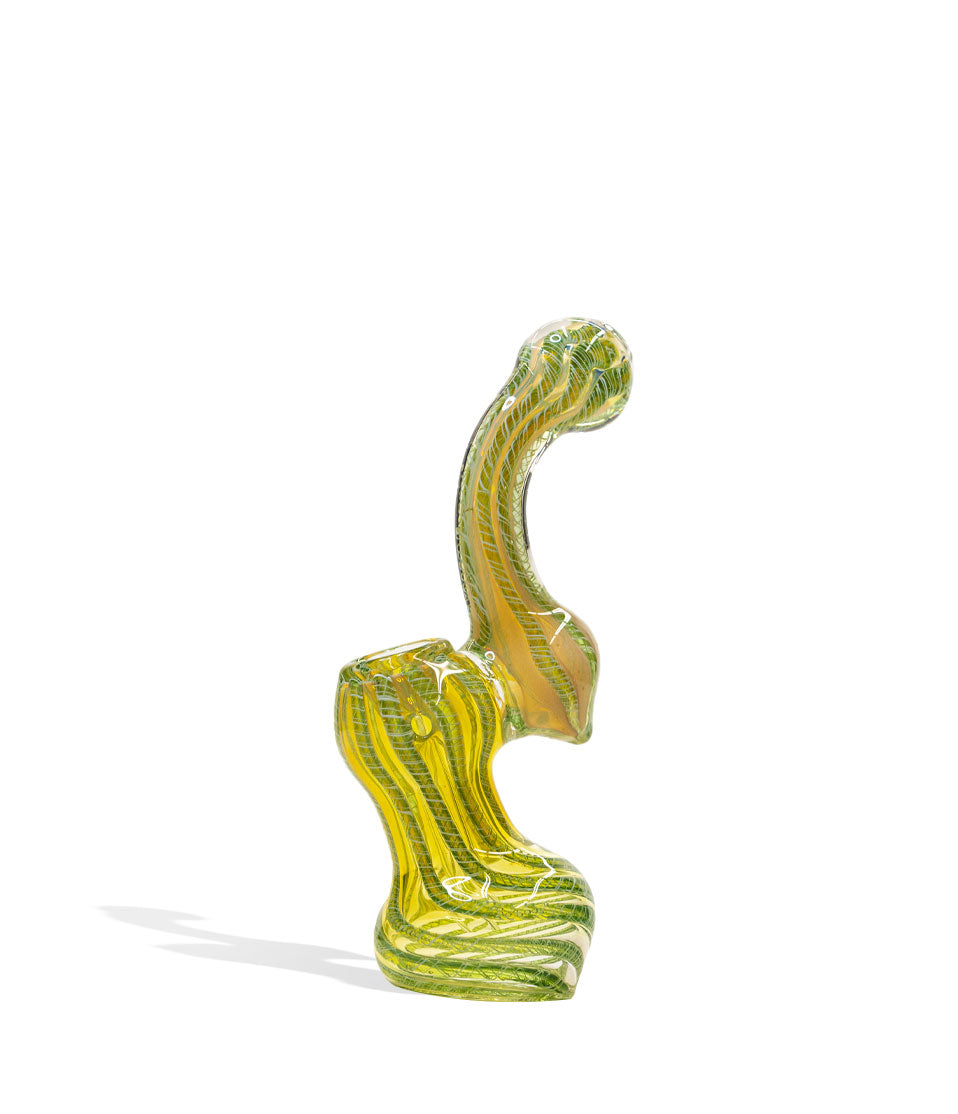
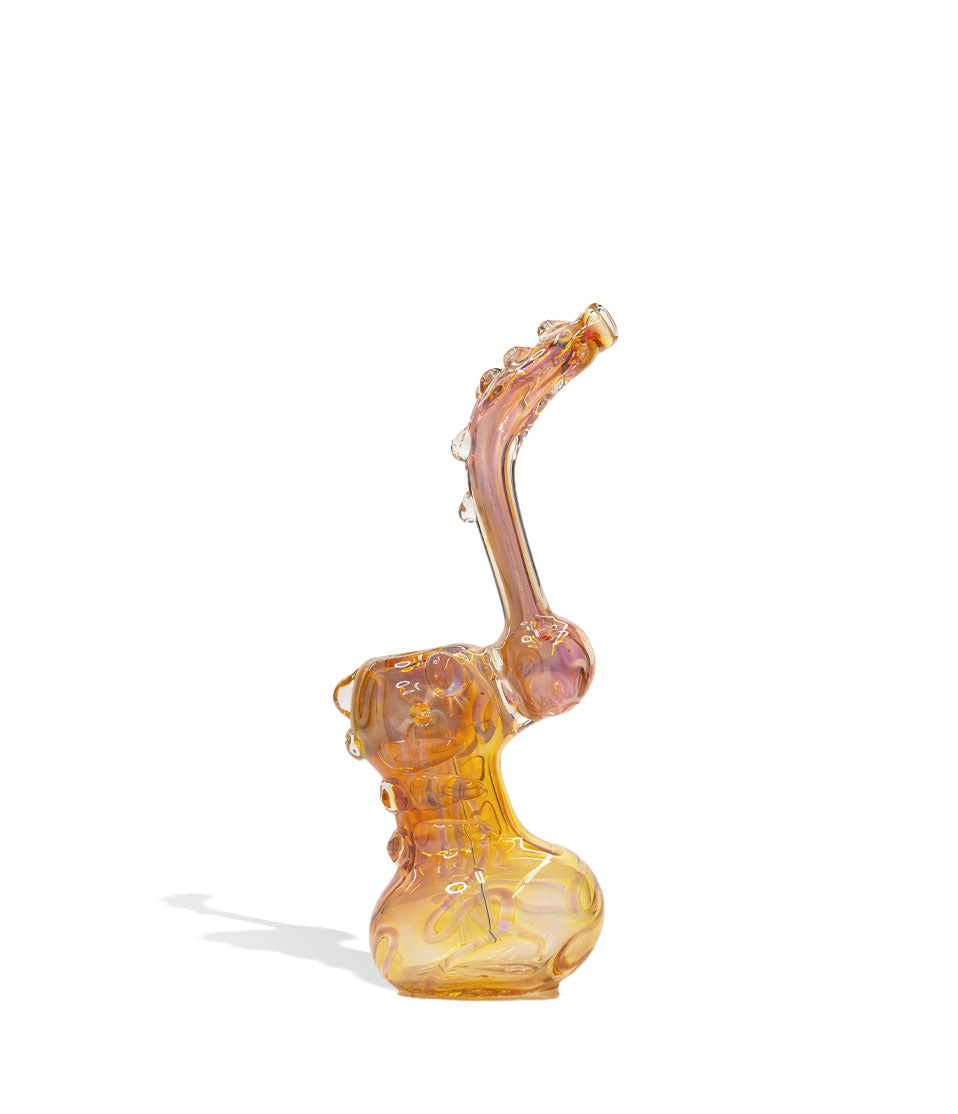
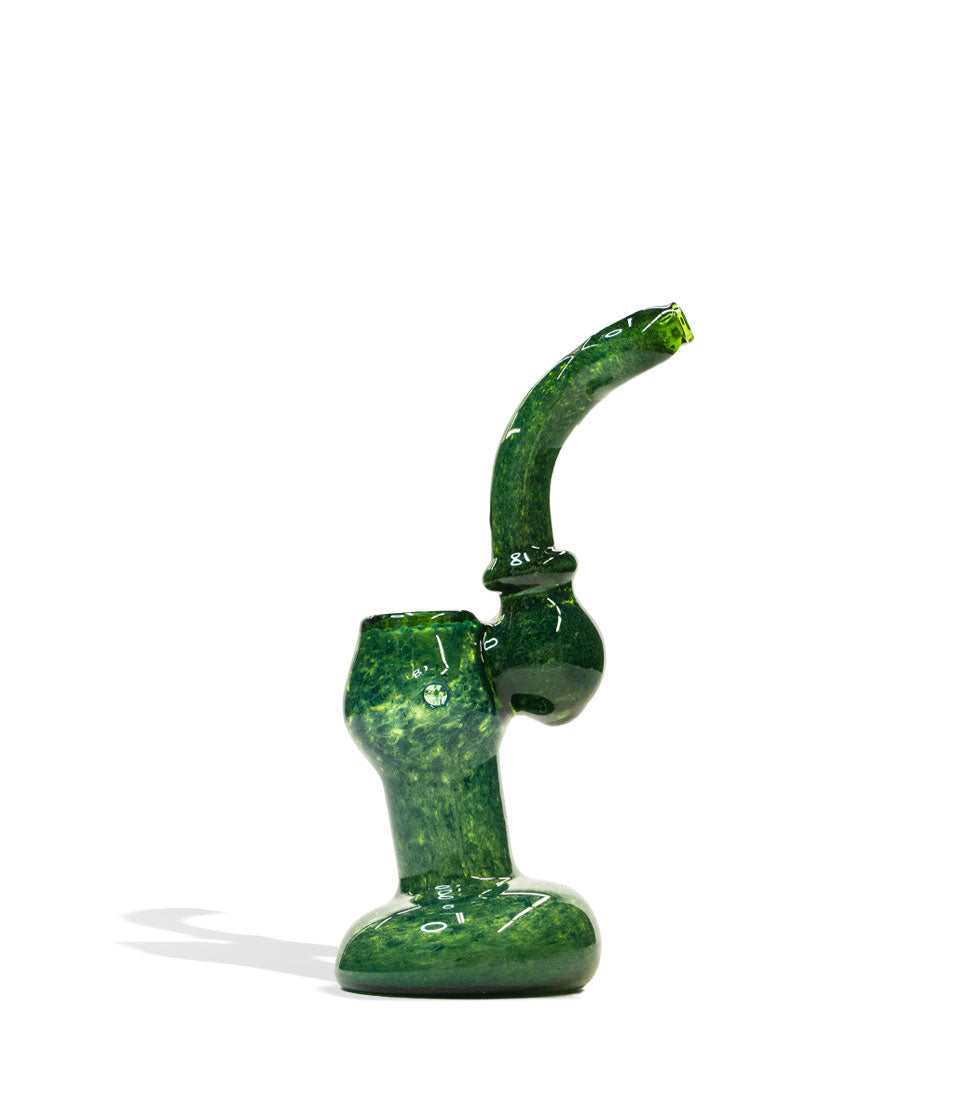
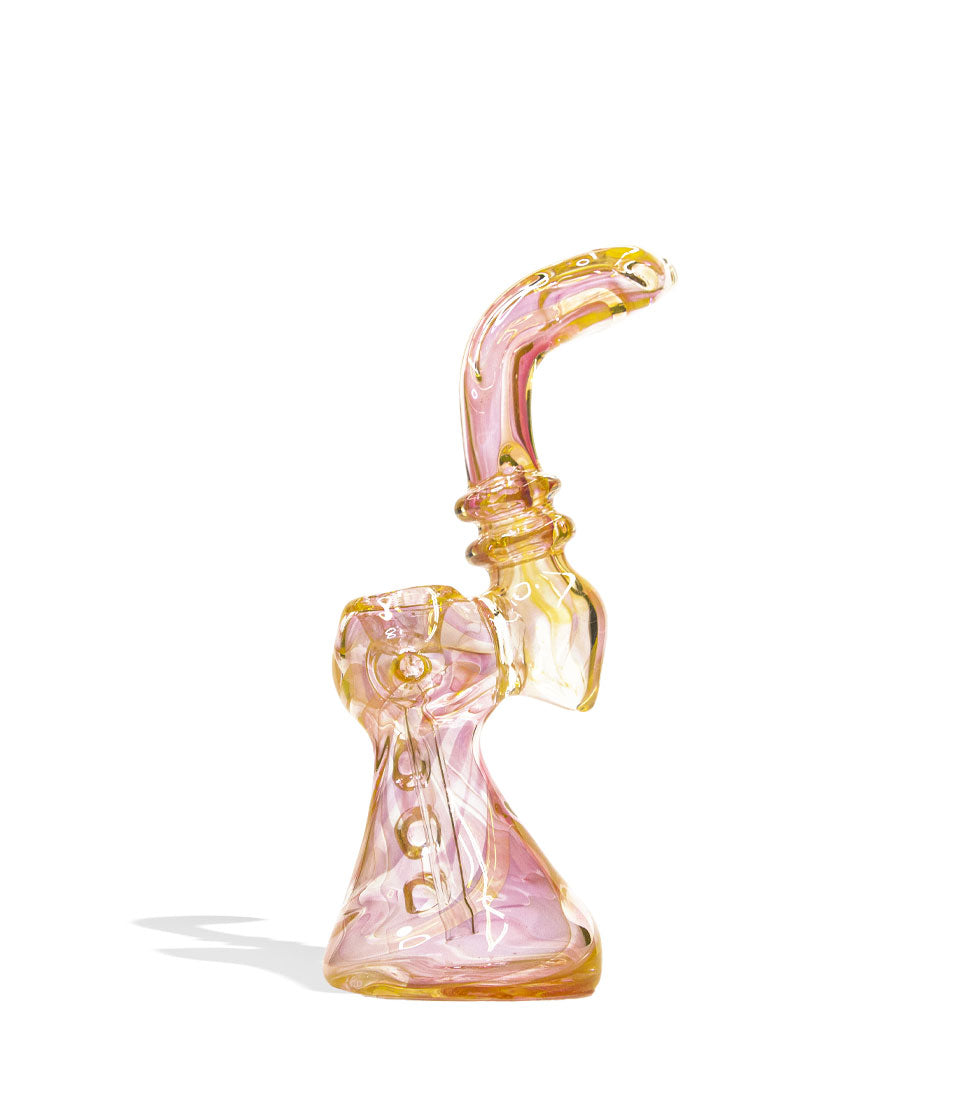
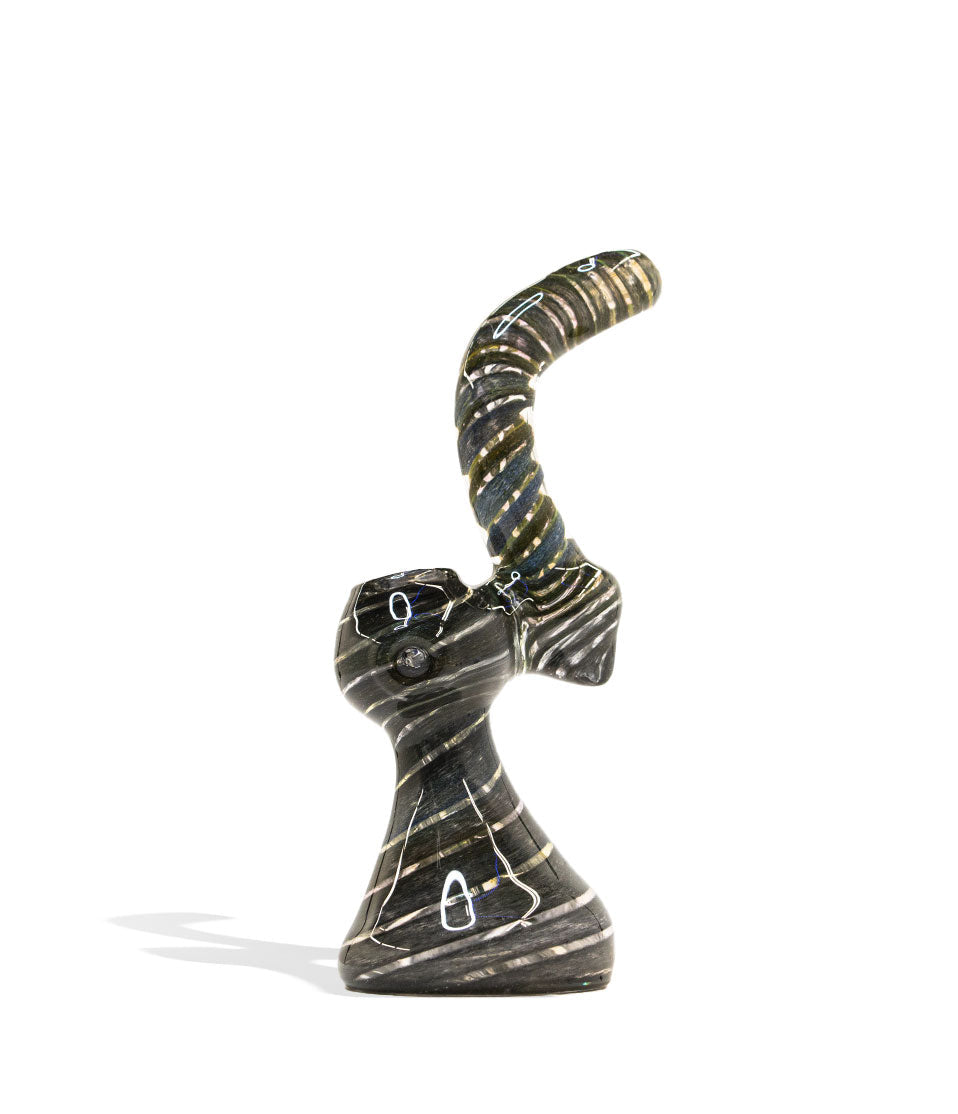
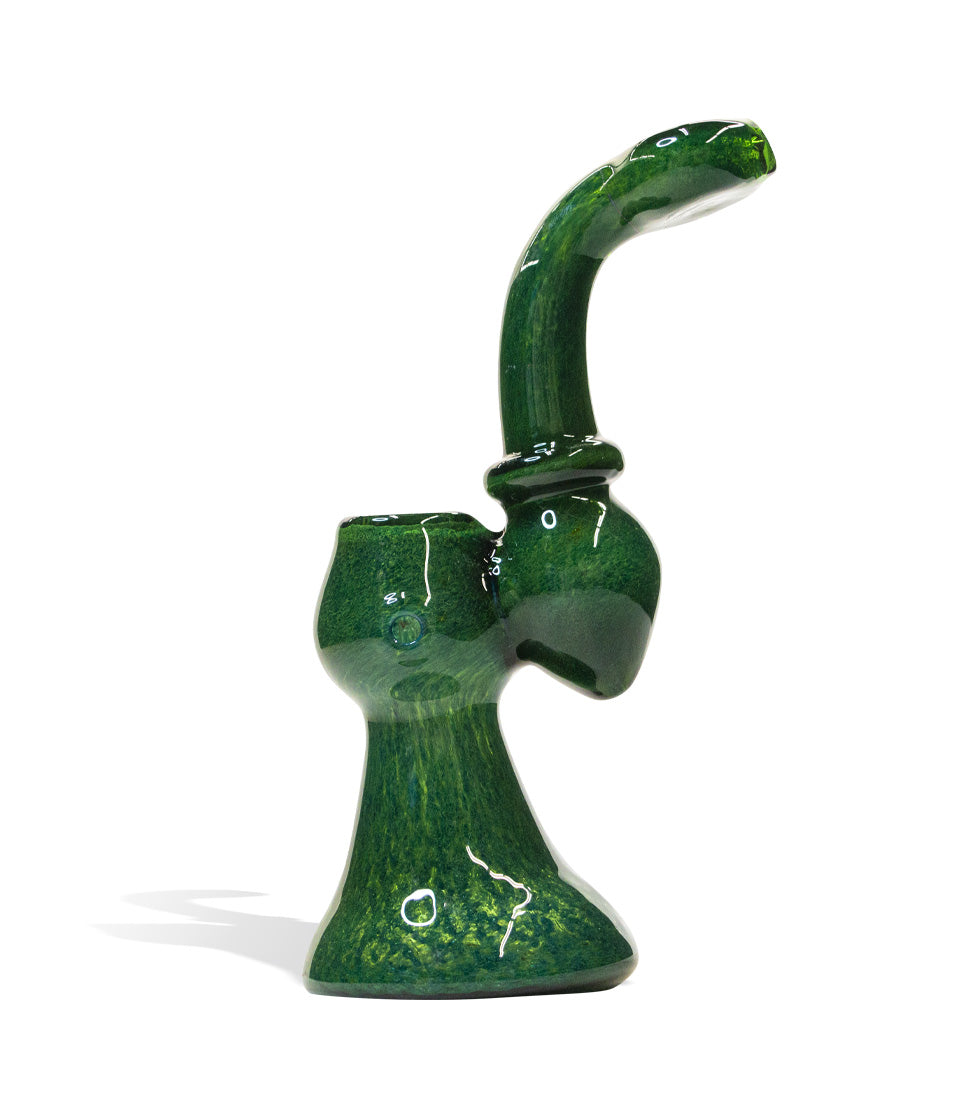
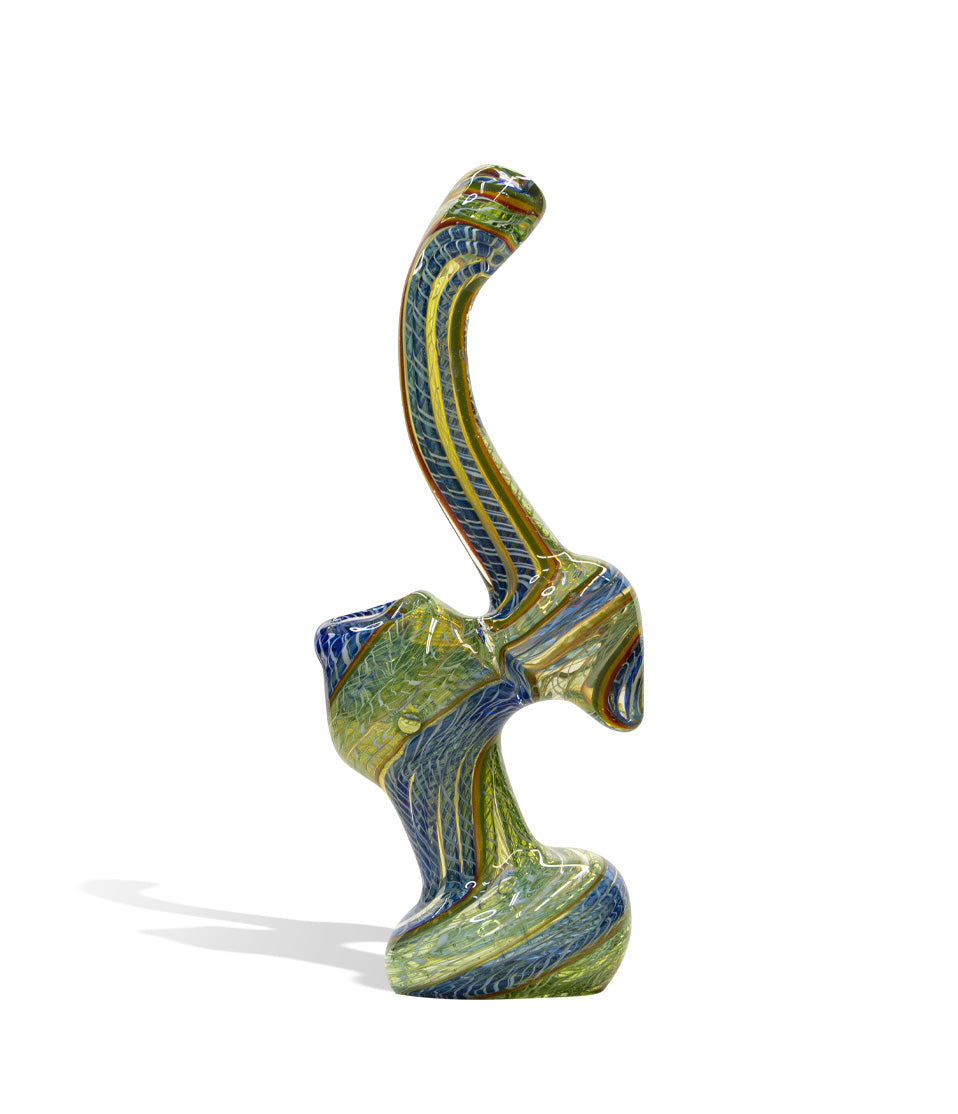
Shop Bubblers
A closer look at the picks called out above.
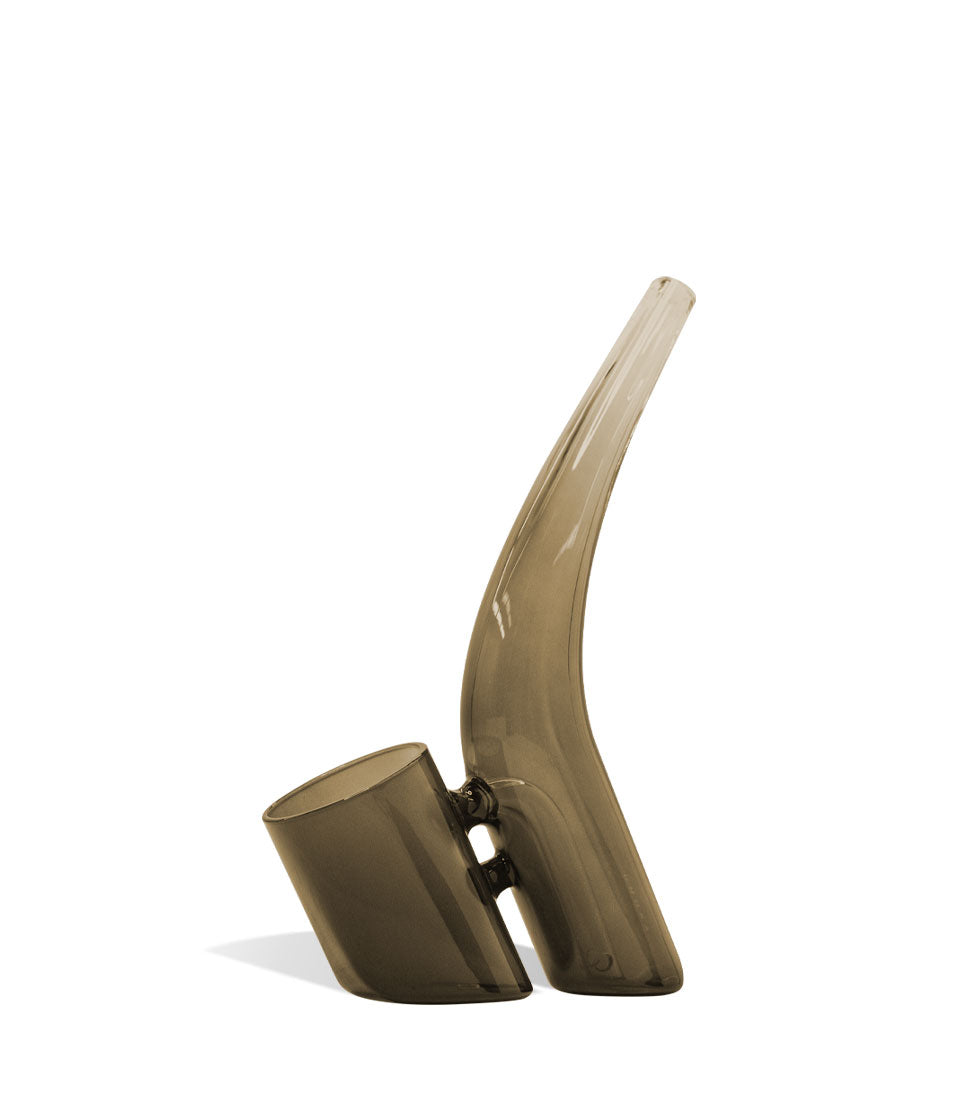
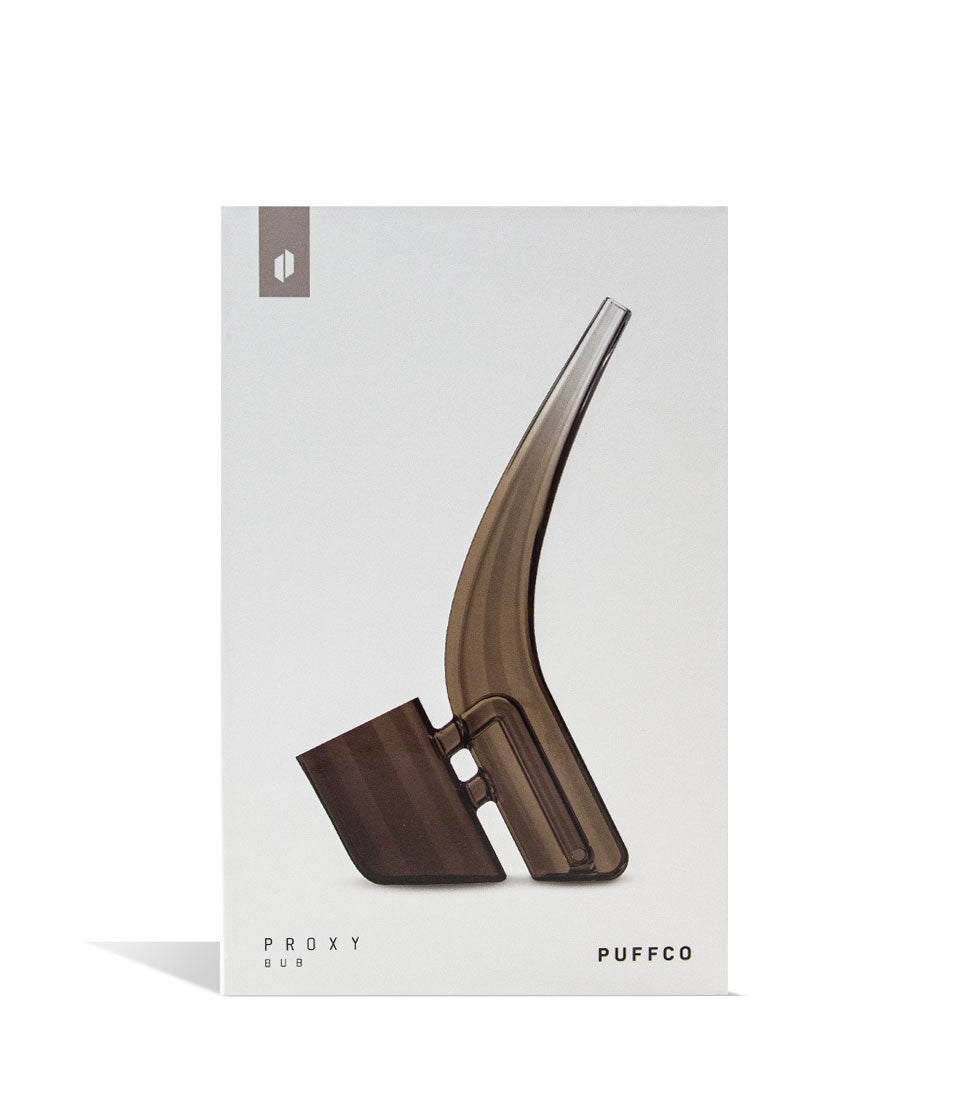
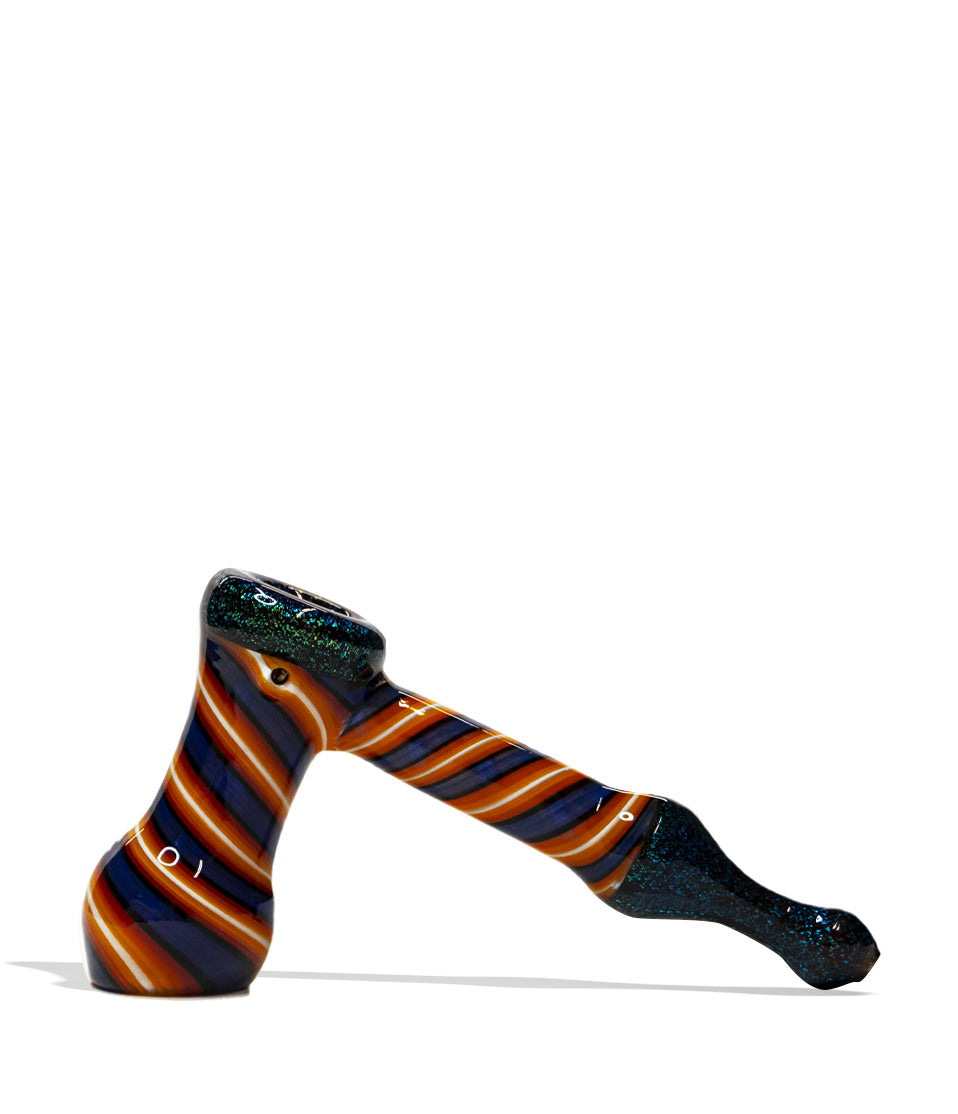
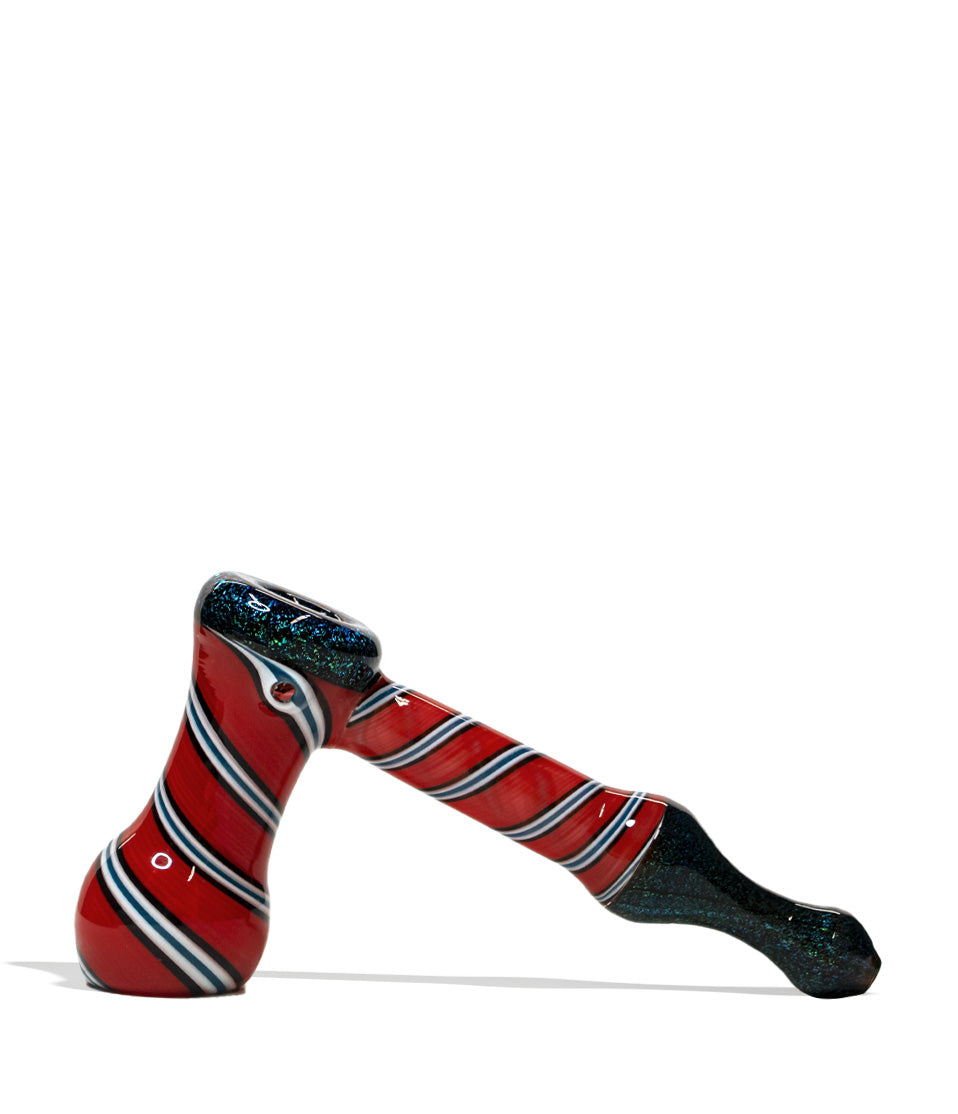
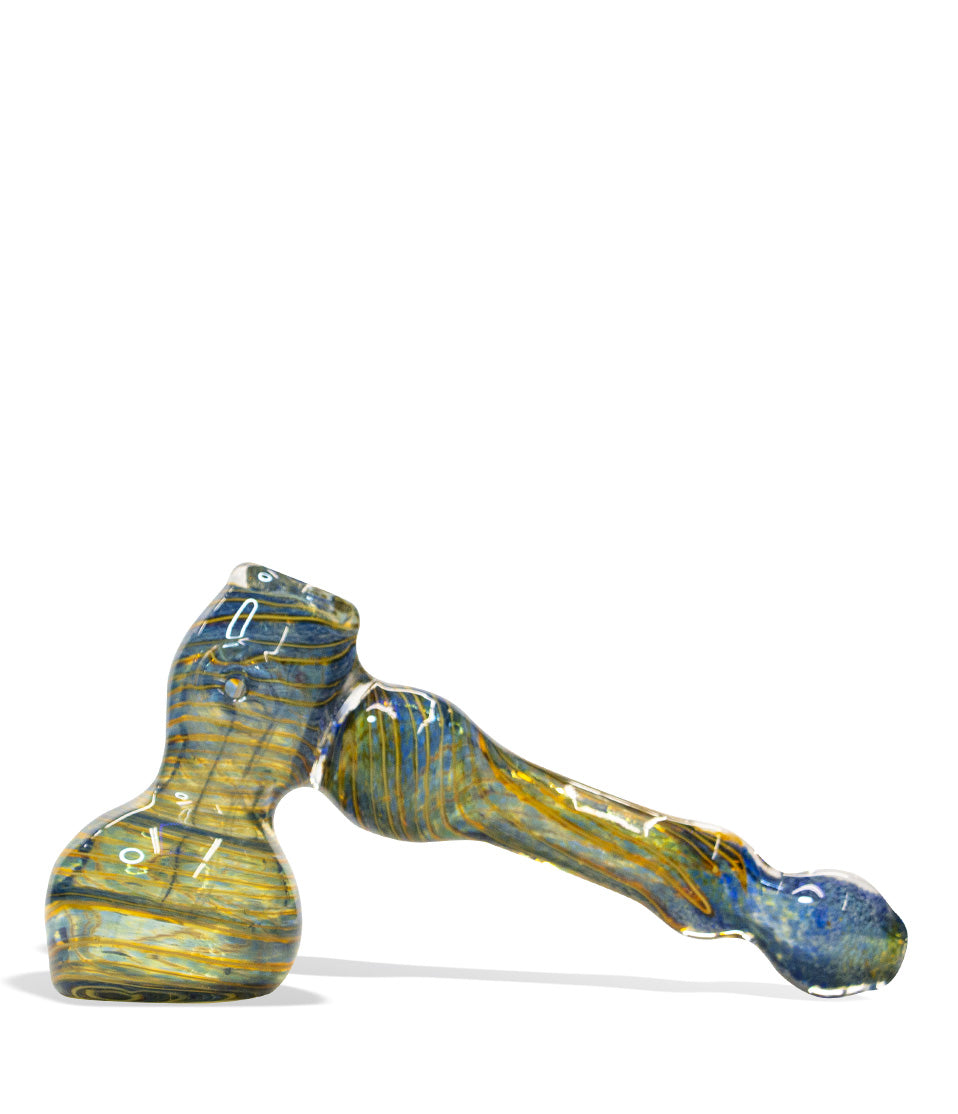
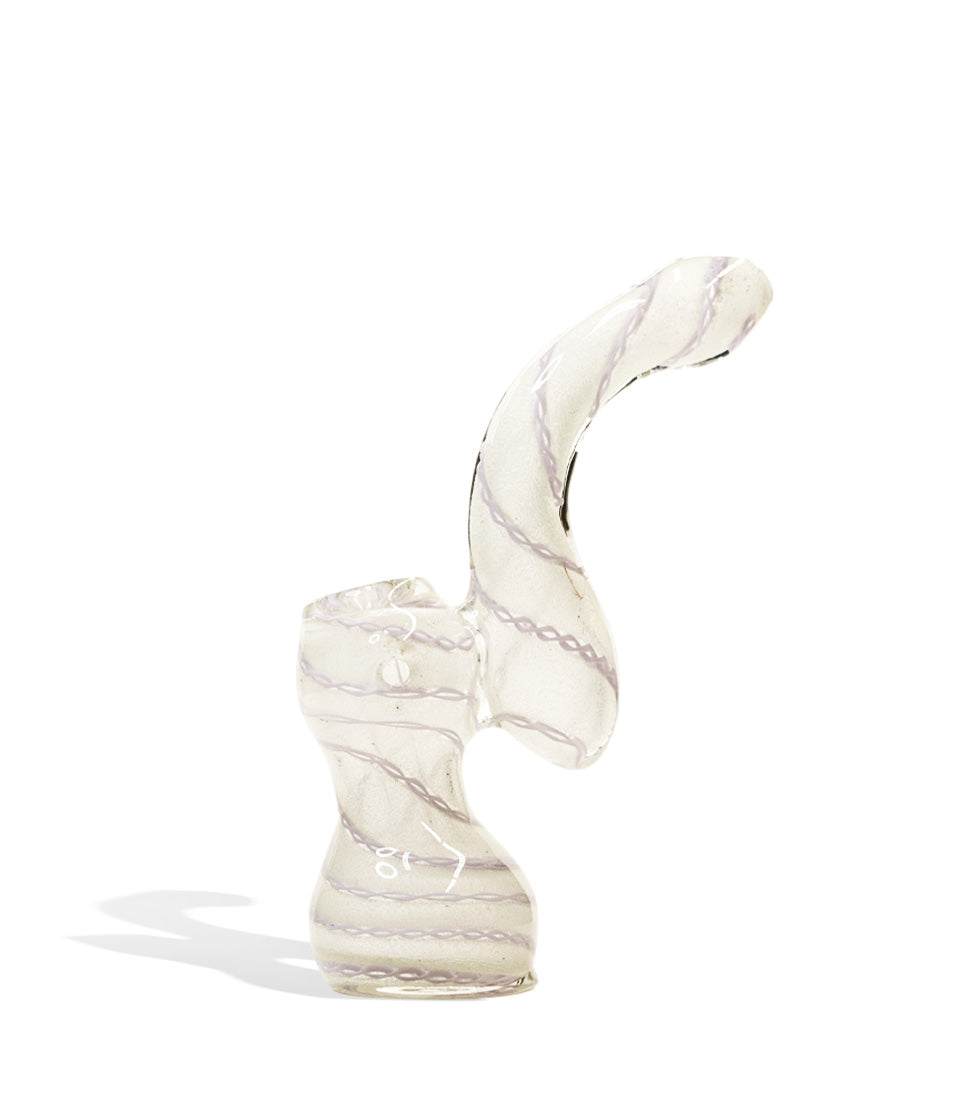
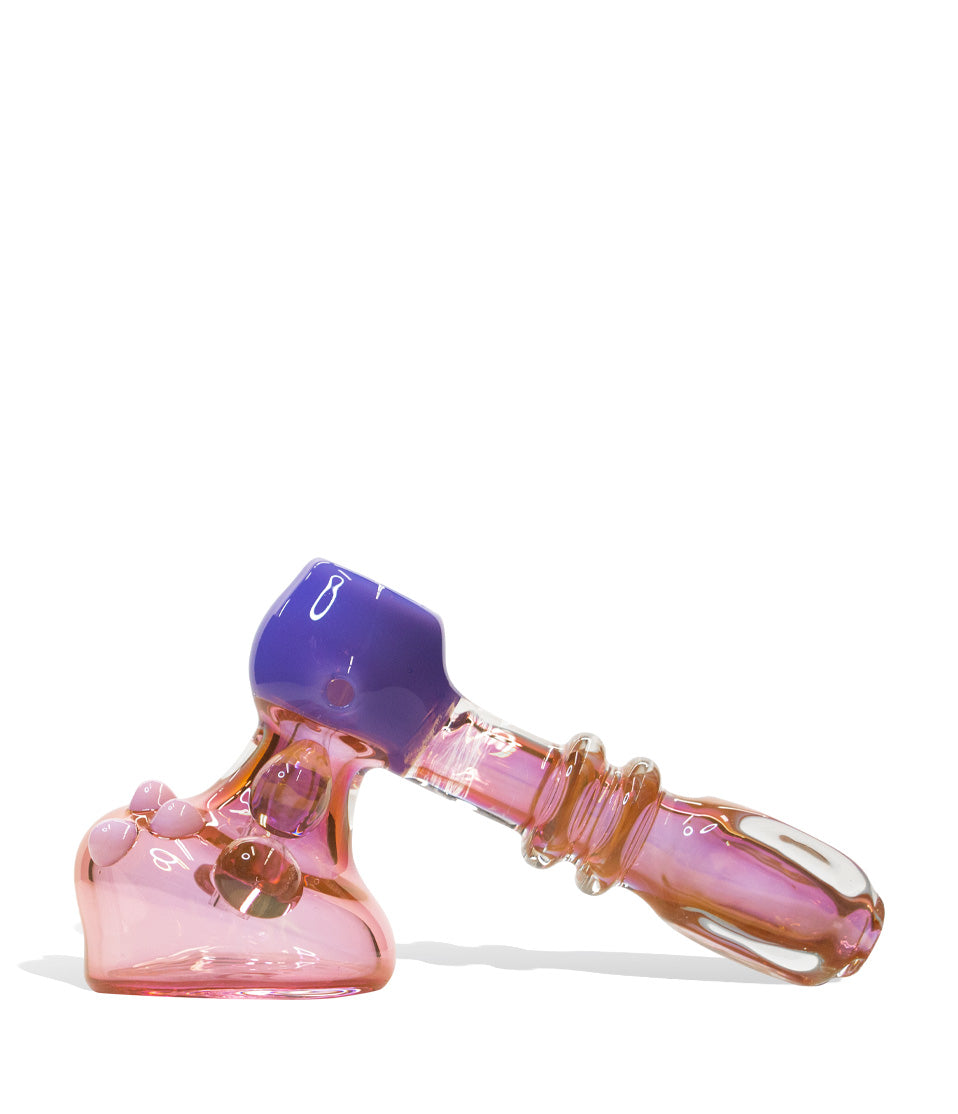
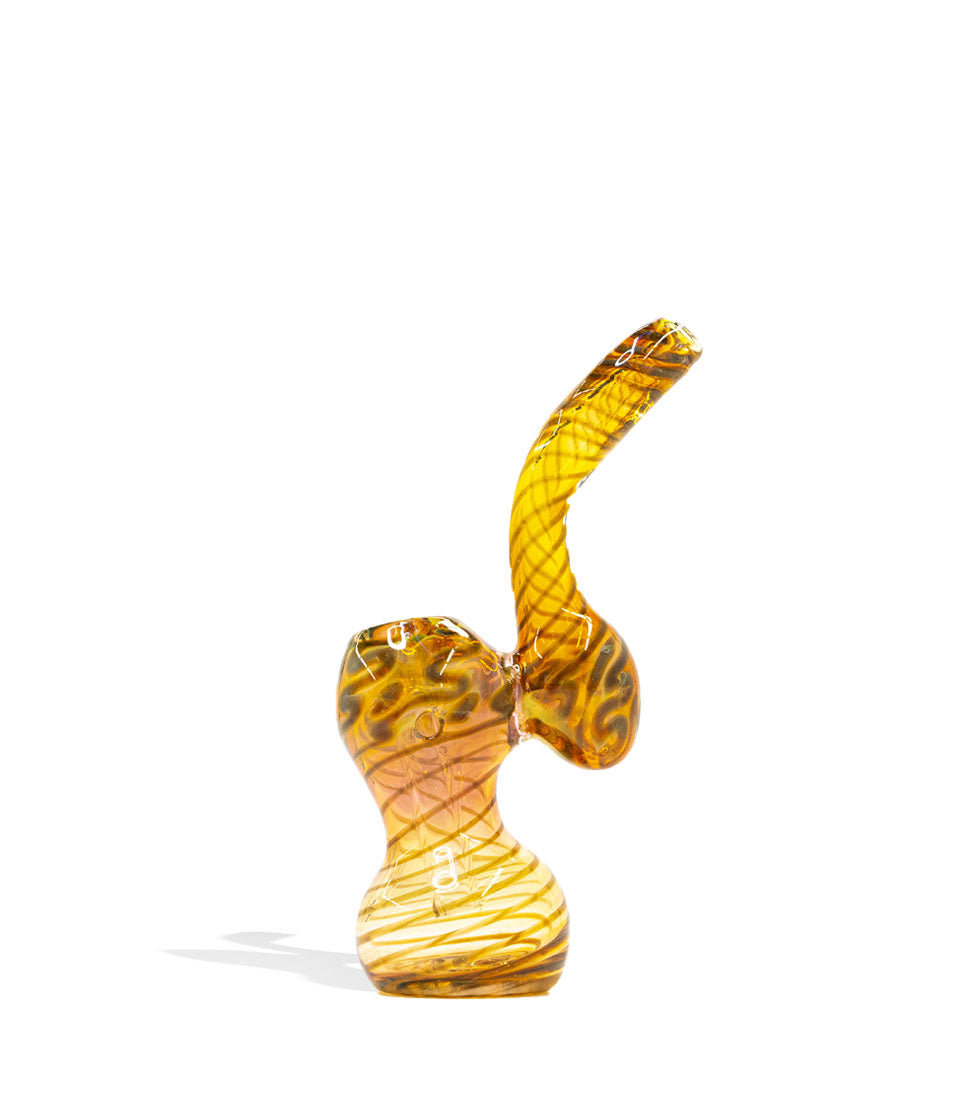
How-To
Complete How-To
From here, the walkthrough gets specific: the product details and buying considerations that turn the summary above into an actual decision.
Keep your Bubbler ready to rip and find out how you can clean your favorite piece with the help of the Got Vape Crew!
This way when you pack up some dry herbs, you’ll be able to enjoy the smoothest, most flavorful, and ultimately satisfying clouds, all without any leftover grime or materials messing with your experience.
Having scrubbed, soaked, and restored every style of glass imaginable over our 20+ years in the game, the Got Vape knows how to make maintenance fast, painless, and highly effective. For more advice on using a bubbler, check out our full breakdown guide right here.
This step by step bubbler cleaning guide walks you through the exact process using simple household supplies that deliver serious results.
In just a few quick minutes, you’ll have all the know how needed to flush out sticky tar, clear narrow percolators, and make every hit feel like the first day you brought your piece home.
Table of Contents:
Bubbler Cleaning Quick Start Guide
Glass vs. Silicone Bubblers: Cleaning Differences
Why Cleaning Your Bubbler Matters
How Often Should You Clean a Bubbler?
Cleaning Tools for a Bubbler
Step 1: Dump Dirty Water & Tap Out Ash
Step 2: Place Your Bubbler In A Sealable Bag
Step 3: Pour in Isopropyl Alcohol
Step 4: Swirl Gently & Soak
Step 5: Scrub Your Bubbler
Step 6: Flush Thoroughly With Warm Water
Step 7: Air-Dry Completely & Refill
Quick Cleaning vs. Deep Cleaning
Common Bubbler Cleaning Mistakes to Avoid
Keep Your Bubbler Fresh
Bubbler Cleaning Quick Start Guide
In a hurry to get back to smooth, water cooled rips with your Bubbler or just not a fan of reading? Here is a fast breakdown table covering the core steps to revive your bubbler like a pro.
| STEP | ACTION | HOW TO | PRO TIP |
|---|---|---|---|
| 1 | Drain Water | Pour out stale bubbler water and clear loose ash from the bowl. | Dump old water through the downstem joint rather than the mouthpiece to keep dirty water off your lips! |
| 2 | Place Your Bubbler In A Sealable Bag | Use silicone cleaning plugs or place the bubbler inside a heavy-duty sealable bag. | Plugging the mouthpiece, carb, and downstem joint lets you shake the internal chamber without mess. |
| 3 | Add Cleaners | Pour 2-3 tbsp of coarse salt and 91%+ ISO alcohol into the water chamber. | Coarse Epsom or sea salt crystals slip into perc slits to scrub away stubborn, baked-on tar. |
| 4 | Swirl & Soak | Swirl the solution gently through the internal percolators for 2 minutes, then soak. | Let the alcohol do the heavy lifting. A 30-minute soak dissolves dark rings effortlessly. |
| 5 | Scrub | Use pipe cleaners or swabs dipped in ISO to detail the bowl hole, carb, and stem. | Gently scrub tight downstem joints where resin collects heaviest. |
| 6 | Flush Warm | Rinse the internal chamber repeatedly with warm running tap water. | Never flush cold tap water through glass that is warm from cleaning to prevent thermal cracks. |
| 7 | Dry & Fill | Let the glass dry 100%, then fill with fresh, cold water for your next bowl. | A drop of lemon juice in fresh water helps keep resin from sticking to clean glass during your session! |
Why Cleaning Your Bubbler Matters
Bubblers combine the portable convenience of a hand pipe with the liquid filtration of a full sized bong.
However, with great power comes great responsibility (on your part of course, the bubbler has no real worries other than fresh water), which means that in order to continue the fresh filtered smoothness, you need to clean your bubbler.
Without routine care, even top tier bubblers turn into a stale, foul smelling nightmares. Gunked up percolators restrict your airflow, turn your water yellow, and completely ruin the taste of fresh green.
In general, a dirty bubbler leads to:
- Stale, bitter, and harsh smoke flavor
- Clogged percolator slits and tight draw resistance
- Dirty water bubbling up and splashing against your mouth
- Persistent, sour room odors
- Rapid bacterial and mold growth in stagnant water wells
Taking a few minutes to clean your glass ensures your water stays fresh, your draws stay effortless, and every bowl hits smooth as silk.
How Often Should You Clean a Bubbler?
Because standing water creates a prime environment for mold and mildew, you should change your water daily, with no exceptions!
If you’re a daily ripped, dump old water right after your session so resin doesn’t settle overnight. Give the internal chamber a full deep clean with alcohol every 2 weeks (or whenever you notice dark rings building up along the glass water line).
A simple rule: if the water looks cloudy or smells sour, it’s time to dump it and give your glass a fresh scrub!
Dumping your bubbler water is by far one of the best ways to prevent things from getting dirty in the first place. This way your water doesn’t get so swampy that a green ogre and waffle making donkey move in.
Cleaning Tools for a Bubbler
You don’t need fancy, expensive gizmos to bring cloudy glass back to life. A few simple household staples working together will do the hard work for you and help ensure your bubbler is cleaned quick.
Essential tools for bubbler maintenance:
- Isopropyl alcohol
- Silicone cleaning plugs / caps (or heavy-duty Ziploc bags)
- Flexible pipe cleaners / cotton swabs
- Warm running water
- A towel or paper towels
With these basic supplies, you’ll have everything you need on hand in order to refresh your Bubbler and give it it’s own day at the spa.
Step 1: Dump Dirty Water & Tap Out Ash
Start by pouring all old, dirty water out of your bubbler into a sink drain. Tip the piece carefully so dirty liquid drains through the downstem opening rather than pouring out across the mouthpiece rim.
If you’ve been taking proper care of your bubbler, then hopefully there shouldn’t be any water sitting in your piece. Buuuuut if you’ve happened to let things lapse (we all do) or are cleaning right after a session, you’ll have to dump things out.
Next flip your bubbler over and tap on it to know out any ash leftover in your bowl. This will help remove large pieces and get things ready for an isopropyl soak. Never strike glass against hard counter edges or porcelain sinks, as one wrong tap can cause instant chips!
Step 2: Place Your Bubbler In A Sealable Bag
Because bubblers feature internal water chambers and complex percolators, contained shaking is the secret to a quick clean.
This means that you’ll need some sort of sealable bag or container, able to fit your entire bubbler for an isopropyl alcohol soak. Make sure that it has a tight seal, as you want to be able to give things a quick shake without worry.
We often stick with ziplock bags, thanks to their tight seals, variety of sizes, and cheap cost making for the perfect disposable cleaning tools.
Once you’ve found the right sized bag, carefully place your bubbler into the bag, test that it’s big enough, and then move onto the next step.
Step 3: Pour in Isopropyl Alcohol
With your bubbler sitting pretty in the bag, you can move onto the next step of adding in some isopropyl alcohol, a material that’s perfect for removing and breaking down sticky tar / left over dry herbs with ease.
To get started carefully hold up your bag and pour in isopropyl alcohol until your bubbler is completely submerged. If your piece is particularly tall, carefully turning it on it’s side is a more effective way to cover it in isopropyl.
Make sure to take your time here, as you want to ensure that you get every last piece of your bubbler submerged and also avoid accidentally spilling / damaging your glassware in the process.
Once filled, seal up the top of your bag / container and double check that the connection is tight. Even a little bit of uneven seal can lead to leaks, so make sure you have full confirmation the bag is shut tight before moving on.
Step 4: Swirl Gently & Soak
Next up, hold your bubbler securely with both hands and shake the bag in order to swirl the isopropyl alcohol through the inner chambers for about a minute or so. This also helps knock lose larger chunks and prepares for a good soaking.
As a general tip, use a circular, rolling motion rather than violent shaking, delicate glass percolator arms inside narrow chambers can snap if struck by aggressive sloshing and too much force!
Once you’ve swirled the isopropyl alcohol around, let the piece sit undisturbed on a paper towel for 60 minutes so the alcohol can break down stubborn carbon rings. If your bubbler is extra dirty, we recommend leaving it soaking overnight or all day while at work.
Step 5: Scrub Your Bubbler
After soaking your bubbler, carefully unzip the bag and remove your piece. Next dump the isopropyl alcohol down the sink, being extra careful not to spill, as the resulting mixture is going to be extra dank and quite smelly.
With your bubbler now fresh out the bag, you can now take a moment to examine it. Look for any large areas of gunk or stains, then take a q-tip or bush to scrub away at them. Thanks to the isopropyl soaking, these previously hard to remove areas will be cleansed with ease.
Make sure to pay special attention to the bowl of your bubble, as this is where majority of the build up will lie. Don’t be afraid to give things a few passes and if anything still sticks out, dampen a swab with isopropyl alcohol and work away spot cleaning it.
Step 6: Flush Thoroughly With Warm Water
With everything removed, you can now hold your bubbler securely under a faucet running warm tap water. Flush water continuously through the mouthpiece and bowl for at least 2 minutes to wash away all traces of dissolved resin, gunk, and alcohol.
Always use lukewarm or warm water and never run ice cold tap water through a glass piece that was just sitting in warm cleaning liquid, as sudden temperature swings can trigger thermal stress cracks!
This process will help dump out any lingering materials and ensure that all of the isopropyl is completely washed out.
Step 7: Air-Dry Completely & Refill
With your bubbler fresh and clean, the final step is leaving it to air dry completely. This may take a little while, but is a step that can’t be rushed. So put your feet up and let things dry off for a while before moving on.
We recommend leaving it to rest upright on a piece of paper towel or cloth, this way you’ve got a stable spot perfect for drying.
Once dry, you can refill your bubbler with water, pack it up with dry herbs, and returning to your regularly scheduled sessions all with the bonus of being fresh, clean, and ready to rip.
Quick Cleaning vs. Deep Cleaning
Not every session requires a full isopropyl alcohol soak. Instead, you can keep your bubbler ripping at 100% with a mixture of two main types of maintanence.
Quick Cleaning (Daily Routine):
- Dump old water out right after your final session.
- Flush the internal chamber with hot tap water.
- Wipe the bowl rim and mouthpiece clean.
Deep Cleaning (Every 2 Weeks):
- Full isopropyl alcohol soak.
- Manual detailing.
- Complete warm water flush and air dry.
Dumping your water daily stops heavy resin stains from forming in the first place, making your future cleaning far easier and preserving the overall quality of your sessions much better over time.
Common Bubbler Cleaning Mistakes to Avoid
Even seasoned bubbler fans can make a misstep during maintenance. Avoid these common pitfalls to keep your favorite piece safe and sound:
Top bubbler cleaning mistakes to avoid:
-
Leaving stagnant water inside: Letting dirty water sit for days creates mold risks and bakes thick rings onto the glass water line.
-
Aggressive shaking: Violently slamming a piece with internal showerhead percs can snap delicate glass arms.
-
Thermal shocking glass: Rinsing a warm glass piece under freezing cold water, causing instant stress cracks.
-
Soaking silicone in alcohol: Leaving flexible silicone bubbler bodies in alcohol baths for hours, causing warping.
- Rushing the rinse: Not flushing the inner airway long enough, leaving behind a harsh alcohol smell on your first hit.
Luckily, now that you know the ropes, avoiding these slips is simple. Go slow, treat your glass right, and your bubbler will deliver silky smooth hits for years to come!
Keep Your Bubbler Fresh
Mastering how to clean a bubbler isn’t just about routine maintenance, it’s about getting the absolute best flavor, most potent airflow, and lush filtration out of every session you fire up.
If you need help choosing a new piece, check out our guide to the top bubblers under $50 right here. With a host of cost effective choices available, if your bubbler is too far gone then maybe it’s time to consider an upgrade.
Stick to these simple steps, keep your ISO handy, and dump that water daily! For more expert breakdowns, guides, and session tips, check out the rest of our postings at the Got Vape Resource Center! Stay cloudy, out there!
Frequently Asked Questions
How-To FAQs
Quick answers to what shoppers usually ask before putting this guidance to use.
Can You Clean A Bubbler With A Fixed Downstem Or Built In Bowl?
How Do You Clean Resin Out Of Hard To Reach Percolator Slits?
Why Does My Bubbler Taste Like Rubbing Alcohol After Cleaning?
Can You Soak A Silicone Bubbler In Isopropyl Alcohol?
Why Should I Clean My Bubbler?
Got Vape Trust Center
About This Resource
Here's a look at who put this guide together, how it was fact checked, and how the Got Vape team keeps it current.
Editorial Standards
- Written for shoppers, not search engines.
- Checked for accuracy and plain, practical usefulness before it goes live.
- Grounded in the manufacturer specs and product documentation we can verify.
- Revisited whenever products, regulations, or category trends shift enough to matter.
- Shaped by years of hands-on time with this gear, not just spec sheets.
- Written to help you land on the right device without the guesswork.
Research Methodology
We built this walkthrough around the actual steps, from unboxing through everyday use, based on time spent with the device and the questions people ask most.
- Hands-on product experience
- Step-by-step setup and use
- Cleaning, care, and troubleshooting
- Common questions answered
- Safe and responsible use
- Real-world use considerations
- Editorial review for clarity and accuracy
Article Information
Intended Audience
- Everyday customers
- First-time buyers
- Experienced enthusiasts
- Dry herb users
- Concentrate users
- Anyone upgrading their setup
Editorial Policy
We revisit Got Vape guides on a regular basis rather than publishing them once and walking away. If a product spec, regulation, or category trend changes enough to matter, the article gets updated and the review date moves with it.
Keep Exploring
Related Resources
A few more Got Vape guides worth a look if you want to get even more out of your setup.
Best Of List
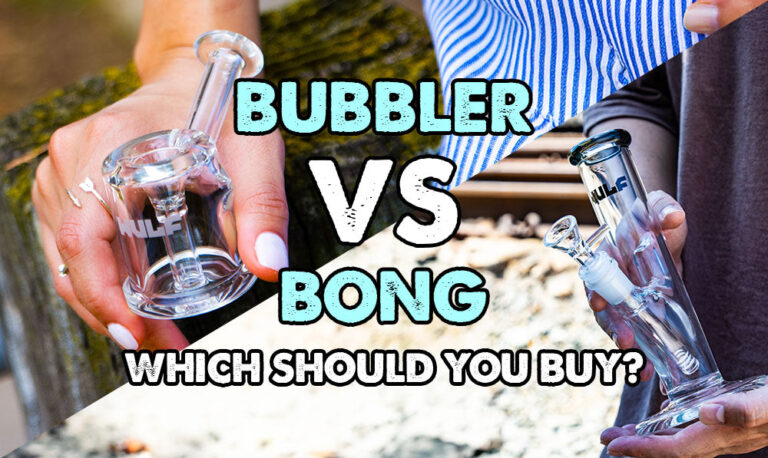
Considering either a bong or a bubbler? Find out which suits your style better with the help of the Got Vape Crew!
Read Resource →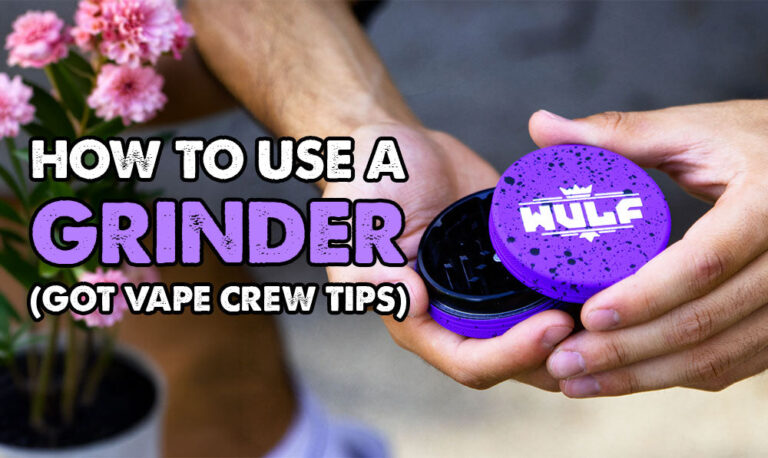
How-To
Find out how to use a grinder for better dry herb smoking / vaping. Follow along with the Got Vape Crew as we explain how to pr...
Read Resource →
Category Guide
You are hereby cordially invited to view the Got Vape Guide To Stoner Circle Etiquette! Ditch bad habits and make sure you do y...
Read Resource →
How-To
Learn how to use a water pipe with the Got Vape Crew! Find out all of the basics from packing your bowl to keeping things clean...
Read Resource →