

Resource Center
How To Clean A Nectar Collector Properly (Step-By-Step Guide)

Continue With This Resource
Got Vape Quick Brief
What You Should Know
Skim this first for the short version: the main points, the questions people ask, and what to consider before you buy.
Overview
Key Takeaways
- Traditional glass and metal nectar collector parts can be fully soaked in isopropyl alcohol, while electronic battery bases and electronic tips must only be lightly swabbed to protect internal wiring.
- Wiping down the warm tip with a dry cotton swab immediately after every session prevents liquid concentrate reclaim from hardening into dark, chazzed crust.
- Allowing torch heated quartz tips and glass bodies to cool completely before applying cleaning solutions or water prevents glass cracking and fractures.
- Shaking glass straw bodies in a sealable bag with isopropyl alcohol breaks down stubborn internal reclaim buildup quickly.
- Air drying all components for 30 to 60 minutes and running a brief burn off cycle evaporates remaining cleaning residue before taking a fresh dab.
Questions This Resource Answers
- What are the main cleaning differences between traditional glass nectar collectors and electric versions?
- How do you safely swab or soak quartz, titanium, and electronic nectar collector tips without causing damage?
- How do you clean sticky concentrate reclaim out of narrow glass straw pathways and bubbler sections?
- Why is running an empty burn off heat cycle necessary after cleaning a glass or electric nectar collector?
- What critical cleaning mistakes should you avoid during maintenance?
Recommended Products
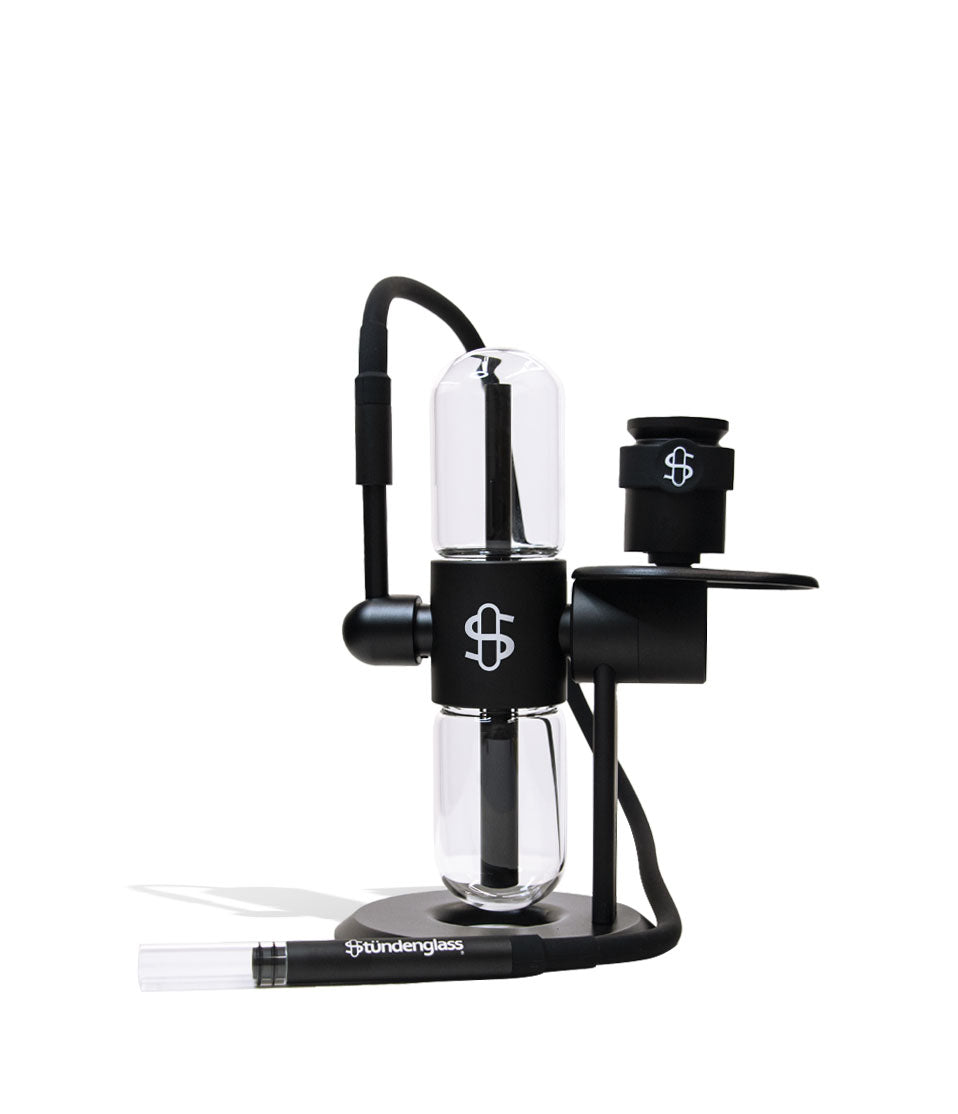
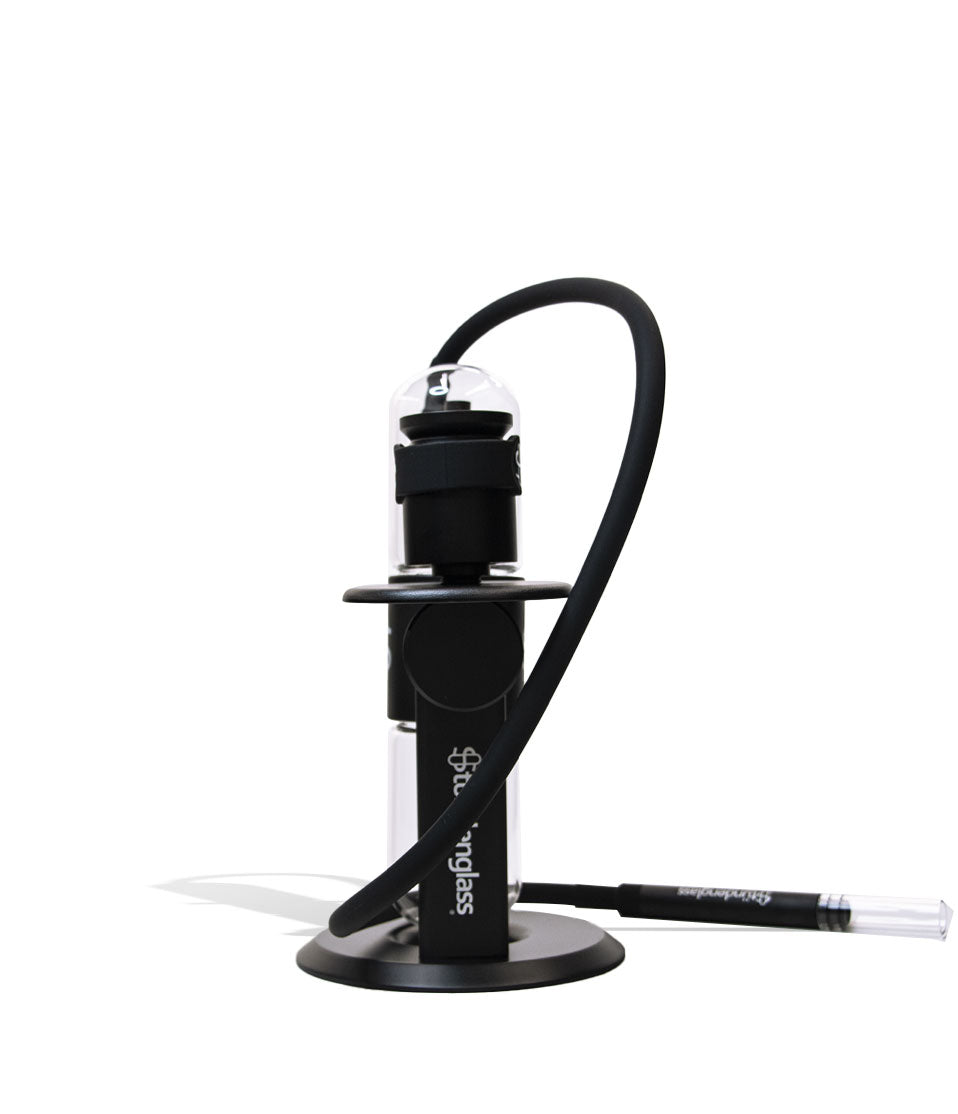
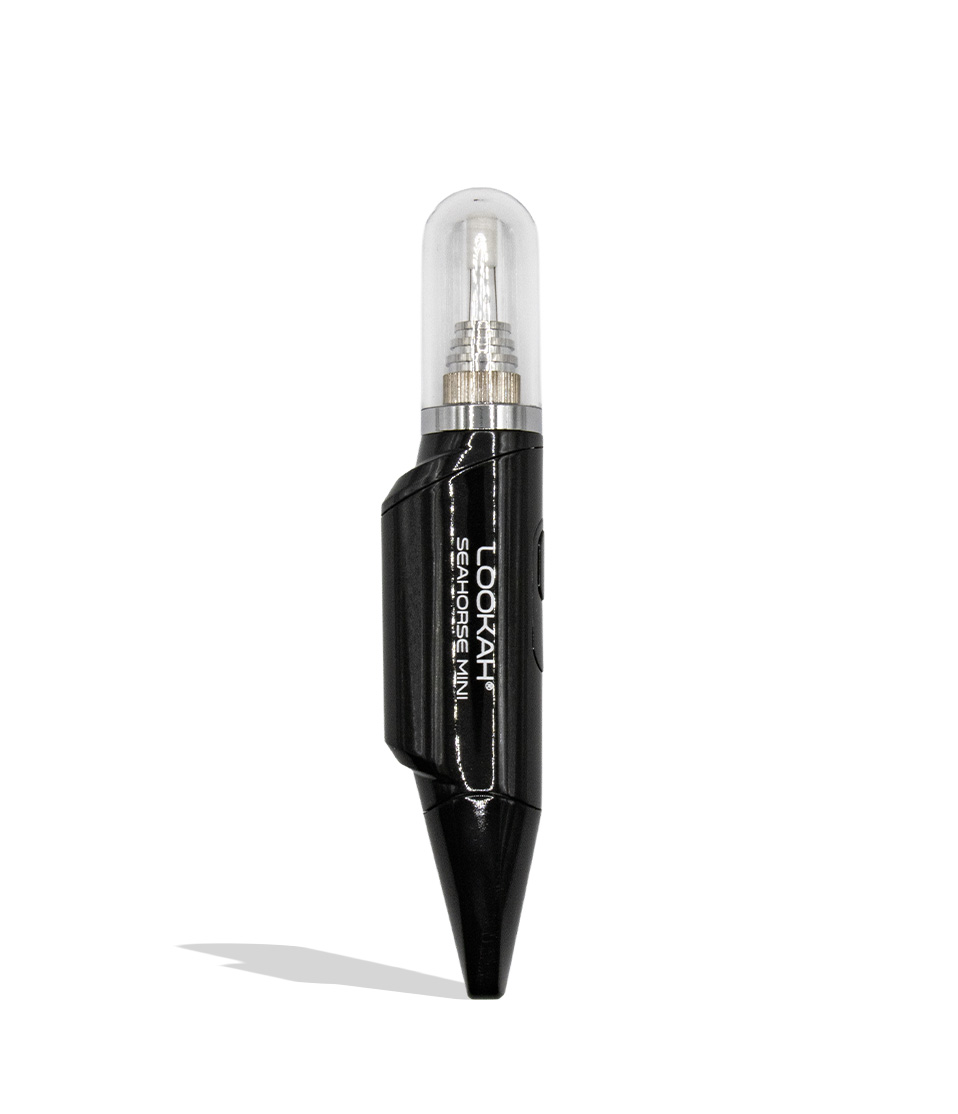
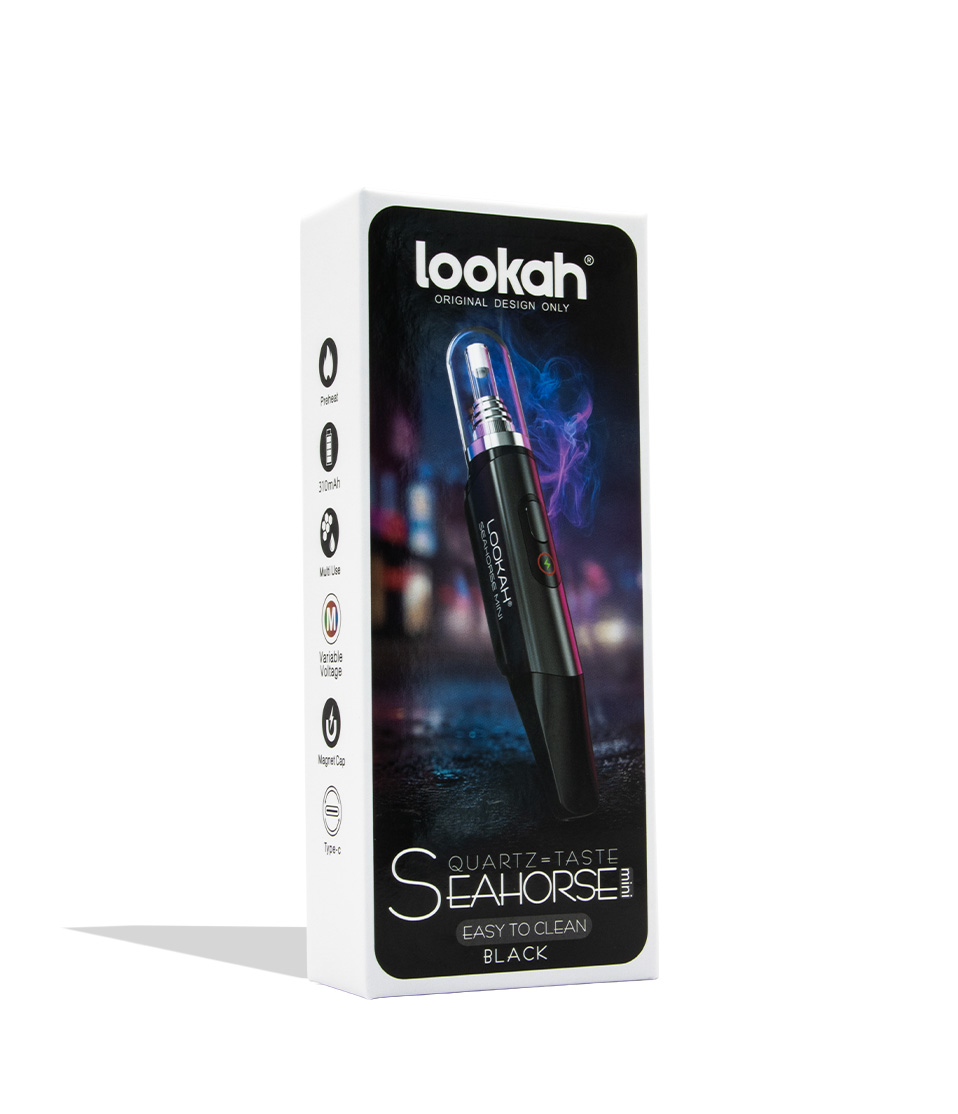
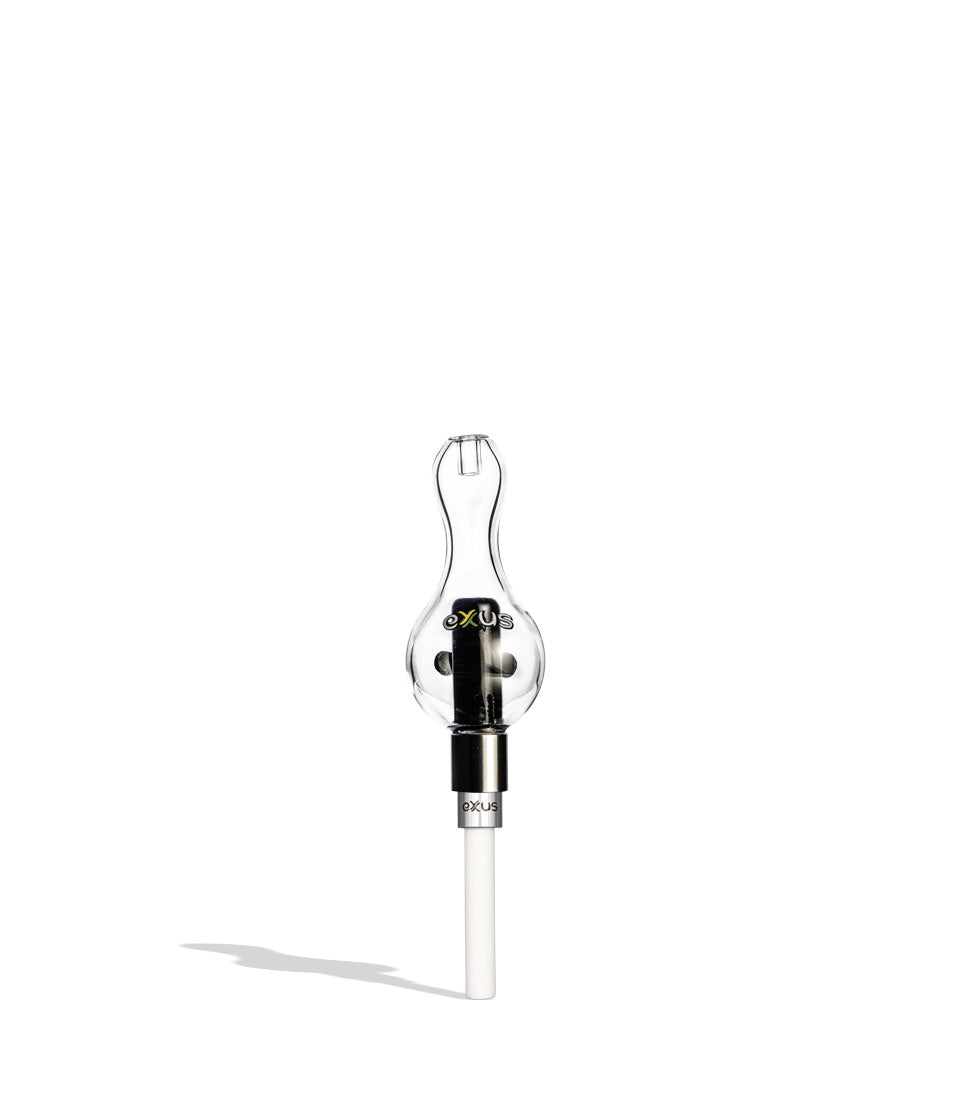
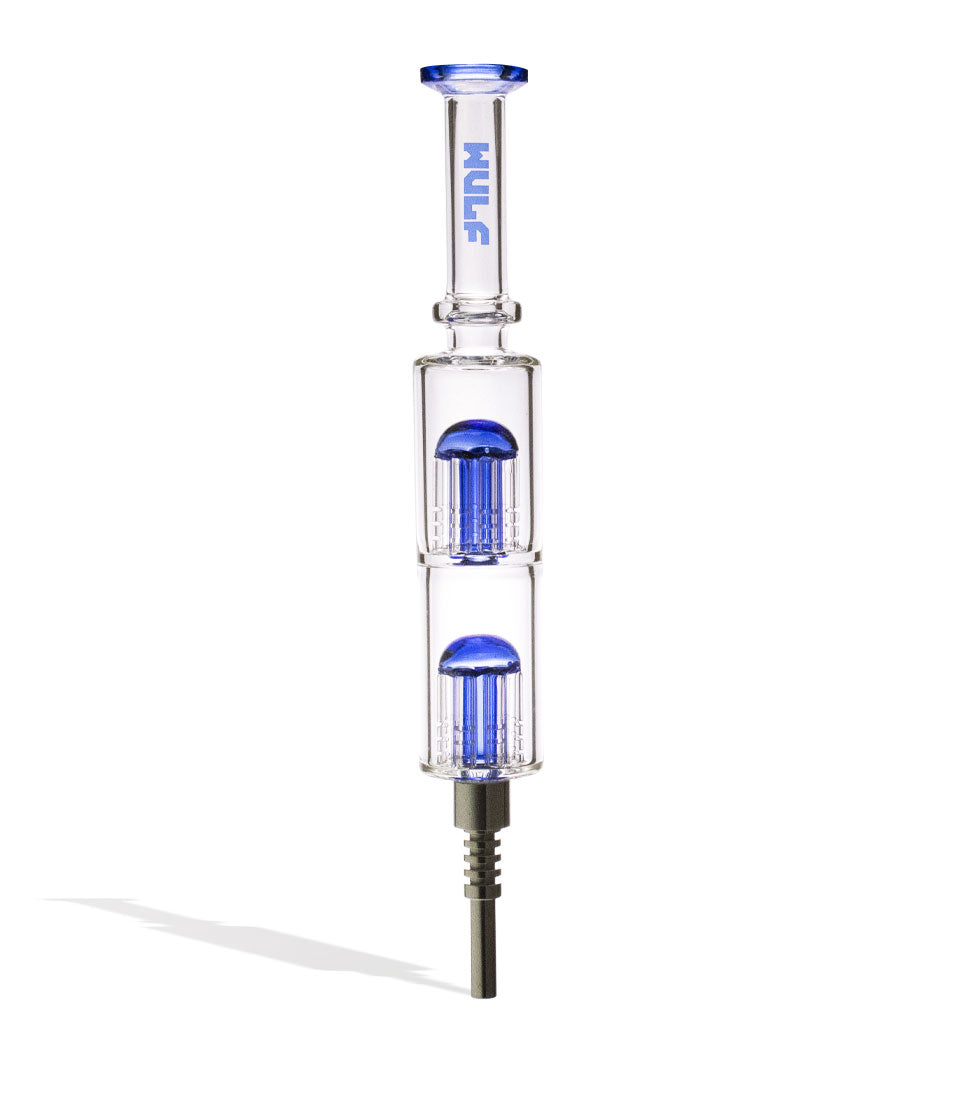
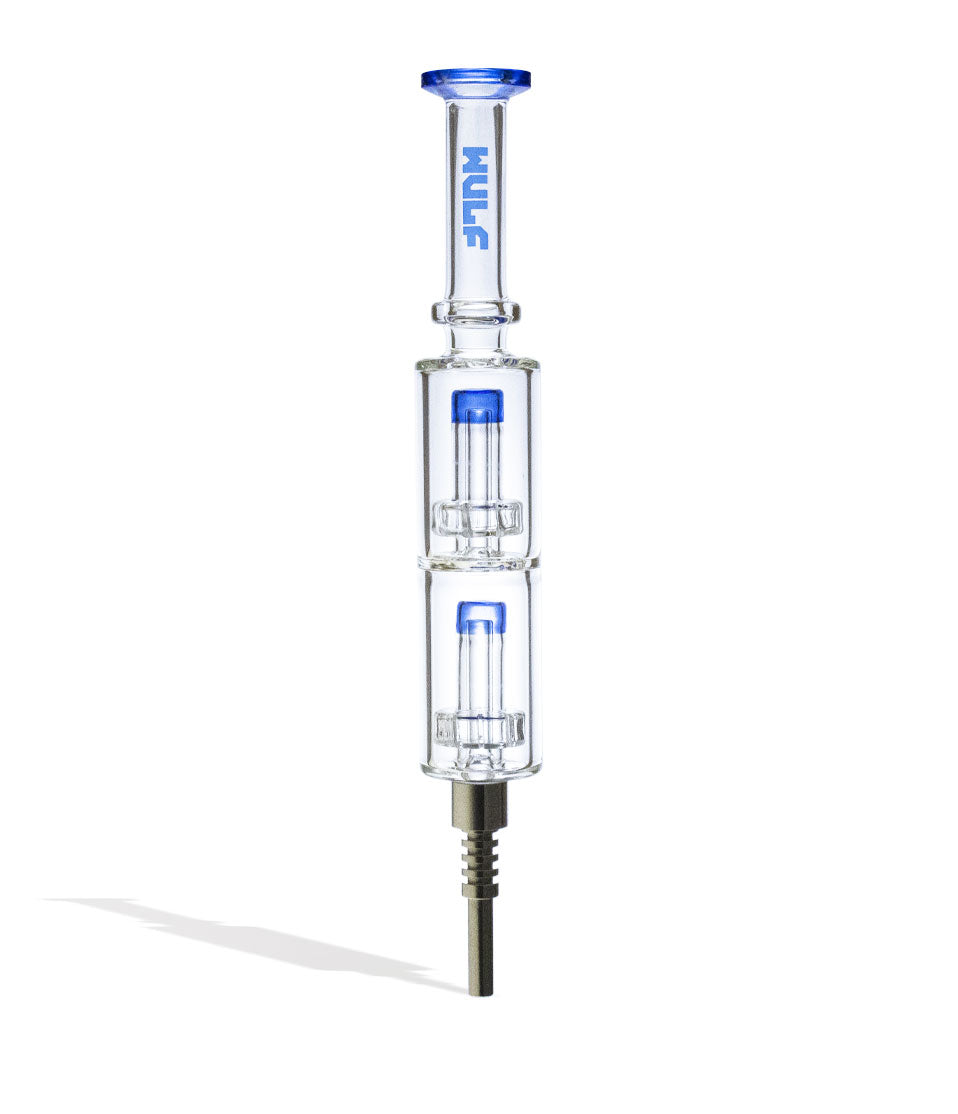
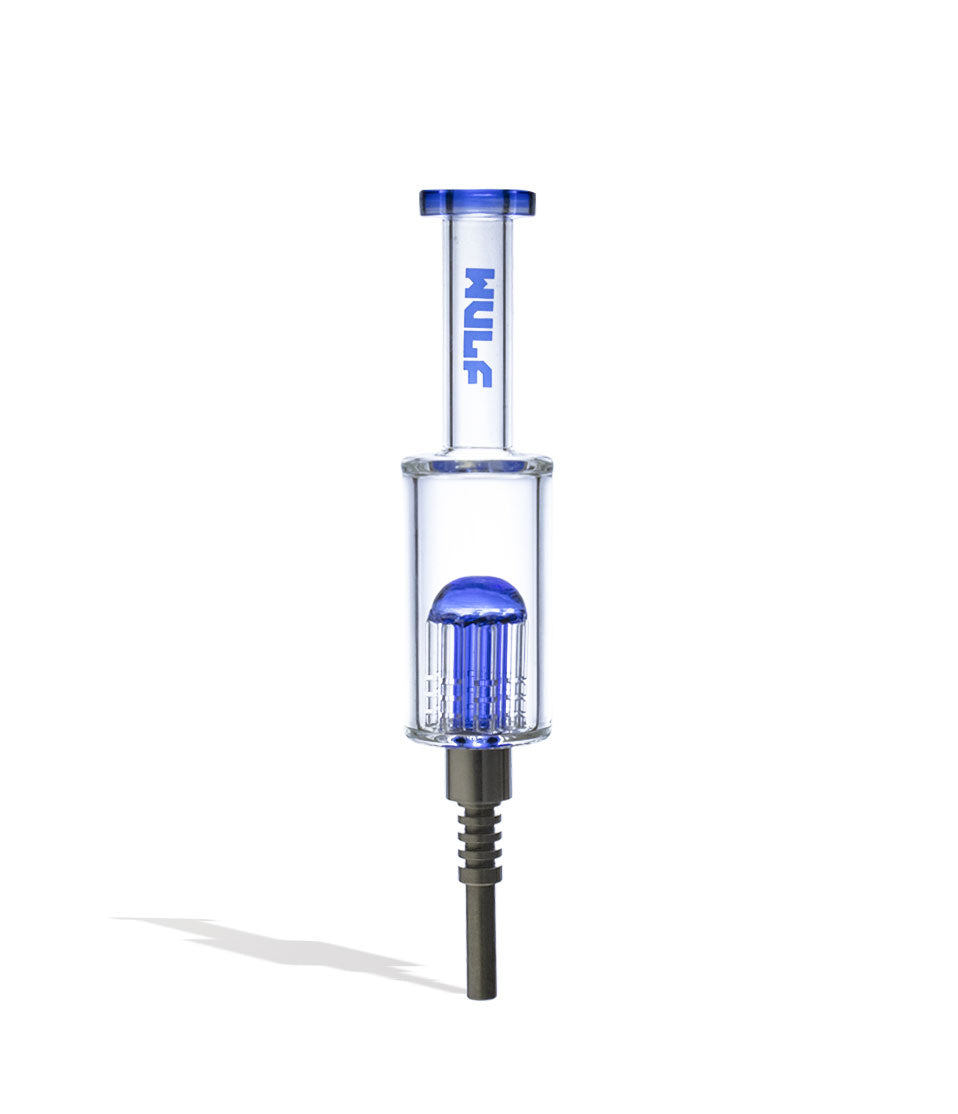
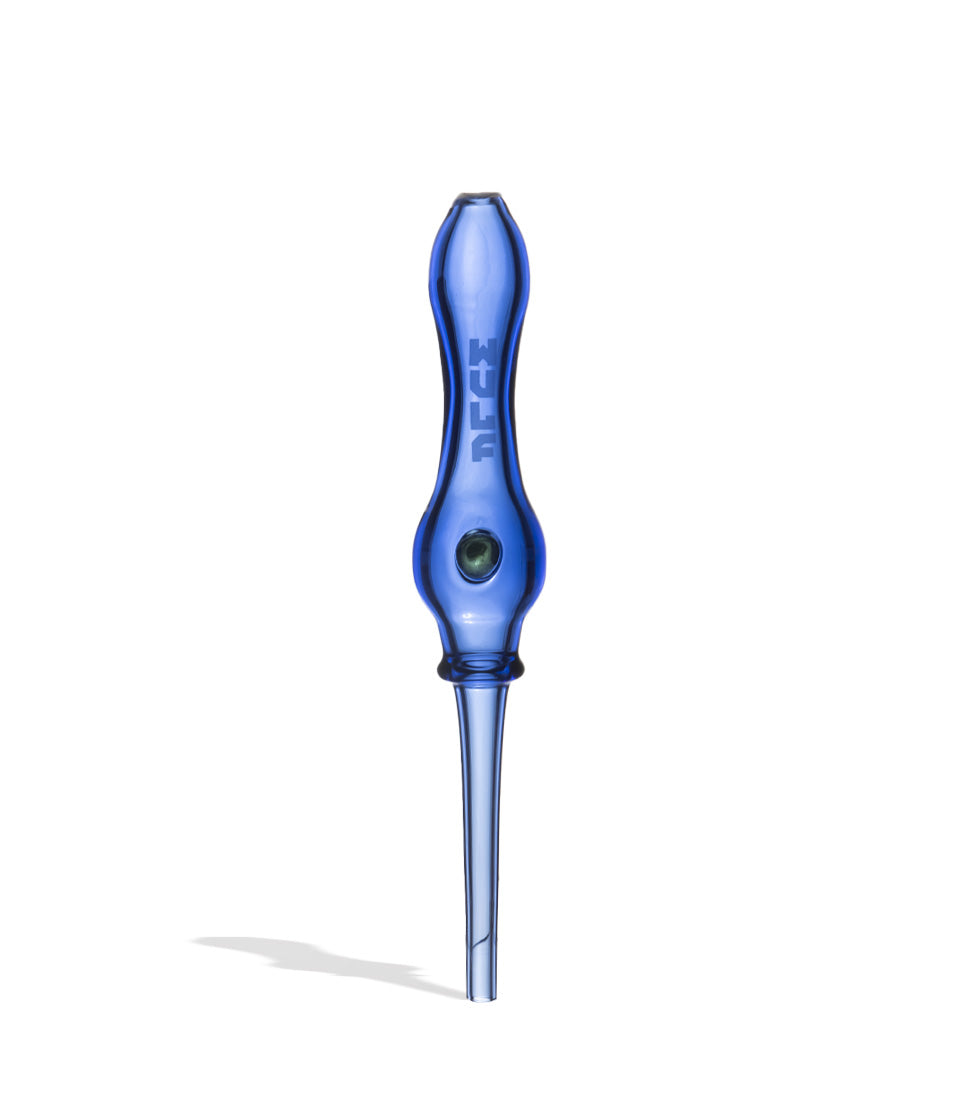
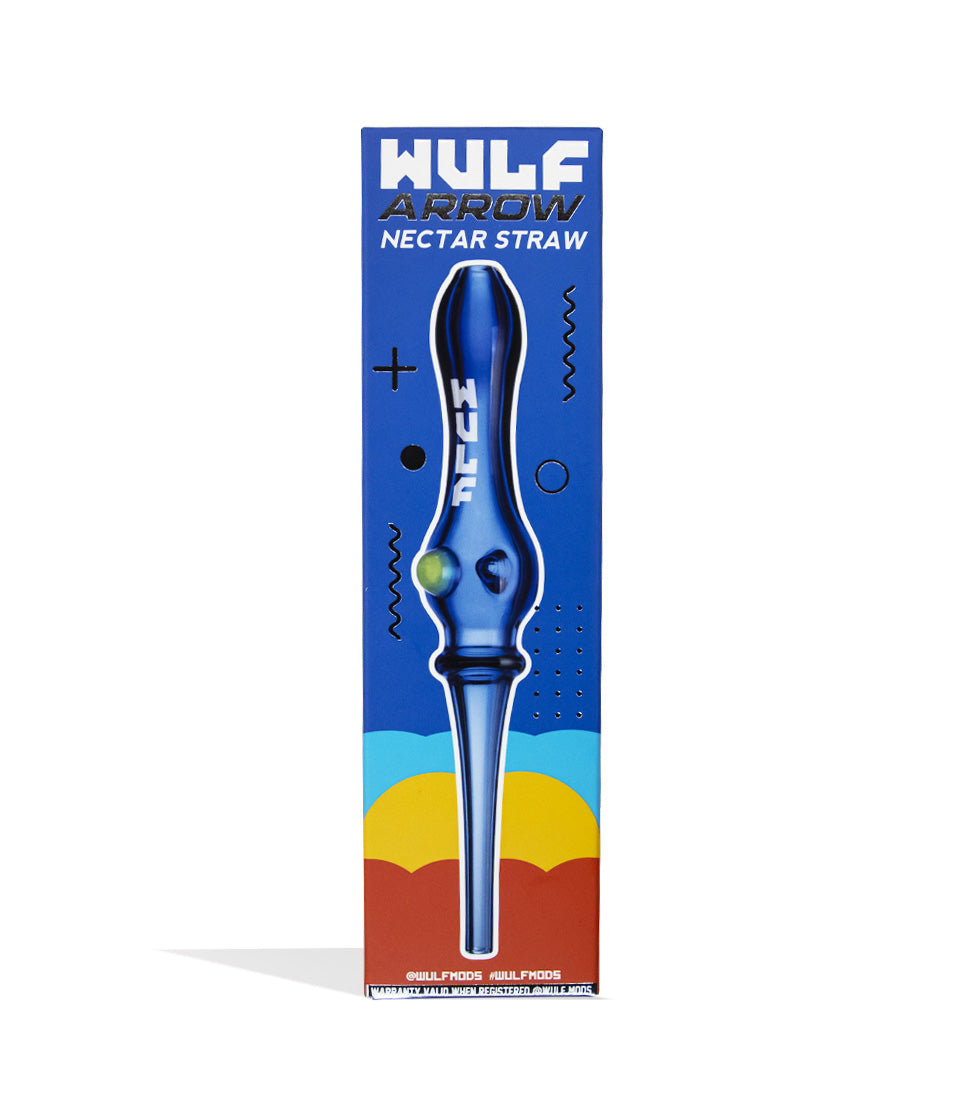
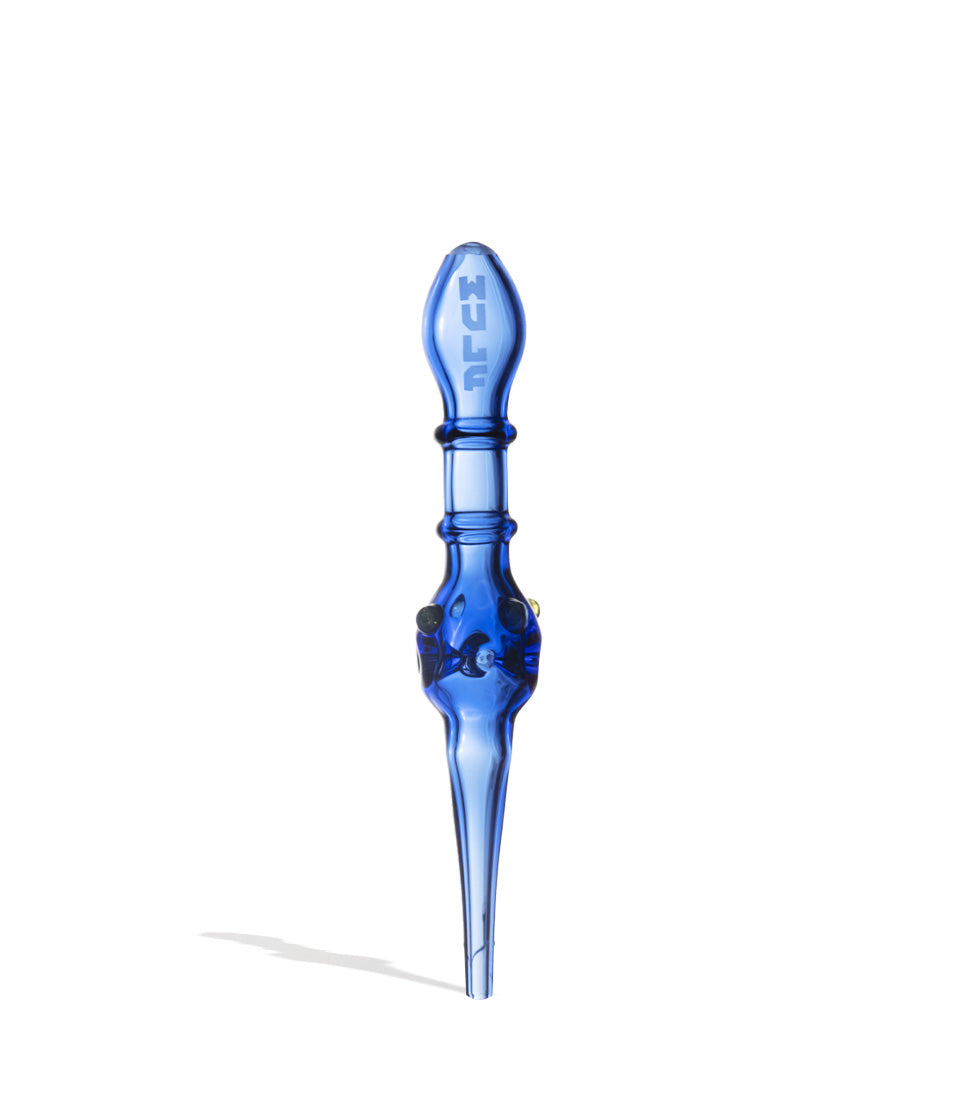
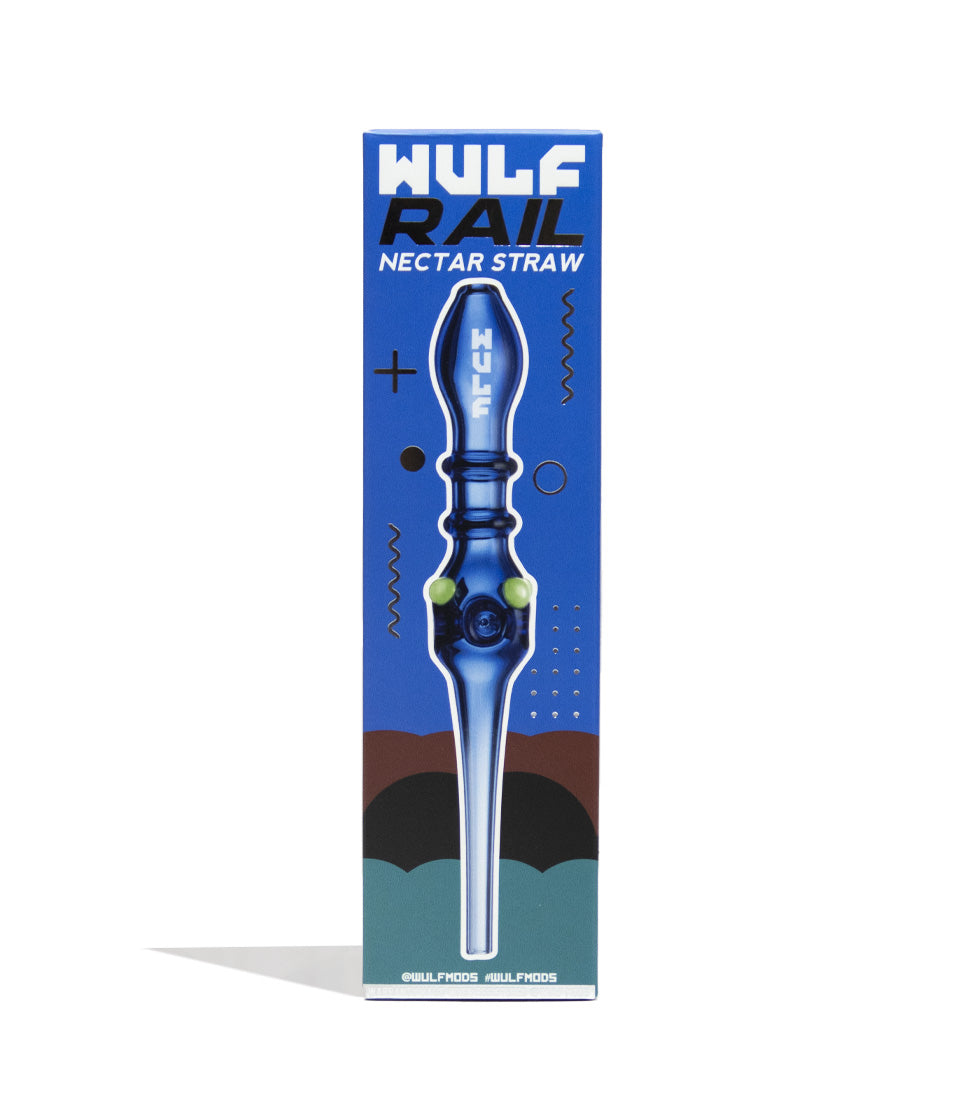
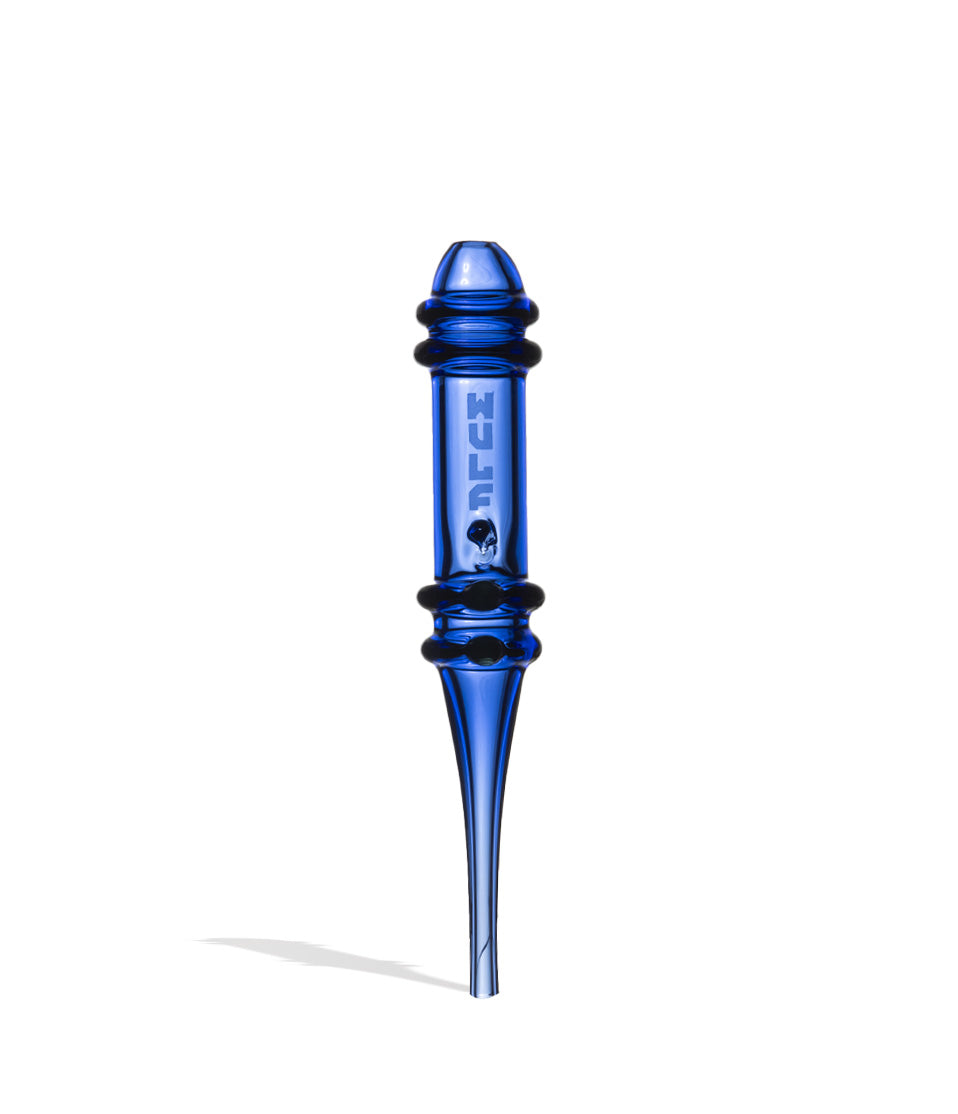
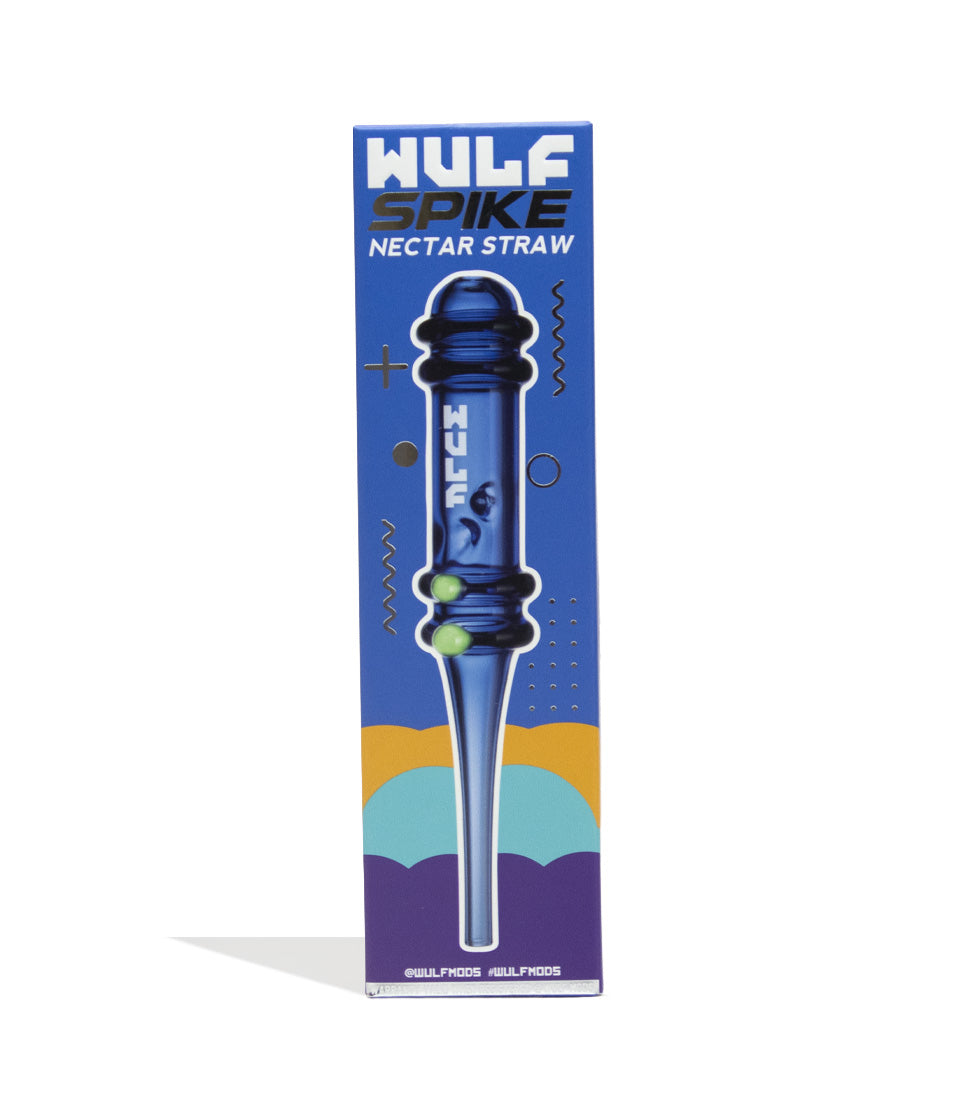
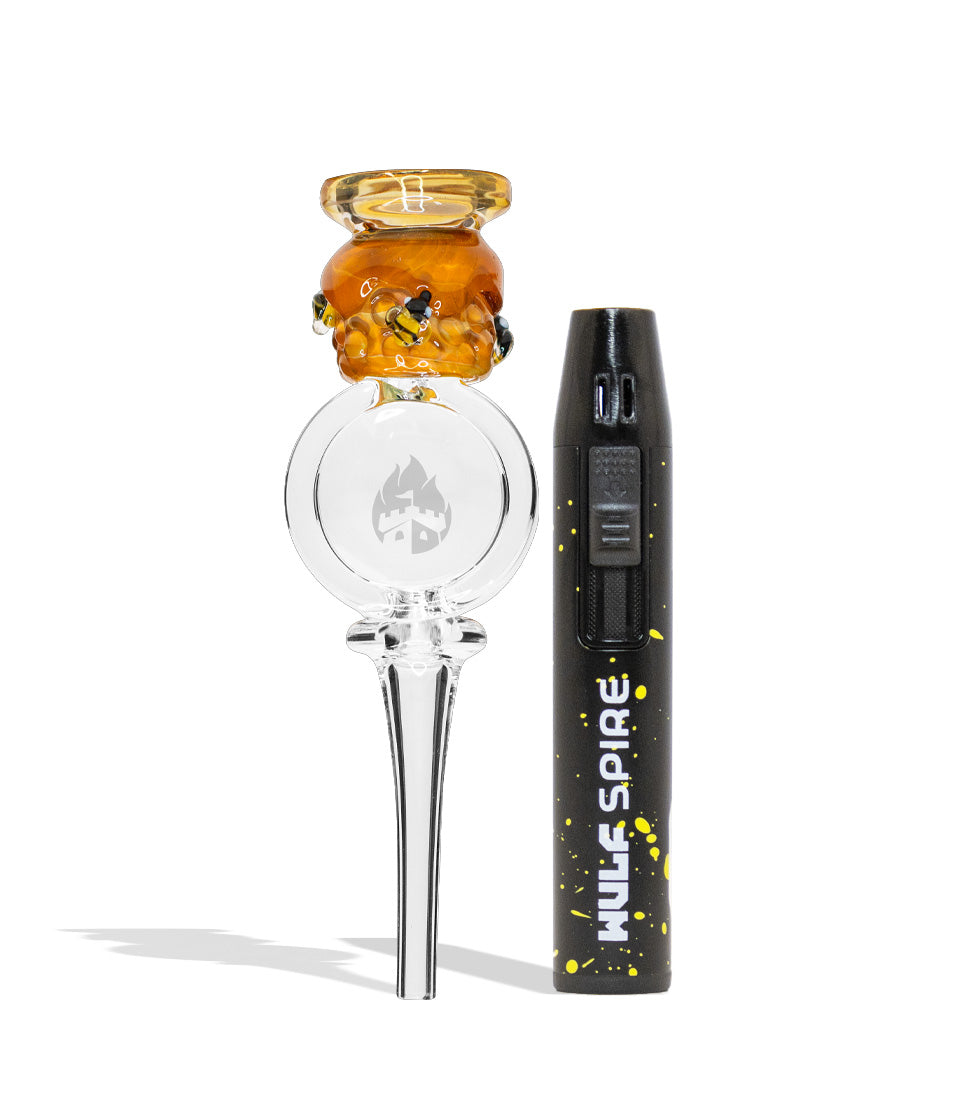
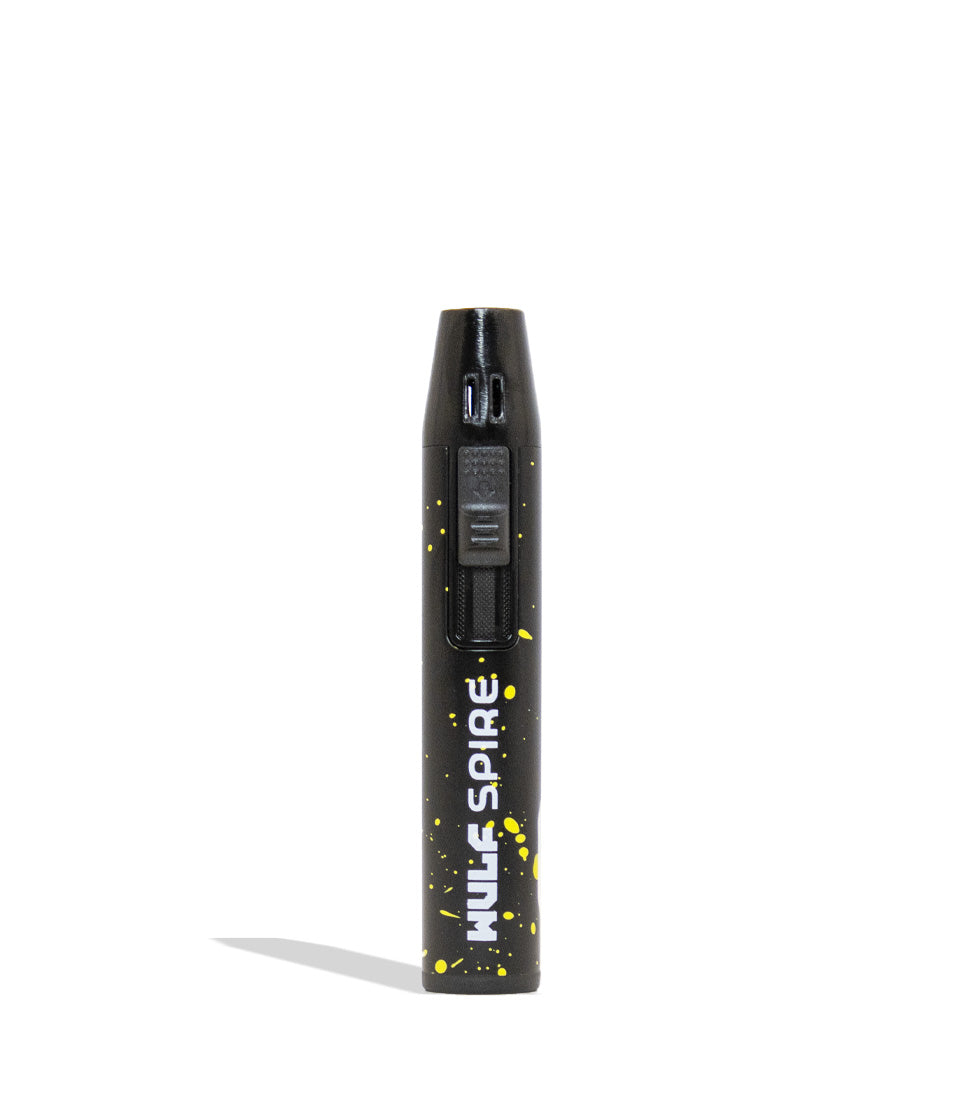
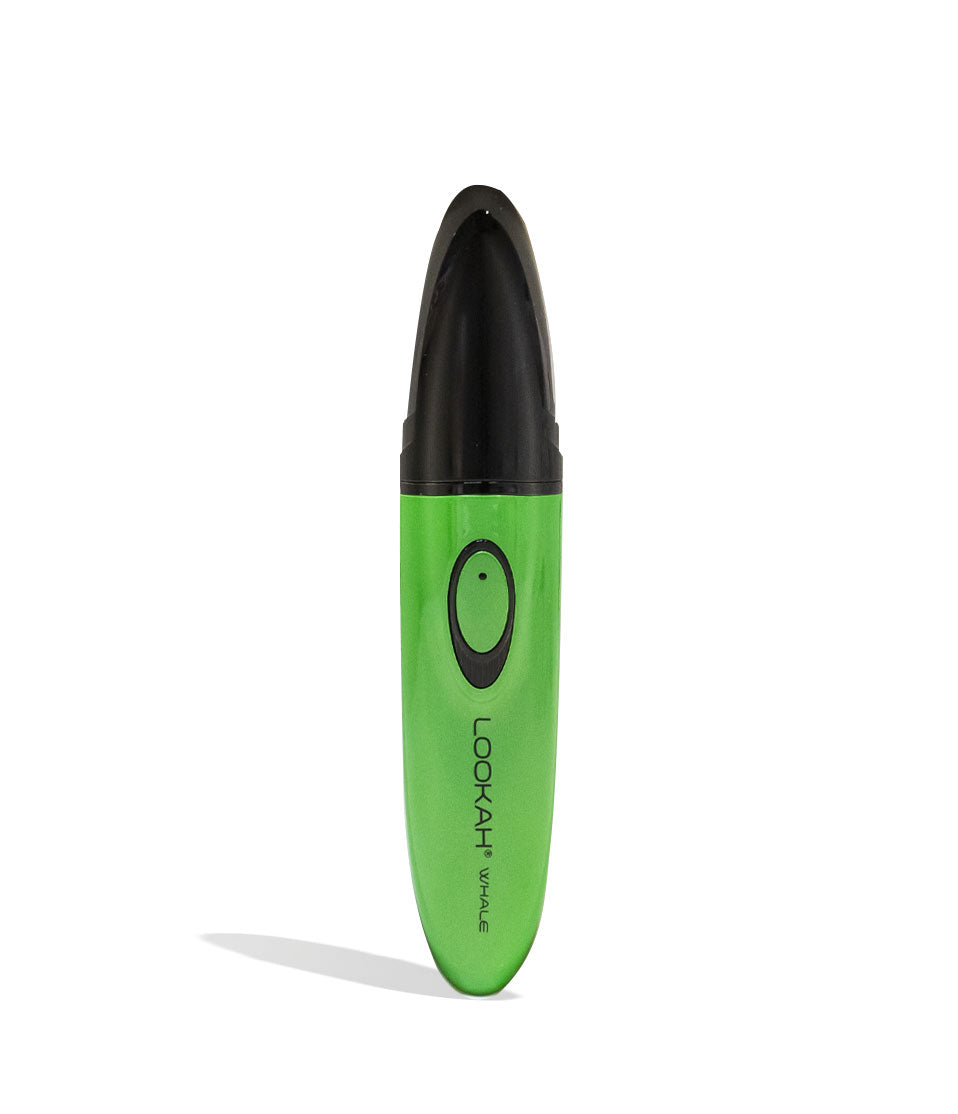
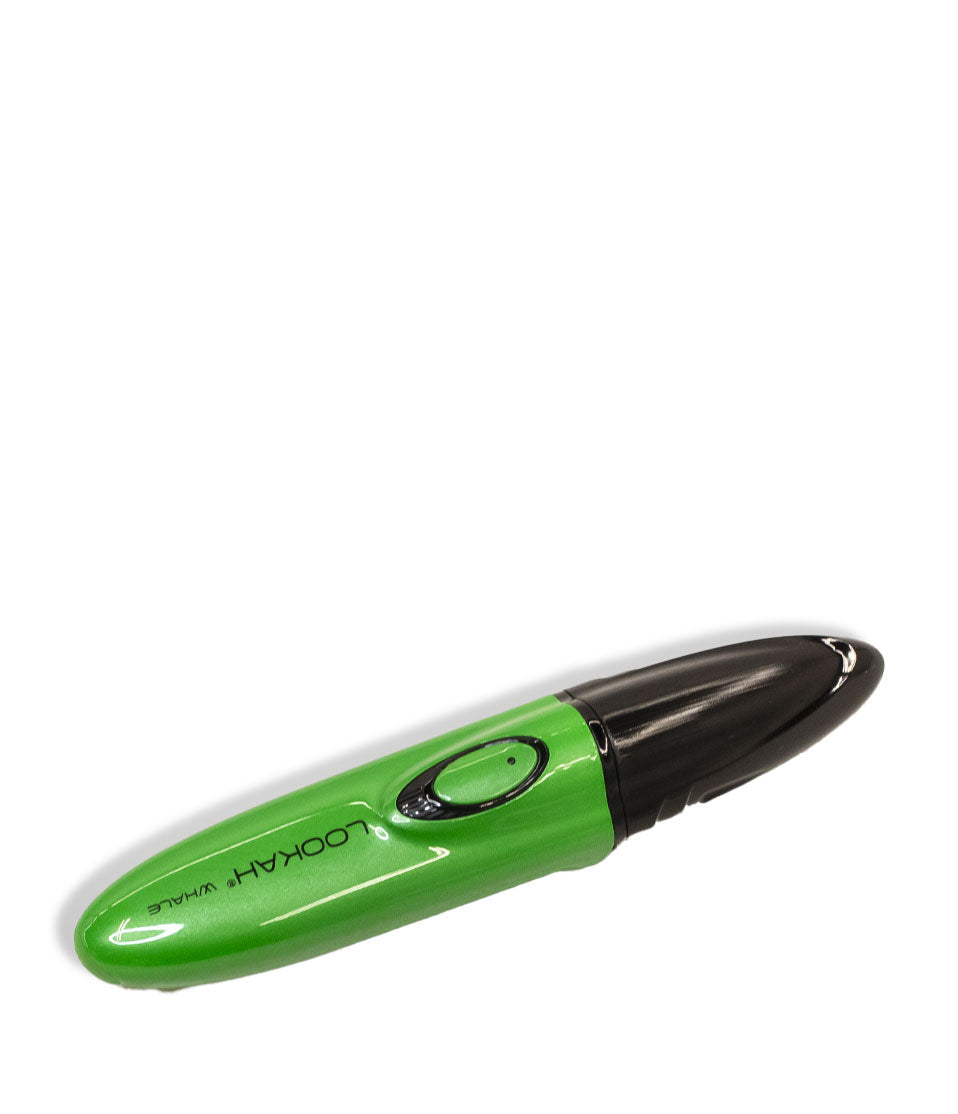
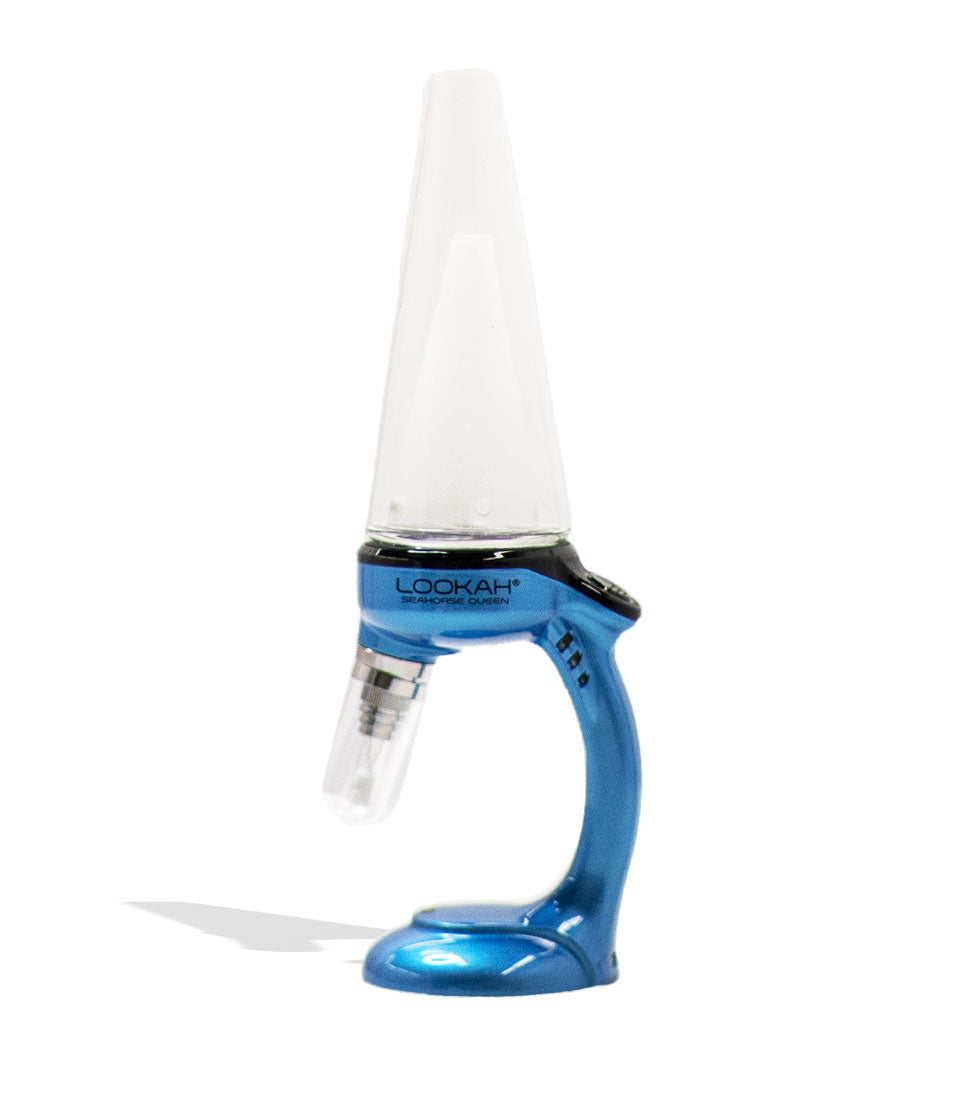
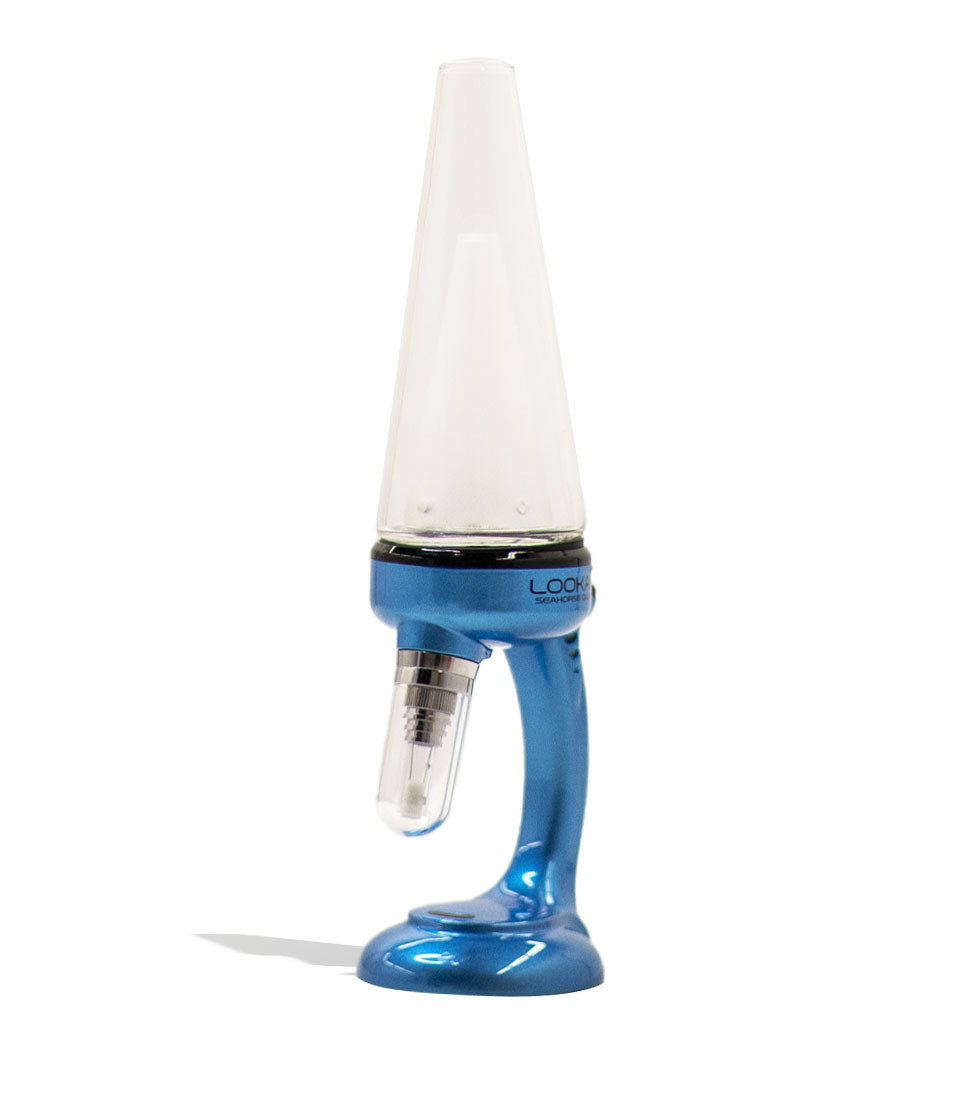
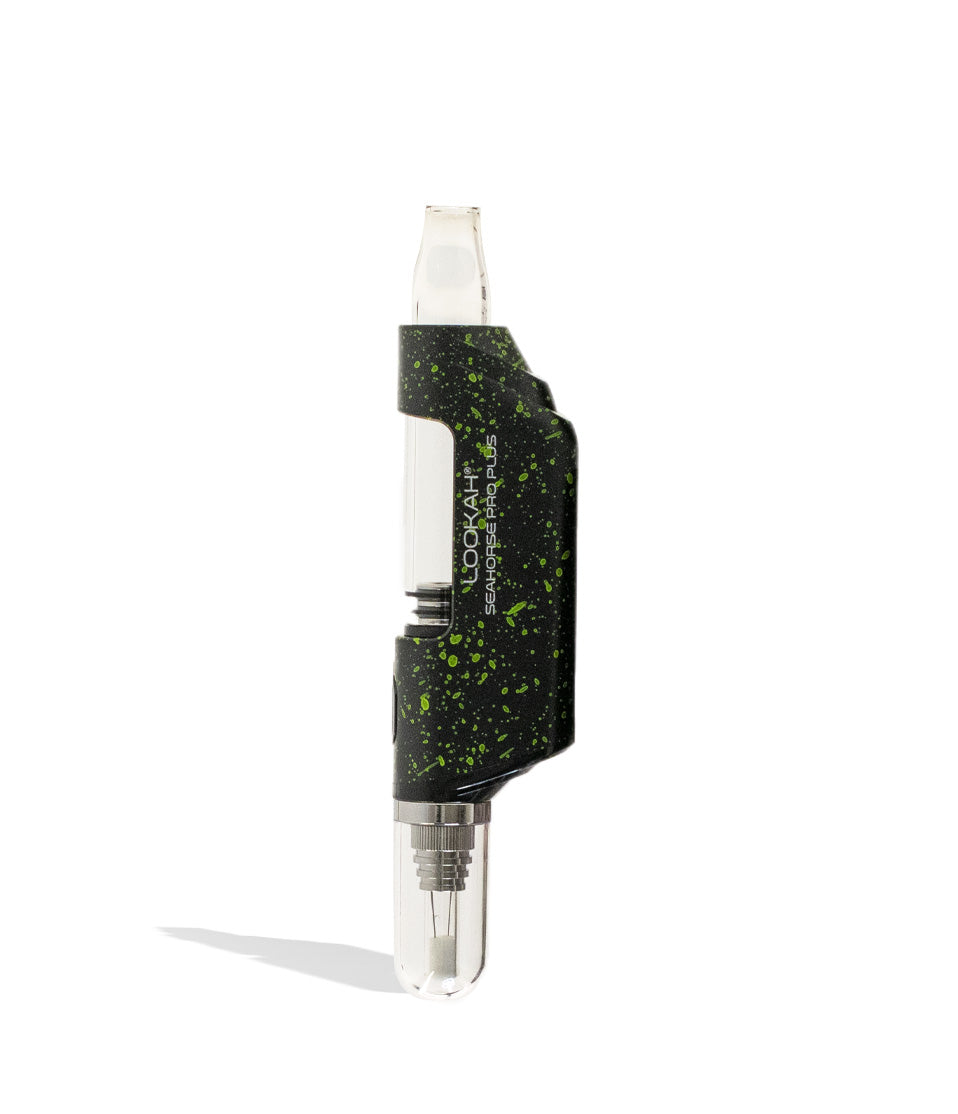
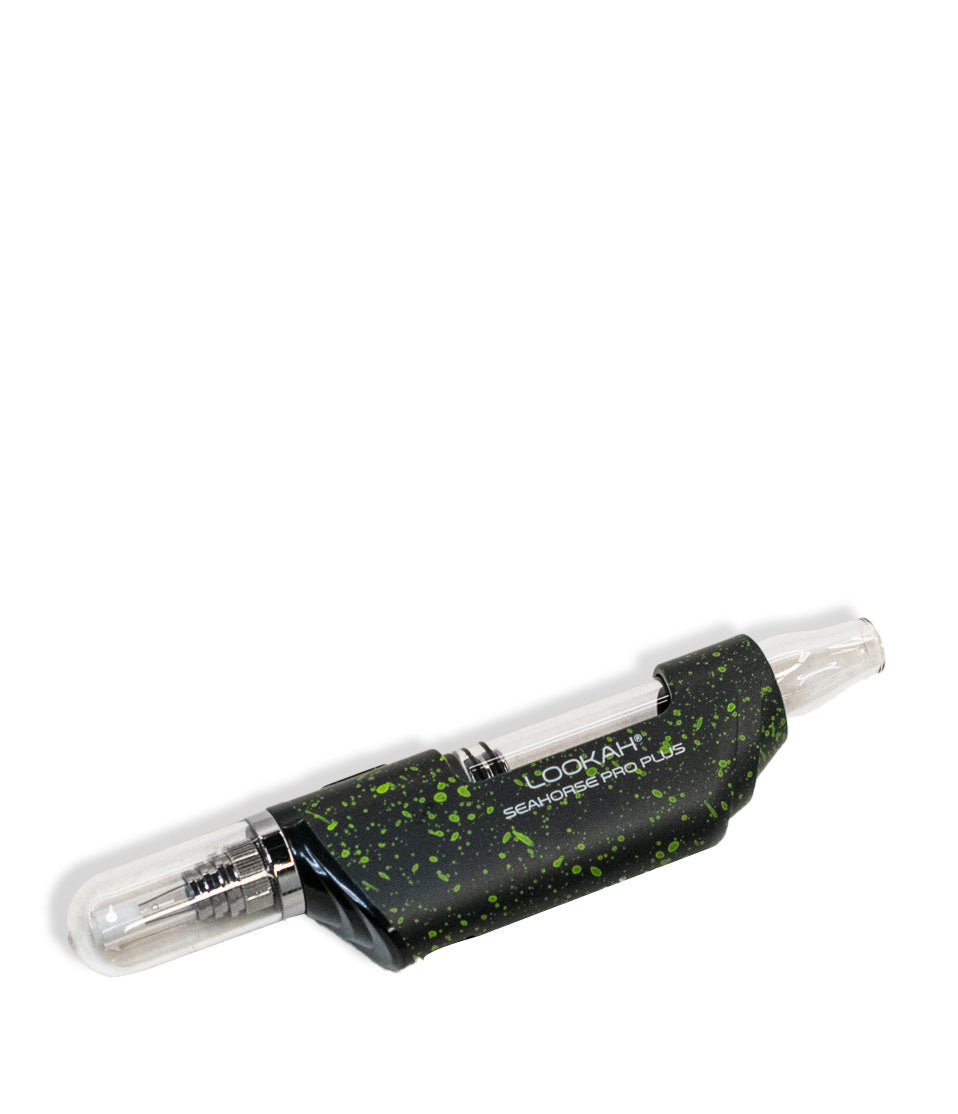
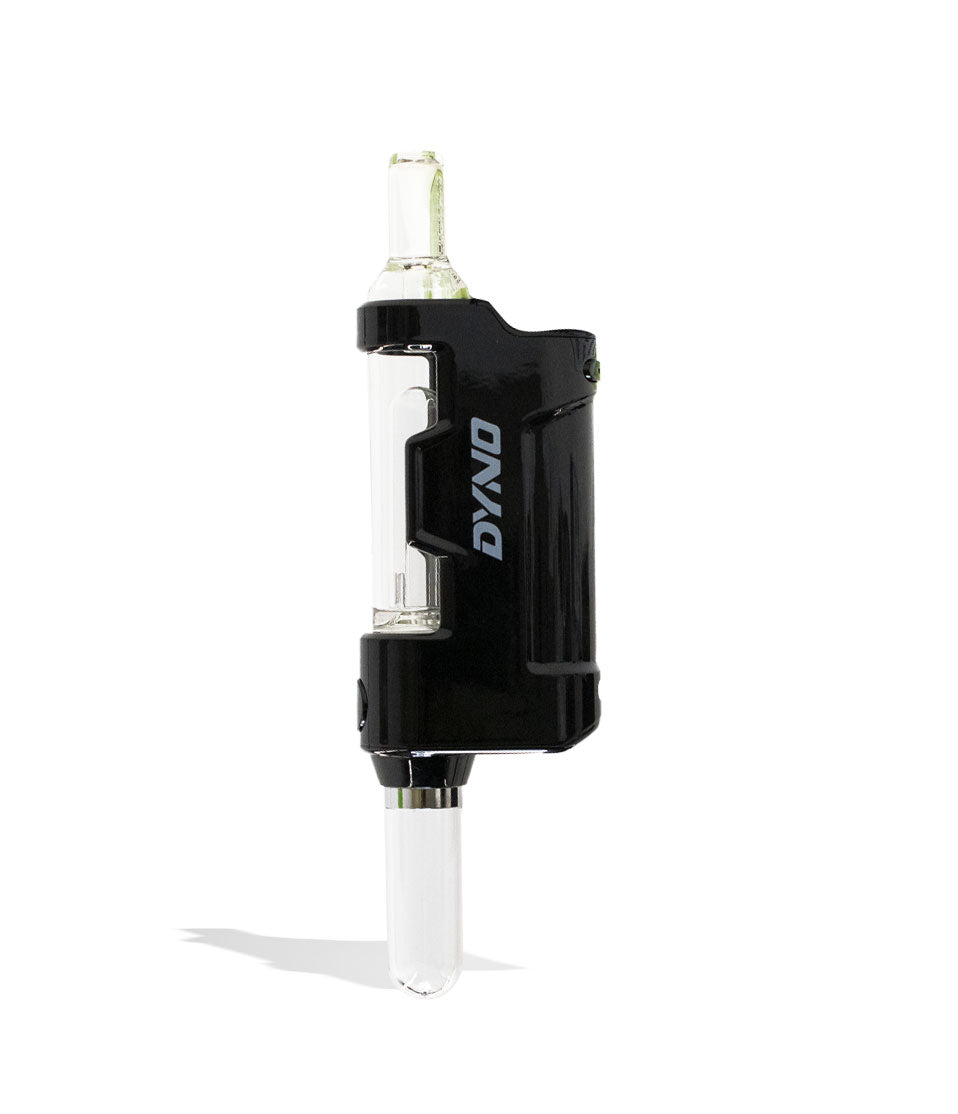
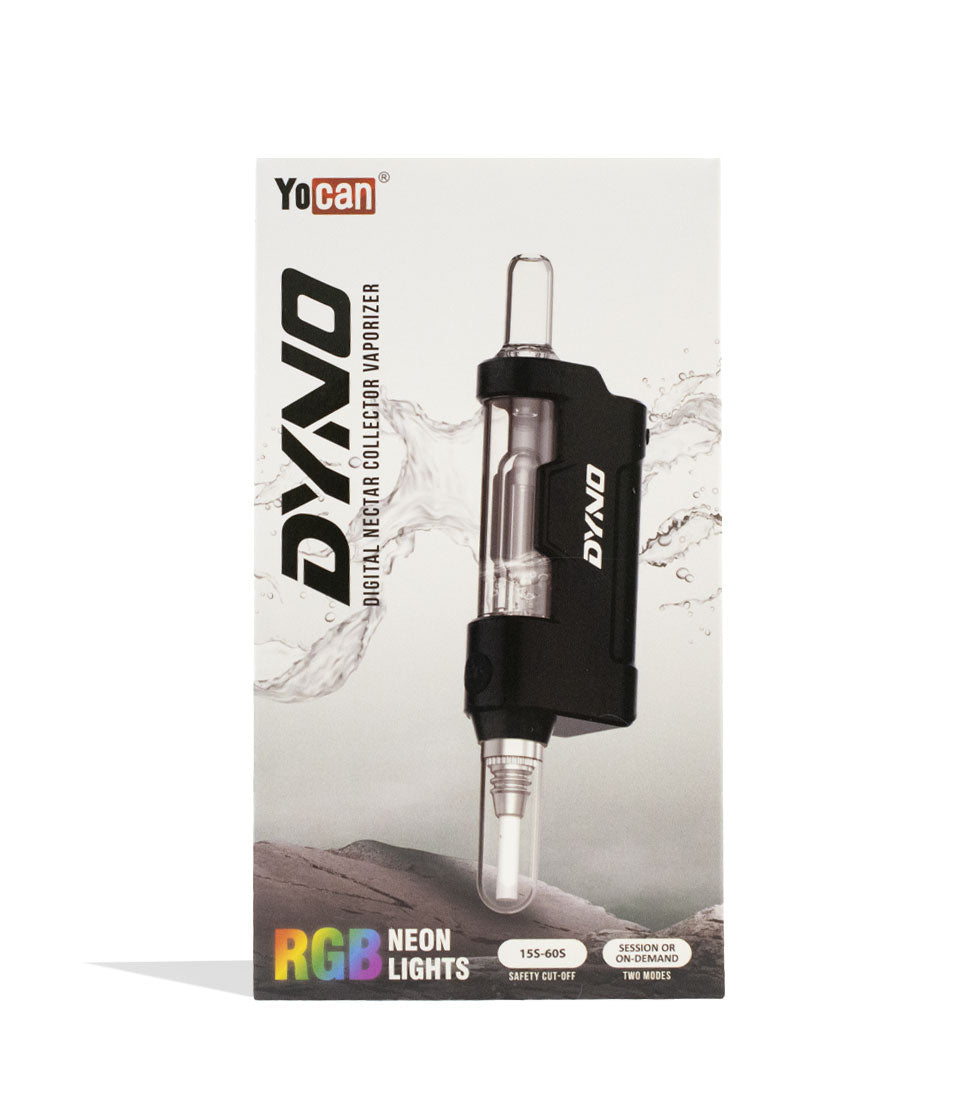
Shop Nectar Collectors
A closer look at the picks called out above.
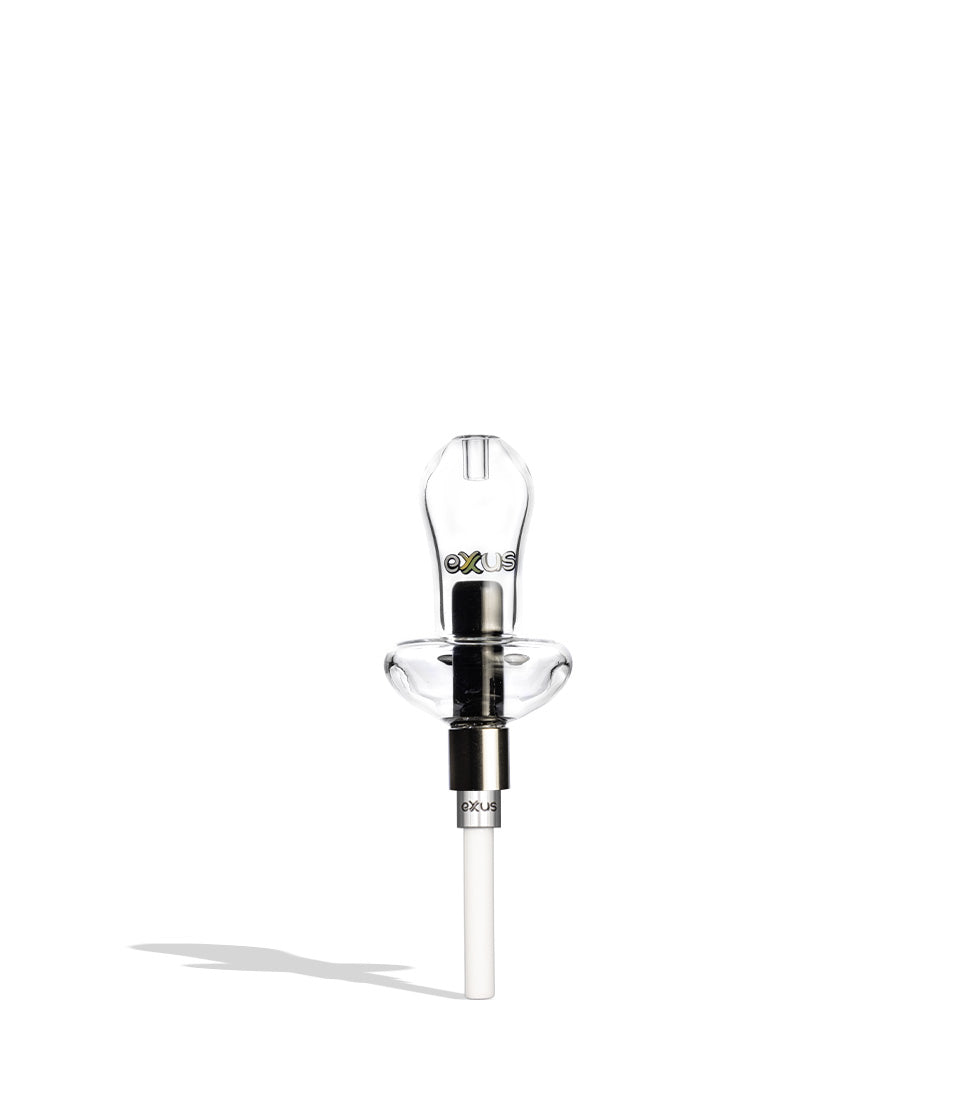
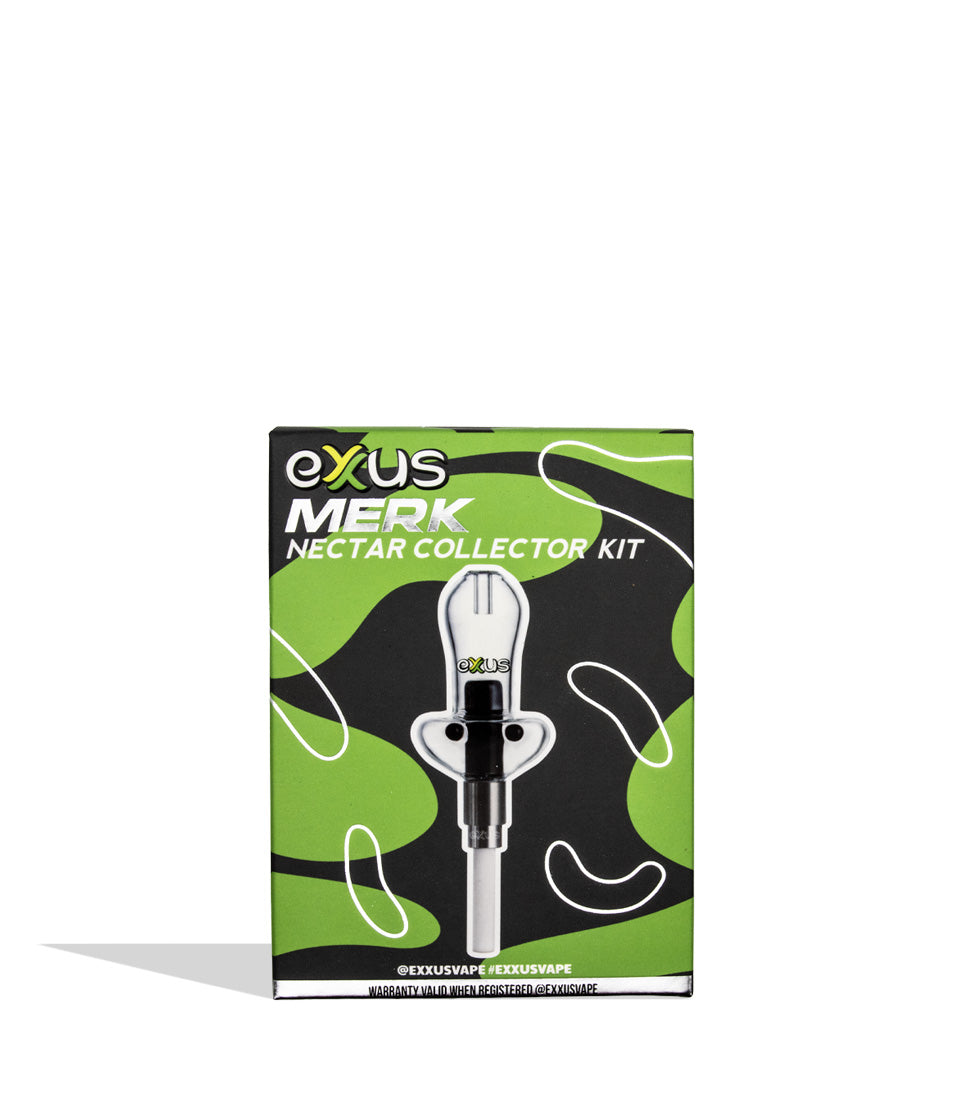
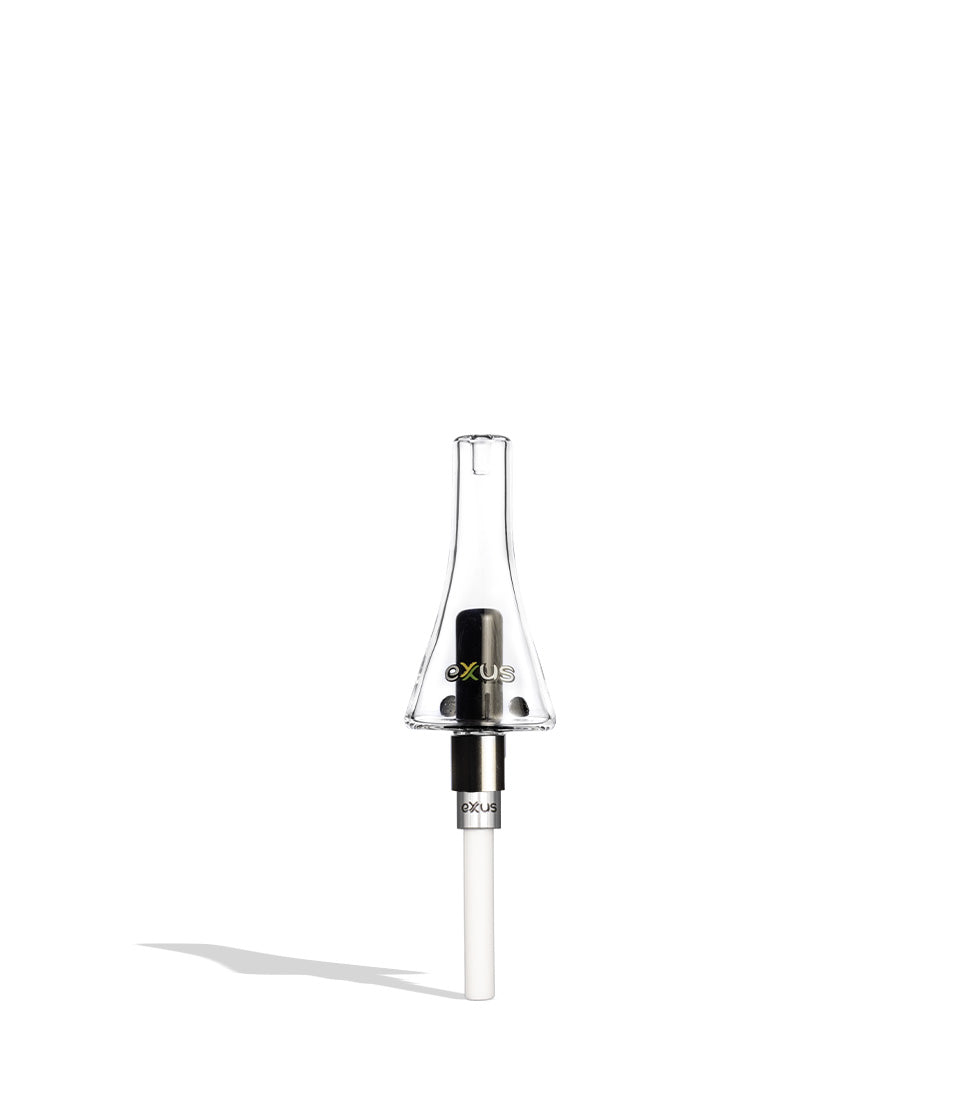
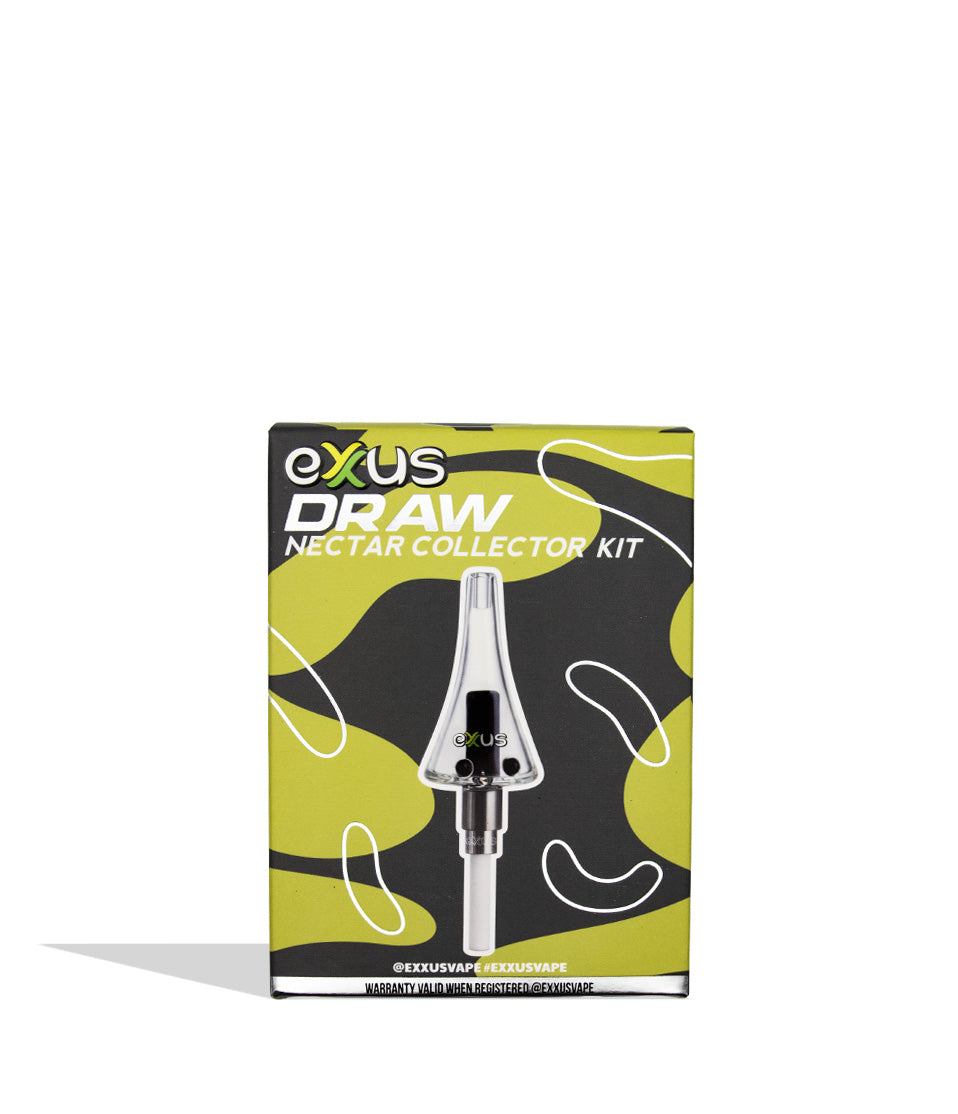
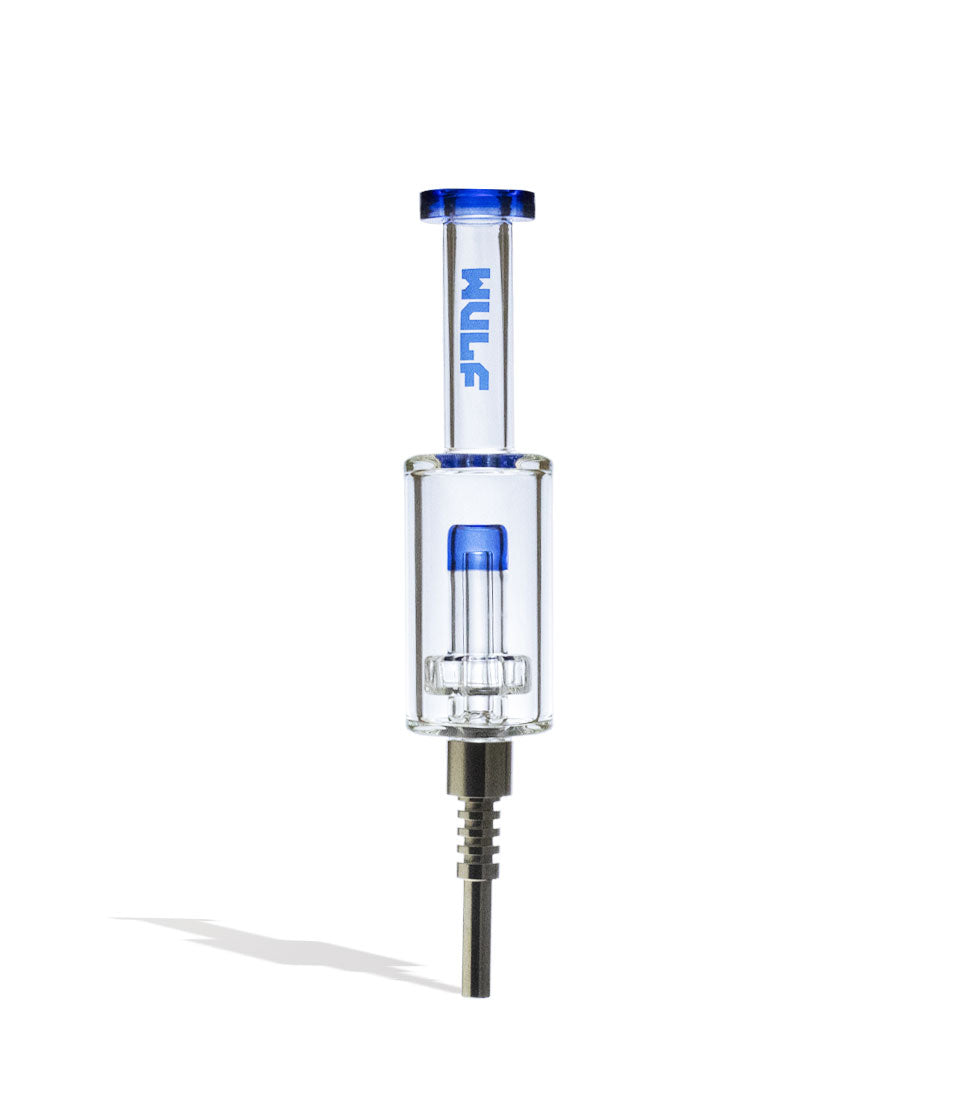
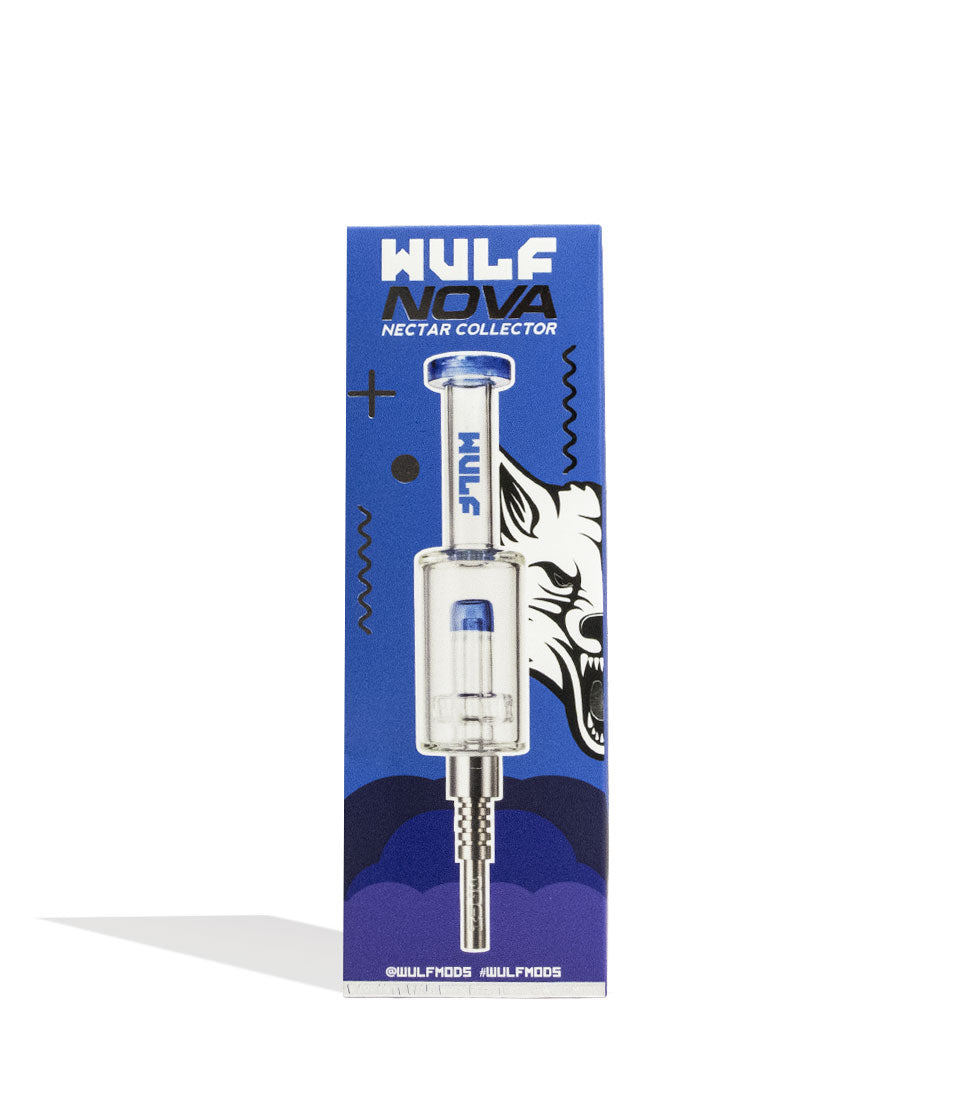
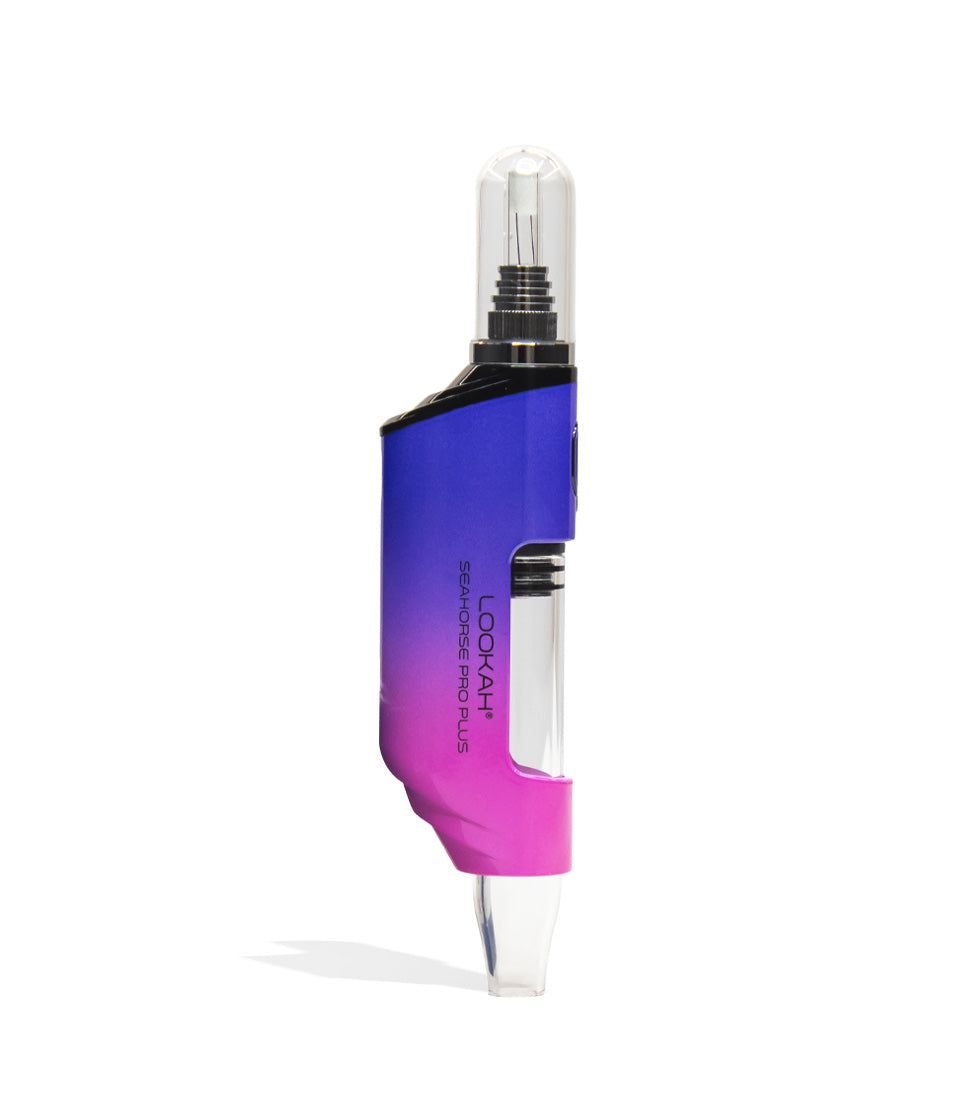
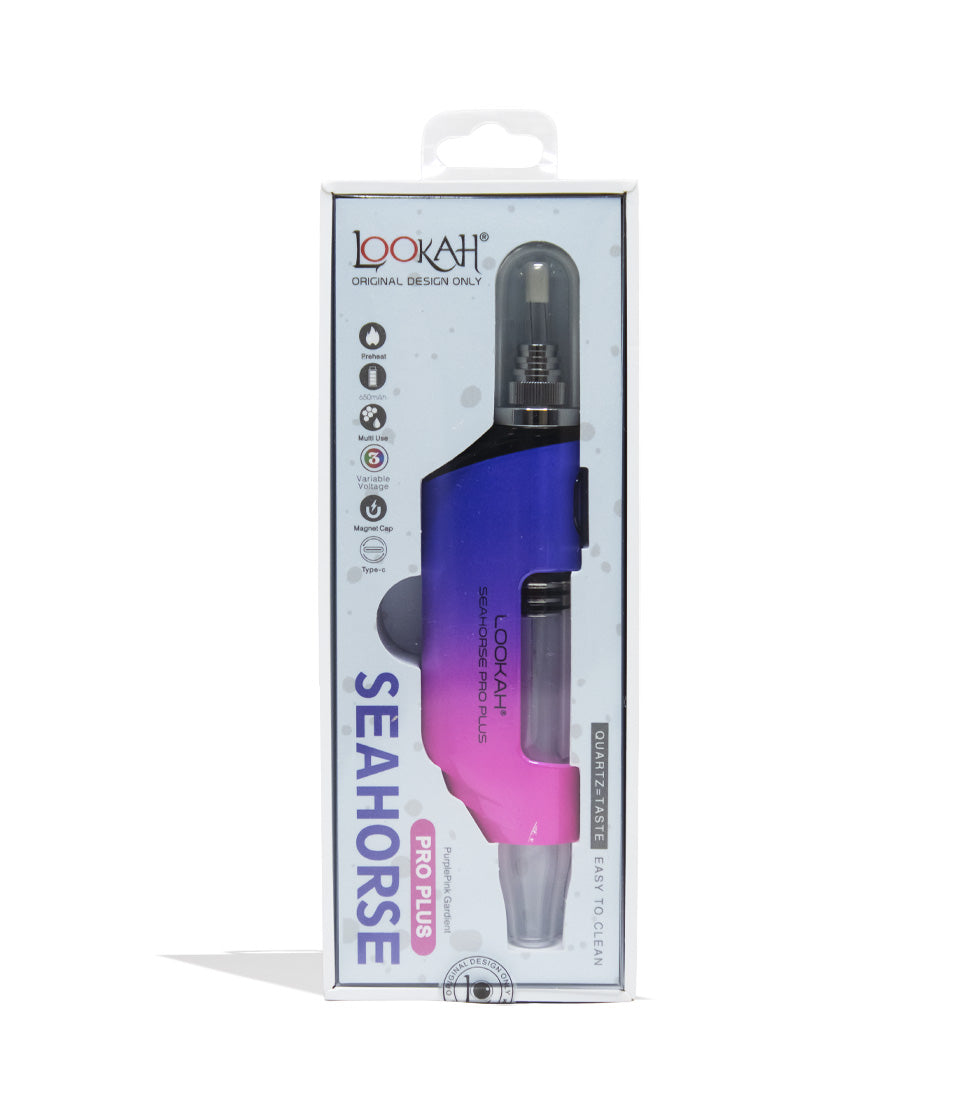
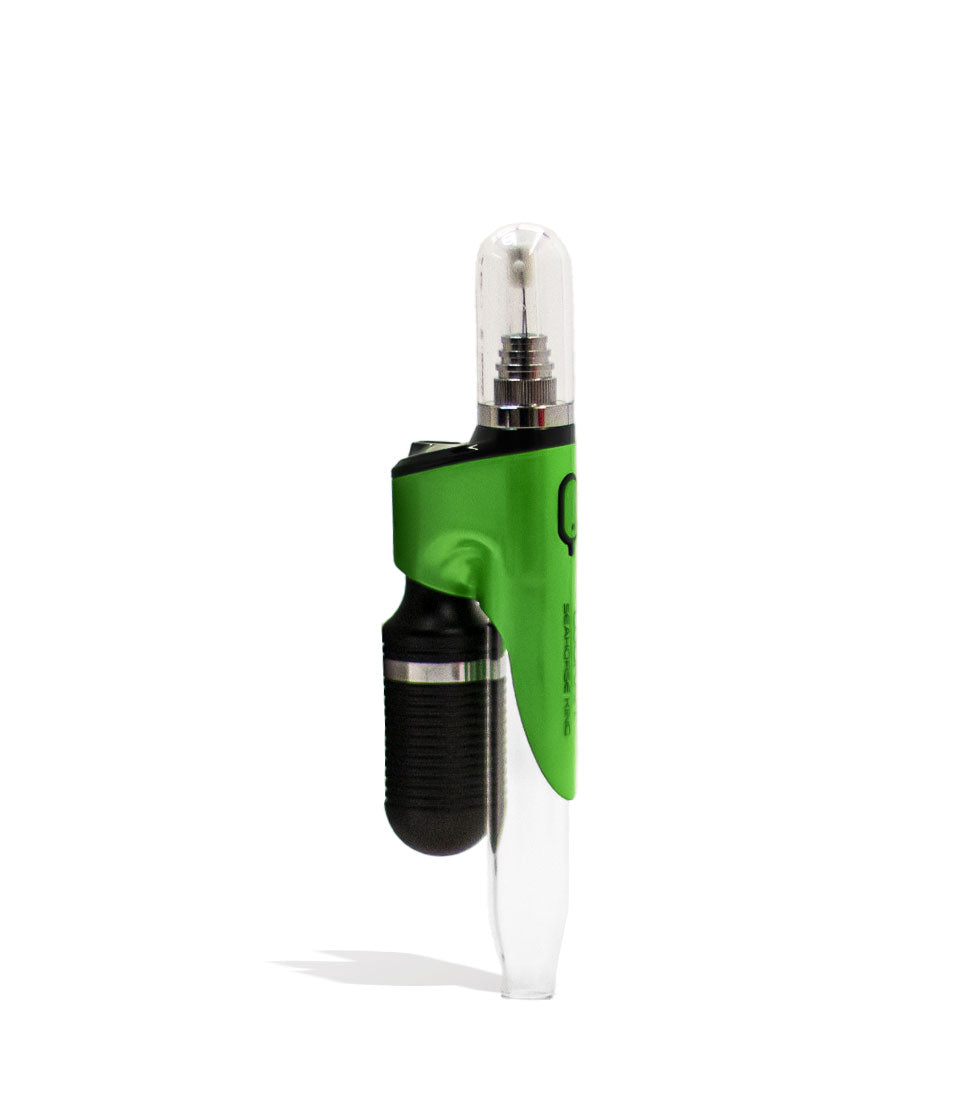
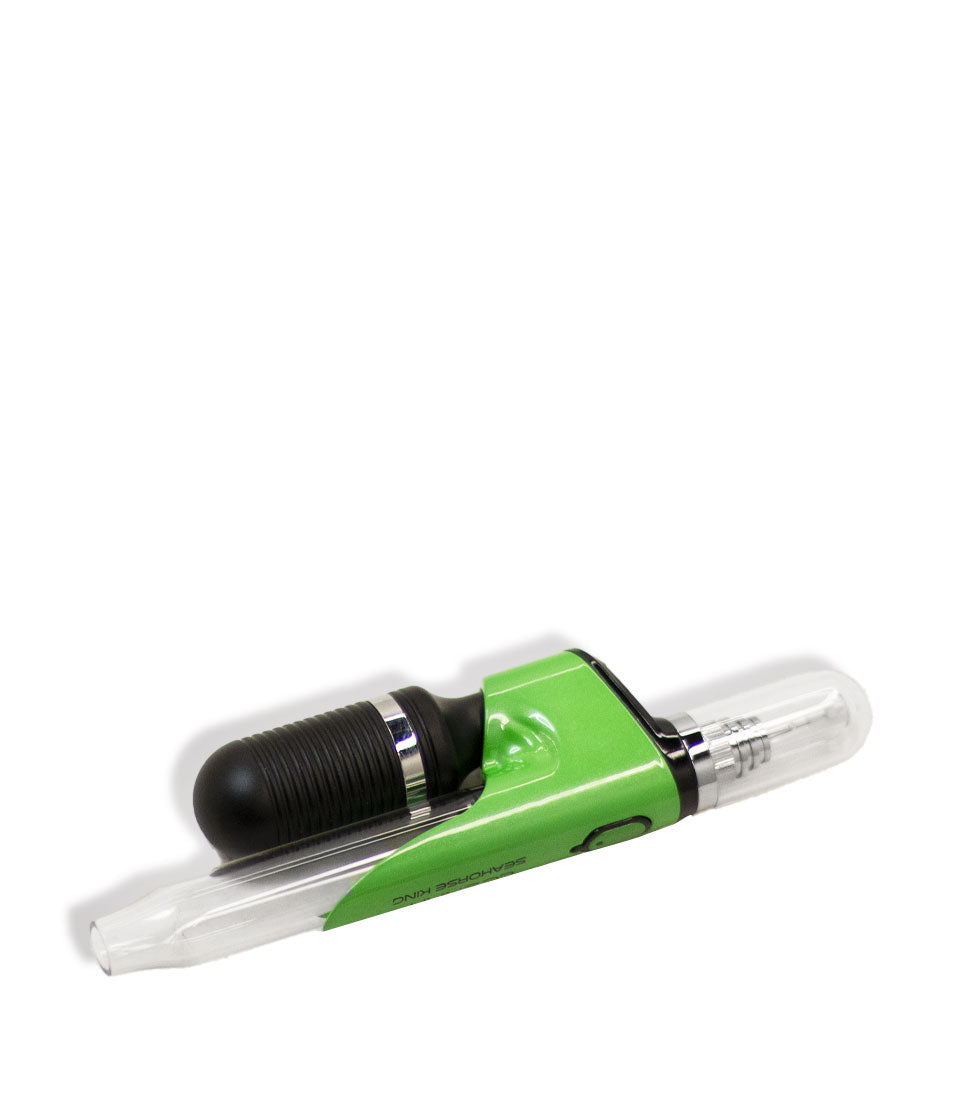
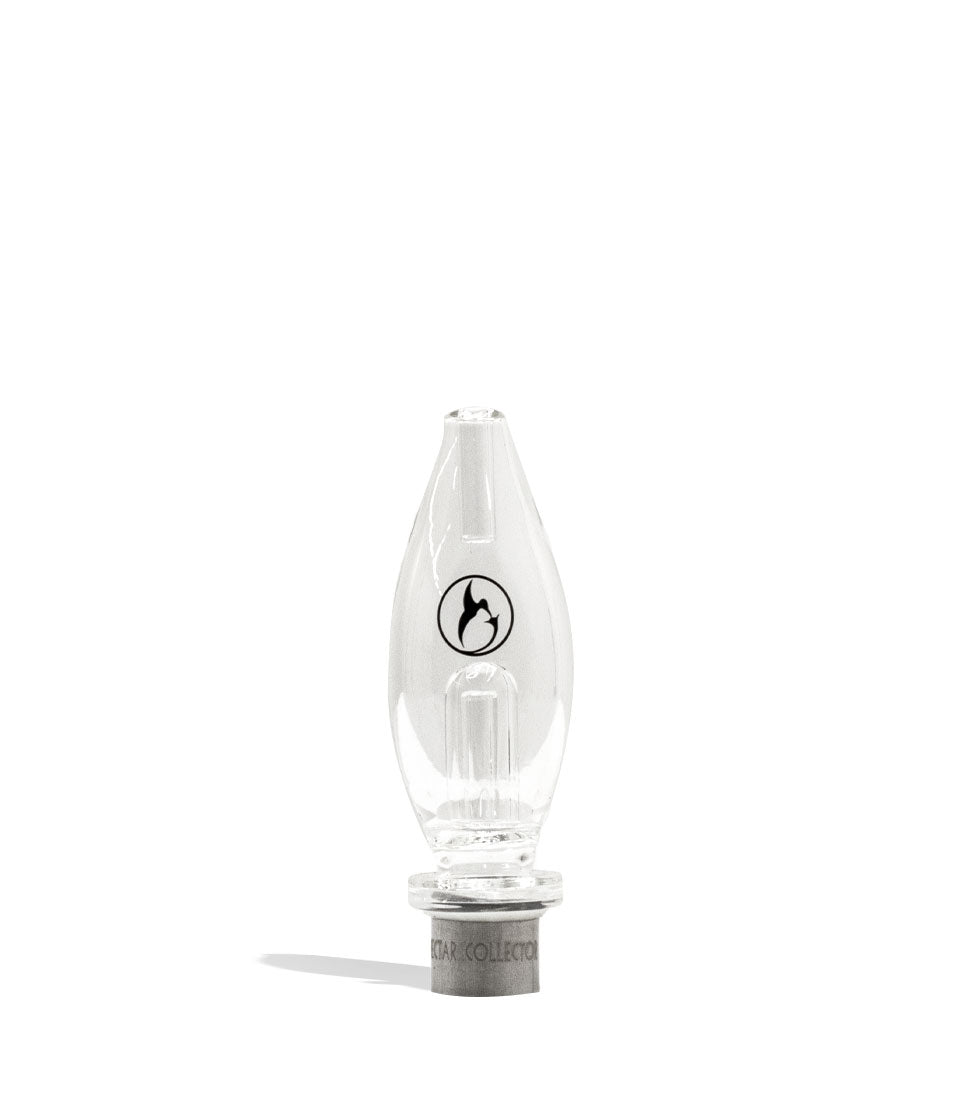
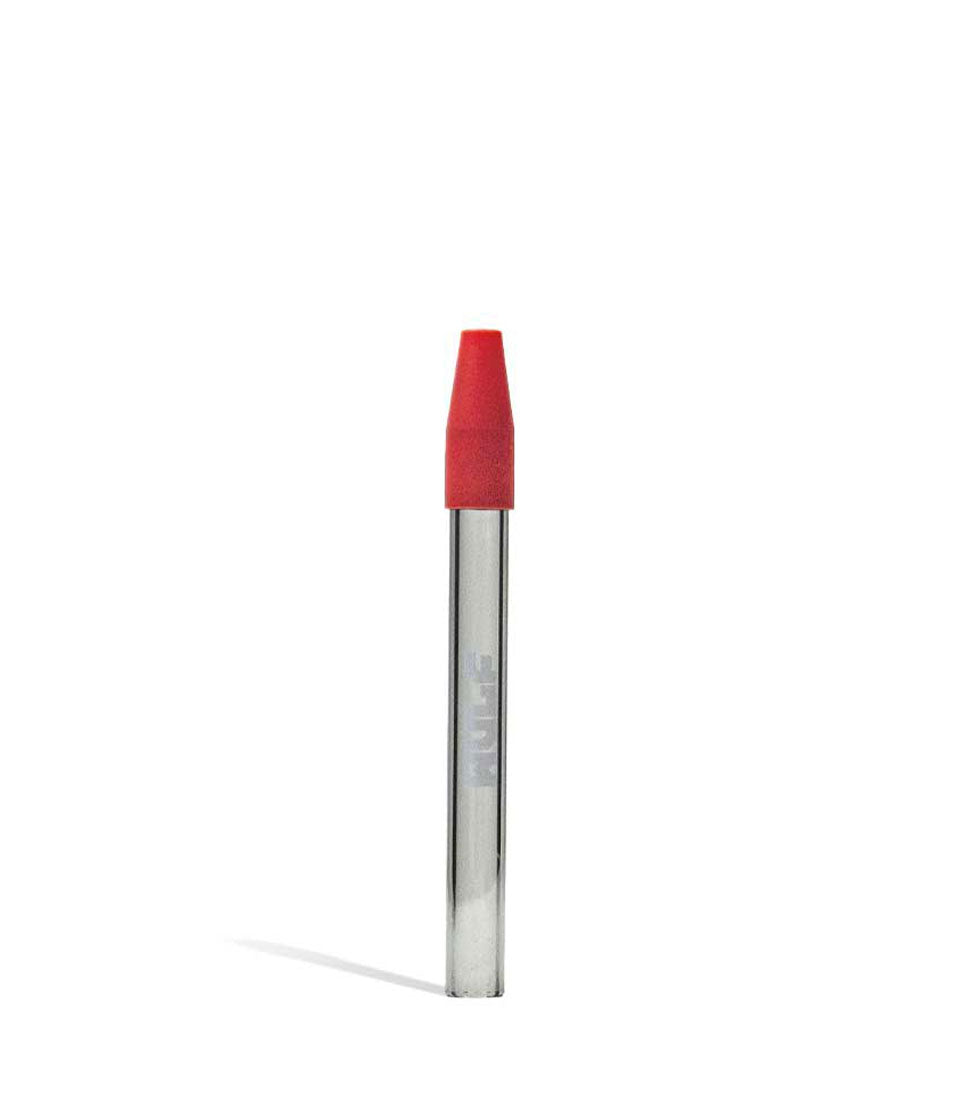
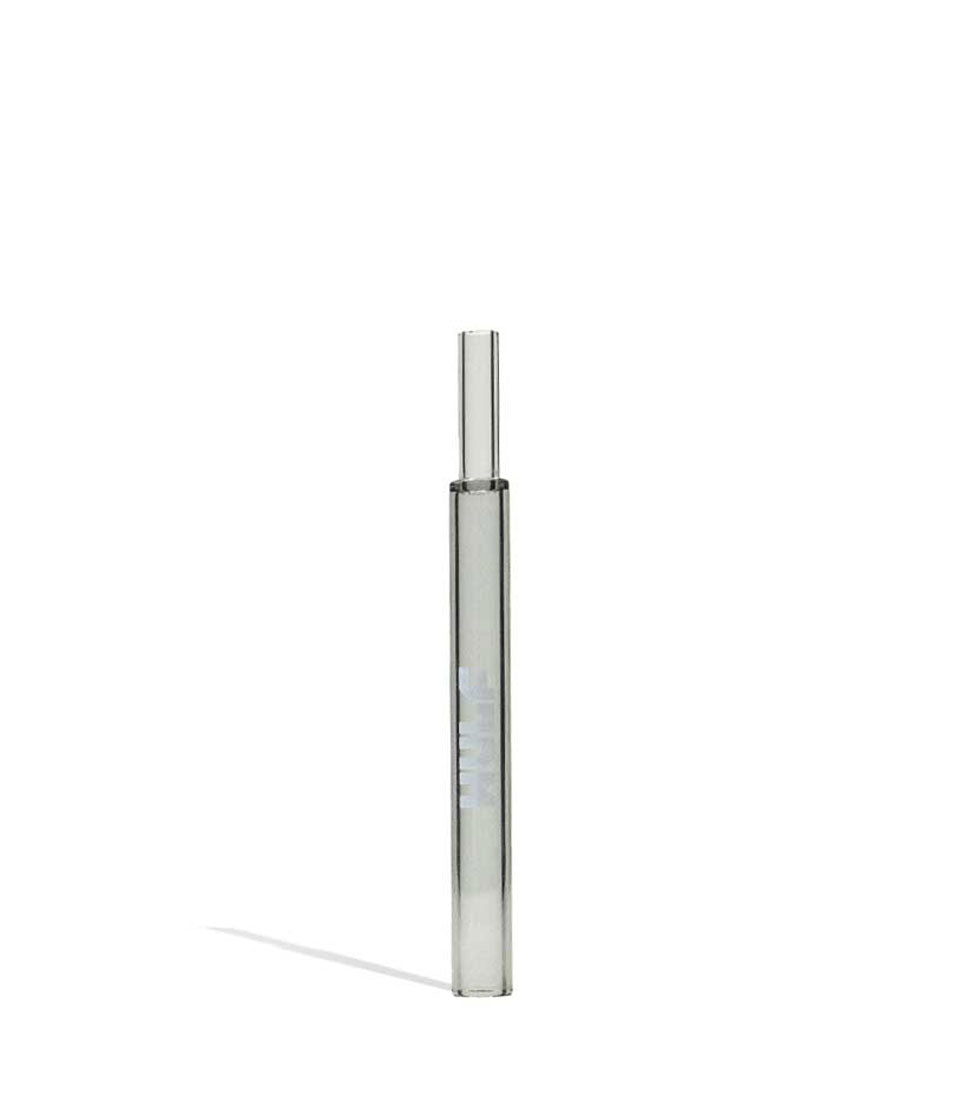
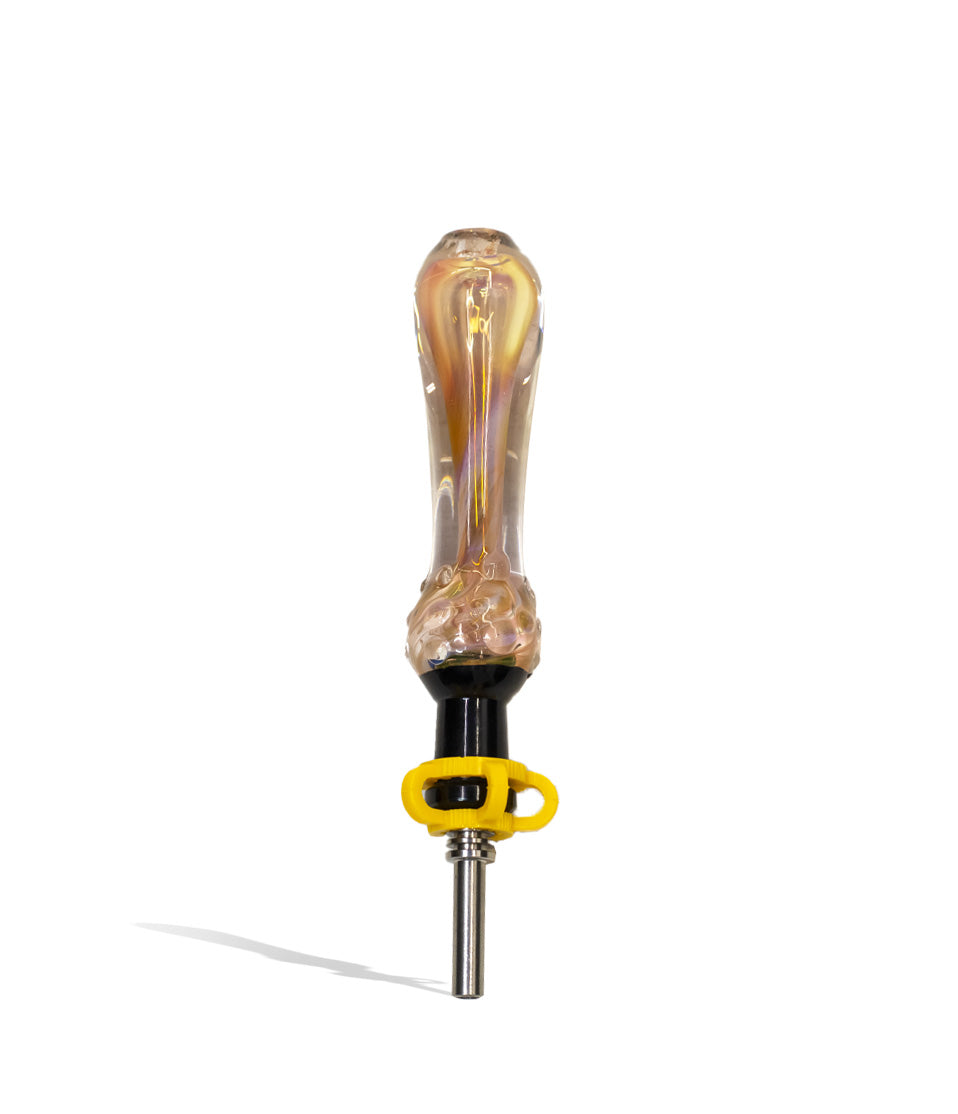
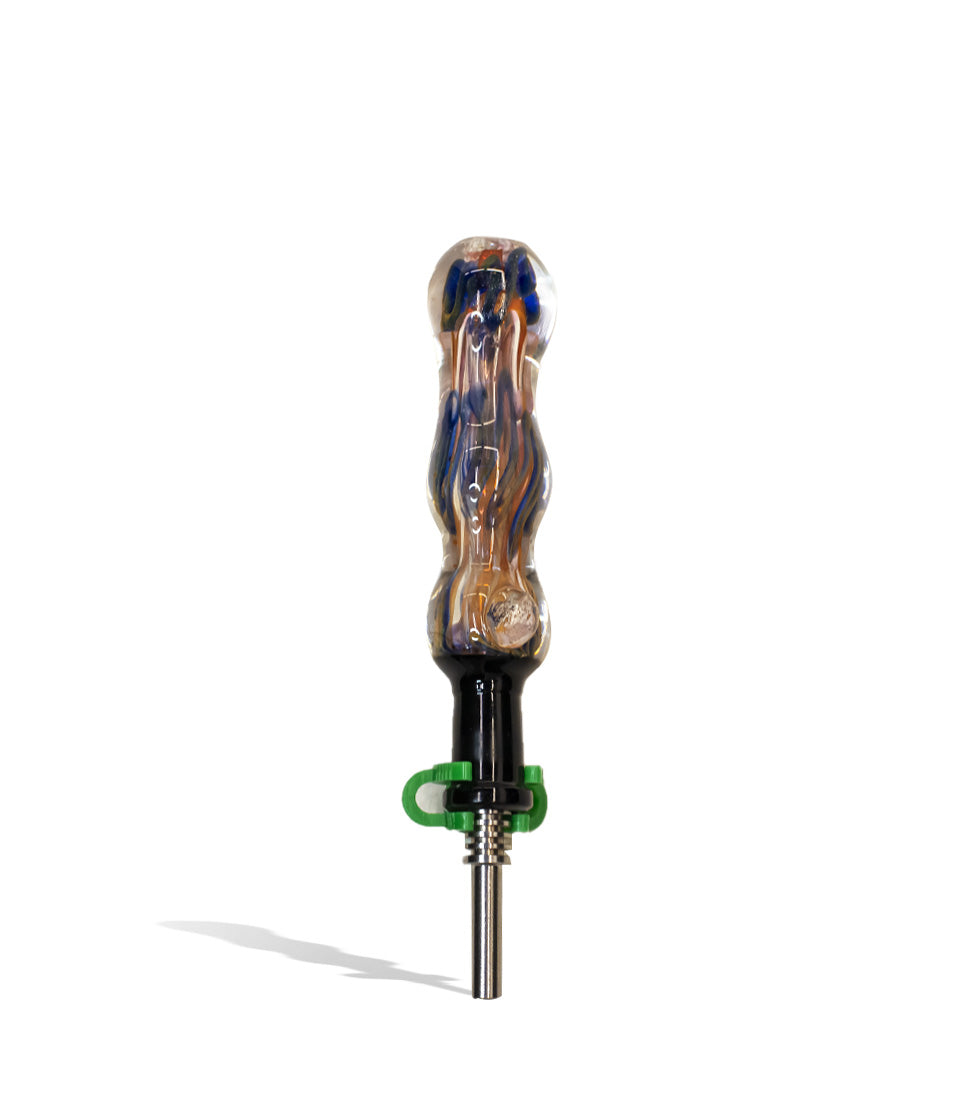
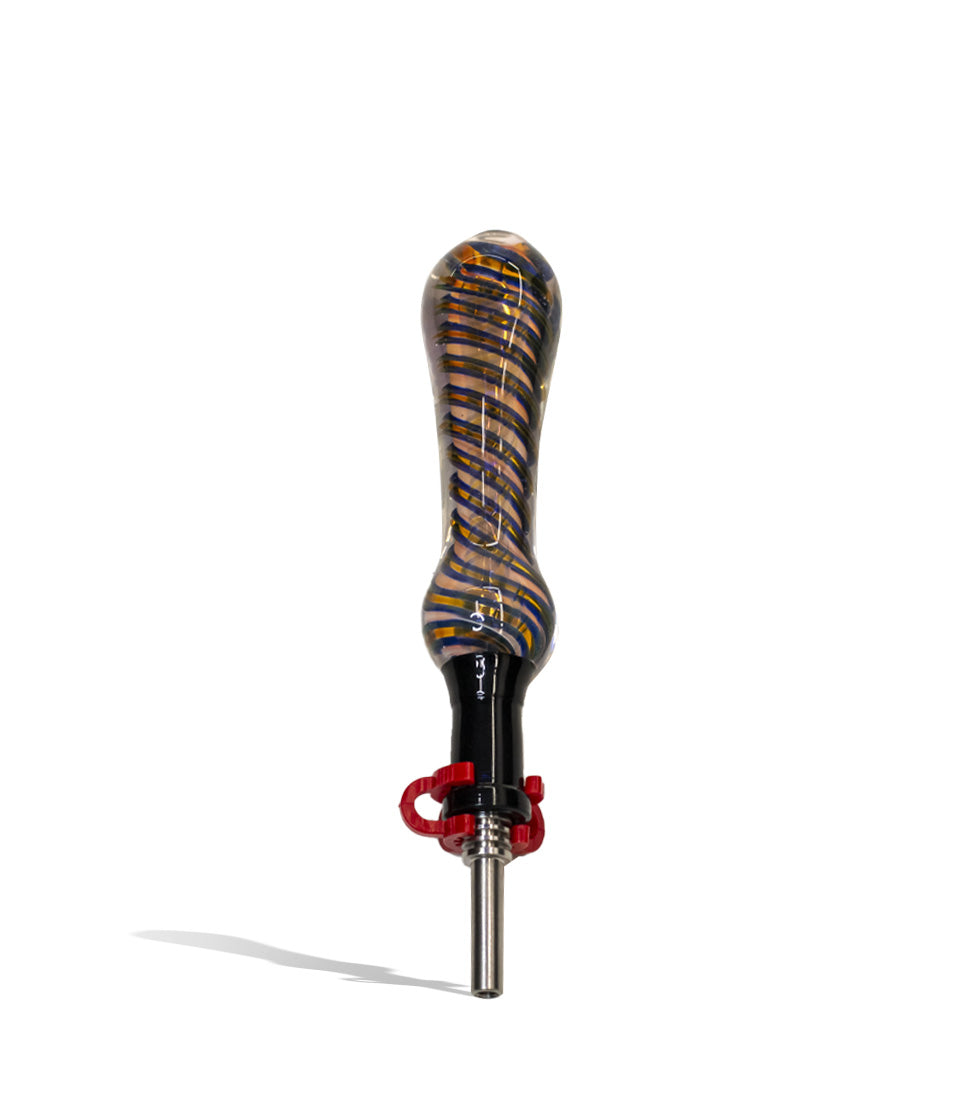
How-To
Complete How-To
From here, the walkthrough gets specific: the product details and buying considerations that turn the summary above into an actual decision.
Keep your nectar collector clean, mean, and ready to rip like a dream, with some expert tips from your friends in the Got Vape Crew!
As the #1 method to keep your dab straw hitting hard and lasting for years, cleaning your setup is an essential skill every concentrate enjoyer needs to learn sooner or later in their journey.
This is because when your nectar collector is clean, you get to experience vapor that’s clearer, more flavorful, and ultimately far more potent. Thus when you do notice burnt flavor, tight draw resistance, or sticky reclaim clogging the straw, it means you’re in need of a clean.
Luckily for you, Got Vape has been cleaning and maintaining glass rigs, electric straws, and dabbing accessories for over 20 years now and we’ve learned a thing or two through our own trial and error. For more information on how to use a nectar collector, check out our in depth guide right here.
This nectar collector cleaning guide walks you through the exact process for both traditional glass nectar straws and modern electric dab straws, giving you real world tips that actually make a noticeable difference.
In just a few short minutes, you’ll have the expert knowledge to make cleaning your nectar collector easy and enjoying your concentrates seamless.
Table of Contents:
Nectar Collector Cleaning Quick Start Guide
Glass vs. Electric Nectar Collectors: Key Cleaning Differences
Why Cleaning Your Nectar Collector Matters
How Often Do You Clean a Nectar Collector?
Cleaning Tools for a Nectar Collector
Step 1: Cool Down and Power Off
Step 2: Disassemble Your Nectar Collector
Step 3: Drain Water (If Applicable)
Step 4: Clean the Tip
Step 5: Clean the Body & Vapor Pathway
Step 6: Let Everything Fully Dry
Step 7: Reassemble and Run a Burn-Off
Quick Cleaning vs. Deep Cleaning
Common Cleaning Mistakes to Avoid
Keep Your Nectar Collector Fresh in 2026
Nectar Collector Cleaning Quick Start Guide
Before we dive into the step by step walkthrough on cleaning, here is a quick overview table outlining the essential steps to clean both glass and electric nectar collectors like a pro.
This way if you’re in a rush or just hate reading, the Got Vape Crew has you covered!
| STEP | ACTION | GLASS STRAW METHOD | ELECTRIC STRAW METHOD |
|---|---|---|---|
| 1 | Cool Down | Let torch-heated quartz/titanium tip cool completely (15 mins). | Power off the battery base and allow electronic tip to cool down. |
| 2 | Disassemble | Detach tip, glass body, and neck joint clips. | Unscrew 510/magnetic electric tip and remove glass mouthpieces from battery base. |
| 3 | Soak / Swab | Submerge entire glass body and metal/quartz tip in an ISO bath for 30-60 mins or longer. | Swab thread connections and plastic airway with damp ISO swabs. Never soak battery base! |
| 4 | Clean Tip | Soak tip in ISO, scrub residue with pipe cleaner or swab. | Lightly swab around the ceramic/quartz tip exterior. Do not submerge electric coils! |
| 5 | Rinse & Dry | Rinse glass parts thoroughly with warm water; dry all parts completely. | Wipe down exterior with dry towel; let electronic connection threads air-dry 100%. |
| 6 | Burn Off | Gently warm tip with torch flame for 5 seconds to evaporate lingering ISO. | Run a 10-second empty heating cycle on low voltage before dipping into wax. |
Glass vs. Electric Nectar Collectors: Key Cleaning Differences
Before scrubbing your nectar collector, how you go about cleaning is going to vary depending on whether you’re using a standard torch powered nectar collector or a more modern version powered by an internal battery.
While both deliver on demand wax hits with startling potency, their maintenance requirements are completely different:
Traditional Glass Nectar Collectors:
- Heated via butane torch
- Zero electronic components
- Able to be soaked in isopropyl alcohol for cleaning
Electric Nectar Collectors:
- Heated via internal batteries
- Entirely electric
- Not able to be soaked under any circumstances
- Must be cleaned carefully, with a special distinction between battery components and any removable glass parts.
It’s important to know that moisture inside the battery housing can permanently ruin the internal operation, so always make sure to be very careful when cleaning an electric nectar collector.
If you want the easiest, most straight forward nectar collection option, then consider switching over to butane powered versions in order streamline your cleaning and enjoy easier dabs.
Why Cleaning Your Nectar Collector Matters
Because nectar collectors work by dipping a hot tip directly into concentrate jars, melted wax naturally pulls upward into the narrow straw channel. Over time, this golden reclaim cools, bakes, and thickens along the inner glass walls and airway.
Without regular maintenance, even top-tier nectar collectors start to underperform. Over time this can lead to restricted airflow, full on clogs, or permanent electrical short circuits on battery-powered models.
In general, a dirty nectar collector leads to:
- Harsh, burnt, or stale reclaim flavor
- Drastically reduced vapor production
- Clogged airway paths and tight draw resistance
- Unpleasant wax spitback through the mouthpiece
- Shortened electric tip and battery lifespan
Maintaining your nectar collector is just as important as choosing the right one, as even the best devices available will not be able to operate at 100% efficiency when gunked up beyond all recognition.
Not only will you get better performance from a clean nectar collector, you’ll be able to get far more use out of it. So do yourself and your nectar collector a favor by staying on top of your cleaning.
How Often Do You Clean a Nectar Collector?
How often you need to clean your nectar collector depends on session frequency and how hot you run your tip.
In general, we recommend that you wipe down the tip of your straw with a dry cotton swab immediately after each session while it is still slightly warm. This wipes away liquid residual oil before it cools and hardens into dark chazzed up crust.
For moderate to heavy seshing, toss in a deep clean every 1 to 2 weeks to ensure reclaim buildup doesn’t clog the central straw channel. If you notice tight draw resistance or dark reclaim pooling inside the mouthpiece, just bite the bullet and go straight for a clean.
Cleaning Tools for a Nectar Collector
You don’t need anything complicated to clean your nectar collector, but having the right tools makes achieving crystal-clear results quick and effortless.
Essential cleaning tools for nectar collector maintenance:
- Isopropyl alcohol
- Cotton swabs / Q-tips
- Pipe cleaners / narrow wire brushes
- Paper towels or cloth
- Warm water (for rinsing glass parts only)
- A small glass dish or sealable bag (for soaking non-electronic glass and metal tips)
While simple, these tools produce consistent results. All of them can be acquired from a pharmacy, big box store, or right here online at Got Vape. With good tools never far away, there’s no excuse not to give your straw a fresh scrub a dub dub!
Step 1: Cool Down and Power Off
Start by allowing your heating tip to cool down completely. Never attempt to clean a torch heated quartz tip or an active electric tip while hot, as this can cause severe burns, sizzle cotton swabs, or shock glass components.
For electric nectar collectors, in addition to letting everything cool you also need to power off your battery. This way it doesn’t accidentally fire up during your cleaning and lead to other heat related issues.
In general recommend leaving torch heated metal or quartz tips to cool for at least 10 to 15 minutes before applying cleaning solutions. So put your feet up, relax, and prep your cleaning supplies in the meantime!
Step 2: Disassemble Your Nectar Collector
Next up, carefully take apart all removable components from your straw assembly. Not all nectar collectors will have every component, so stick with just the relevant information below when cleaning your own.
- Glass Nectar Collectors: Detach the nectar tip, glass body, water percolator section, and joint retaining clips.
- Electric Nectar Collectors: Unscrew the threaded 510/magnetic electric tip from the battery housing, and remove any detachable glass bubblers or mouthpieces from the base.
Place small joint clips and tips on a tray or towel so nothing rolls off your desk, this way you don’t get cleaning only to have to play a game of iSpy with your missing nectar collector pieces.
Step 3: Drain Water (If Applicable)
If your nectar collector features a water percolator bubbler section, carefully pour the stale filtration water out into a sink before cleaning. Never attempt to clean while water is still inside, it’s counter productive and just won’t end well.
Instead just quickly pour water out through the mouthpiece top rather than the bottom tip joint to prevent dirty reclaim water from passing back over clean connection areas. With your water now emptied, you can proceed with the rest of your steps cleaning the glass and various connective pieces.
Glass can be slippery when wet, so always make sure you have a firm grip on your nectar collector when pouring out water from the basin. If possible, remove the basin entirely so that you have more control over unloading.
Step 4: Clean the Tip
The tip is where your concentrates vaporize, making it the primary target for your cleaning efforts. Make sure to take your time here, as nectar collector tips can sometimes be very delicate and you don’t want to accidentally chip or crack anything.
- Non-Electronic Tips: Drop non-electronic metal or quartz tips into a small dish of isopropyl alcohol and let them soak for 30 to 60 minutes. After soaking, scrub away loosened dark crust with an ISO swab or pipe cleaner.
- Electronic Tips: Do not soak electronic tips in liquid! Lightly dampen a cotton swab with isopropyl alcohol, squeeze out any excess liquid so it isn’t dripping wet, and gently wipe the ceramic/quartz tip exterior and threaded base connector. Keep liquid out of the internal wiring holes!
Step 5: Clean the Body & Vapor Pathway
Reclaim collects heavily along the inner walls of the straw airway, requiring targeted cleaning based on your unit style:
- Glass Straw Bodies: Place non electronic glass bodies into a sealable bag filled with alcohol and coarse salt. Shake gently to dissolve stubborn reclaim inside the narrow glass tube, then rinse thoroughly with warm water.
- Electric Battery Bases: Gently swab out the gold 510 thread well, air intake holes, and glass connection seats on the battery housing using lightly dampened ISO cotton swabs. Wipe down the exterior body with a dry microfiber cloth.
Step 6: Let Everything Fully Dry
Once you’ve cleaned all parts of your nectar collector, you MUST leave ample time for every component to dry COMPLETELY.
There’s no rushing this step. If alcohol or water remains in glass airways or electric connections when heated, you risk inhaling harsh fumes, cracking glass under a torch, or short circuiting battery electronics.
We recommend leaving parts to dry on a paper towel for at least 30 to 60 minutes. Deep cleaning your nectar collector at night and letting it air dry overnight is a great habit for complete peace of mind!
Step 7: Reassemble and Run a Burn Off
Once every piece is bone dry and free of moisture, reassemble your glass or electric nectar collector carefully.
Before dipping into fresh wax, perform a quick burn-off cycle:
-
Glass Straws: Apply a light 5 second torch flame to the quartz/titanium tip to burn off any microscopic isopropyl residue.
- Electric Straws: Power on the battery base and activate a 10 second heating cycle at low voltage with an empty tip.
Once the burn off is complete, let the tip cool to your ideal dabbing temperature, hover over your favorite wax dish, and enjoy pure, flavorful hits from your newly cleaned straw!
Quick Cleaning vs. Deep Cleaning
Not every session with your nectar collector requires a full breakdown. Keep maintenance simple by separating your workflow into two quick routines:
Quick Cleaning (After Each Session):
- Swab leftover liquid oil off the tip with a dry cotton swab while warm.
- Drain stale water out of bubbler attachments at the end of the day.
- Wipe the mouthpiece tip if needed.
Deep Cleaning (Every 1 to 2 Weeks):
- Full disassembly of glass joints, tips, and mouthpieces.
- Isopropyl alcohol soaking for glass bodies, quartz/titanium tips, and dish trays.
- Swabbing gold 510 thread connection wells on electric battery bases.
- Running an empty burn-off heat cycle before use.
Staying consistent with quick swab outs after sessions dramatically reduces how often you need to perform heavy deep cleans on your nectar collector, so always keep swabs at your dabbing station.
Common Cleaning Mistakes to Avoid
Even seasoned dabbers can make a misstep during maintenance. Avoid these common nectar collector cleaning mistakes to keep your gear running smooth:
Top nectar collector cleaning mistakes to avoid:
- Soaking electric bases: Submerging battery powered straw bases or electronic tips in liquid alcohol, destroying internal wiring.
- Torching wet glass/tips: Applying a butane torch flame to glass or quartz tips that are still damp with alcohol, causing thermal shock cracks.
- Swabbing a scorching hot tip: Touching cotton swabs to a glowing-hot tip, instantly burning cotton fibers onto the surface.
- Rushing the drying phase: Reassembling wet glass or electric tips before alcohol moisture has fully evaporated.
- Using cold water on hot glass: Rinsing a warm glass straw with cold tap water, causing glass fractures.
Luckily, now that you’re aware of these mistakes, avoiding them is going to be far easier. Go slow, clean with purpose, and your sessions will unfold smoothly every time.
Keep Your Nectar Collector Fresh in 2026
Understanding how to clean a nectar collector properly isn’t just about routine maintenance, it’s about getting the absolute best flavor, efficiency, and potency that you deserve out of your concentrates every single time you dip your straw.
With decades of testing and ripping dabs under our belts, the Got Vape Crew wants to make one thing clear: consistent cleaning leads to richer terpene flavors, smoother airflow, and a far longer overall lifespan for both glass and electric equipment.
For more expert breakdowns and session guides, make sure to check out the rest of the postings at the Got Vape Resource Center! Until next time, stay cloudy, y’all!
Frequently Asked Questions
How-To FAQs
Quick answers to what shoppers usually ask before putting this guidance to use.
What Is The Best Cleaning Solution For Cleaning A Nectar Collector?
Can You Soak An Electric Nectar Collector Tip In Isopropyl Alcohol?
How Do You Get Reclaim Out Of A Narrow Nectar Collector Glass Tube?
Why Does My Nectar Collector Taste Like Alcohol After Cleaning It?
How Often Should I Deep Clean My Nectar Collector?
Got Vape Trust Center
About This Resource
Here's a look at who put this guide together, how it was fact checked, and how the Got Vape team keeps it current.
Editorial Standards
- Written for shoppers, not search engines.
- Checked for accuracy and plain, practical usefulness before it goes live.
- Grounded in the manufacturer specs and product documentation we can verify.
- Revisited whenever products, regulations, or category trends shift enough to matter.
- Shaped by years of hands-on time with this gear, not just spec sheets.
- Written to help you land on the right device without the guesswork.
Research Methodology
We built this walkthrough around the actual steps, from unboxing through everyday use, based on time spent with the device and the questions people ask most.
- Hands-on product experience
- Step-by-step setup and use
- Cleaning, care, and troubleshooting
- Common questions answered
- Safe and responsible use
- Real-world use considerations
- Editorial review for clarity and accuracy
Article Information
Intended Audience
- Everyday customers
- First-time buyers
- Experienced enthusiasts
- Dry herb users
- Concentrate users
- Anyone upgrading their setup
Editorial Policy
We revisit Got Vape guides on a regular basis rather than publishing them once and walking away. If a product spec, regulation, or category trend changes enough to matter, the article gets updated and the review date moves with it.
Keep Exploring
Related Resources
A few more Got Vape guides worth a look if you want to get even more out of your setup.
Best Of List
Find out the best Nectar Collectors for less than $50! Kick start your sessions and save big, all with this Got Vape Crew best ...
Read Resource →
Best Of List
Find out the best nectar collectors available in 2026 with the Got Vape Crew! Discover the top rated heavy hitters from Wulf, E...
Read Resource →
Product Launch
A new apex dabbing device has arrived with the Wulf Mods Water Filtered Nectar Collectors! Find out all about these colossal da...
Read Resource →
How-To