

Resource Center
How To Clean A One Hitter / Chillum Properly (Step-By-Step Guide)

Continue With This Resource
Got Vape Quick Brief
What You Should Know
Skim this first for the short version: the main points, the questions people ask, and what to consider before you buy.
Overview
Key Takeaways
- Cleaning your one hitter or chillum is the best way to preserve flavor and smoke quality.
- Always knock out ash from your one hitter or chillum right after completing a session.
- Isopropyl alcohol baths / soaks are the most effective method of deep cleaning your one hitter / chillum.
- Be careful and work slow while cleaning your one hitter / chillum to avoid accidental damage.
- Make sure to leave plenty of time for everything to dry before continuing your session.
Questions This Resource Answers
- What is the best way to unclog and deep clean a glass one hitter or chillum?
- How do you clean different chillum materials like glass, metal, ceramic, and wood?
- Why is isopropyl alcohol essential for breaking down narrow airway resin?
- How do you safely flush and dry a chillum to avoid thermal shock cracks and alcohol leftovers?
- What common maintenance mistakes should you avoid while cleaning a one hitter / chillum?
Recommended Products
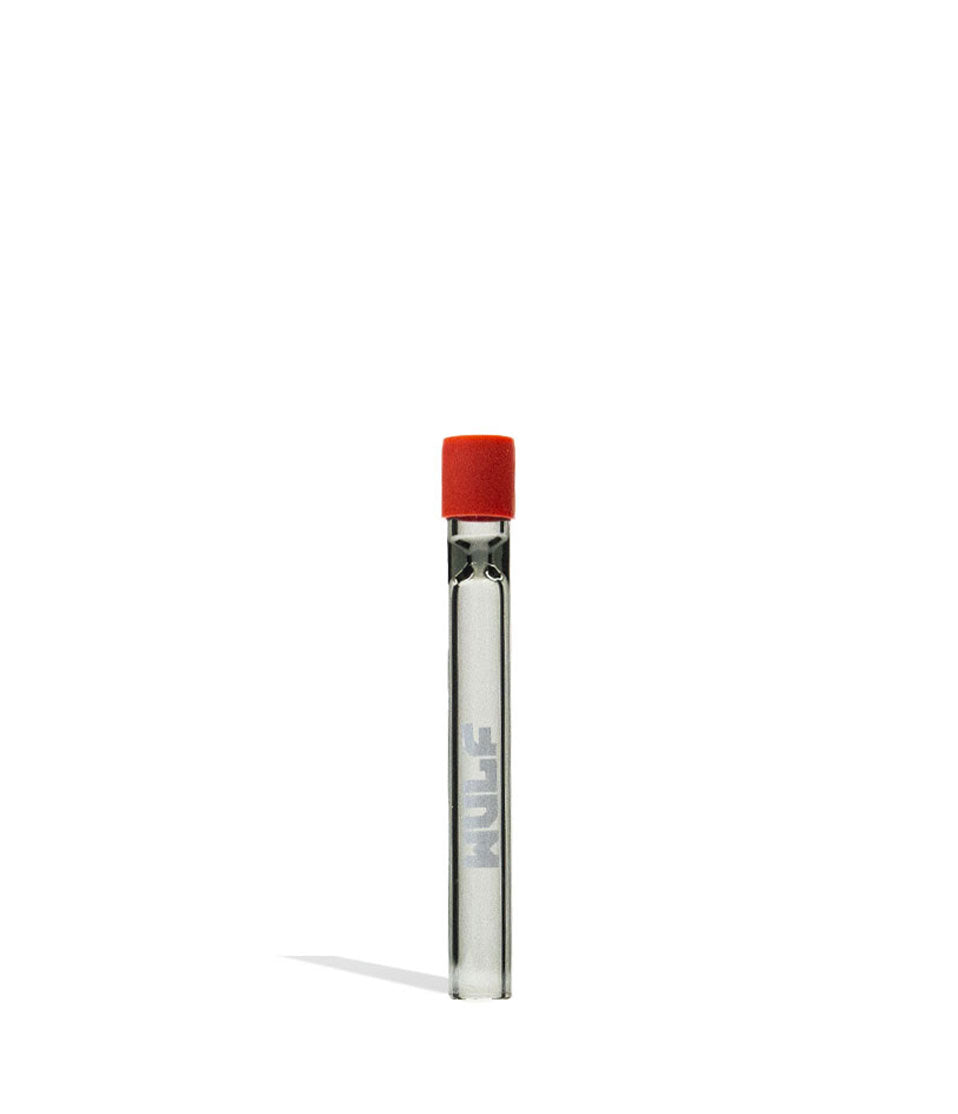
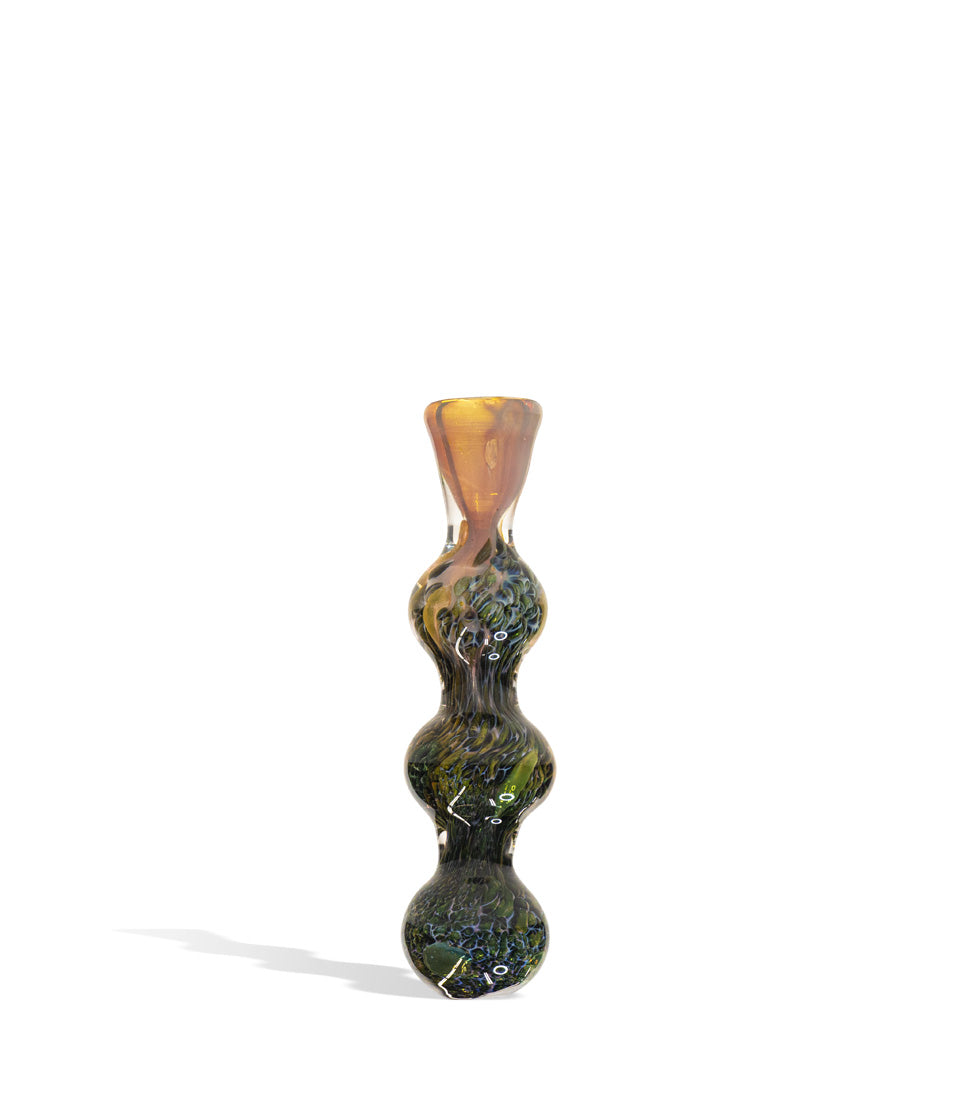
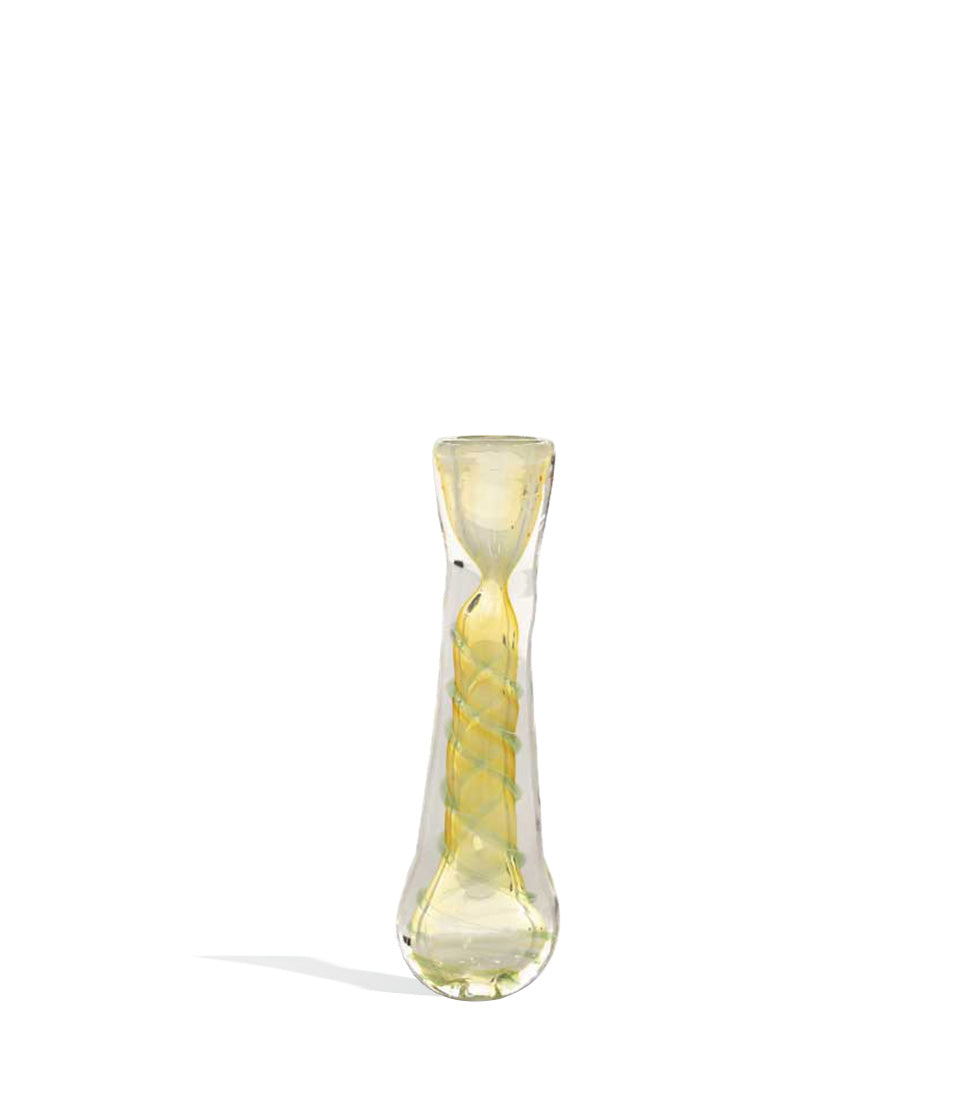
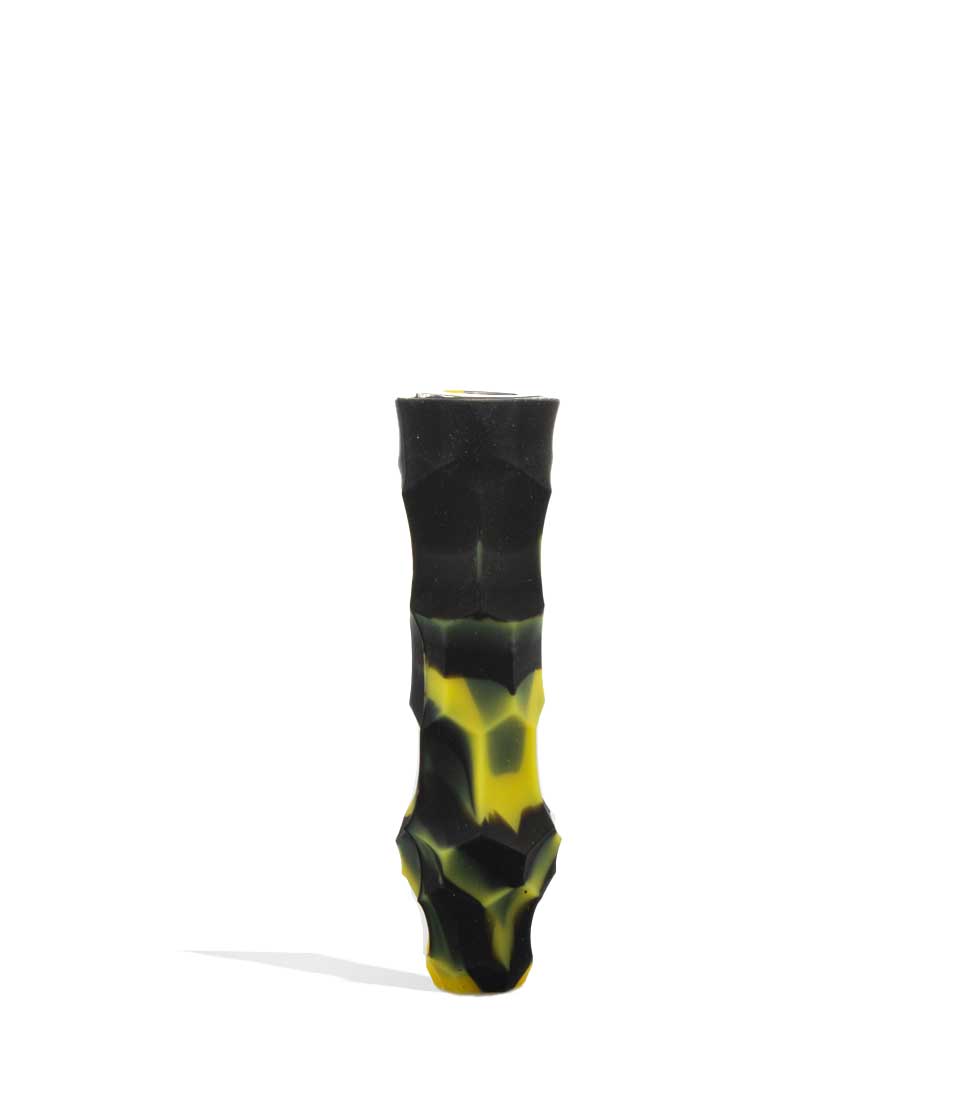
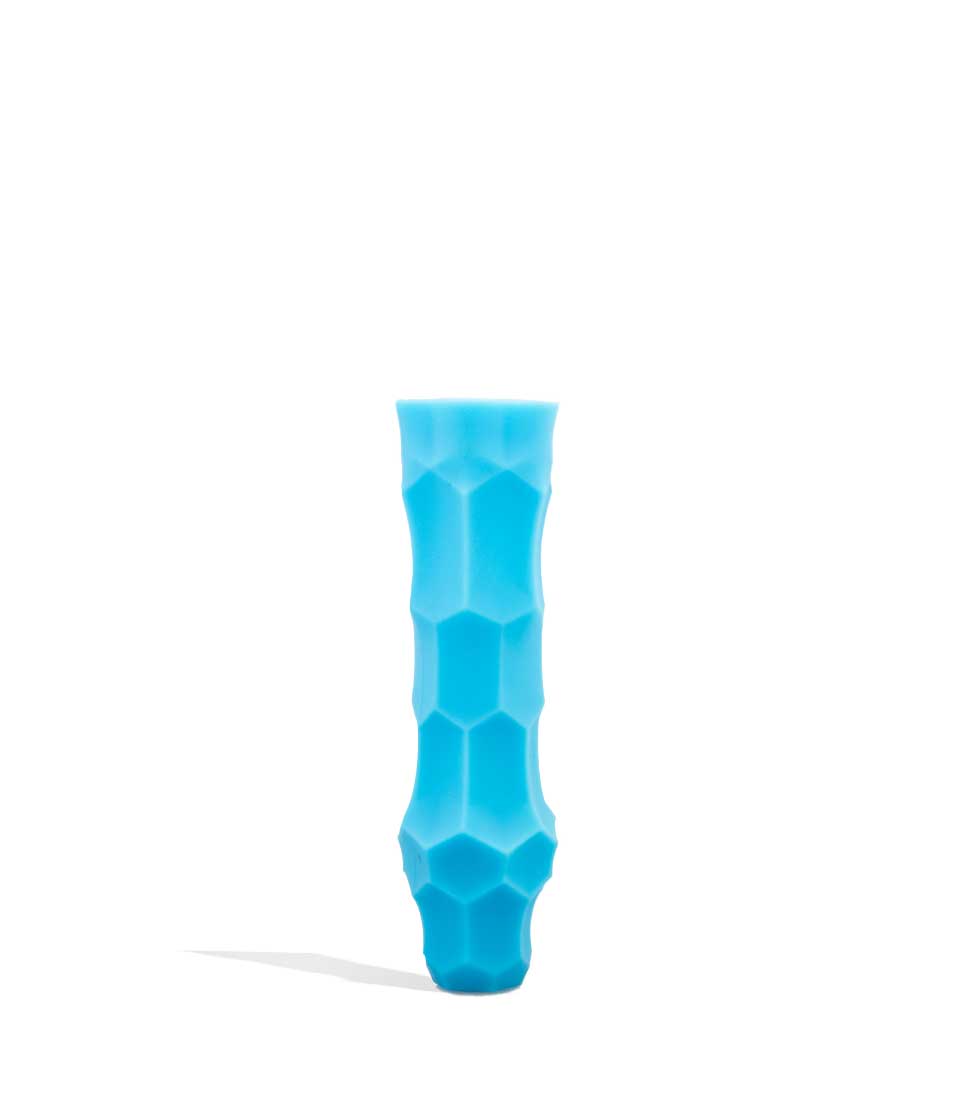
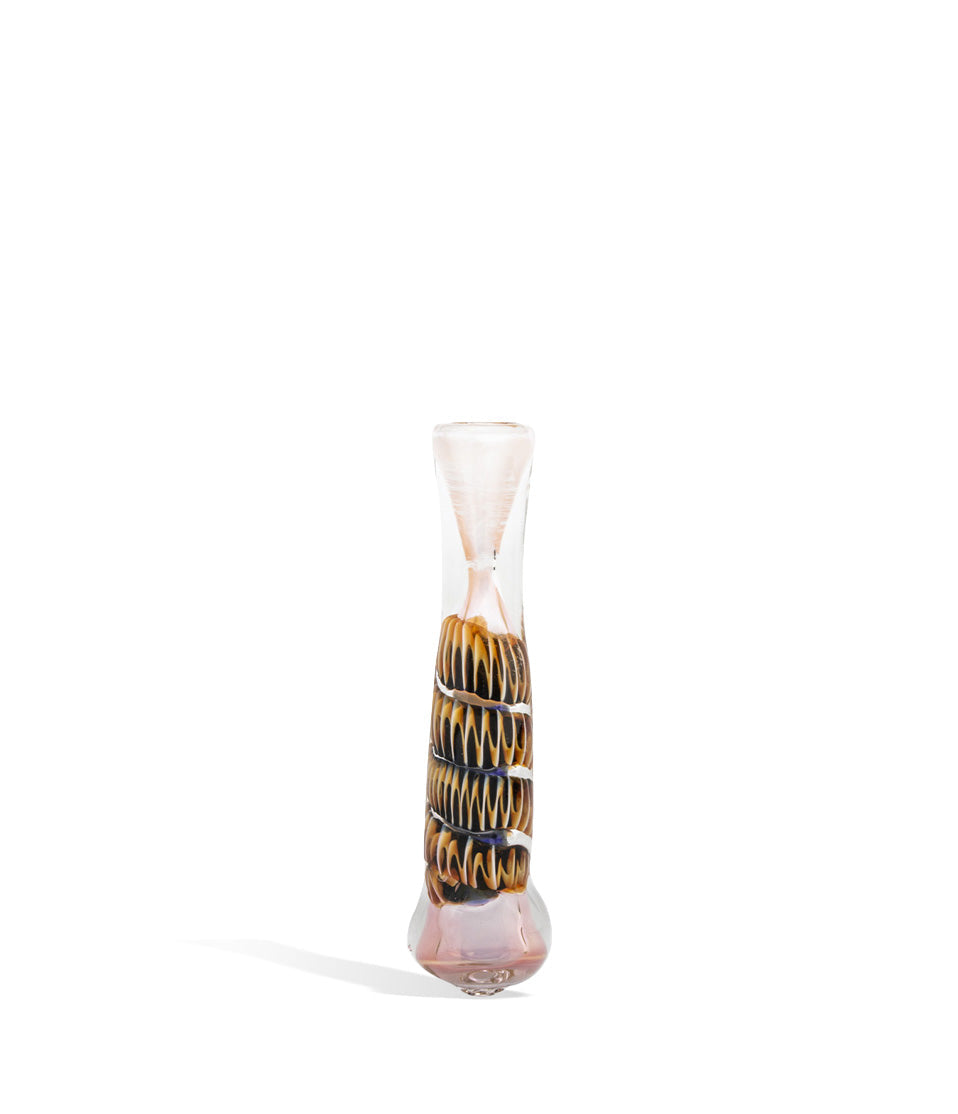
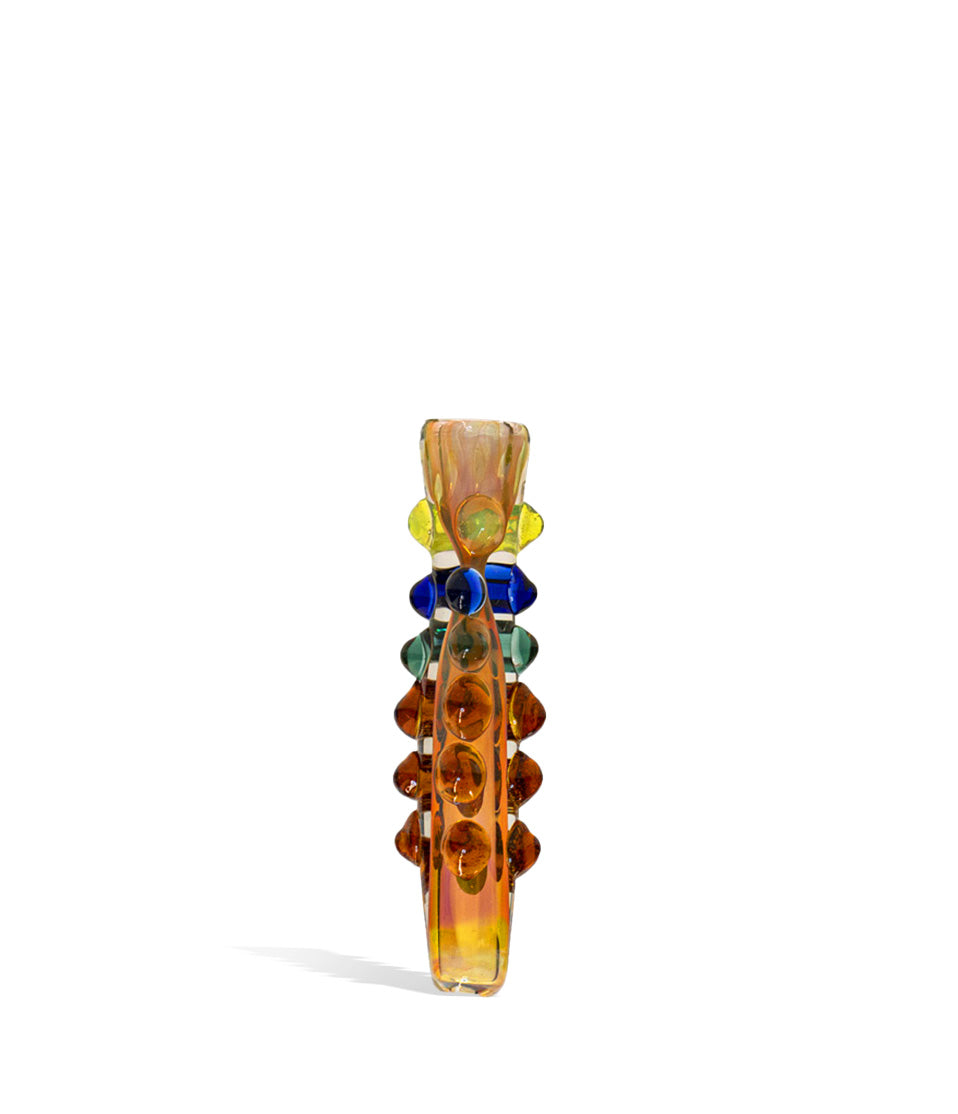
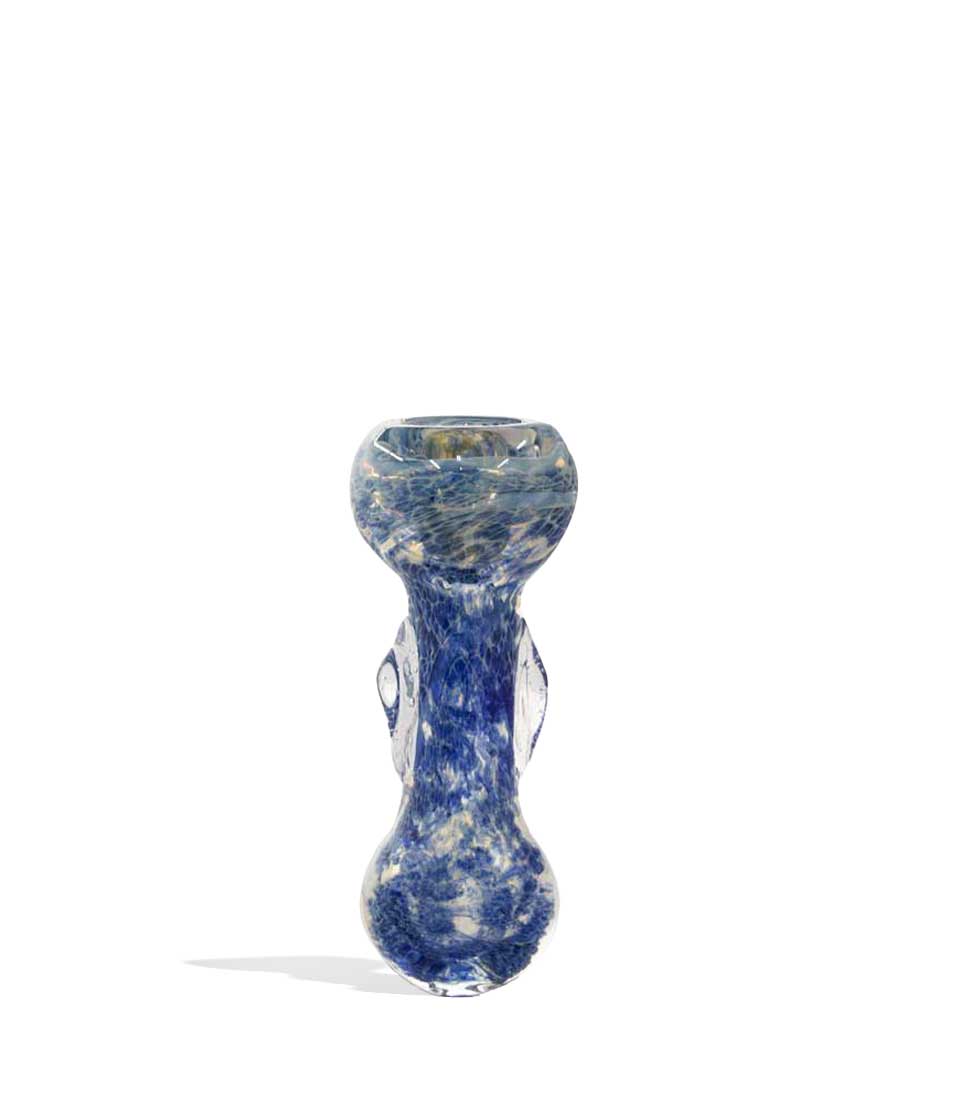
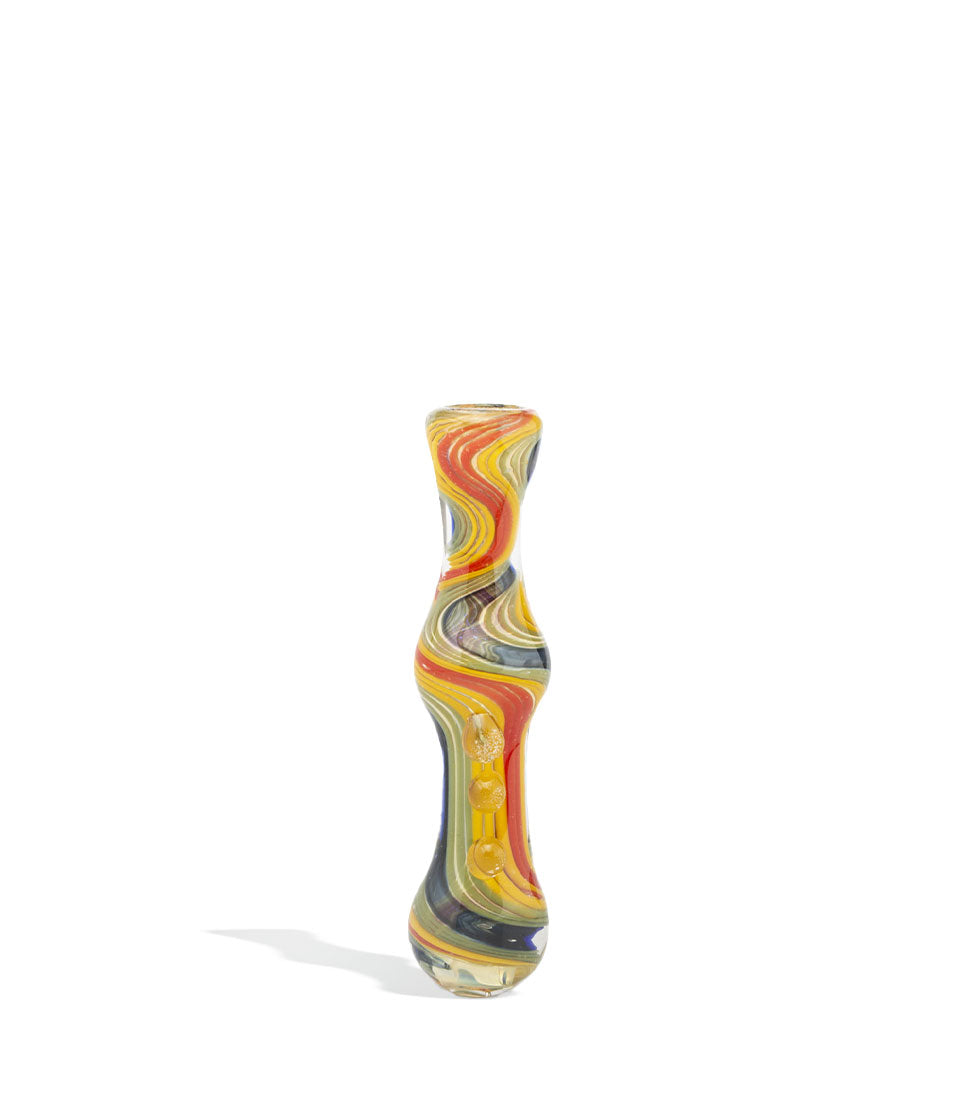
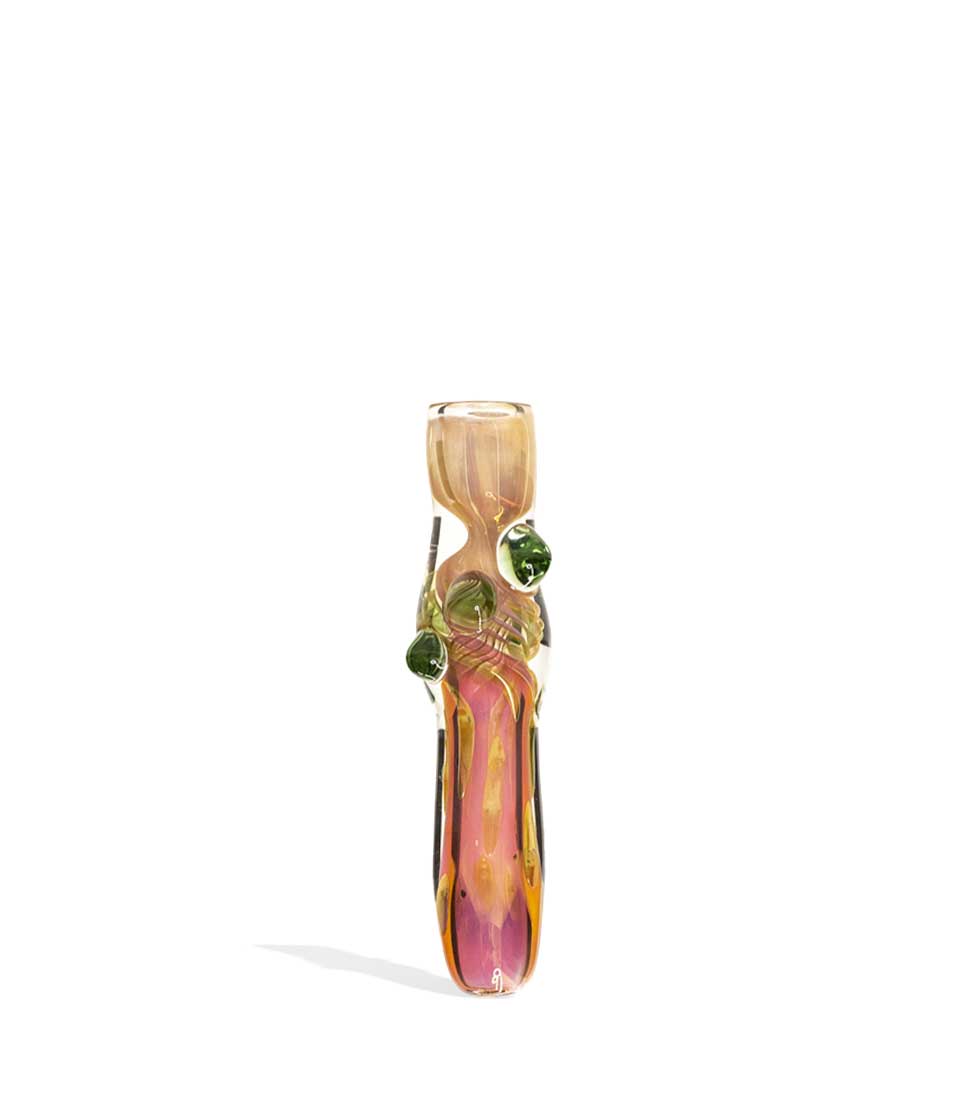
Shop Chillums
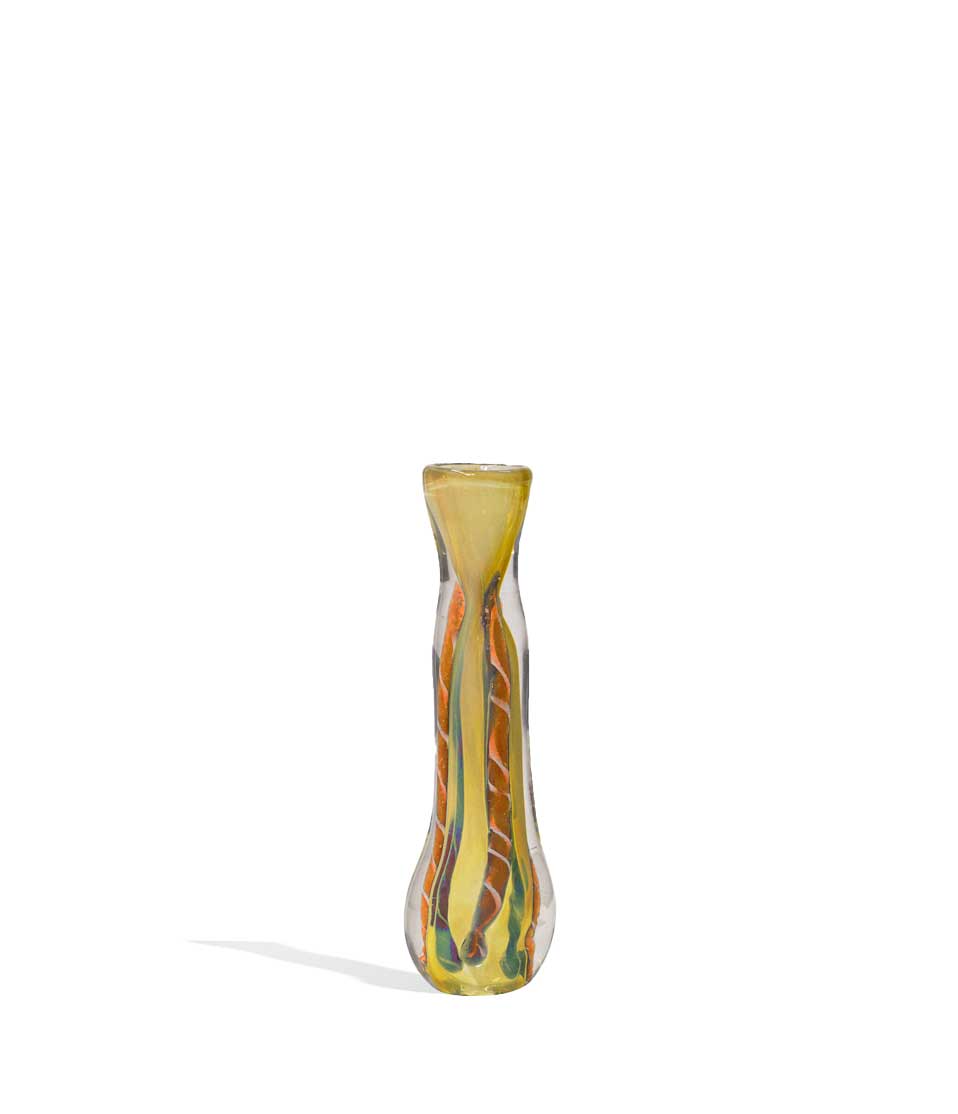
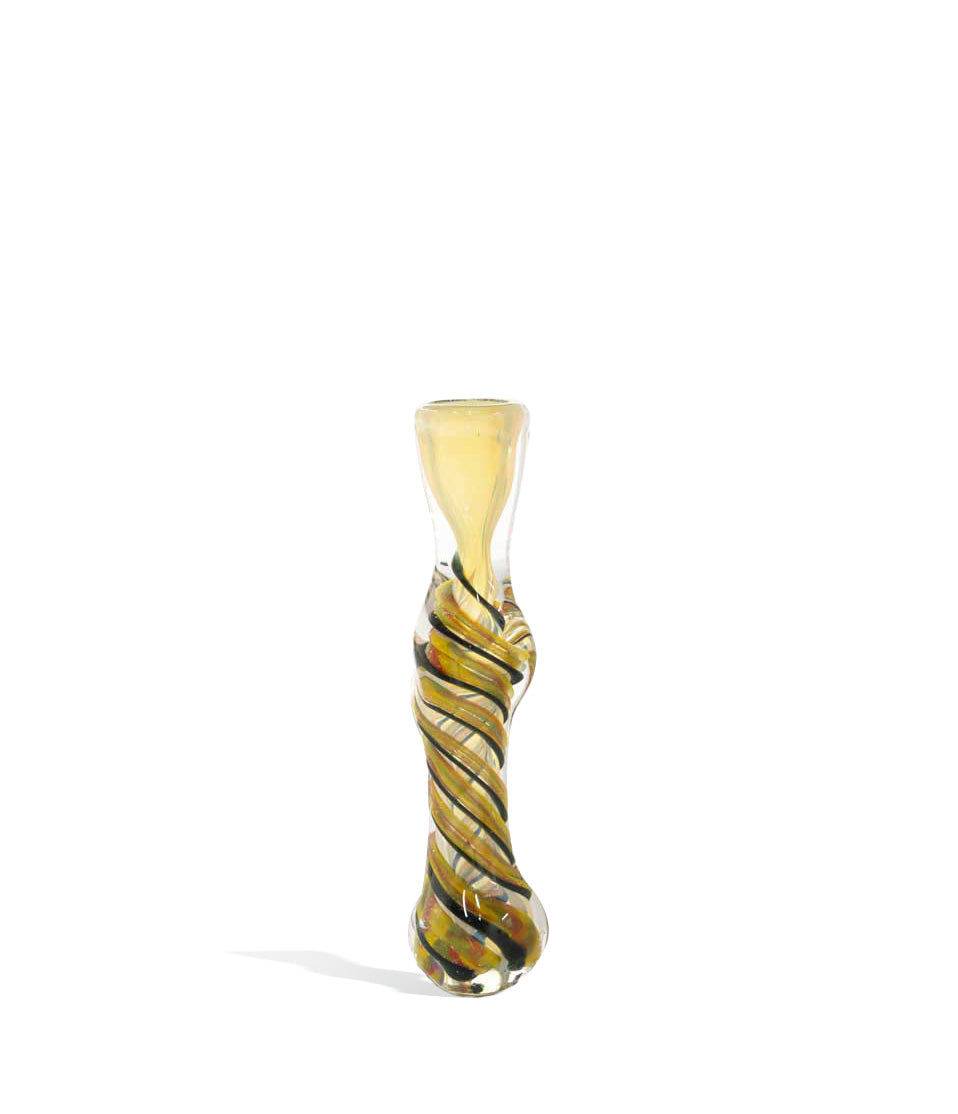
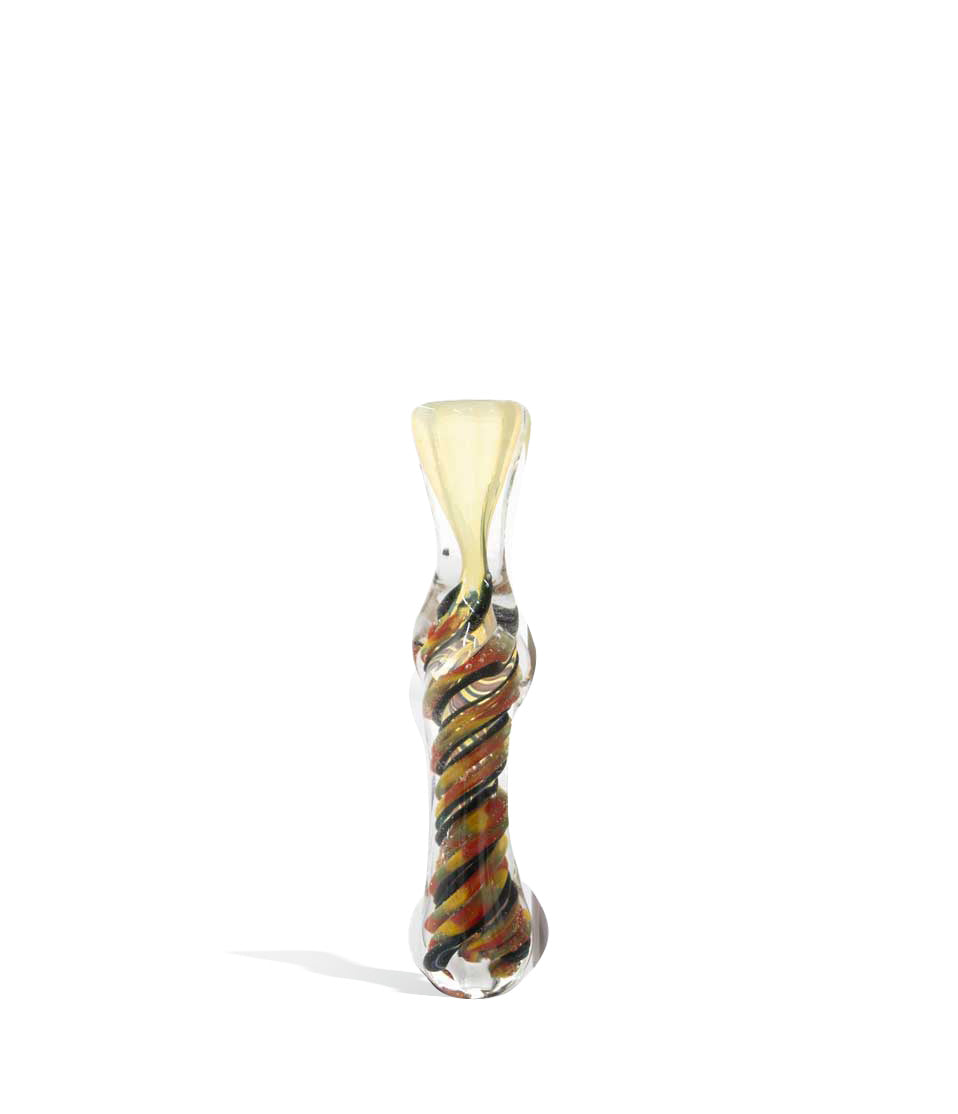
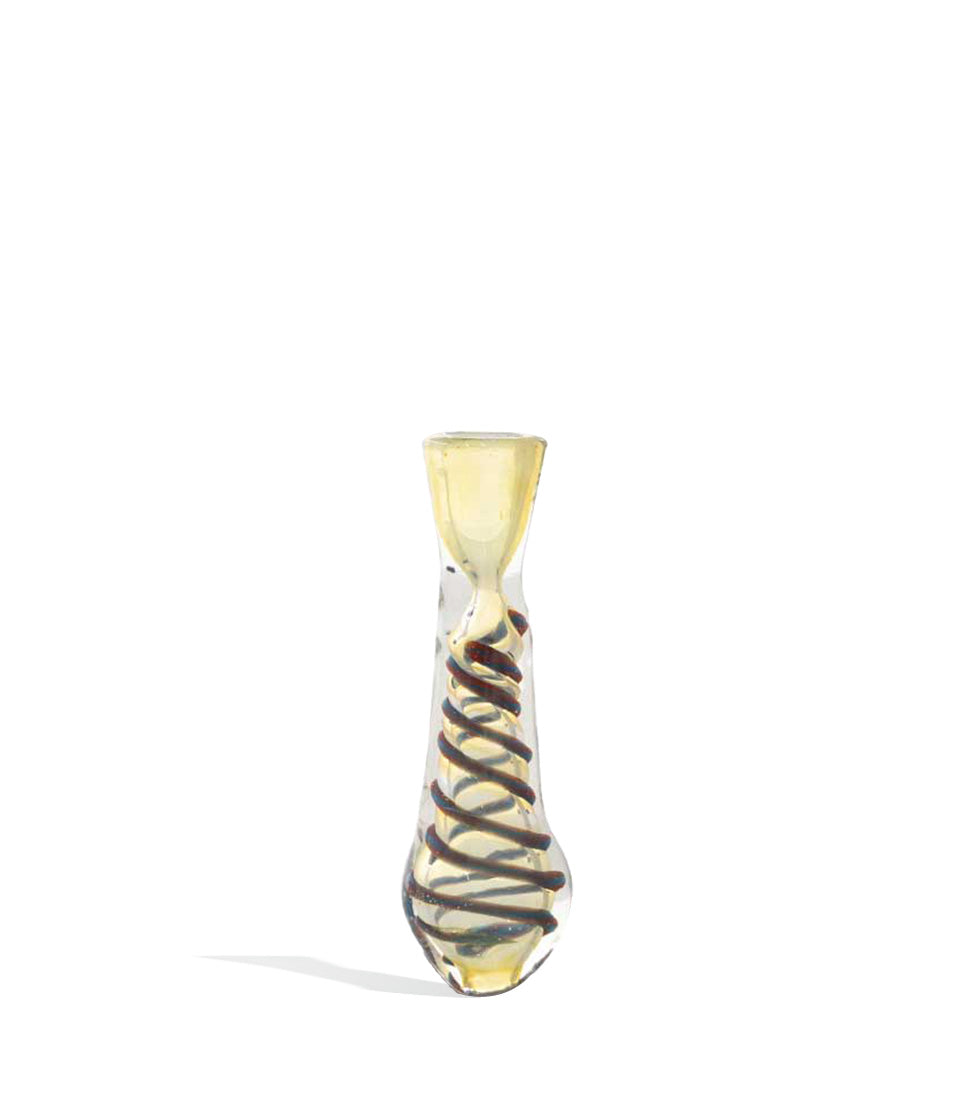
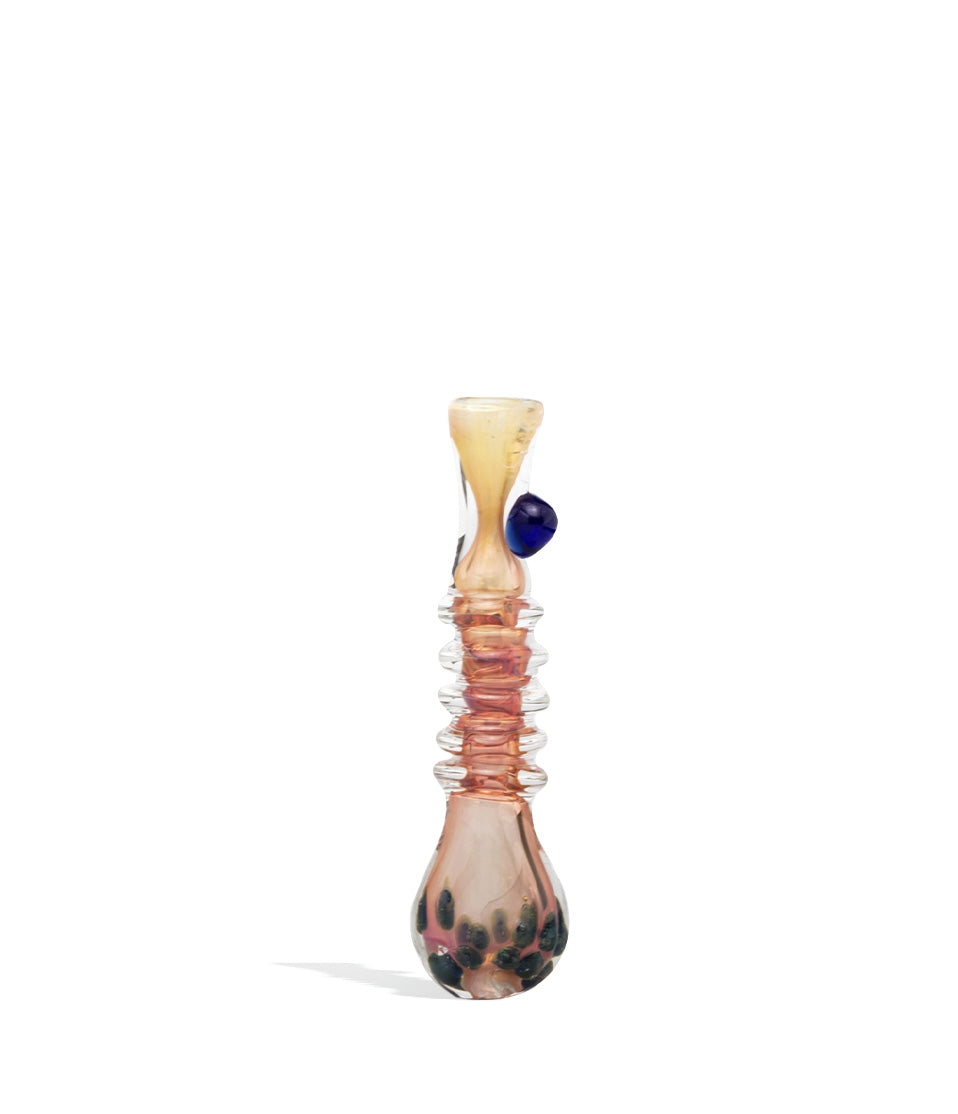
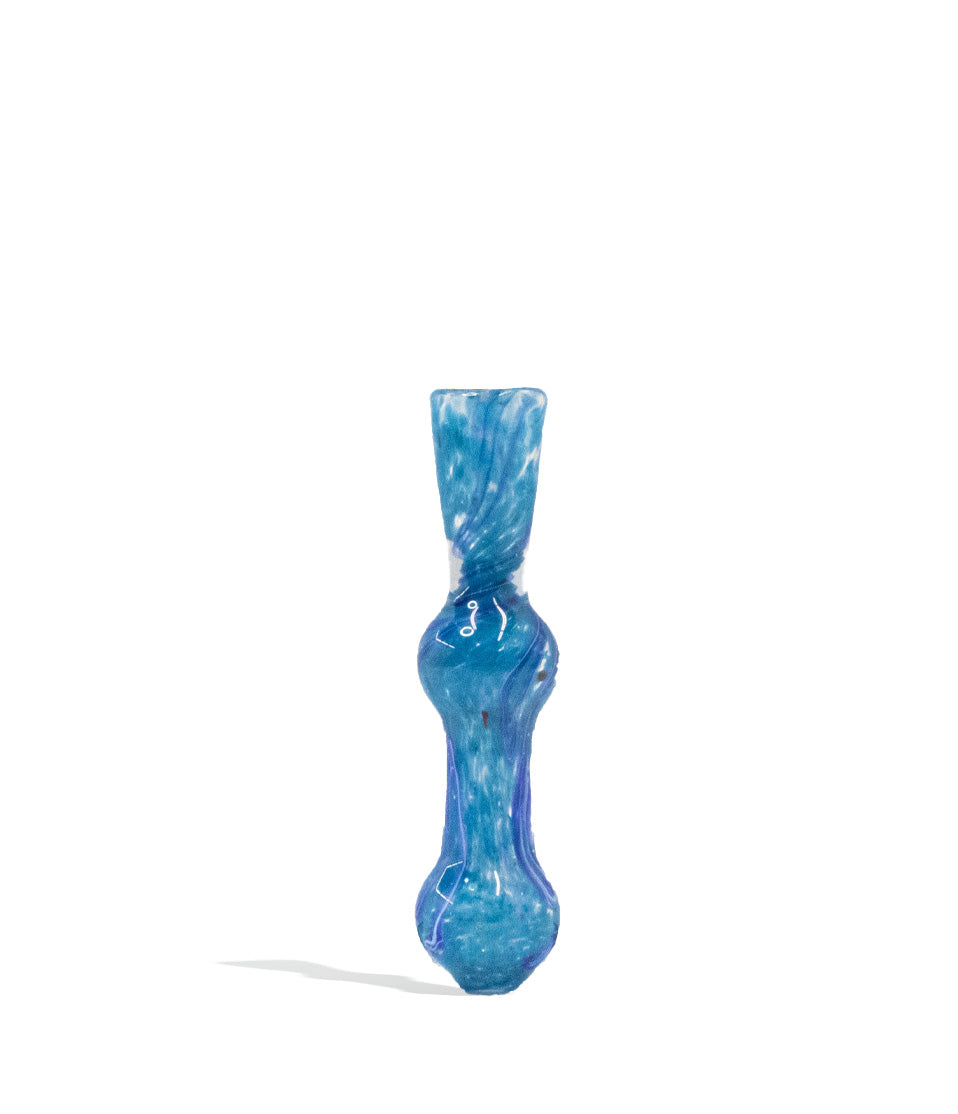
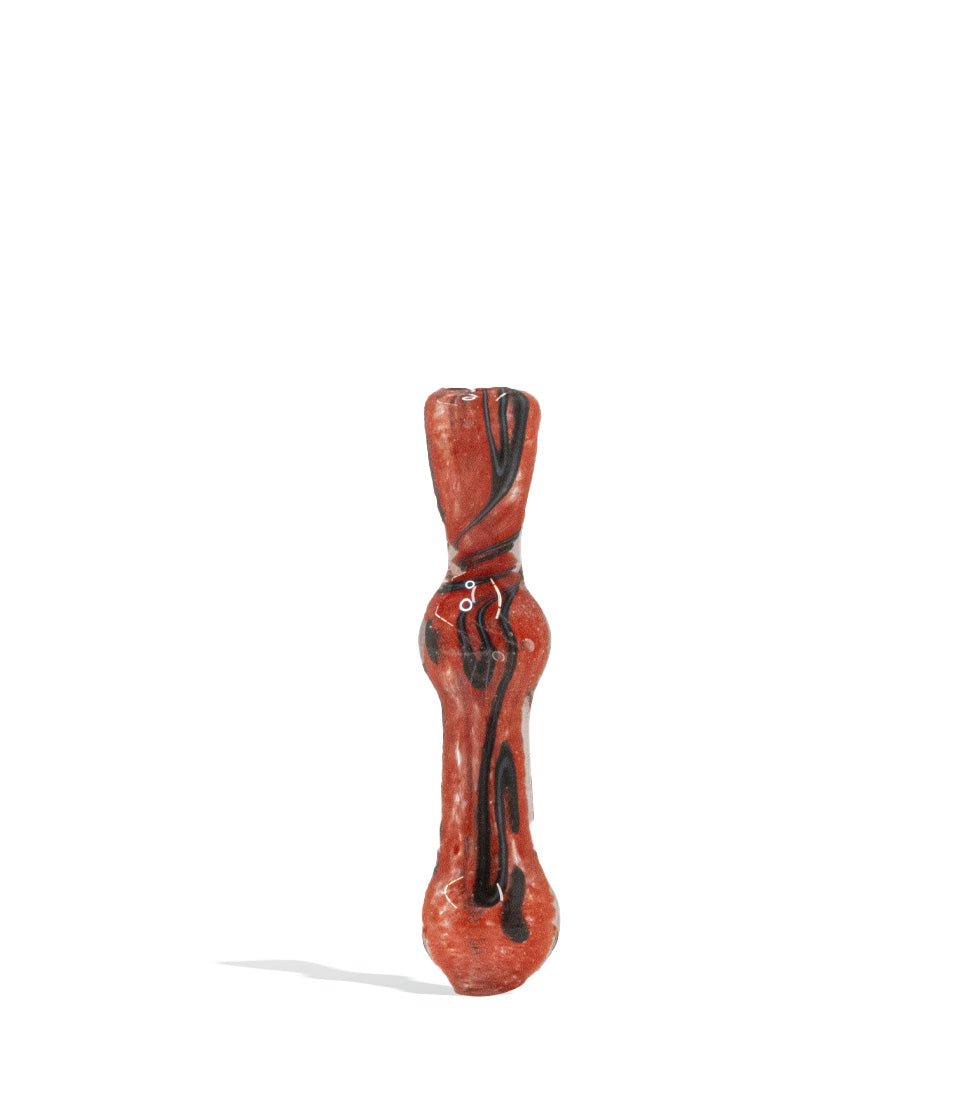
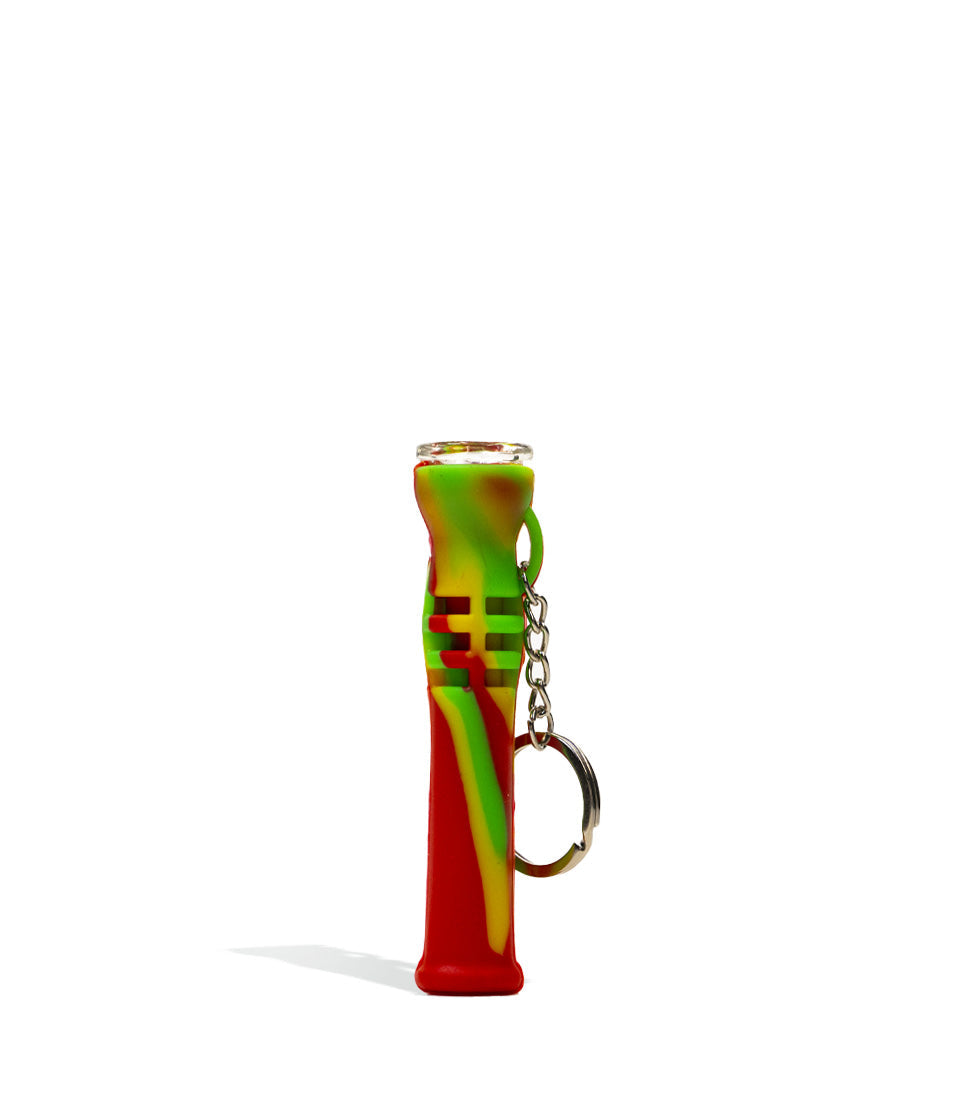
A closer look at the picks called out above.
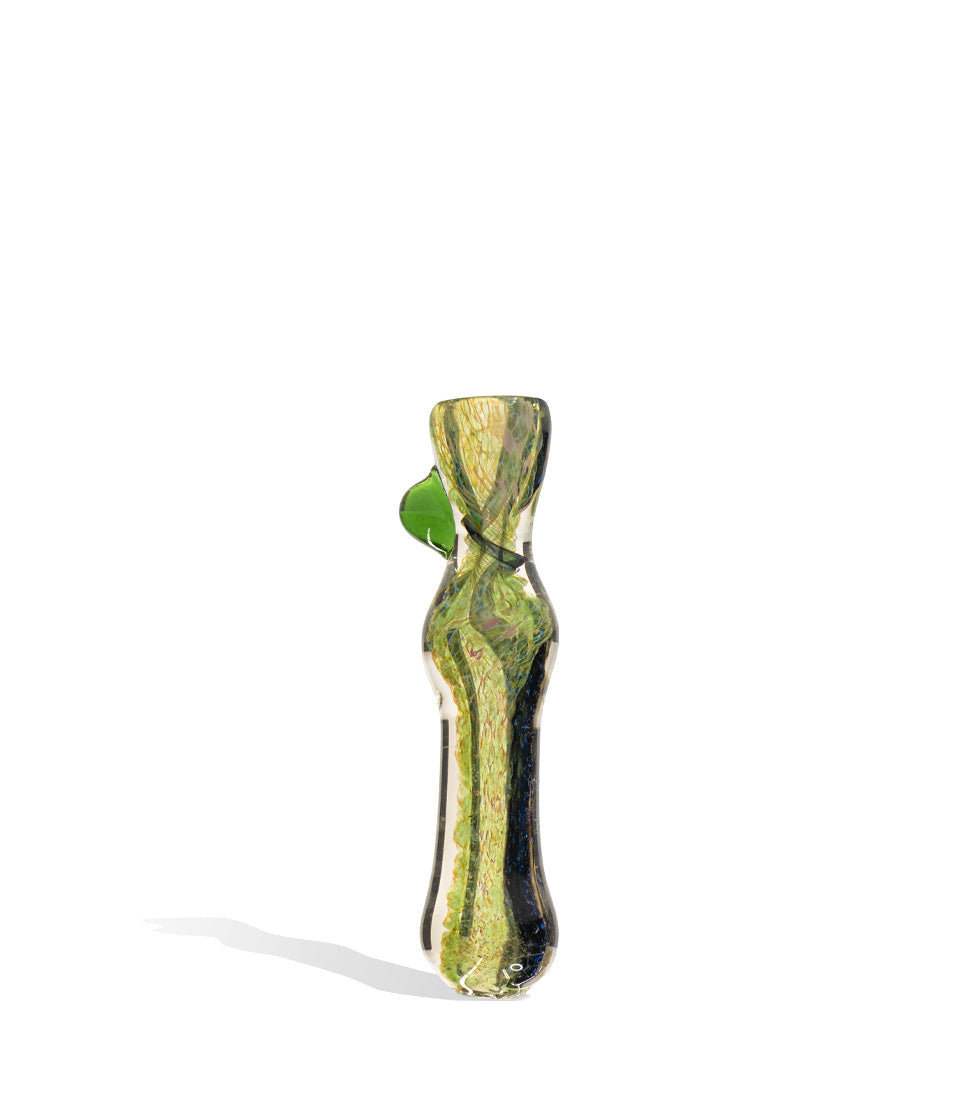
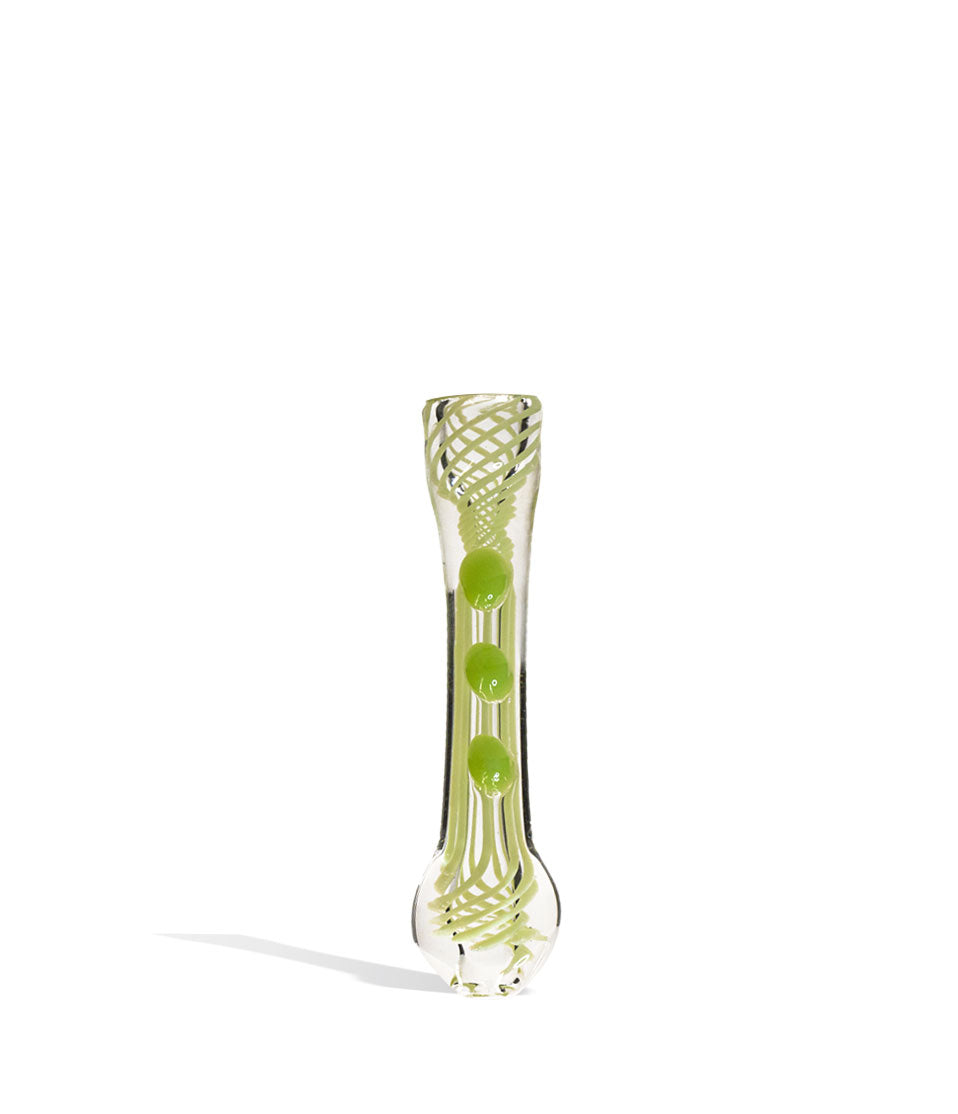
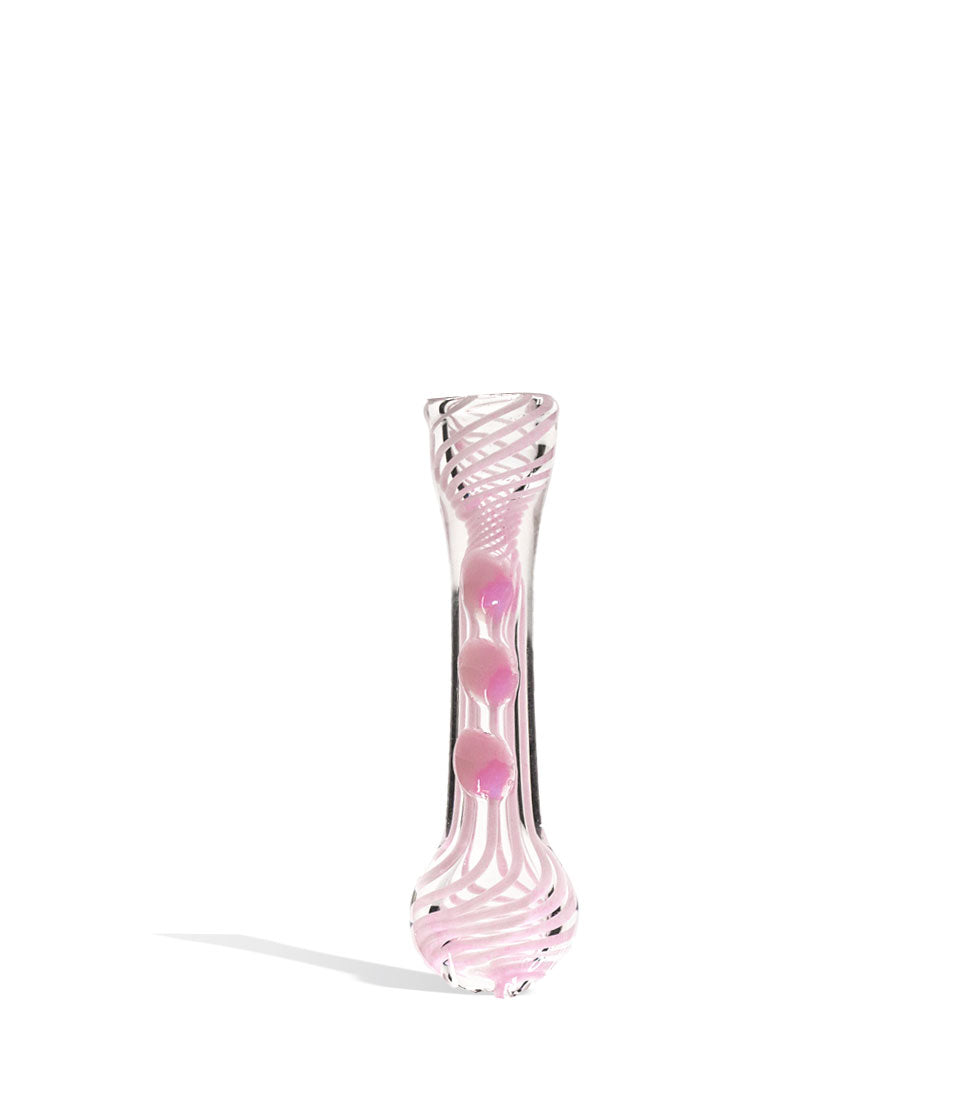
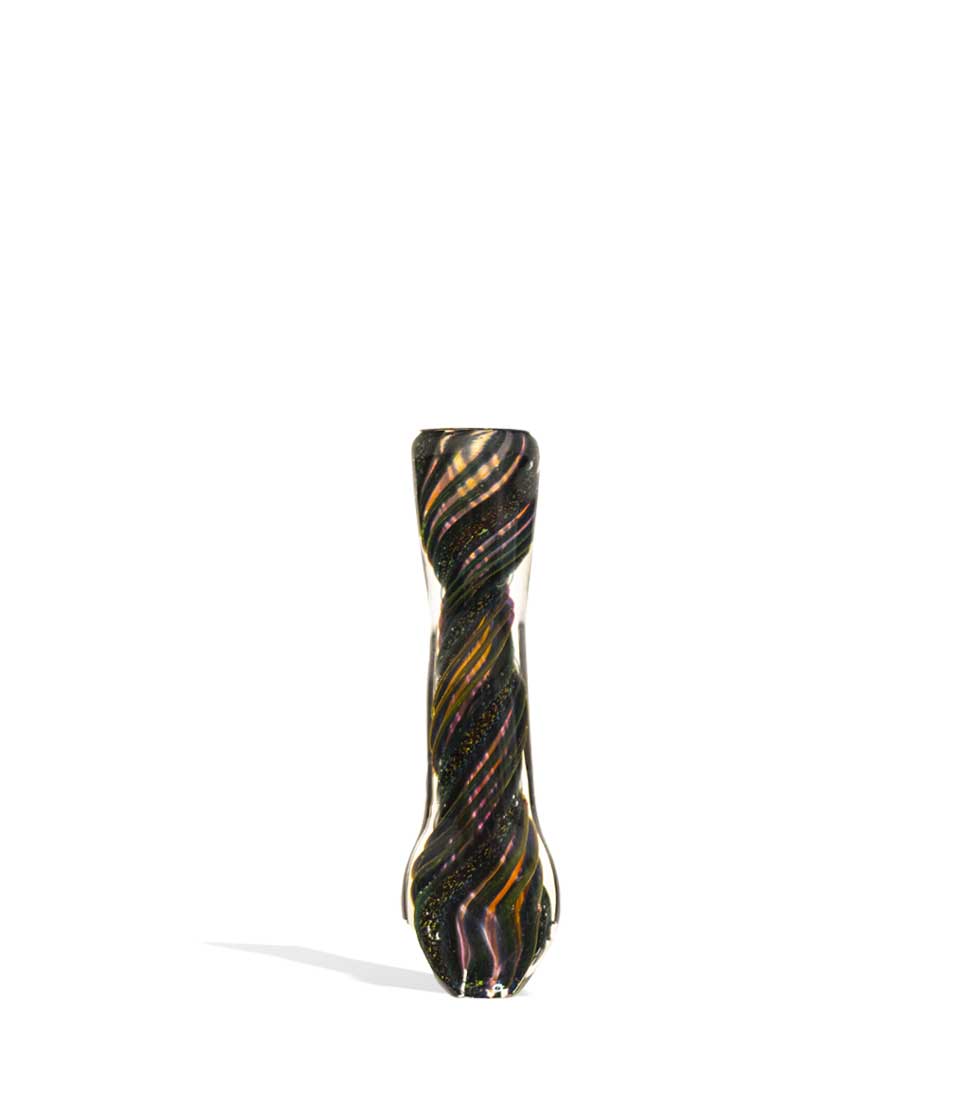
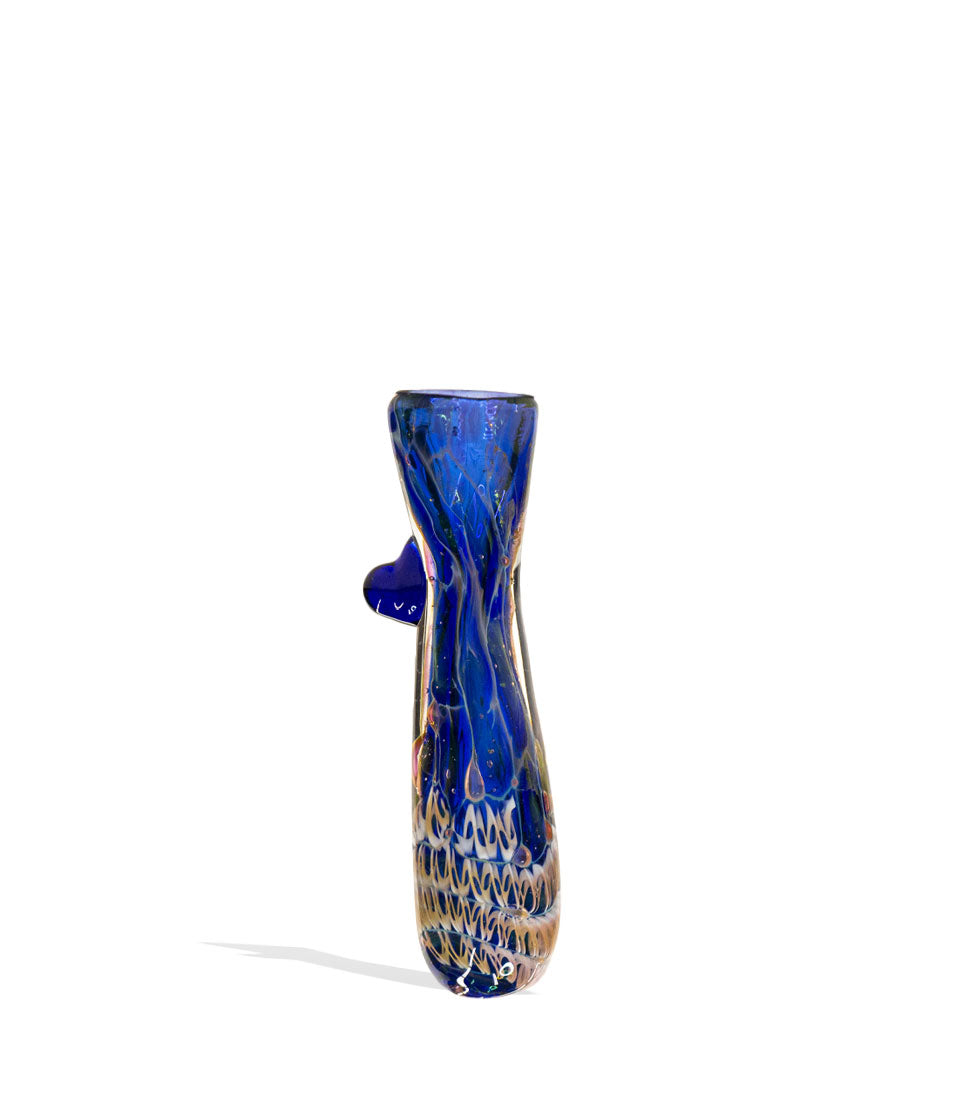
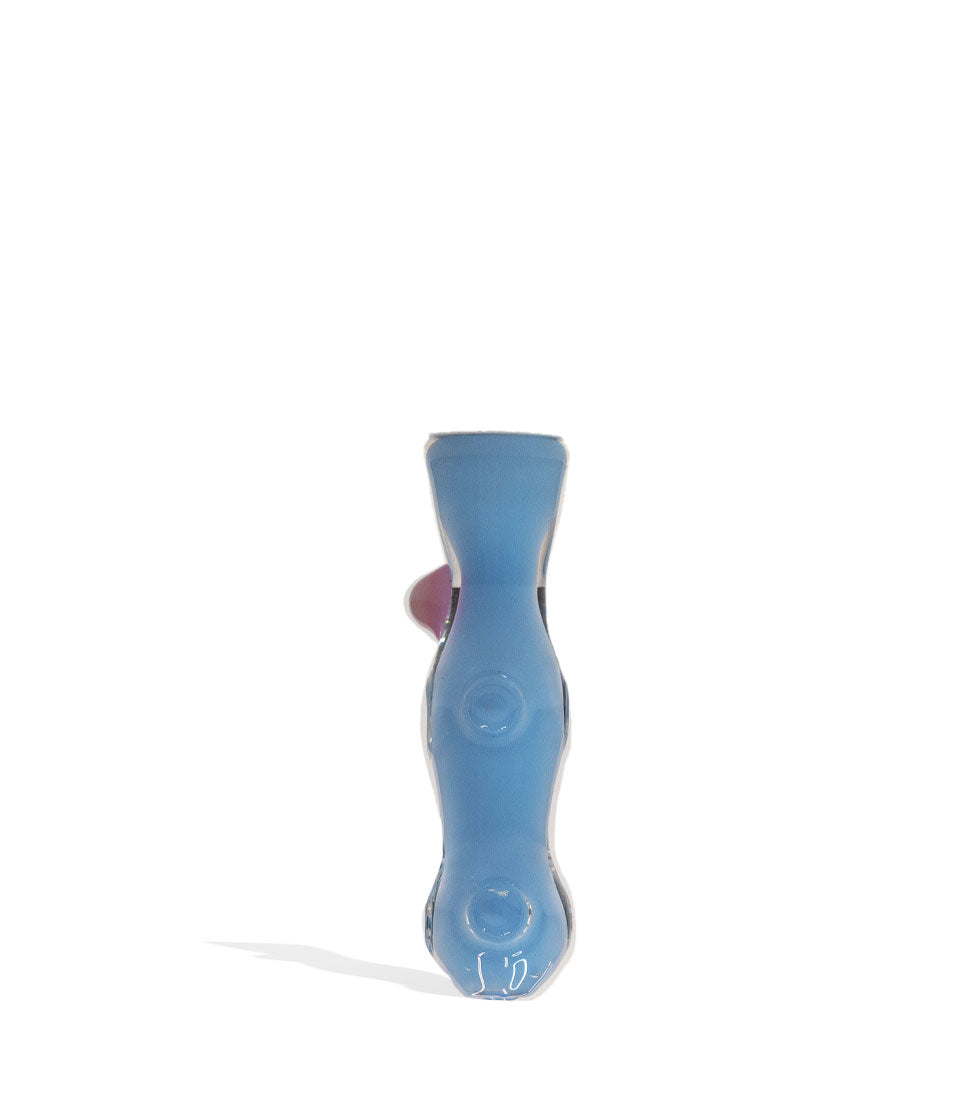
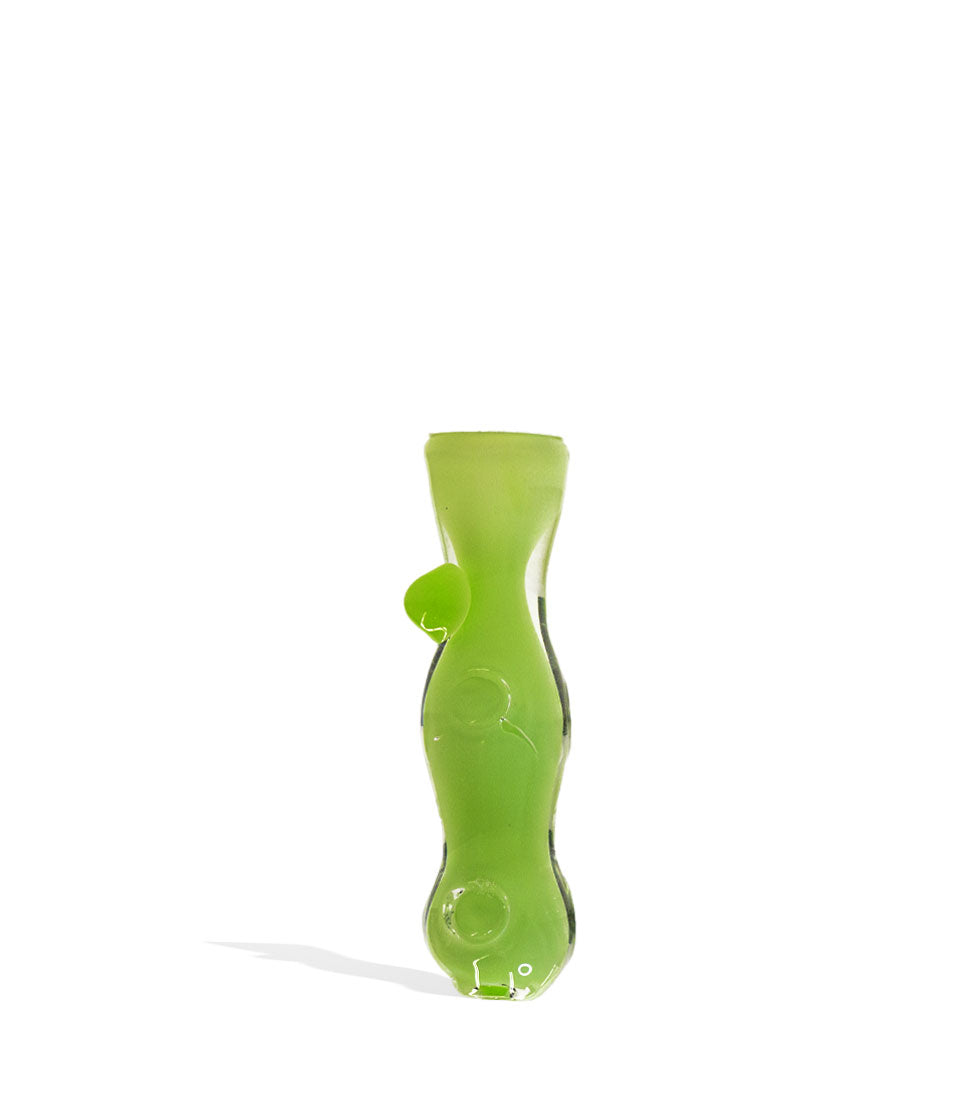
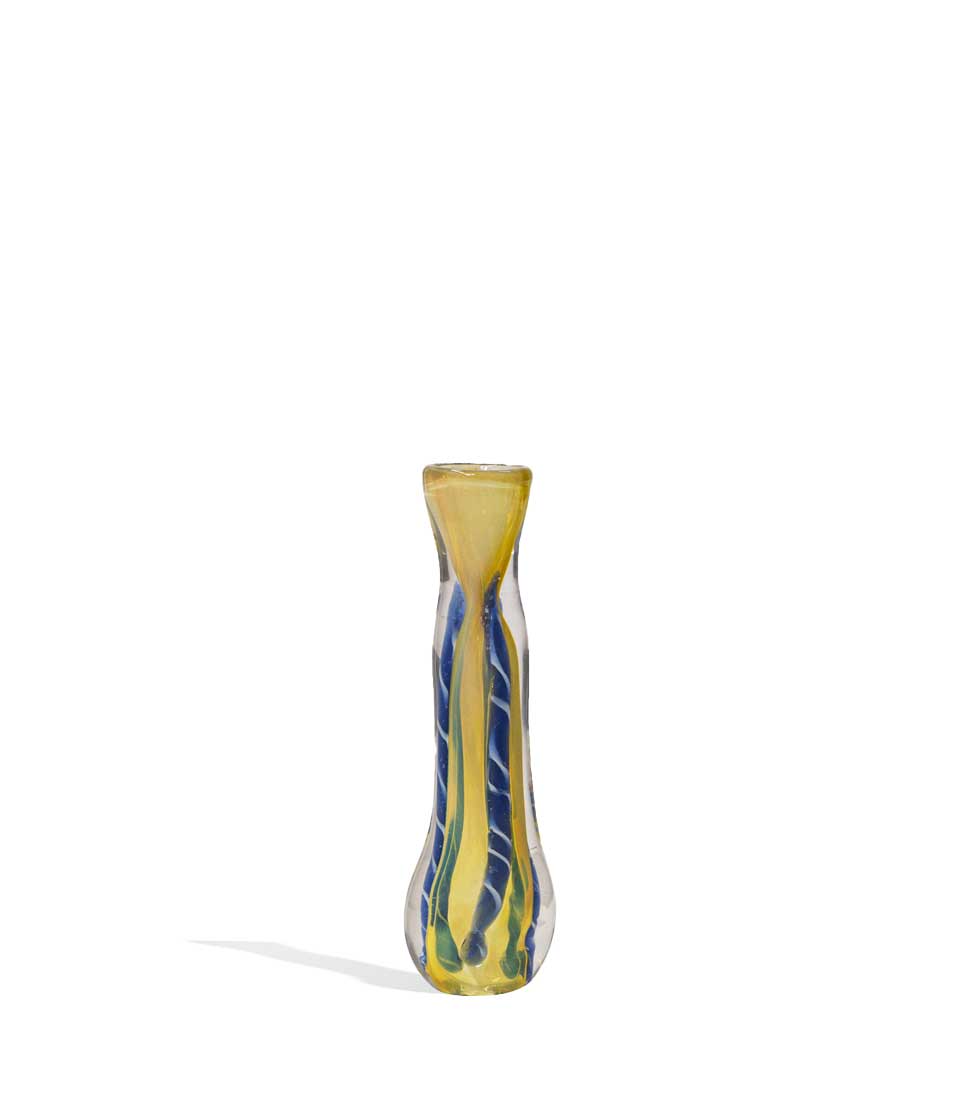
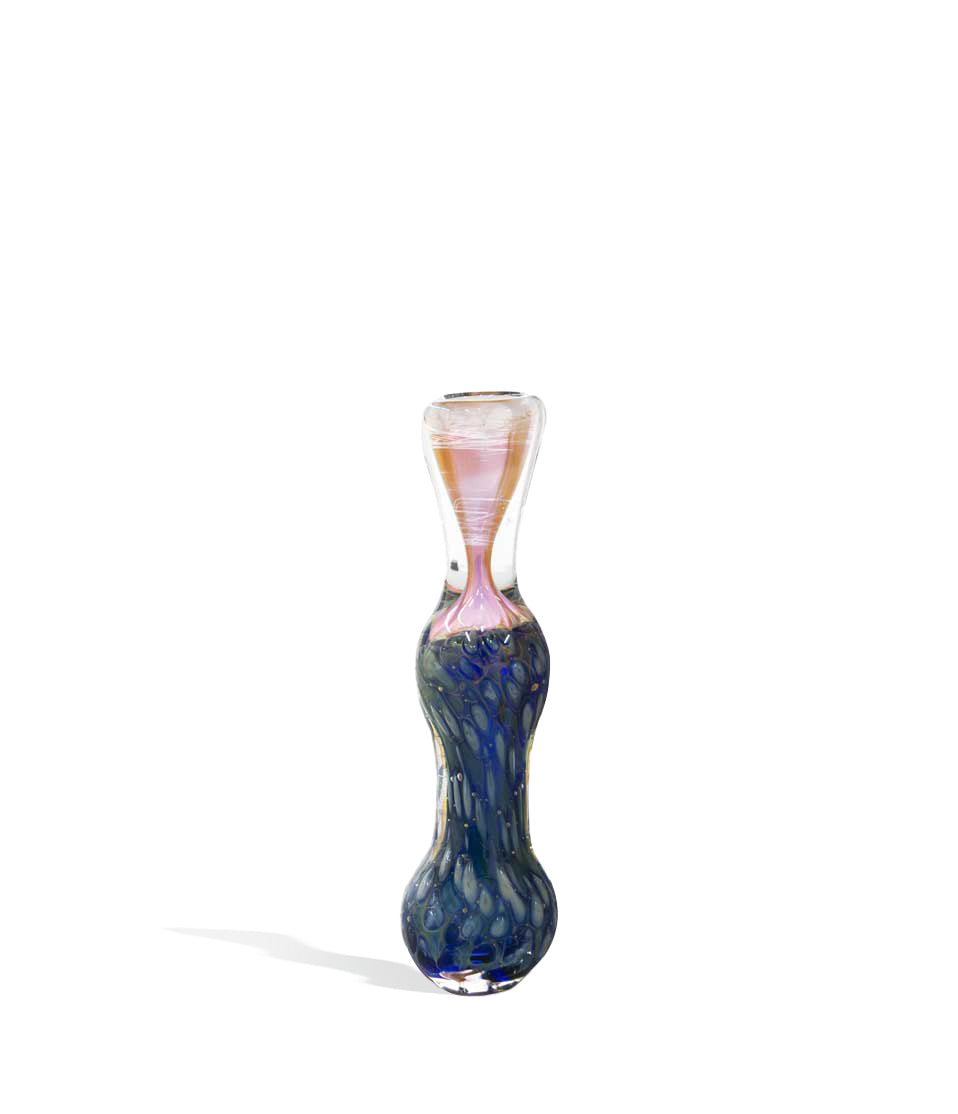

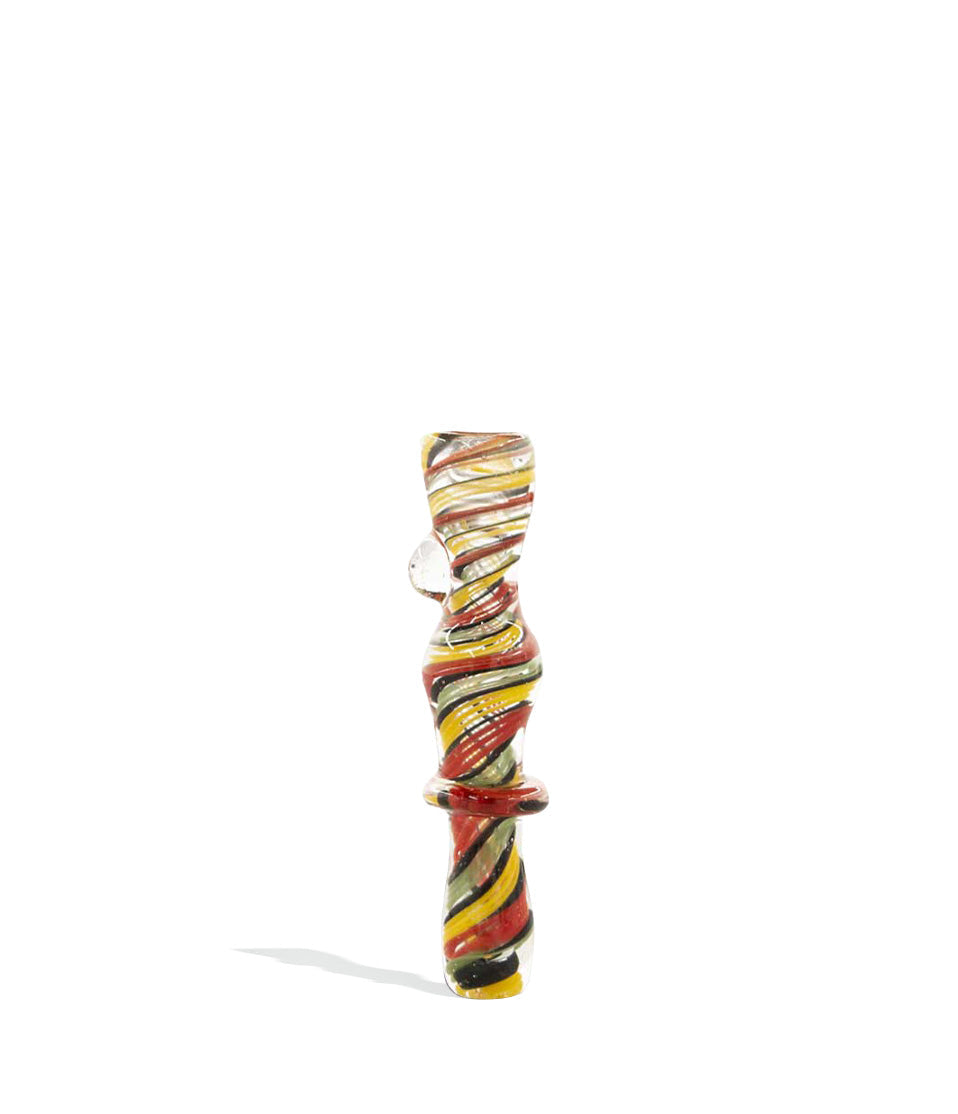
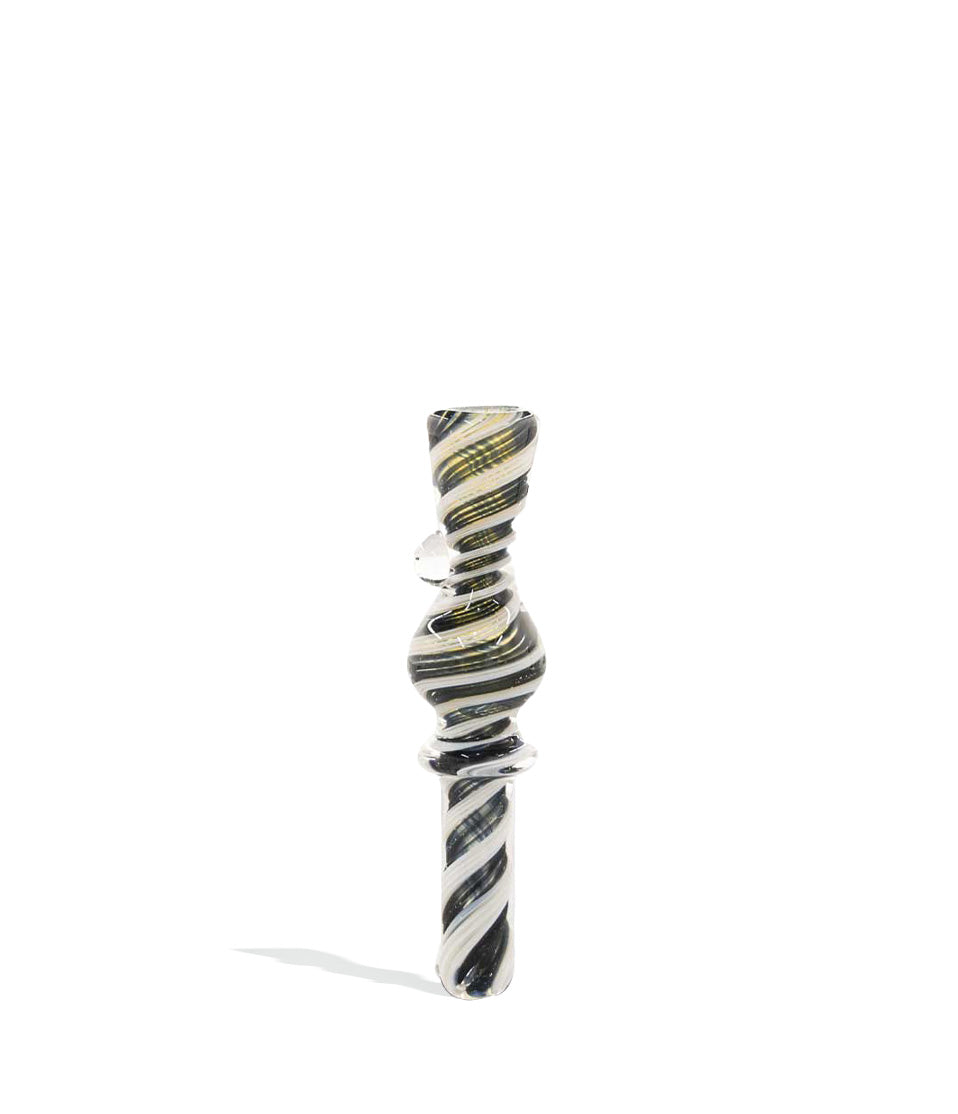
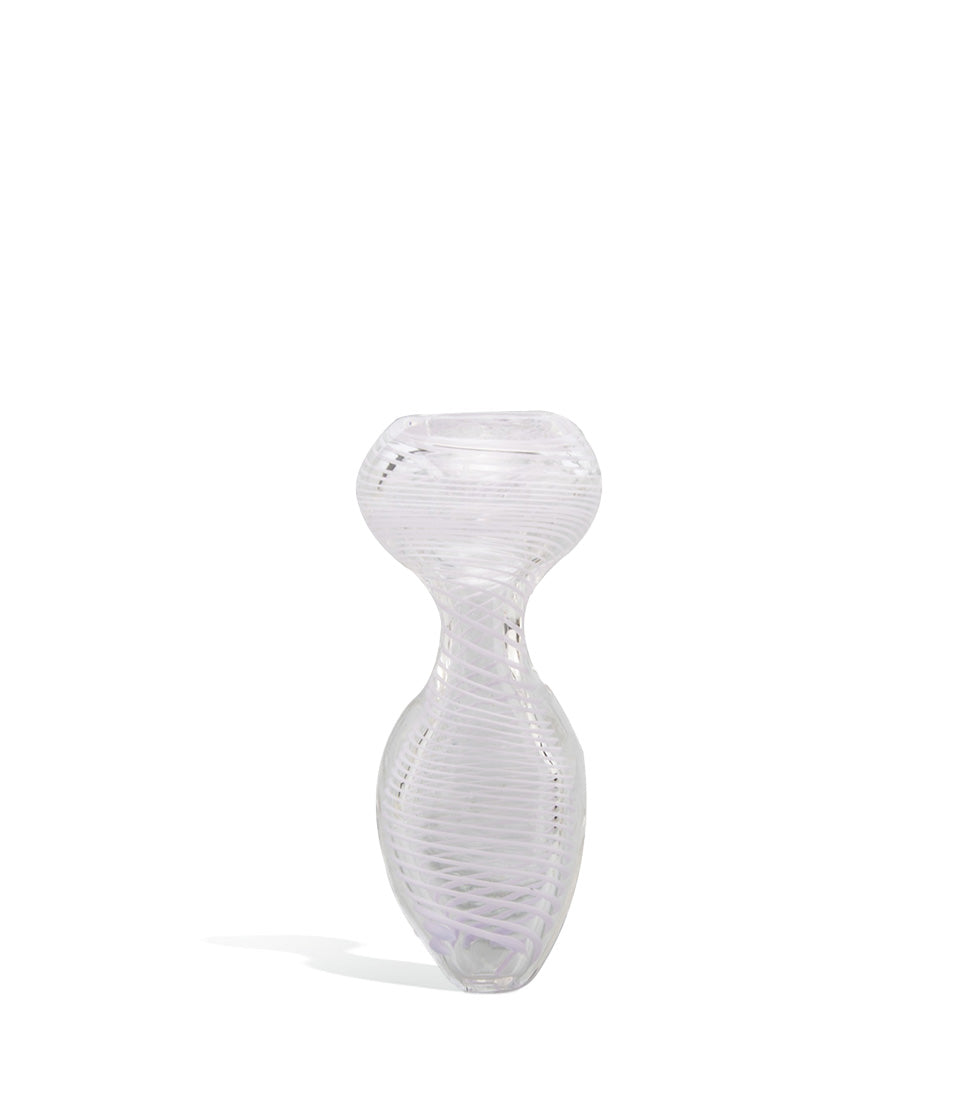
How-To
Complete How-To
From here, the walkthrough gets specific: the product details and buying considerations that turn the summary above into an actual decision.
Keep your favorite one hitter / chillum clear, pristine, and ready to deliver pure flavor with the help of the Got Vape Crew! Because these straight-shooters have such narrow airways, they tend to clog up faster than a fast-food drive-thru at midnight.
Having unclogged, soaked, and salvaged countless pieces over our 20+ years in the game, Got Vape knows the secret sauce to making a heavily used bat look factory-fresh without breaking a sweat.
For more tips on choosing the perfect travel piece, check out our breakdown here, or if you’re just starting out, make sure to look over our guide on how to use a one hitter / chillum properly.
This guide walks you through the exact process using simple household supplies that deliver serious results. In just a few minutes, you’ll clear out that sticky resin and ensure every pull from your one hitter feels like a breath of fresh air.
Table of Contents:
One Hitter & Chillum Cleaning Quick Start Guide
Why Keeping Your Chillum Clear Matters
Step 1: Tap Out and Clear the Airway
Step 2: Prepare The Isopropyl Bath
Step 3: Shake Gently & Soak
Step 4: The Pipe Cleaner Pass
Step 5: Rinse Thoroughly With Warm Water
Step 6: Air-Dry Completely
Common Mistakes & Quick Maintenance
Keep Your Chillum Fresh in 2026
One Hitter & Chillum Cleaning Quick Start Guide
In a rush to get back to smoking or just don’t like reading? No problem! Here is a fast breakdown covering the essential steps to revive your one hitter like a pro:
| STEP | ACTION | HOW TO | PRO TIP |
|---|---|---|---|
| 1 | Clear the Chamber | Use a poker tool to push out spent ash and loose debris over a trash can. | Blow through the mouthpiece firmly to dislodge any loose particles before soaking. |
| 2 | Bag It (Or Tube It) | Place your chillum inside a heavy-duty sealable plastic bag or empty doob tube. | Plastic doob tubes are the perfect size for soaking one hitters with zero ISO waste! |
| 3 | Add Solvents | Pour in a pinch of coarse salt and cover the piece with 91%+ ISO alcohol. | Coarse salt acts as tiny scrubbers to scrape away baked-on tar inside the narrow glass. |
| 4 | Agitate & Soak | Seal the container and shake gently for 1-2 minutes, then let it soak for 30 minutes. | Let the chemicals do the heavy lifting. Stubborn buildup dissolves as the liquid turns brown. |
| 5 | The Pipe Cleaner Pass | Run a bristled pipe cleaner straight through the airway from end to end. | Dip the pipe cleaner directly into ISO first to strip stubborn resin away instantly. |
| 6 | Flush Warm | Rinse the piece thoroughly under warm running tap water. | Never use freezing cold water on glass that was just sitting in warm liquid to prevent cracking. |
| 7 | Dry 100% | Set the piece upright on a clean towel and let it dry completely. | Wait until zero moisture remains inside the narrow airway before packing your next bowl. |
Why Keeping Your Chillum Clear Matters
Every time you light up a chillum, combusted flower leaves behind sticky plant tar and ash dust. Because one hitters have a direct, narrow vapor path, this thick resin layer coats the inside incredibly fast, acting like a bottleneck for your airflow.
Without regular maintenance, even the best of pieces start to perform poorly. A gunked-up chillum drags down your airflow, ruins the taste of your terpenes, and leads to dreaded “Scooby Snacks” (getting hot ash pulled directly into your mouth).
A dirty one hitter inevitably leads to:
- Harsh, burnt, and acrid smoke flavor
- Extremely tight draw resistance
- Hot resin or ash pulling onto your lips and tongue
- Persistent, stale odors lingering in your pocket or dugout
- Complete blockage where the piece becomes unusable
Taking care of your piece keeps your sessions smooth and guarantees you get the full flavor profile out of every pinch you pack. This way you’re never stuck pulling from a turbo clogged piece, unable to get even the smallest puff of herbs.
Step 1: Tap Out and Clear the Airway
Before introducing any liquids, hold your one hitter over a trash can or ash tray. Make sure that your embers aren’t still hot, as you don’t want to accidentally knock a still burning clump of buds into your trash.
Gently tap the bowl end to dislodge loose ash. Next, take a metal poker tool (or a straightened paperclip) and push it straight through the airway to knock out any major resin blockages.
Blow through the mouthpiece to clear out the remaining loose debris. Getting the big chunks out early makes the soaking process far more effective and will ensure that you’ve set things up for success.
The end goal here is to have all materials removed from your one hitter or chillum, leaving you with only stains and tar build up to deal with. Trust us this makes a big difference later on and is the best way to kick off your cleaning.
Step 2: Prepare The Isopropyl Bath
Take a thick, sealable plastic freezer bag or other container and slip your chillum inside. If you are cleaning multiple glass pieces at once, give each one its own container so they don’t clack together and end up accidentally chipping or even breaking entirely.
Carefully pour in enough isopropyl alcohol to fully submerge the pipe, adding a healthy pinch of coarse epsom salt to act as an abrasive scrubber.
Make sure not to spill your bag, as it can be a massive pain dealing with isopropyl alcohol and salt all over your counter. So make sure to do all your loading in the sink or on a cloth, so you keep things clean in case of an accident.
Step 3: Shake Gently & Soak
Seal the bag or tube tightly, pressing out excess air. Hold your one hitter / chillum securely through the plastic and gently shake it for 1 to 2 minutes.
This forces the isopropyl alcohol and salt back and forth through the narrow airway, breaking down sticky resin bonds and allowing for far quicker overall cleaning.
Once shaken up, let your one hitter / chillum soak for around 30 – 60 minutes. For dirtier pieces we recommend leaving things to soak over night, this way your isopropyl alcohol has more than enough time to remove all the stains.
Step 4: The Pipe Cleaner Pass
After soaking, carefully remove your one hitter / chillum and place it on a paper towel / cloth. Next slowly pour the excess isopropyl alcohol down your drain, taking extra time to not spill as this new found mixture is full of everything bad you’ve just removed.
Now examine your one hitter / chillum and look for any ares that still have gunk or build up. Following this you can take a pipe cleaner or swab and use it to remove any lingering tar / resin, as the isopropyl alcohol has softened things up for you.
It may take you a couple of passes and a bit of elbow grease, but with a little effort on your part the softened tar should wipe right off the internal walls, leaving the glass crystal clear.
Step 5: Rinse Thoroughly With Warm Water
Once the airway is cleared, flush your chillum out with hot water to remove any leftover isopropyl alcohol and salt. This is essential, as sometimes little pieces or left over herbs can get trapped out of sight.
Hold the piece securely under a faucet running warm tap water for at least a minute or more. Remember to grip it tightly, as ISO and running water make glass incredibly slippery.
As a note, always use warm water to avoid the thermal stress cracks that ice cold water can cause. This is because when you rapidly apply cold water to your one hitter / chillum post cleaning, it can end up causing cracks and damaging your precious piece.
Step 6: Air-Dry Completely
With your chillum now squeaky clean, set it upright on a cloth or paper towel in a well ventilated area.
Allow the piece to air-dry completely for 15 to 30 minutes so every drop of moisture evaporates from the narrow inner stem. Do not skip this step, as inhaling water vapor or alcohol fumes is a surefire way to ruin a fresh bowl.
So instead put your feet up, watch an episode of your favorite show, and then come back to your one hitter or chillum for some rapid fire tokes.
Common Mistakes & Quick Maintenance
Not every session requires a full isopropyl bath routine. You can keep your one hitter running smoothly by simply running a dry pipe cleaner or poker tool through the airway immediately after your last hit while the resin is still warm and pliable.
Even seasoned smokers can make a misstep during glass care. Avoid these common pitfalls to keep your pieces safe and sound:
- Boiling your glass: Dropping a dirty glass chillum into boiling water is a recipe for thermal shock and shattered glass. Stick to room-temperature ISO.
- Using plastic paperclips: If you use a plastic-coated paperclip to scrape a pipe that still has ISO on it, the alcohol will melt the plastic coating directly into your airway.
- Soaking wooden bats: Submerging natural wood pieces in liquids causes permanent swelling and warping.
- Rushing the rinse: Not flushing the inner airway long enough will leave behind a harsh, dangerous alcohol vapor on your first hit.
Keep Your Chillum Fresh in 2026
Mastering how to clean a chillum or one hitter isn’t just about basic routine maintenance, it’s about respecting your flower and getting the absolute best flavor, smooth airflow, and potent experience out of every pinch you pack.
With over two decades of ripping herbs and testing chillums / one hitter, the Got Vape Crew knows one truth above all, clean pieces make every piece perform better.
Stick to these simple steps, keep your ISO and pipe cleaners handy, and enjoy flawless airflow every single time. For more expert breakdowns, piece guides, and session tips, check out the rest of our postings at the Got Vape Resource Center! Stay cloudy, y’all!
Frequently Asked Questions
How-To FAQs
Quick answers to what shoppers usually ask before putting this guidance to use.
What Is The Best Solution To Clean A Glass One Hitter Or Chillum?
How Do You Stop A One Hitter From Getting Clogged So Quickly?
Why Does My Chillum Taste Like Alcohol After Cleaning It?
How Often Should I Clean My One Hitter or Chillum?
Got Vape Trust Center
About This Resource
Here's a look at who put this guide together, how it was fact checked, and how the Got Vape team keeps it current.
Editorial Standards
- Written for shoppers, not search engines.
- Checked for accuracy and plain, practical usefulness before it goes live.
- Grounded in the manufacturer specs and product documentation we can verify.
- Revisited whenever products, regulations, or category trends shift enough to matter.
- Shaped by years of hands-on time with this gear, not just spec sheets.
- Written to help you land on the right device without the guesswork.
Research Methodology
We built this walkthrough around the actual steps, from unboxing through everyday use, based on time spent with the device and the questions people ask most.
- Hands-on product experience
- Step-by-step setup and use
- Cleaning, care, and troubleshooting
- Common questions answered
- Safe and responsible use
- Real-world use considerations
- Editorial review for clarity and accuracy
Article Information
Intended Audience
- Everyday customers
- First-time buyers
- Experienced enthusiasts
- Dry herb users
- Concentrate users
- Anyone upgrading their setup
Editorial Policy
We revisit Got Vape guides on a regular basis rather than publishing them once and walking away. If a product spec, regulation, or category trend changes enough to matter, the article gets updated and the review date moves with it.
Keep Exploring
Related Resources
A few more Got Vape guides worth a look if you want to get even more out of your setup.
How-To
Find out how to use a grinder for better dry herb smoking / vaping. Follow along with the Got Vape Crew as we explain how to pr...
Read Resource →
Category Guide
You are hereby cordially invited to view the Got Vape Guide To Stoner Circle Etiquette! Ditch bad habits and make sure you do y...
Read Resource →
Best Of List
Thanks to the exquisite artwork of glass and accessory designers, the option exists to elevate your sessions through awe inspir...
Read Resource →
Safety
Headed to a music festival and wondering how to take your vaporize? You're in luck because the Got Vape Crew has created the ul...
Read Resource →