

Resource Center
How To Use A Dry Herb Vaporizer (Got Vape Crew Tips)

Continue With This Resource
Got Vape Quick Brief
What You Should Know
Skim this first for the short version: the main points, the questions people ask, and what to consider before you buy.
Overview
Key Takeaways
- Grinding herbs to a medium consistency and packing the chamber to 80% capacity prevents restricted airflow and uneven heating.
- Low to medium temperature settings deliver smoother, flavor-focused draws, while higher settings maximize cloud density and potency.
- Taking slow, steady draws rather than hard pulls produces denser, higher-quality vapor during dry herb sessions
- Emptying the heating chamber immediately after use prevents resin buildup, blocked airflow, and difficult deep-cleaning routines.
- Using original charging cables and avoiding overnight charging protects vaporizer battery longevity and device safety.
Questions This Resource Answers
- How should you properly grind and pack dry herbs to optimize vaporizer airflow and heating?
- How to properly use a dry herb vaporizer for maximized vapor output?
- What temperature settings should beginners select to balance vapor flavor and cloud density?
- What is the correct drawing technique for getting maximum vapor performance from a dry herb vape?
- What are the essential battery charging and safe storage practices for dry herb vaporizers?
Recommended Products
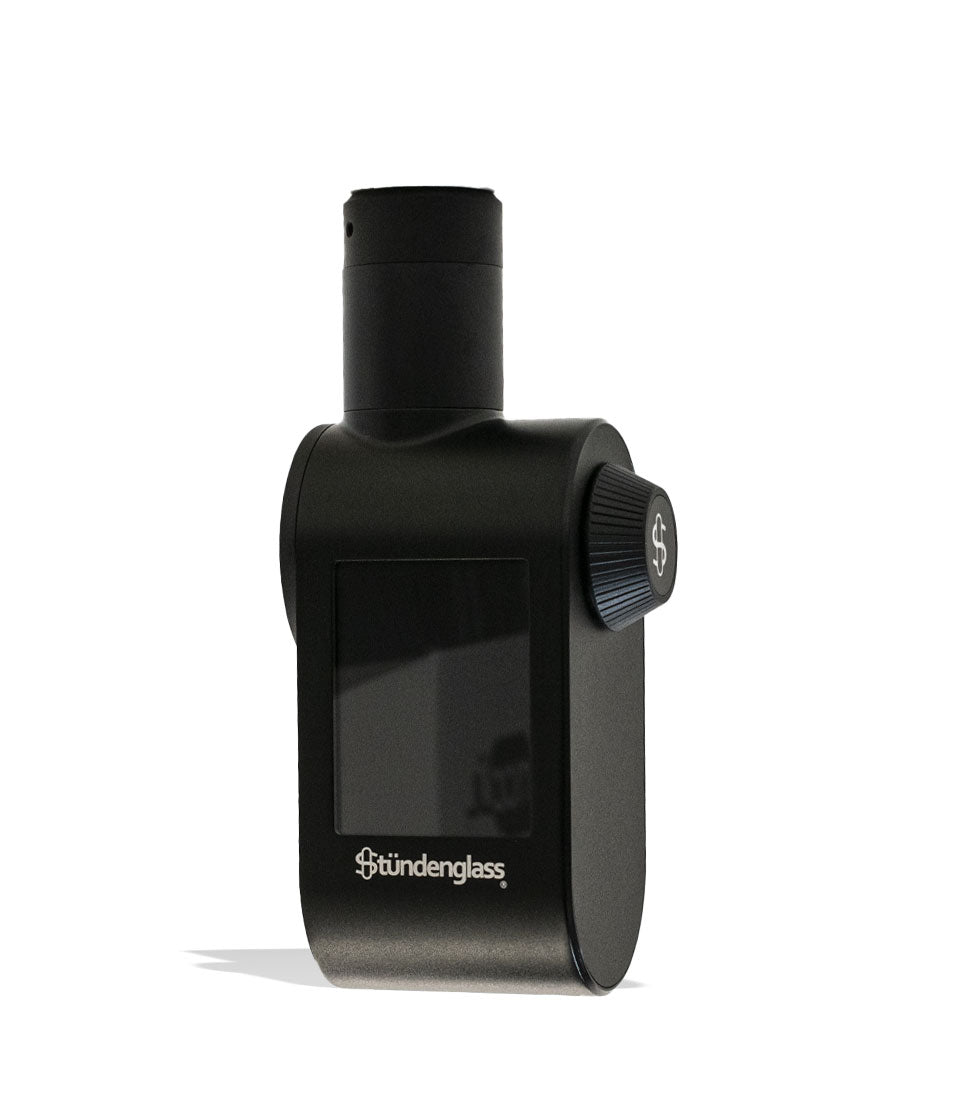
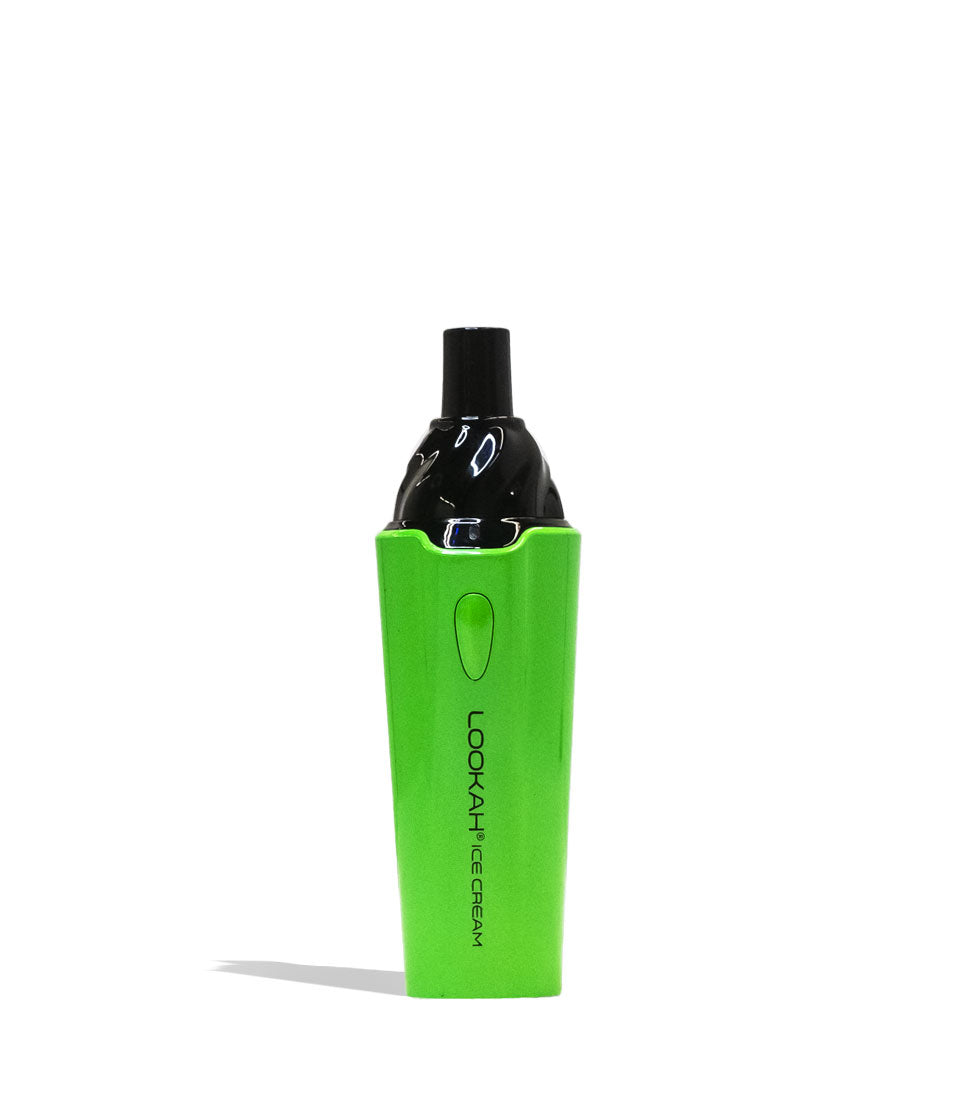
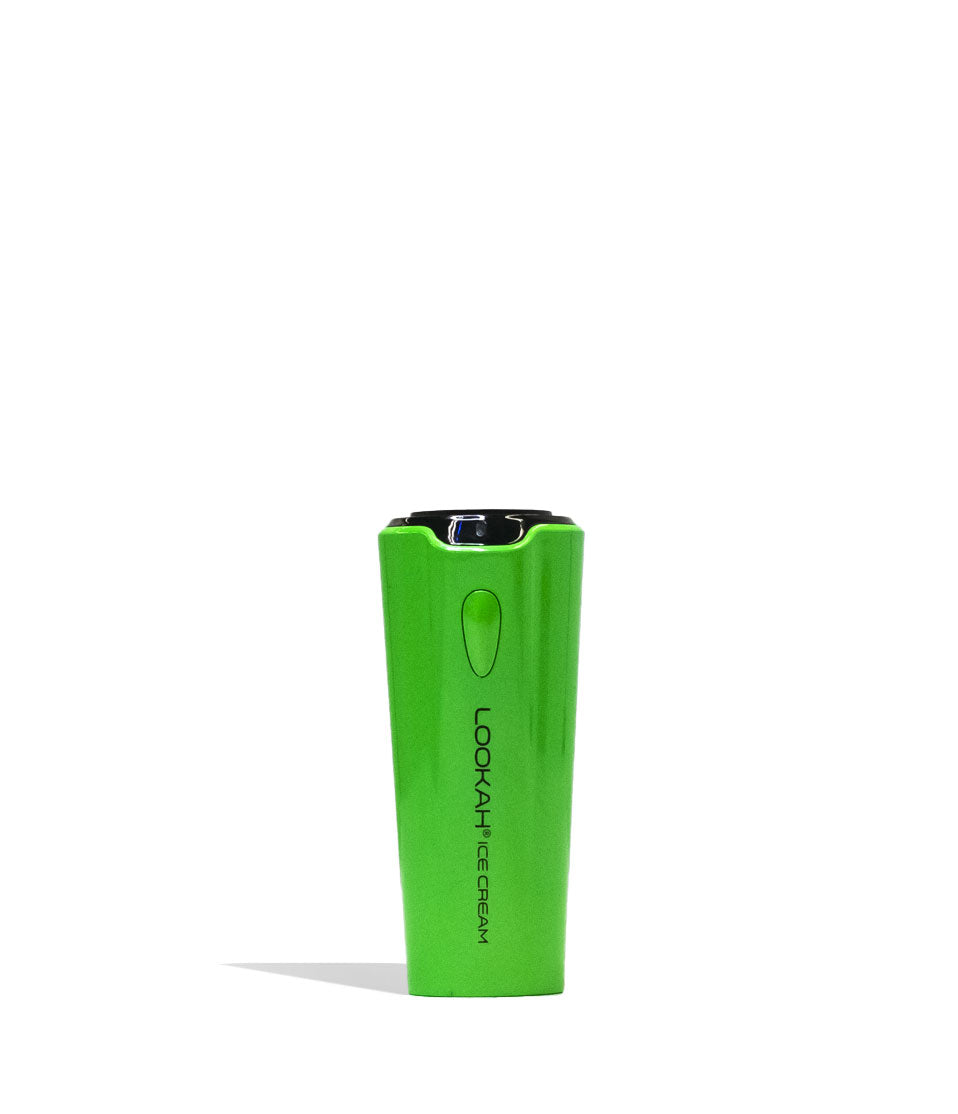
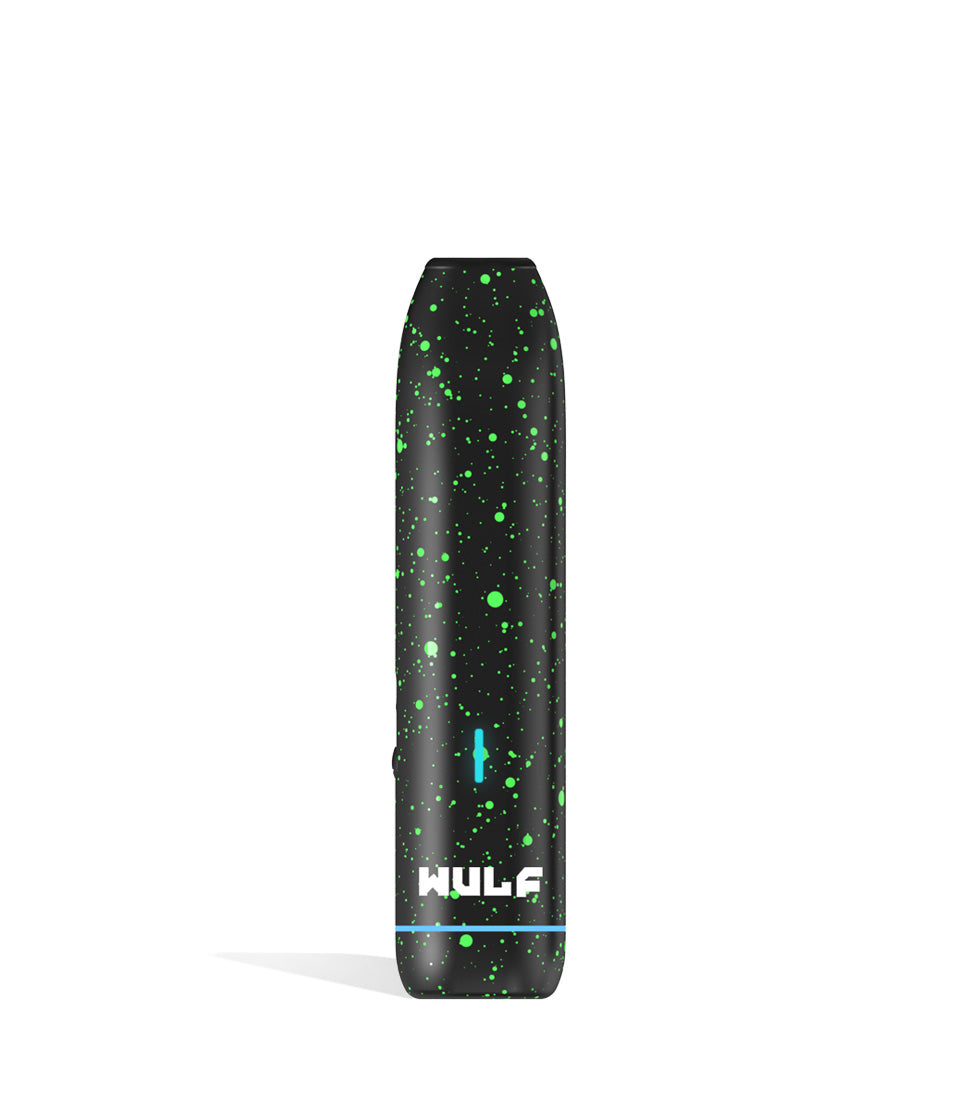
Shop Dry Herb Vaporizers
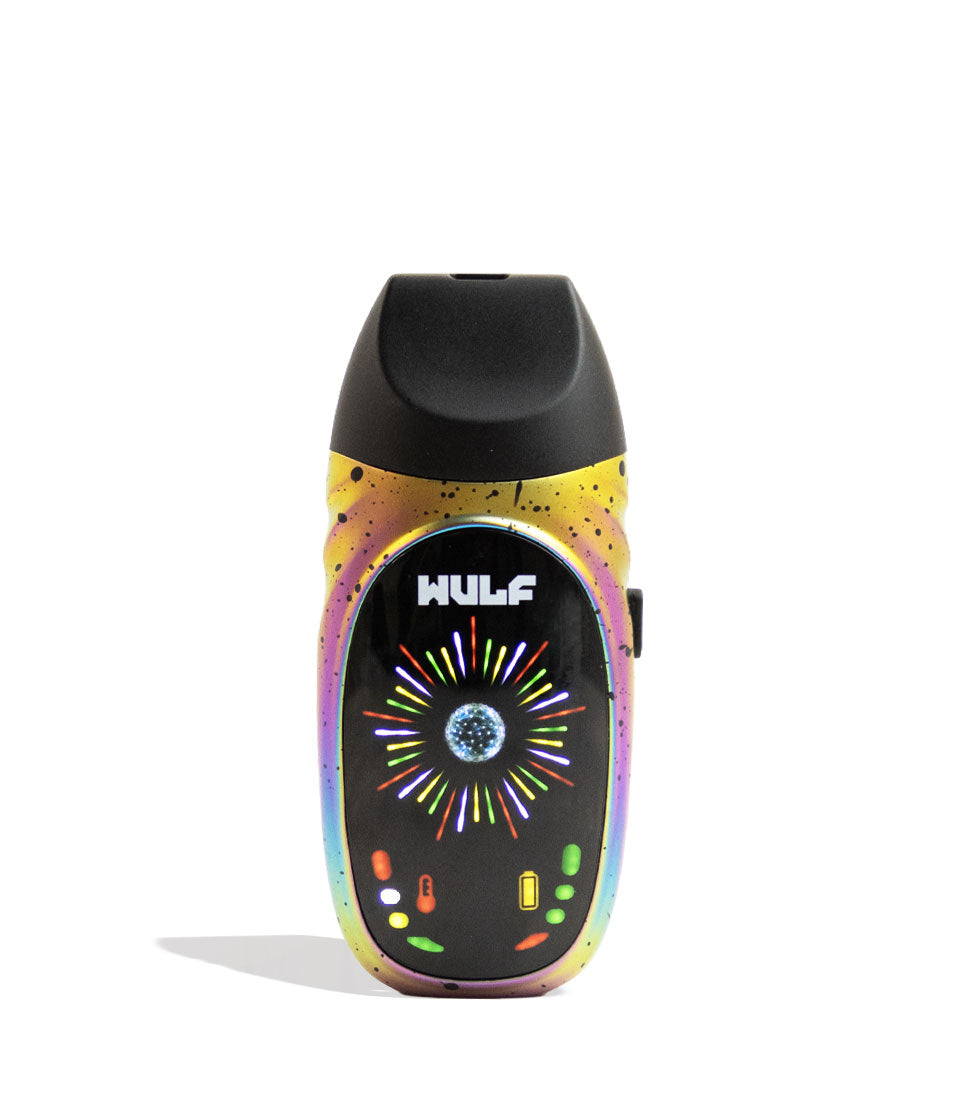
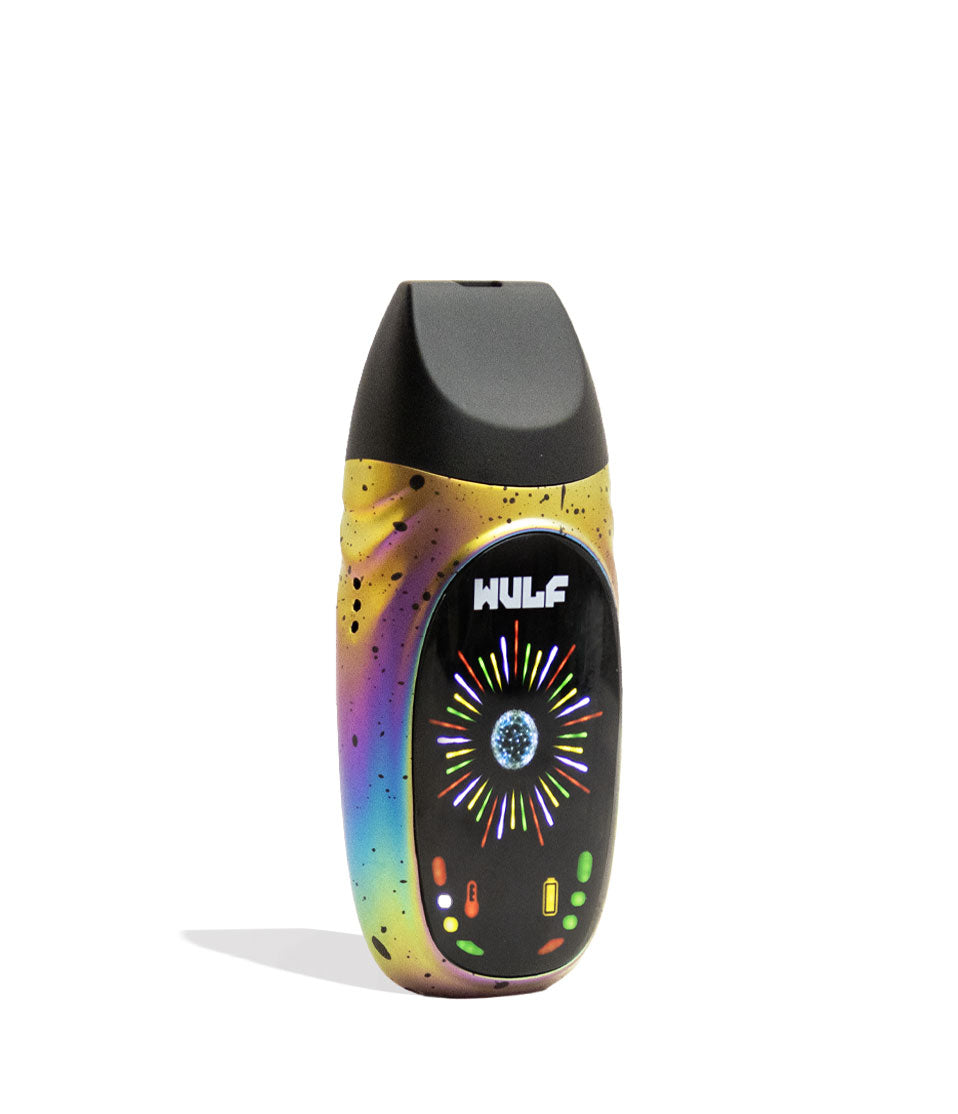
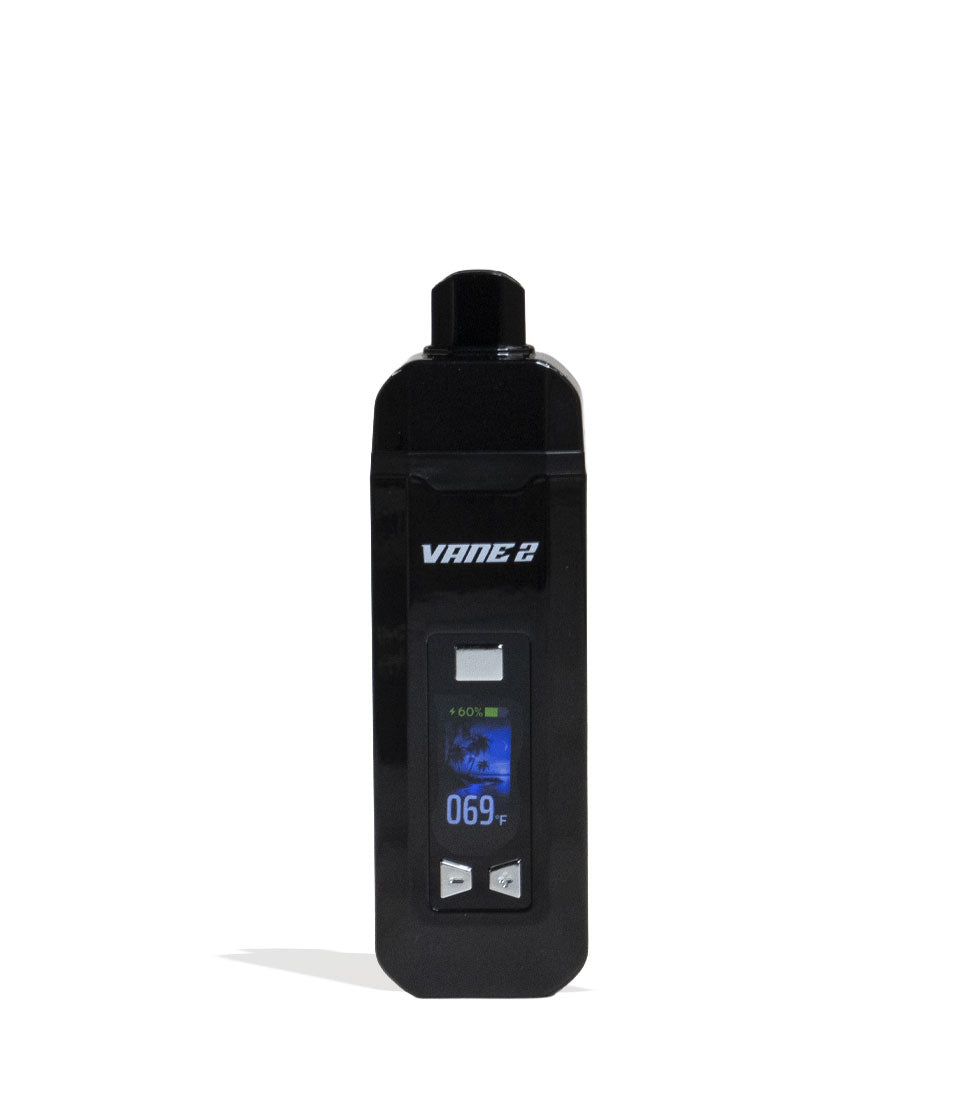
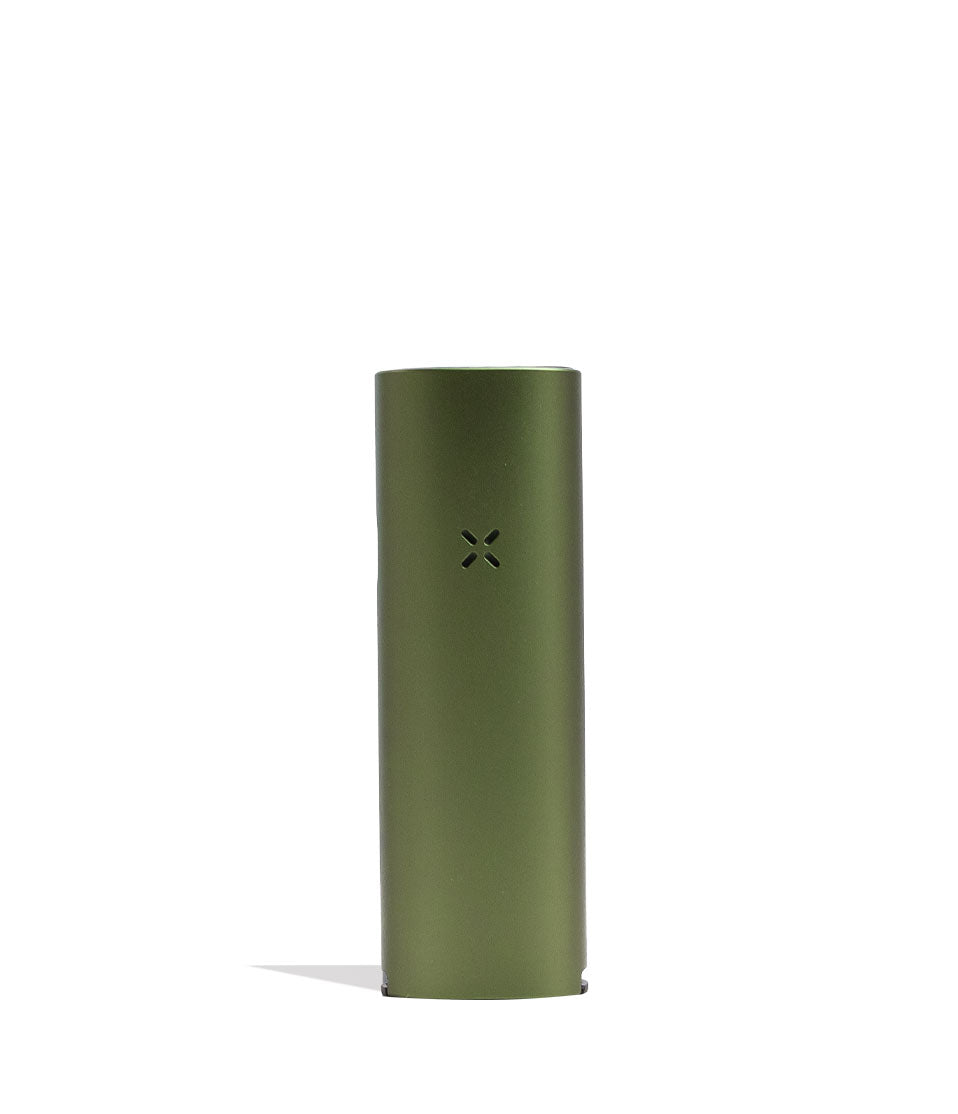
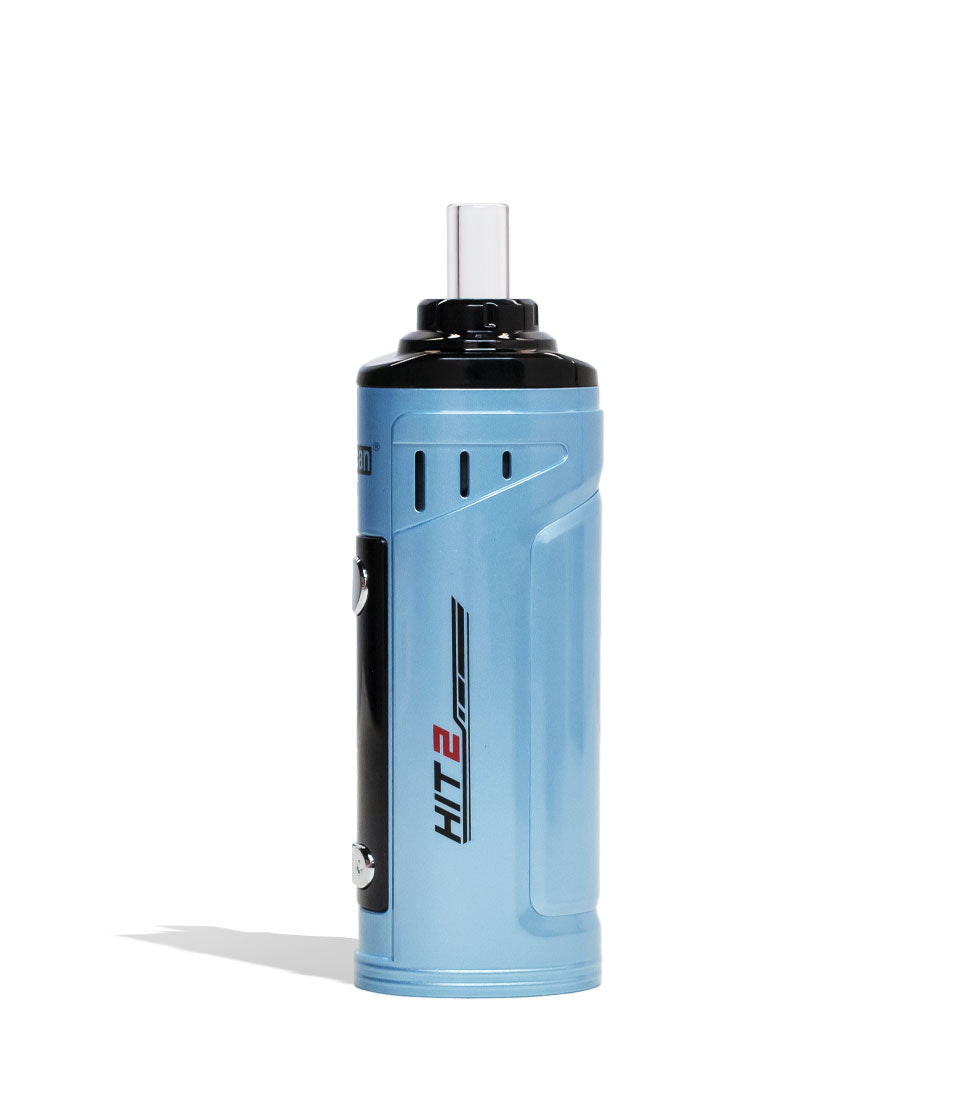
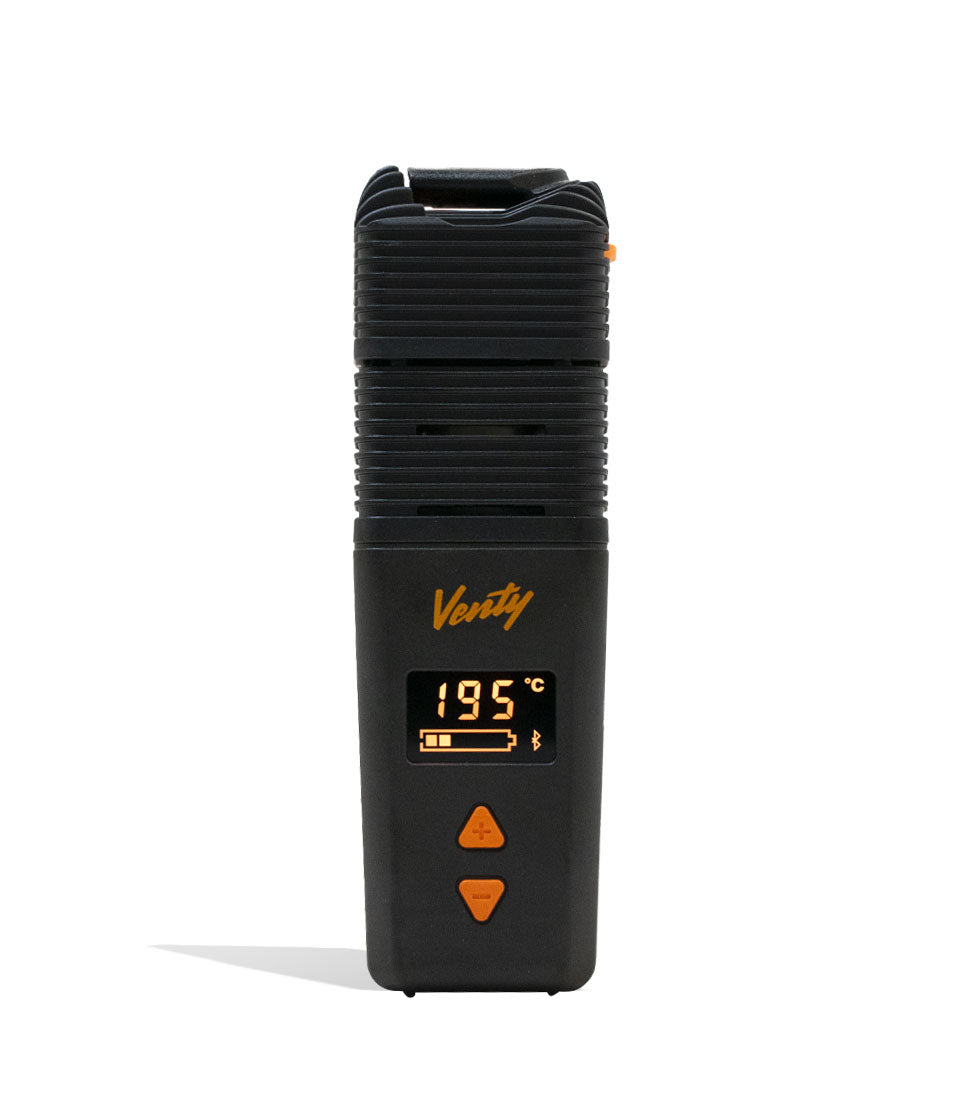
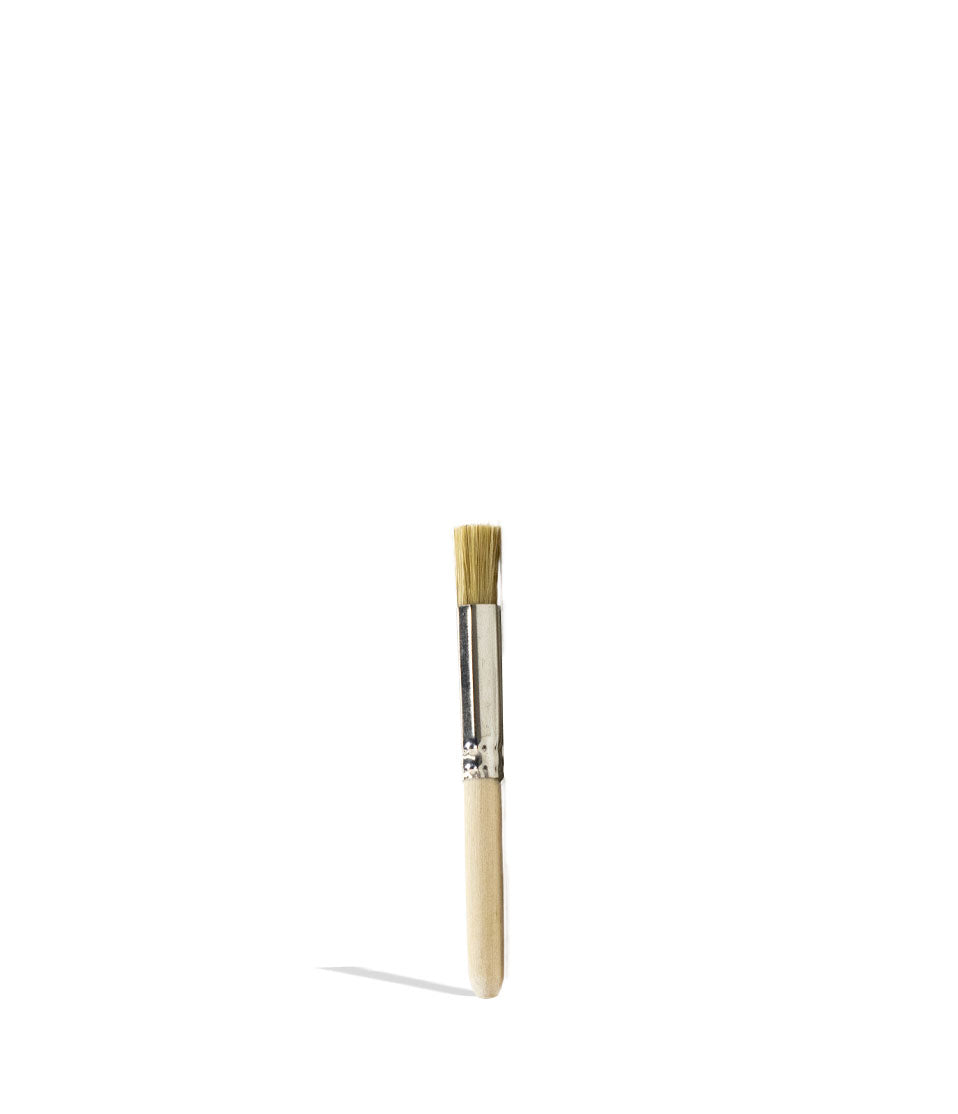
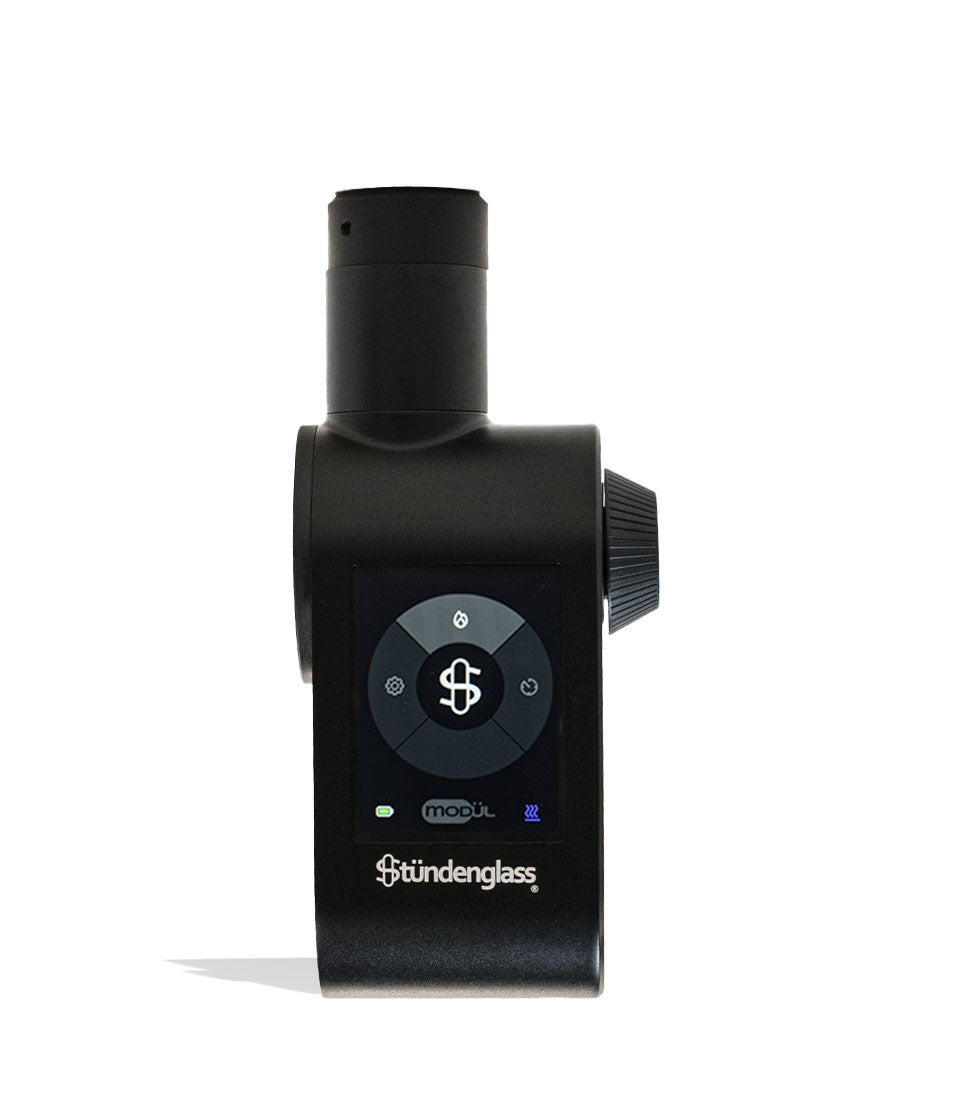
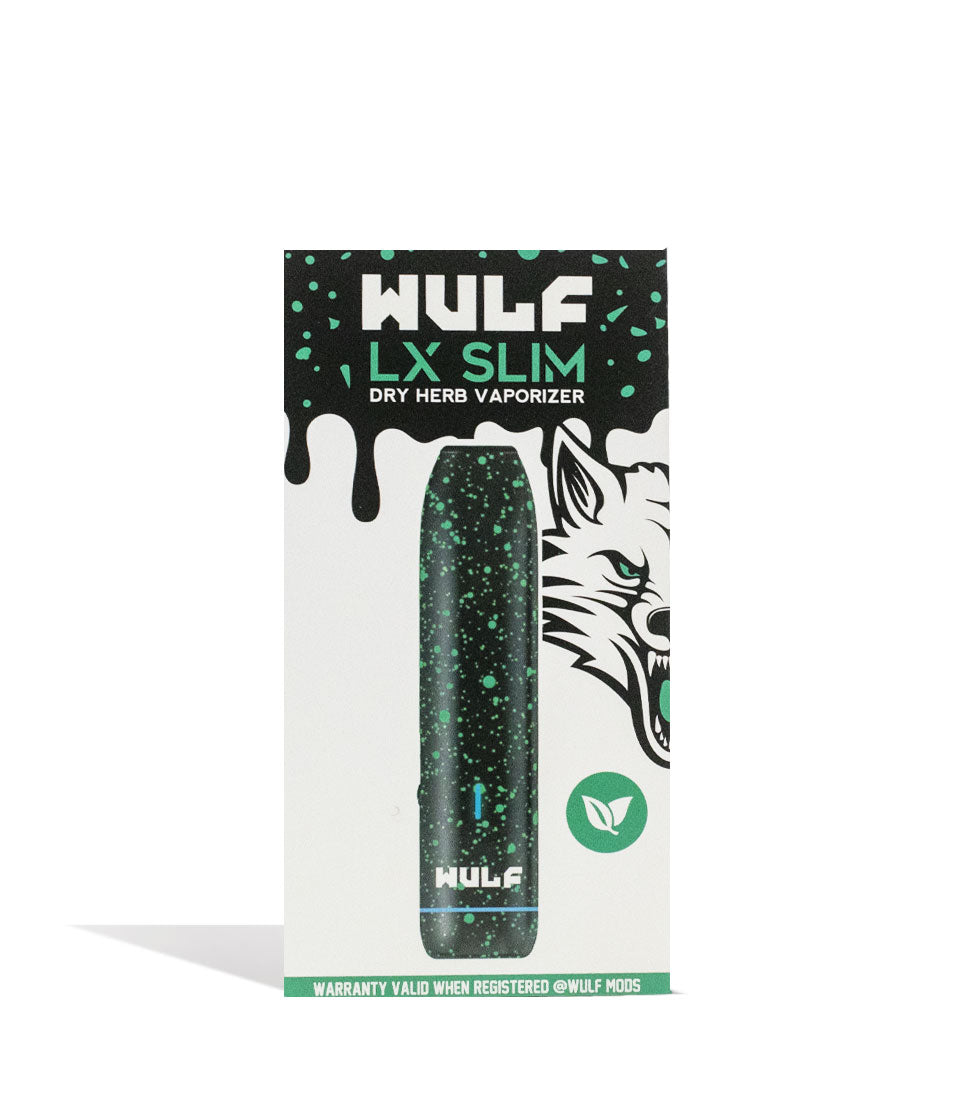
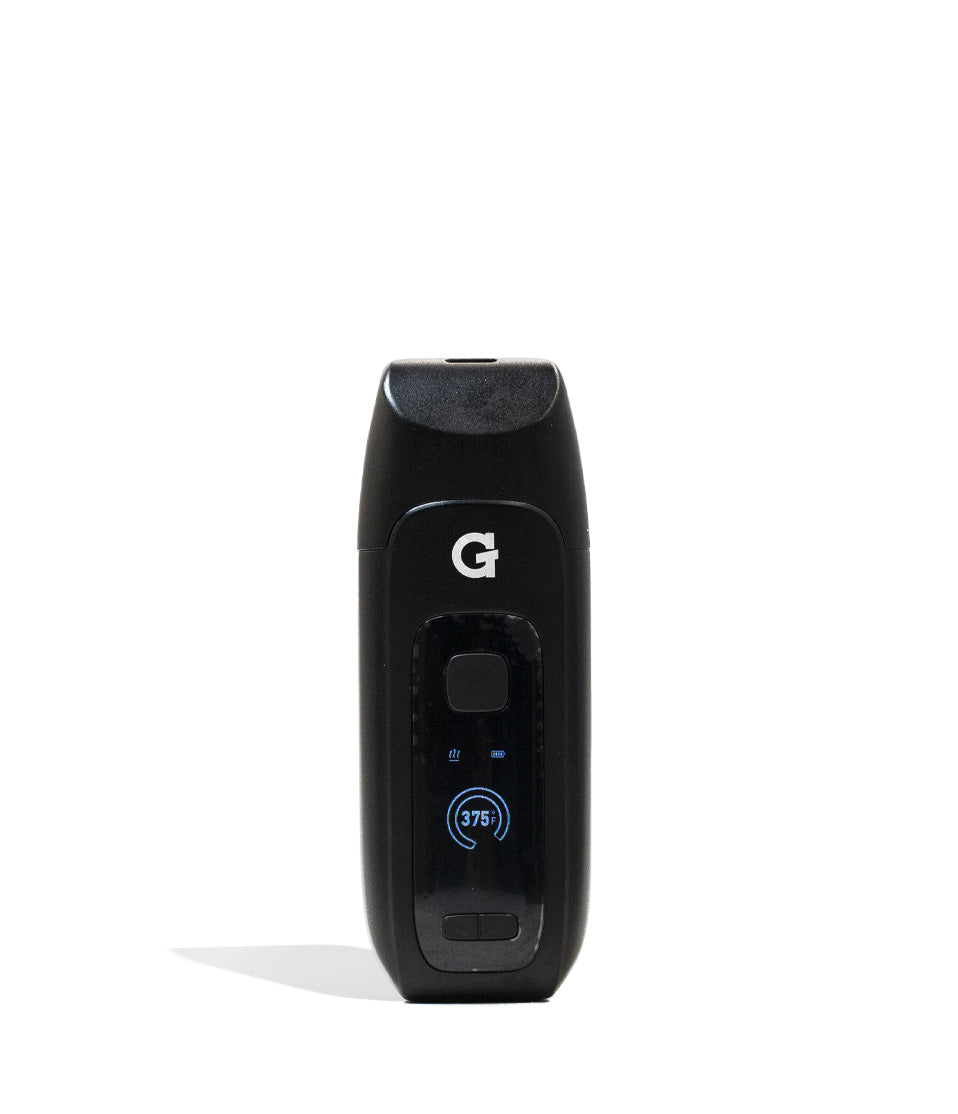
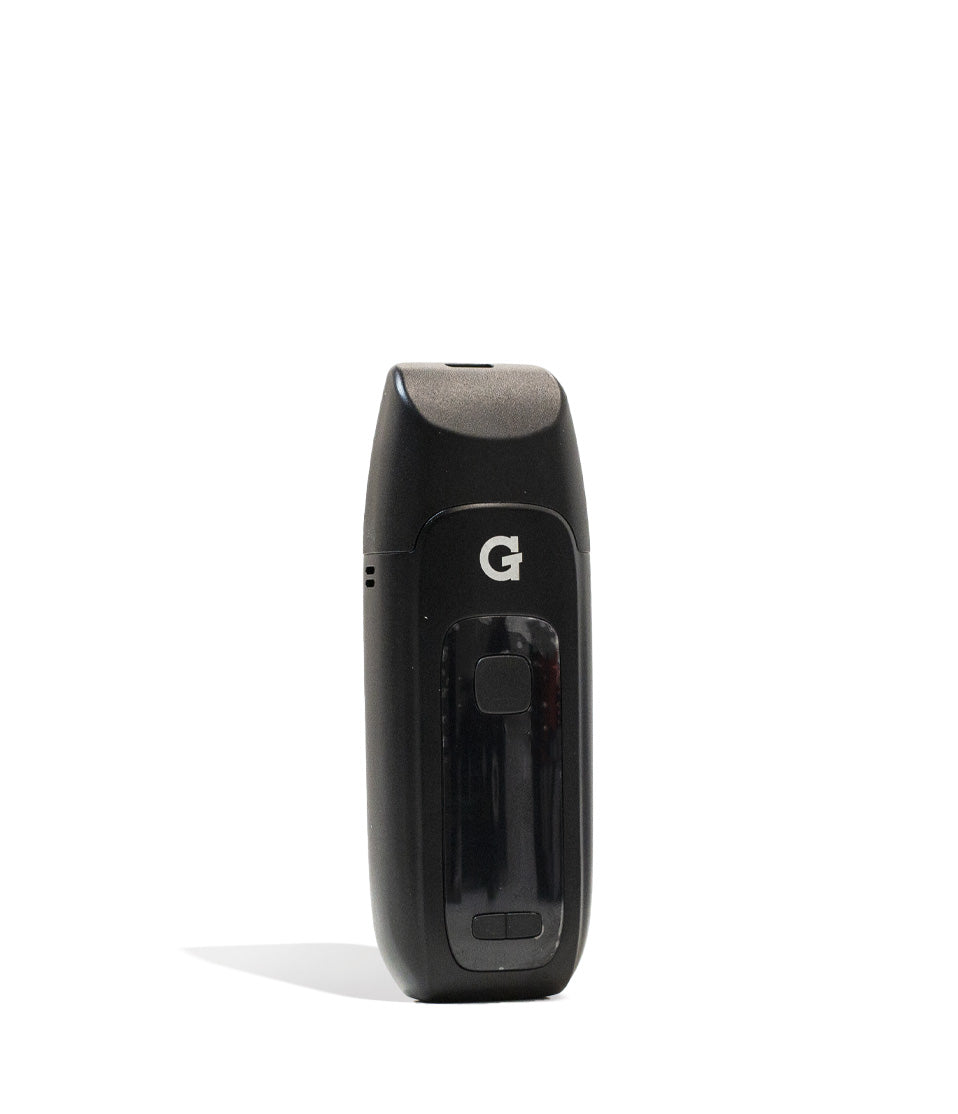
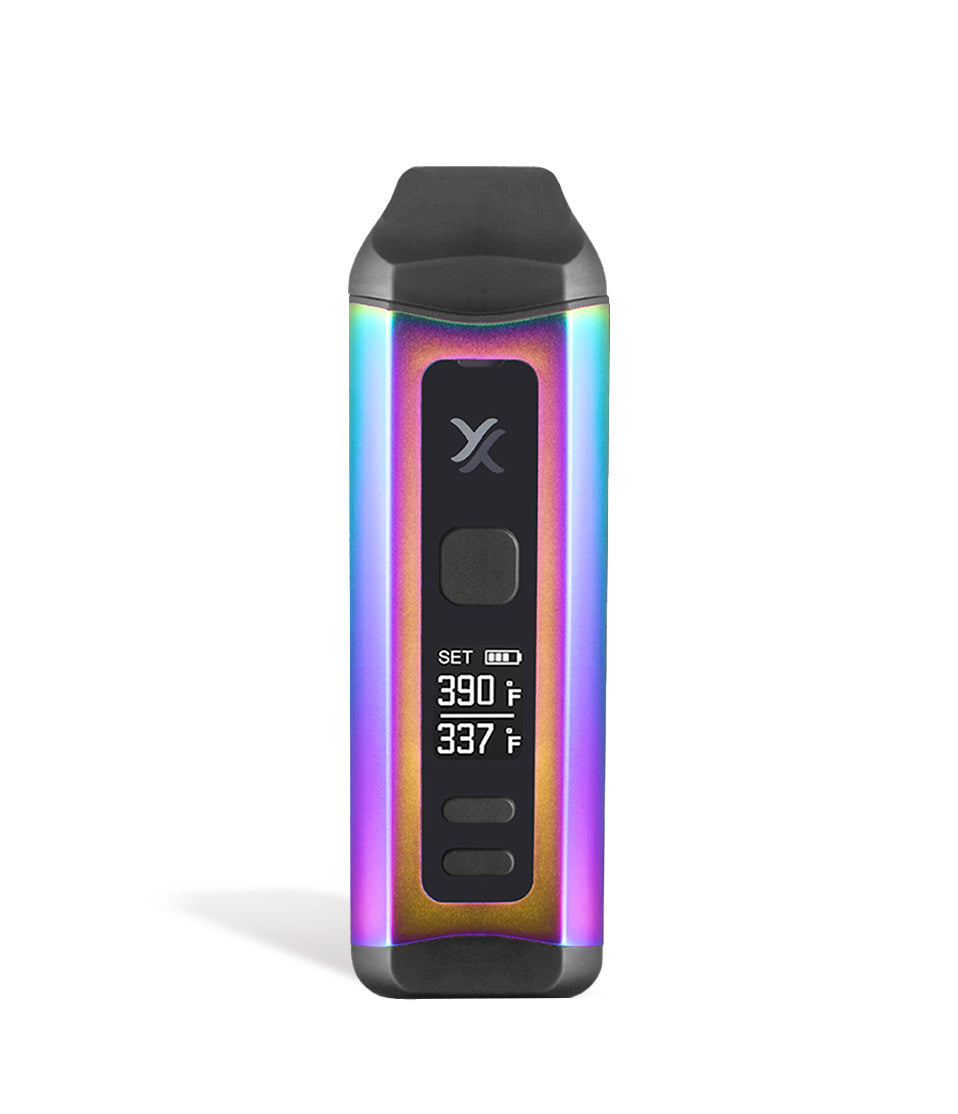
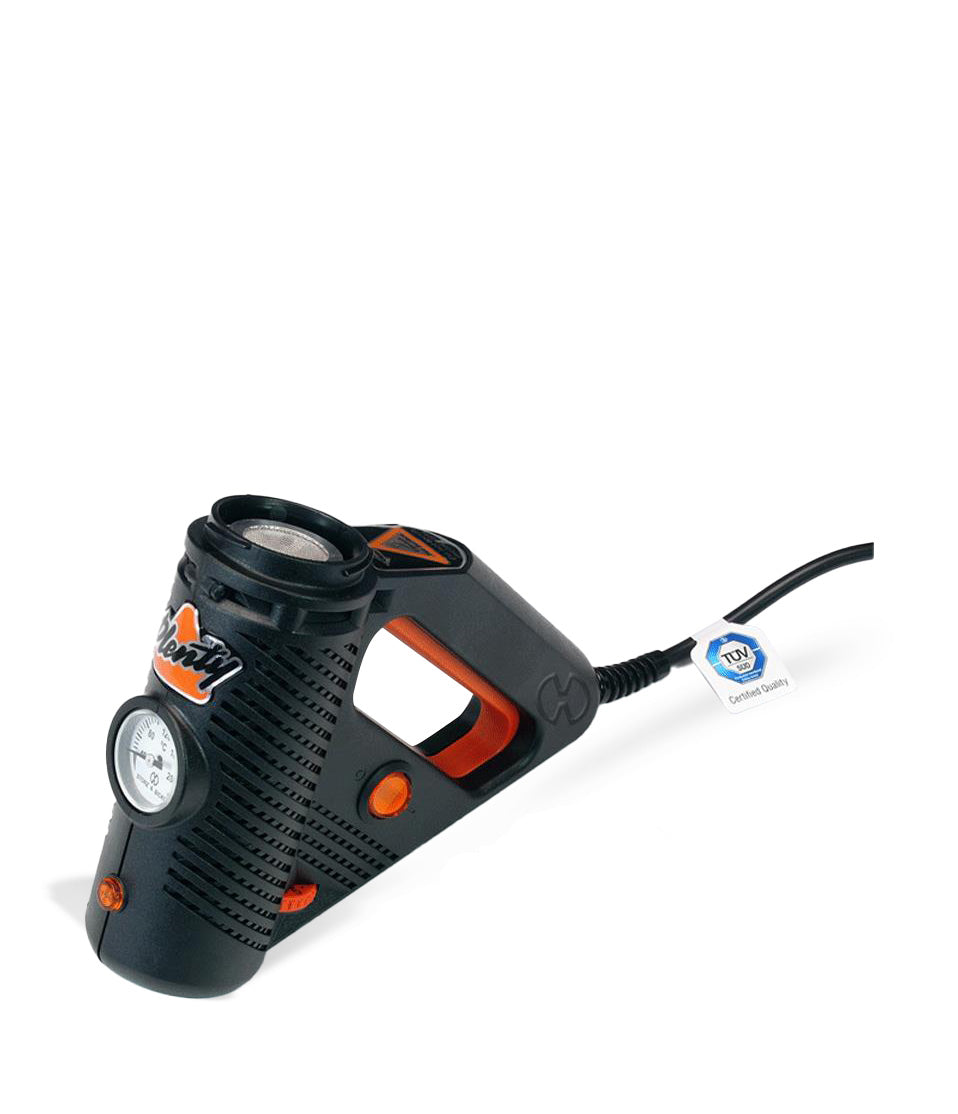
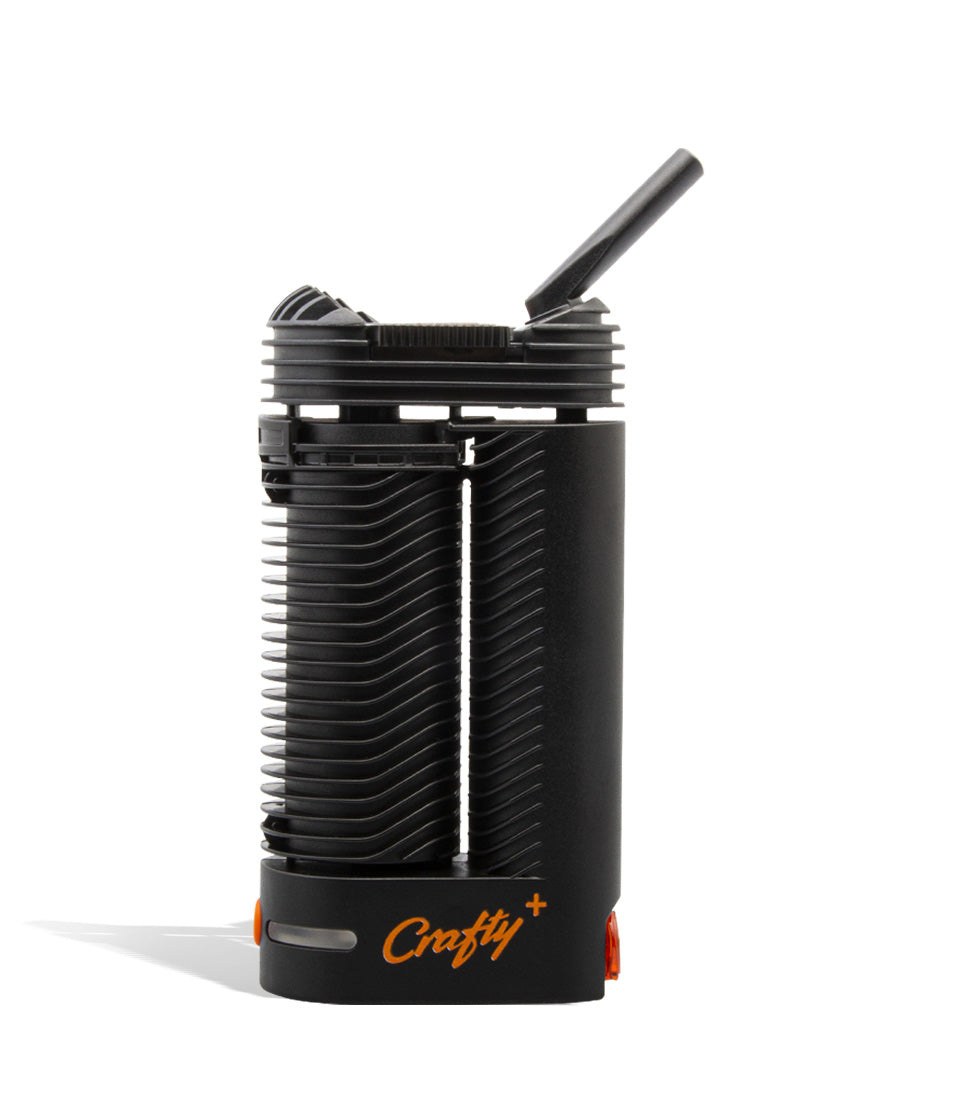
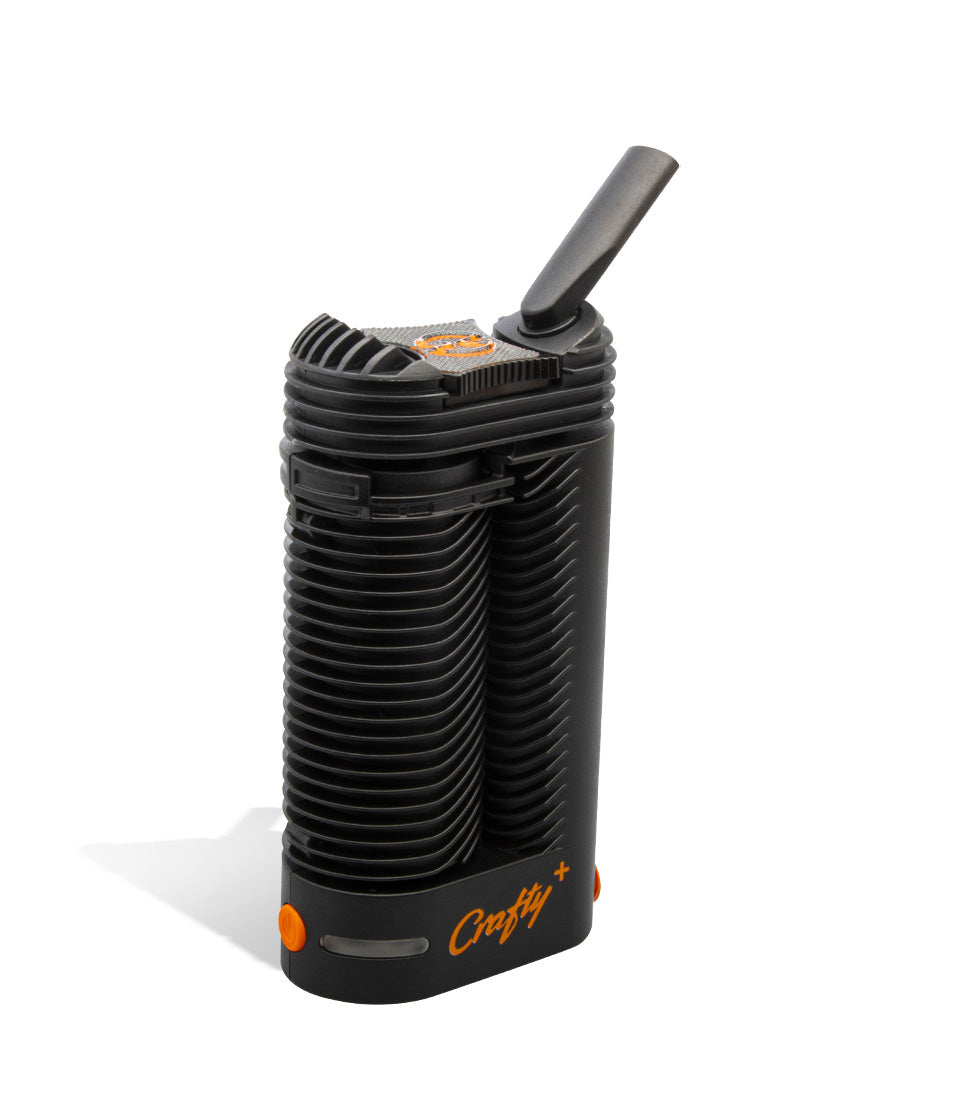
A closer look at the picks called out above.

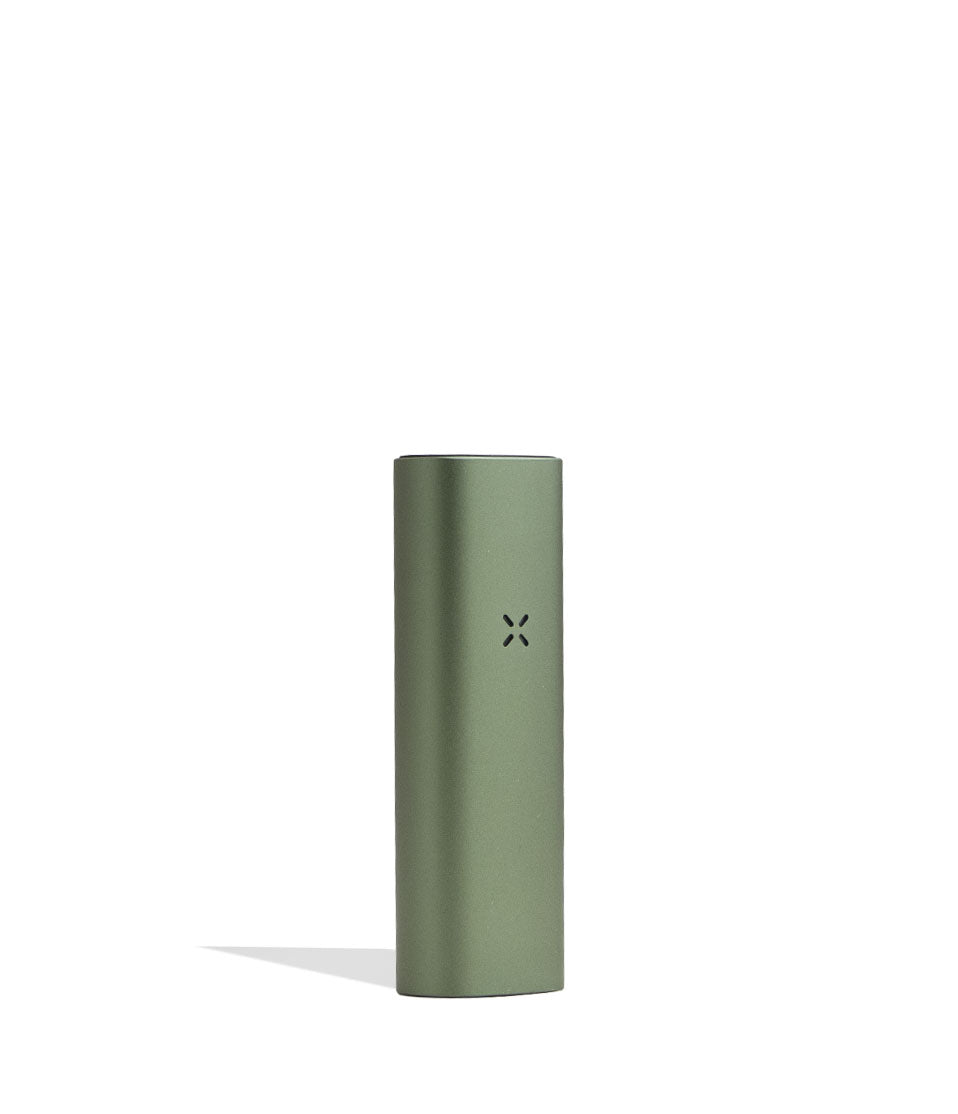
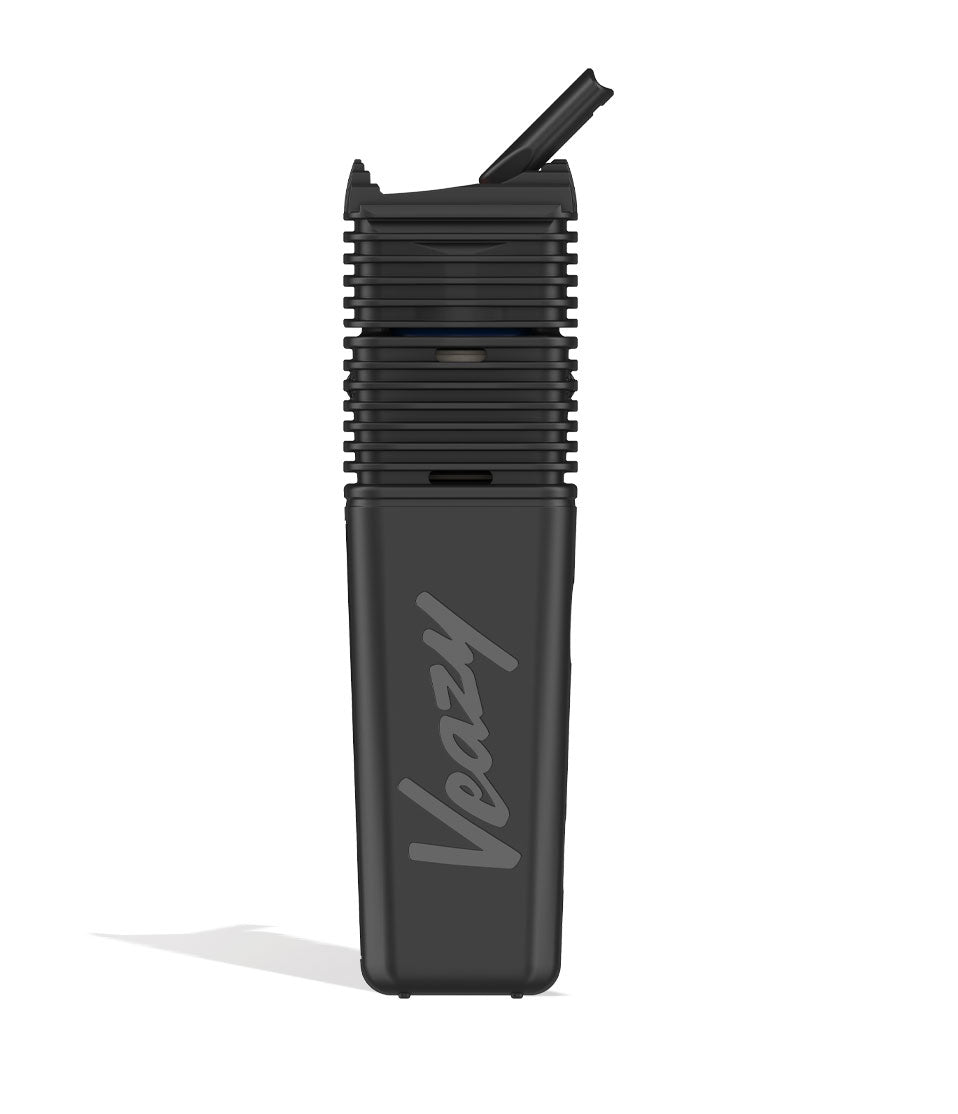
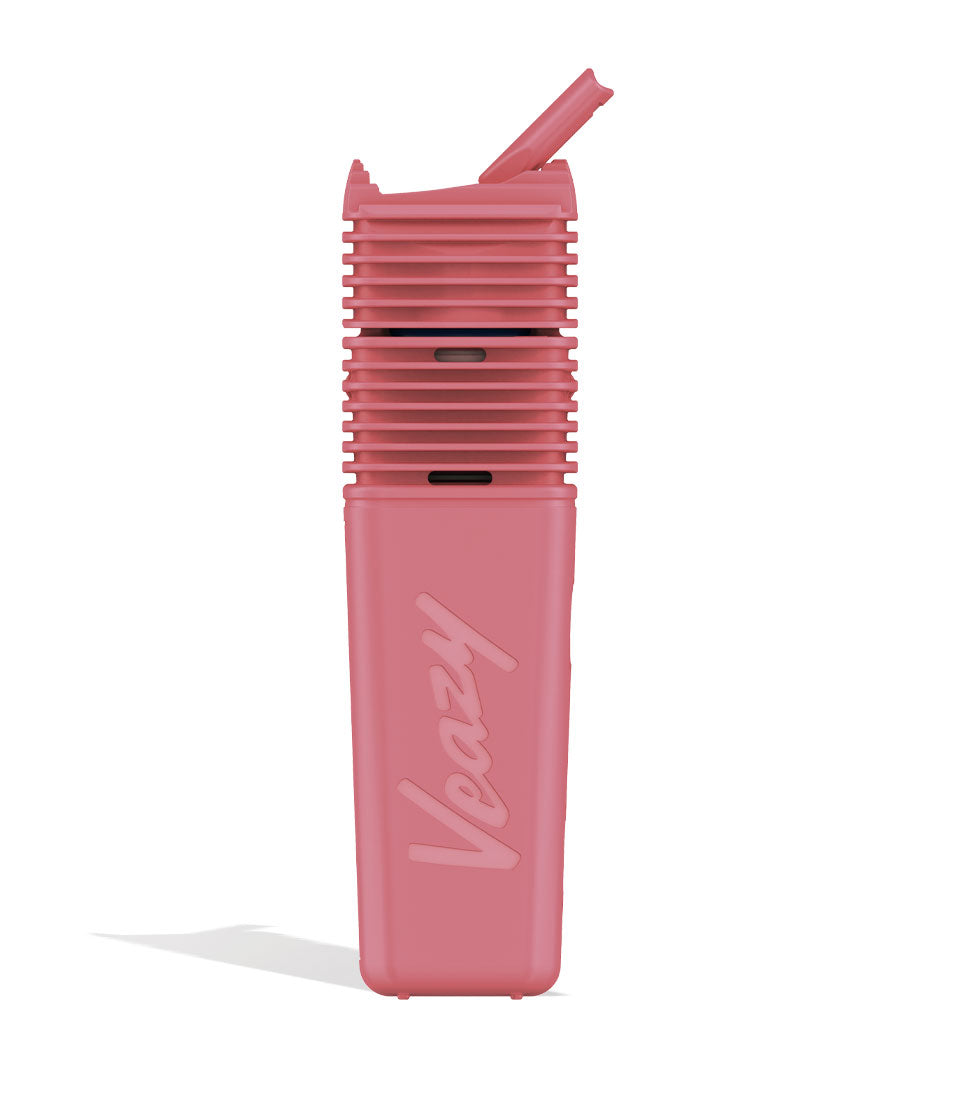
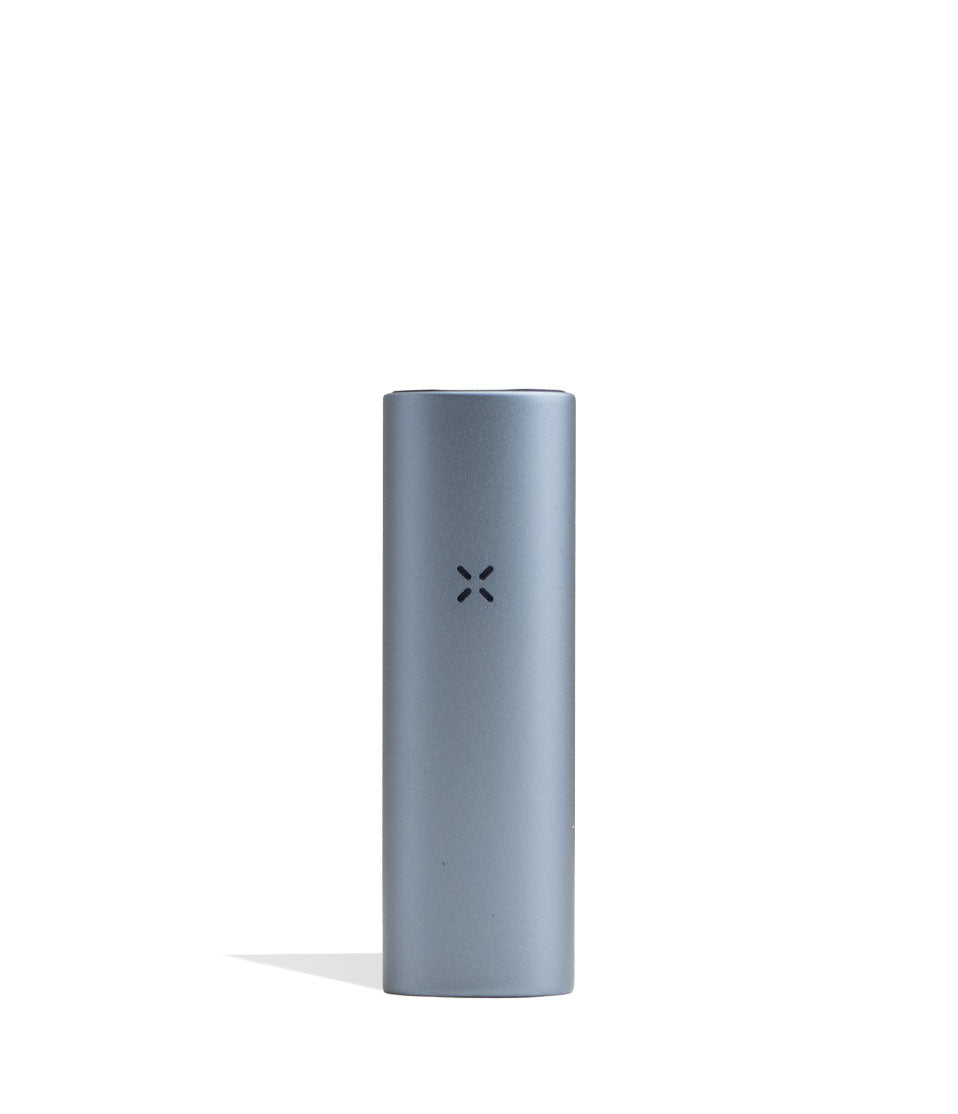
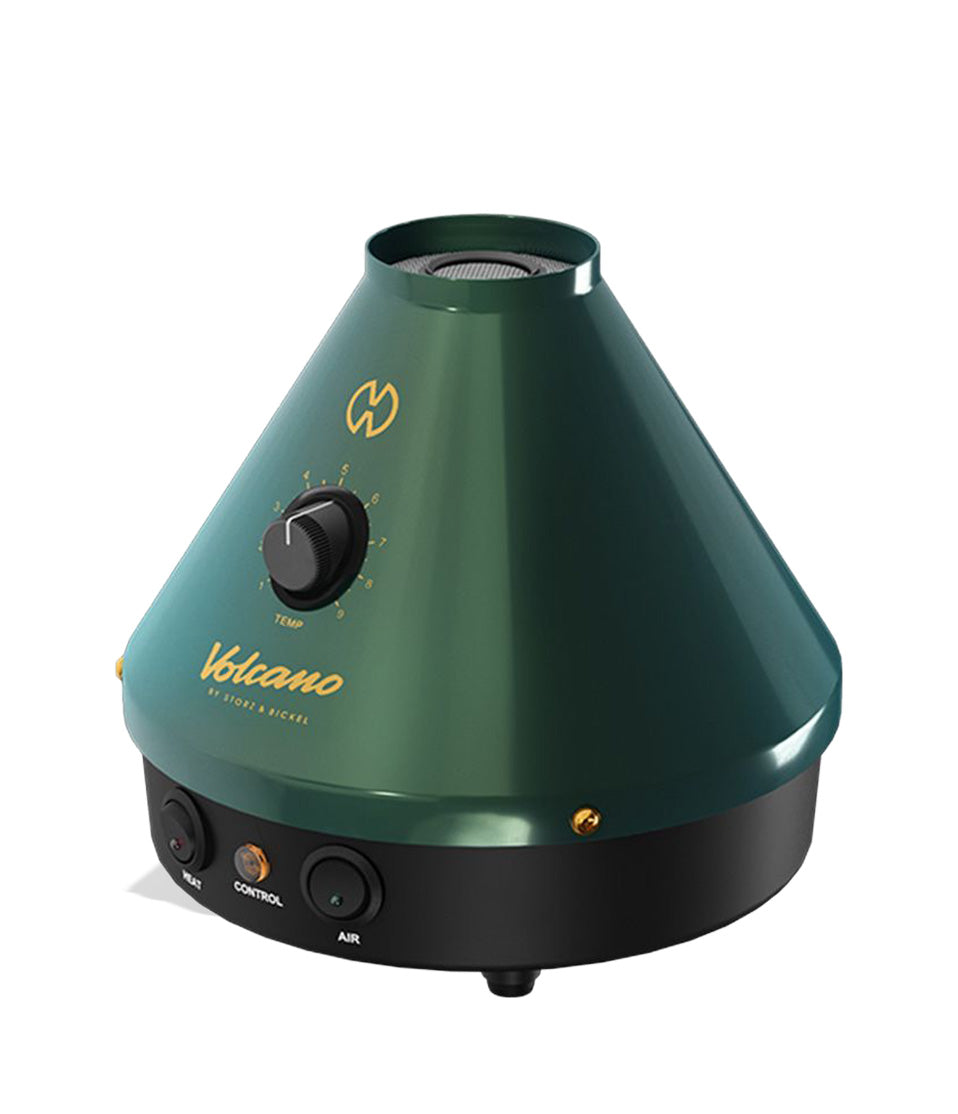
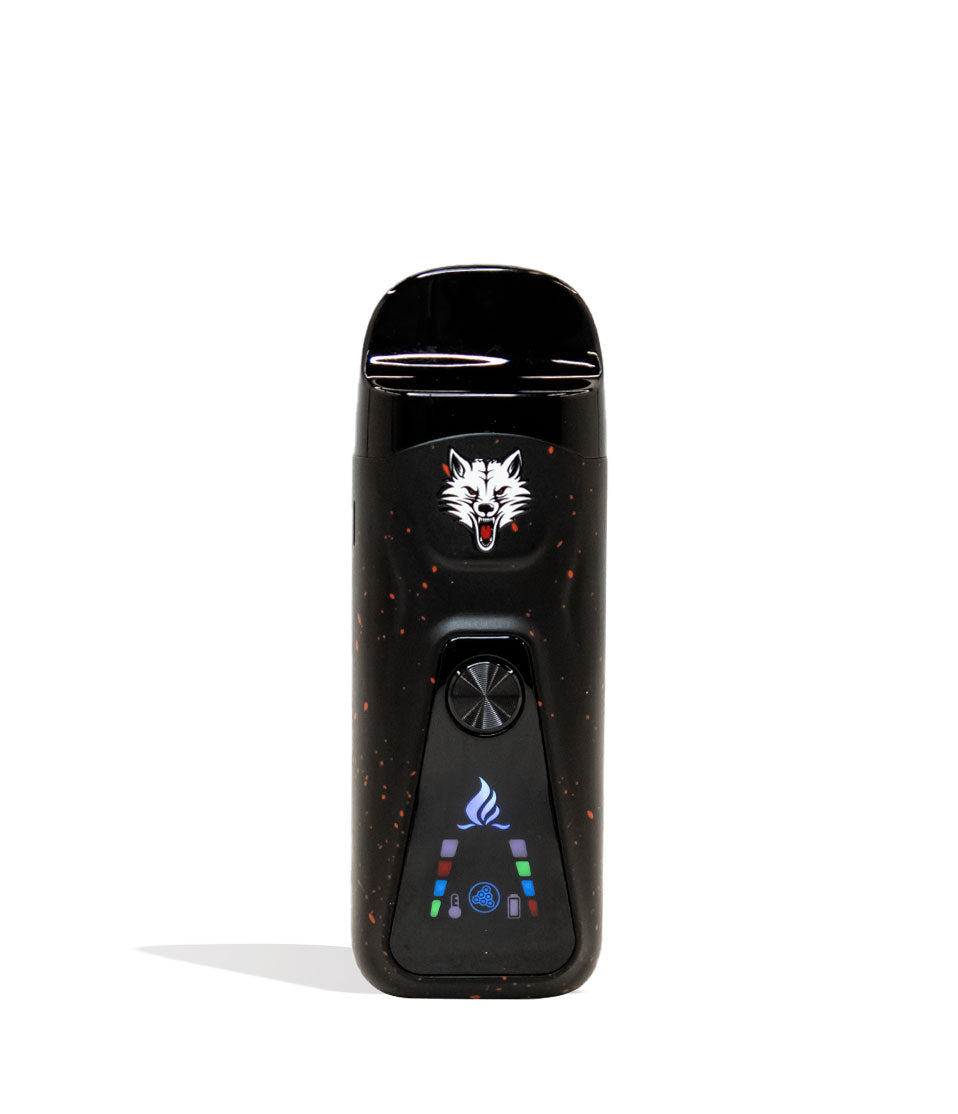
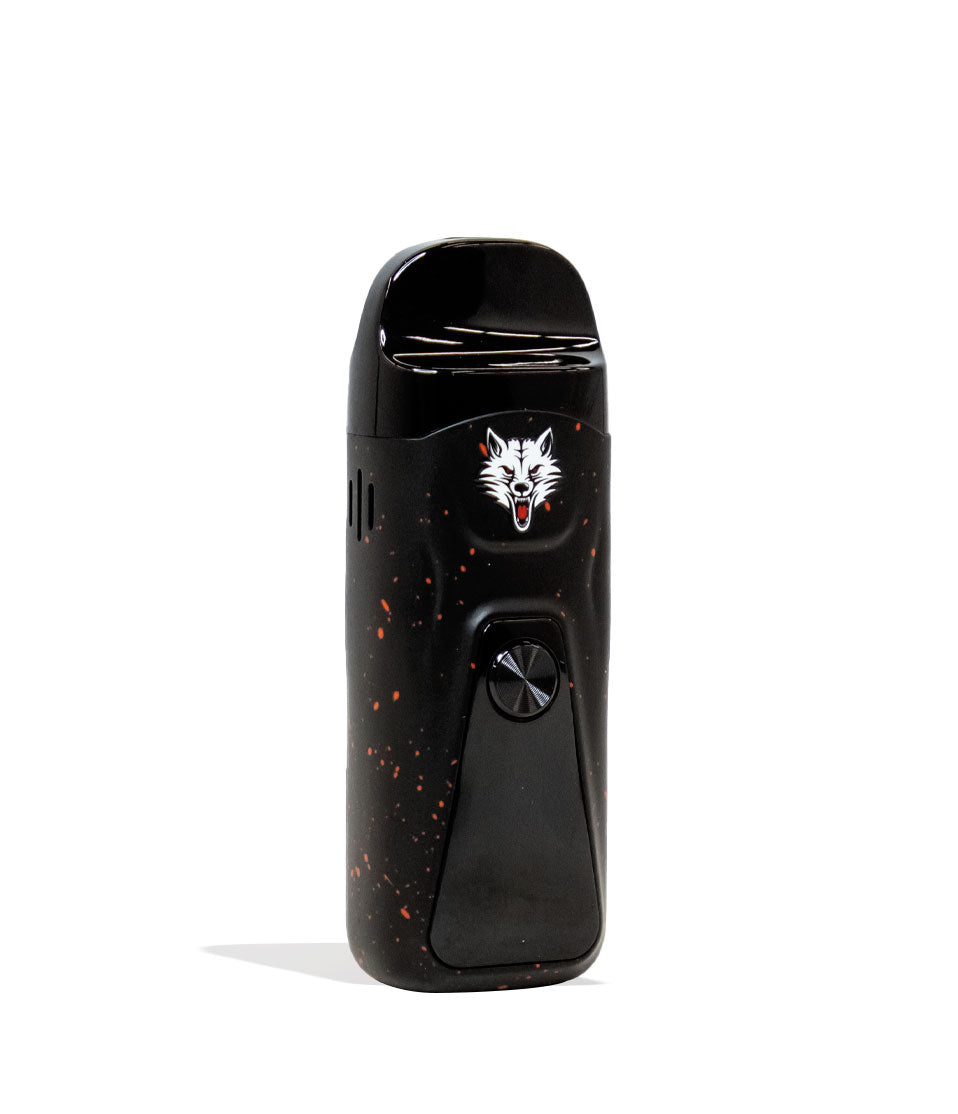
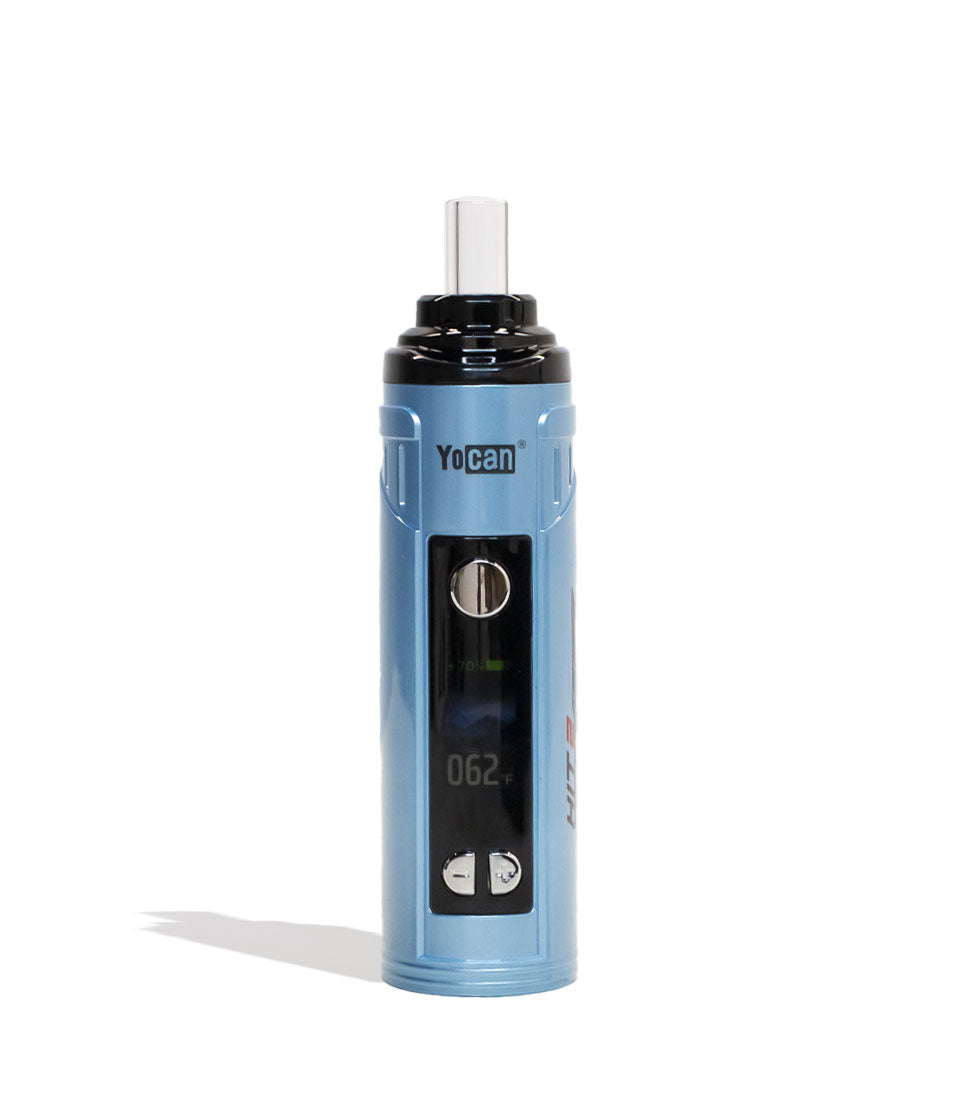
How-To
Complete How-To
From here, the walkthrough gets specific: the product details and buying considerations that turn the summary above into an actual decision.
While the smoking of dry herbs has taken place for thousands of years, vaping dry herbs is an incredibly new medium that’s still evolving.
As a result we wanted to provide you all with a definitive resource breaking down how to use a dry herb vaporizer with ease and enjoy your clouds with the best possible flavor, potency, and overall level of satisfaction.
Follow along with Got Vape as we share our 20+ years of vaporizer knowledge and show you that you don’t need complicated tricks or expensive accessories to get the best vapor, but instead just a little bit of inside information.
This step-by-step dry herb vaporizer guide walks you through the process from start to finish, imparting all of our Got Vape Crew wisdom and giving you helpful tips that can turn your sessions from zero to hero in no time.
Table of Contents:
1. Charge Your Dry Herb Vaporizer
2. Grind Your Dry Herb Properly
3. Pack The Chamber Correctly
4. Turn On Your Vaporizer
5. Choose The Right Temperature
6. Wait For The Vaporizer To Heat Up
7. Take Slow, Steady Draws
8. Stir The Dry Herb Chamber If Needed
9. Empty The Dry Herb Chamber After Your Session
10. Clean Your Dry Herb Vaporizer Regularly
11. Store Your Dry Herb Vaporizer Properly
Got Vape Crew Dry Herb Vaping Tips
Dry Herb Vaping Made Easy
How To Use A Dry Herb Vaporizer
| Step | What To Do | Quick Tip |
|---|---|---|
| 1 | Charge Your Dry Herb Vaporizer | Fully charge your vaporizer using the included charging cable. |
| 2 | Grind Your Dry Herb Properly | Use a grinder for an even consistency to help support optimal airflow and vapor. |
| 3 | Pack The Chamber Correctly | Pack the dry herb loosely and evenly. Do not overpack or compress it. |
| 4 | Turn On Your Vaporizer | Press the power button 5 times quickly to turn it on. |
| 5 | Choose The Right Temperature | Lower temperatures can prioritize flavor, while higher temperatures can produce bigger clouds. |
| 6 | Wait For The Vaporizer To Heat Up | Allow the vaporizer to reach your selected temperature before starting your session. |
| 7 | Take Slow, Steady Draws | Inhale slowly and steadily for smoother vapor and a more consistent experience. |
| 8 | Stir The Dry Herb Chamber If Needed | Stirring the material can help promote more even heating throughout your session. |
| 9 | Empty The Dry Herb Chamber After Your Session | Remove spent material after use to help keep your vaporizer performing properly. |
| 10 | Clean Your Dry Herb Vaporizer Regularly | Regular cleaning helps maintain fresh flavor and extends the life of your vaporizer. |
| 11 | Store Your Dry Herb Vaporizer Properly | Store your vaporizer in a cool, dry place to help protect your vaporizer and battery. |
1. Charge Your Dry Herb Vaporizer
First things first, if you want to use a dry herb vaporizer you’ll first have to charge it. To do so we recommend sticking with the following Got Vape Crew pro tips.
Charging Tips:
- Only use the charging cable that came with your dry herb vaporizer
- Always stay present while charging
- Promptly unplug your dry herb vaporizer once at full battery
- Never charge overnight
- Charge in safe locations away from heat, moisture, or other extremes
While one of the easiest steps to vaping dry herbs, it’s one of those “non-negotiables” where you simply either have charged the battery or have not. So always do yourself a favor and double check before heading out, so you’re never stuck with an untimely dead battery.
Always exercise caution while charging your dry herb vaporizer and keep an eye on it while you’ve got them plugged into any sort of power source. This helps protect yourself and those around you, all while ensuring your vaporizer gets back to 100% capacity as soon as possible.
2. Grind Your Dry Herb Properly
One of the most important parts to a great session starts before you even turn your vaporizer on and that of course is how you are grinding your herbs. As one of the most crucial and overlooked steps of vaping dry herbs, we wanted to make you aware that grinding most certainly affects your vapor.
This is because having properly ground dry herbs allows for proper airflow, consistent heating, and far more vapor production. Thus knowing how to grind herbs for vaporizers properly is an essential skill you’ll need to learn.
The Proper Grind:
- Grind to a medium consistency
- Too coarse and the herb won’t heat evenly
- Too fine and you may restrict airflow
- Aim for “just right” where herbs load easily
A quality grinder helps produce an even texture that allows hot air to move through the chamber efficiently. That’s why even though breaking it up with your hands can work in a pinch, we highly recommend sticking with an actual grinder for the best results.
With specific shredding teeth and layered levels to access your ground flower, this makes for a far smoother experience while vaping that’s more reliable and easy to accomplish on the day to day.
3. Pack The Chamber Correctly
With your dry herbs ground, now’s the time to transfer them into your chamber and pack them for vaporization. Just like with grinding, you want to be careful and make sure that you fill the chamber without it being too loose or too tight, for the best results.
The Proper Pack:
- Fill the chamber evenly
- Don’t pack to the brim, instead aim for 80% full
- Push down lightly without it becoming tight
Your herb should sit comfortably inside while still allowing air to pass through it, this way you can enjoy beefy clouds instead of drawing from your mouthpiece and receiving only small little wisps of vapor.
As an improperly packed chamber can lead to weak vapor, uneven heating, and restricted airflow – we recommend when in doubt, to pack lightly rather than firmly. This will keep you clear of most issues and ensure you get the most out of your dry herb.
In our experience, learning how to pack a dry herb vaporizer is one of the biggest factors in getting consistent results. The ideal chamber pack will vary depending on which vaporizer you’re using, so expect a little bit of experimentation before you dial things in 100%.
4. Turn On Your Vaporizer
With your vaporizer properly packed with ground herbs, now you can move onto turning on your dry herb vaporizer. Most portable dry herb vapes power on by pressing the main button five times quickly (5x).
When correctly input, most vapes will flash their screen or indicator light to let you know you’ve powered on your vaporizer. Some vapes will even vibrate, a feature called haptic feedback.
Once on, you can now move onto the next steps. Remember that different vaporizers have different controls and not all will operate with the five clicks system. Always consult your user manual if in doubt and you’ll be able to see what your manufacturer says.
5. Choose The Right Temperature
Once your dry herb vaporizer is on, you can now move on to selecting your heat setting by adjusting either the voltage level or temperature.
Many vaporizers utilize a three clicks (3x) system that allows you to alternate between the various heat levels you have available. Others instead use more precise systems like dedicated + – adjustment buttons or by featuring bluetooth app control.
No matter how you change your heat setting, doing so has a large impact on how your clouds end up tasting and feeling.
As a general rule:
- Lower temperatures produce smoother, more flavorful vapor.
- Medium temperatures offer a balance of flavor and cloud production.
- Higher temperatures create thicker vapor and stronger effects.
If you’re new to vaping, start lower and gradually step things up until you find your favorite setting of the bunch. As higher temperature / heat levels are far more potent, you always want to pace yourself for the best results.
6. Wait For The Vaporizer To Heat Up
Dry herb vaporizers often take longer to reach selected temperatures than other vapes due to the physical size and density of flowery materials. Despite this, many modern dry herb vapes heat in as little as 20 – 30 seconds, before entering extended session modes.
Every type of dry herb vaporizer will have their own particular heat up time, with things differing based on how much material you’ve loaded in, how well it was ground, and the overall size of the battery you’re dealing with.
Thus there’s no “exact science” of how long it takes to vaporize dry herbs, as even when you have two vapes set to the same temperature, they can often end up producing different results depending on how they are designed.
The biggest split in dry herb heating tech comes from conduction vs convection vaping, with each type of heating offering a slightly different output. As both are incredibly strong choices, it ends up coming down to your own personal preference.
So always be sure to leave plenty of time for your dry herb vaporizer to reach heat and never attempt to start vaping before its official countdown is done. This will prevent muted vapor and ensure you only get the biggest of clouds possible.
Trust us when we say being patient for those extra few seconds pays off massively and helps ensure your session starts off (and continues) right.
7. Take Slow, Steady Draws
One of our favorite dry herb vaporizer tips is one of the simplest and it all revolves around how you’re actually drawing from your mouthpiece. While your instinct may be to rip as hard as possible, this is actually the opposite of what you want to do.
Drawing From A Dry Herb Vape:
- Draw steadily
- Don’t inhale too hard
- Slowly sip from your dry herb vape
- Steady airflow and slow draws delivers the best clouds
Unlike smoking, vaporizers perform best with slow, relaxed draws. This means you have to forget what you think you know and instead focus on learning the particularities of your specific dry herb vape.
Over time you’ll slowly dial in your own perfect draw speed, so don’t overthink it or anything, just be conscious of the fact while inhaling and you’ll avoid most issues.
8. Stir The Dry Herb Chamber If Needed
Sometimes during longer sessions, certain vaporizers can benefit from a quick stir halfway through. This is because gently mixing the material helps expose fresh surfaces to the heat and encourages more even extraction.
Not every vaporizer requires this step, but it can improve consistency on many portable models if you happen to notice things aren’t pulling as they should be.
Stirring also lets you course correct from an overly tight chamber pack, letting you break up your dry herbs and give them a little bit more space to breathe.
9. Empty The Dry Herb Chamber After Your Session
Once your session is finished, allow the vaporizer to cool and then completely empty your chamber of all the left over dry herbs. Removing right after your session isn’t just the easiest way to proceed, but also helps avoid long term damage.
Leaving used material inside for extended periods can:
- Reduce airflow
- Create unpleasant odors
- Make cleaning more difficult
- Seep into your battery
A quick emptying after every session keeps your vaporizer ready for next time. This makes a huge difference in your overall day to day enjoyment, as there’s nothing worse than coming back ready to vape only to have to fight with a dirty chamber.
Instead just dump out your chamber and remove the already vaped buds to keep your dry herb vaporizer operating at 100% going forward!
10. Clean Your Dry Herb Vaporizer Regularly
Going hand in hand with emptying your chamber is of course the fact that routine maintenance is one of the number one ways of preserving your dry herb vaporizer and keeping it performing like new.
Regular cleaning helps maintain:
- Better airflow
- Stronger vapor production
- Cleaner flavor
- Longer vaporizer lifespan
Even a quick brush after each session can make a noticeable difference over time. So make sure to always stay on top of cleaning and use proper materials in order to keep your dry herb vape going for years to come.
11. Store Your Dry Herb Vaporizer Properly
Lastly, you need to store your dry herb vaporizer properly in order to keep yourself and your battery safe.
When you’re finished vaping:
- Turn the vaporizer off
- Allow it to cool completely
- Store somewhere cool and dry
- Keep it protected during travel
- Store upright away from leges
Taking care of your dry herb vaporizer helps ensure reliable performance for years to come and only takes a few moments of your time. So stick with our tips and you’ll be able to keep the clouds rolling without issue.
Got Vape Crew Dry Herb Vaping Tips
Here are a few of our favorite Got Vape Crew Tips after more than two decades working with vaporizers:
- Keep your grinder clean for more consistent shredding
- Don’t overfill the chamber, slow and steady wins the race
- Clean your mouthpiece regularly
- Charge your battery before long outings, better safe than sorry
- Start with lower temperatures if flavor is your priority
- Replace screens and accessories when they become worn
- Store your vaporizer upright whenever possible, avoid leaks
Simple habits often make the biggest difference. So make sure to keep these in mind the next time you fire up your dry herb vaporizer and we can guarantee you’ll enjoy the smoothest clouds possible.
Dry Herb Vaping Made Easy
At the end of the day using a dry herb vaporizer isn’t really that complicated. With the right grind, proper packing, sensible temperature settings, and a little routine maintenance, you’ll enjoy smooth sessions every time without fail.
This leaves you open to enjoy your dry herbs to the fullest, all without any compromise hindering your experience. Rip your clouds when you want, how you want, and where you want – only with a dry herb vaporizer.
Have any more quotations? The Got Vape Resource Center is ready to help with more step by step guides just like this. Thanks for stopping in with the Got Vape Crew and enjoy your dry herb vaporizer for us!
Frequently Asked Questions
How-To FAQs
Quick answers to what shoppers usually ask before putting this guidance to use.
How Fine Should I Grind My Dry Herb?
What Temperature Should Beginners Start With?
Why Am I Getting Weak Vapor?
How Often Should I Clean My Dry Herb Vape?
Do I Need To Stir The Herb?
Got Vape Trust Center
About This Resource
Here's a look at who put this guide together, how it was fact checked, and how the Got Vape team keeps it current.
Editorial Standards
- Written for shoppers, not search engines.
- Checked for accuracy and plain, practical usefulness before it goes live.
- Grounded in the manufacturer specs and product documentation we can verify.
- Revisited whenever products, regulations, or category trends shift enough to matter.
- Shaped by years of hands-on time with this gear, not just spec sheets.
- Written to help you land on the right device without the guesswork.
Research Methodology
We built this walkthrough around the actual steps, from unboxing through everyday use, based on time spent with the device and the questions people ask most.
- Hands-on product experience
- Step-by-step setup and use
- Cleaning, care, and troubleshooting
- Common questions answered
- Safe and responsible use
- Real-world use considerations
- Editorial review for clarity and accuracy
Supporting Sources
Below are the references this guide draws on, listed so you can check them yourself.
Article Information
Intended Audience
- Everyday customers
- First-time buyers
- Experienced enthusiasts
- Dry herb users
- Concentrate users
- Anyone upgrading their setup
Editorial Policy
We revisit Got Vape guides on a regular basis rather than publishing them once and walking away. If a product spec, regulation, or category trend changes enough to matter, the article gets updated and the review date moves with it.
Keep Exploring
Related Resources
A few more Got Vape guides worth a look if you want to get even more out of your setup.

Best Of List
Want to vape dry herbs without over spending? Got Vape is here to help with the best dry herb vapes under one hundred dollars i...
Read Resource →
Brand Guide
Find out if you should choose a Wulf dry herb vaporizer or concentrate vape in this exclusive Got Vape versus showdown. Pick th...
Read Resource →
How-To
Learn easy steps to maintain your vaporizer with Got Vape and ensure that your vapor stays clean, tasty, and ready to rip.
Read Resource →
How-To
New to vapes? Find out how to start using your vaporizer right with Got Vape and enjoy better clouds from your very first puff.
Read Resource →