

Resource Center
How To Use An E-Rig (Got Vape Crew Tips)

Continue With This Resource
Got Vape Quick Brief
What You Should Know
Skim this first for the short version: the main points, the questions people ask, and what to consider before you buy.
Overview
Key Takeaways
- E-Rigs provide precise, torch-less concentrate dabbing through high powered batteries, precision temperature controls, and water filtration.
- Loading a rice sized dab and taking gentle, slow "sips" prevents hot liquid wax from splashing out of the atomizer and clogging connections.
- Always detach the glass top from the battery base before filling with water to prevent liquid damage to internal electronics and charging ports.
- Swabbing the chamber bucket with a cotton Q-tip immediately after every session keeps atomizers performing like new and prevents burnt crust buildup.
- Lower temperature settings highlight terpene flavors, while higher heat settings maximize vapor cloud density and potency.
Questions This Resource Answers
- How do you use an E-Rig?
- What is the proper amount of concentrate to load into an E-Rig atomizer?
- How do you prevent harsh hits, burnt taste, and wax leaking into base threads or glass attachments?
- How do you safely fill e-rig glass attachments with water without damaging internal electronics?
- How frequently should you swab the chamber and deep clean E-Rig components?
Recommended Products
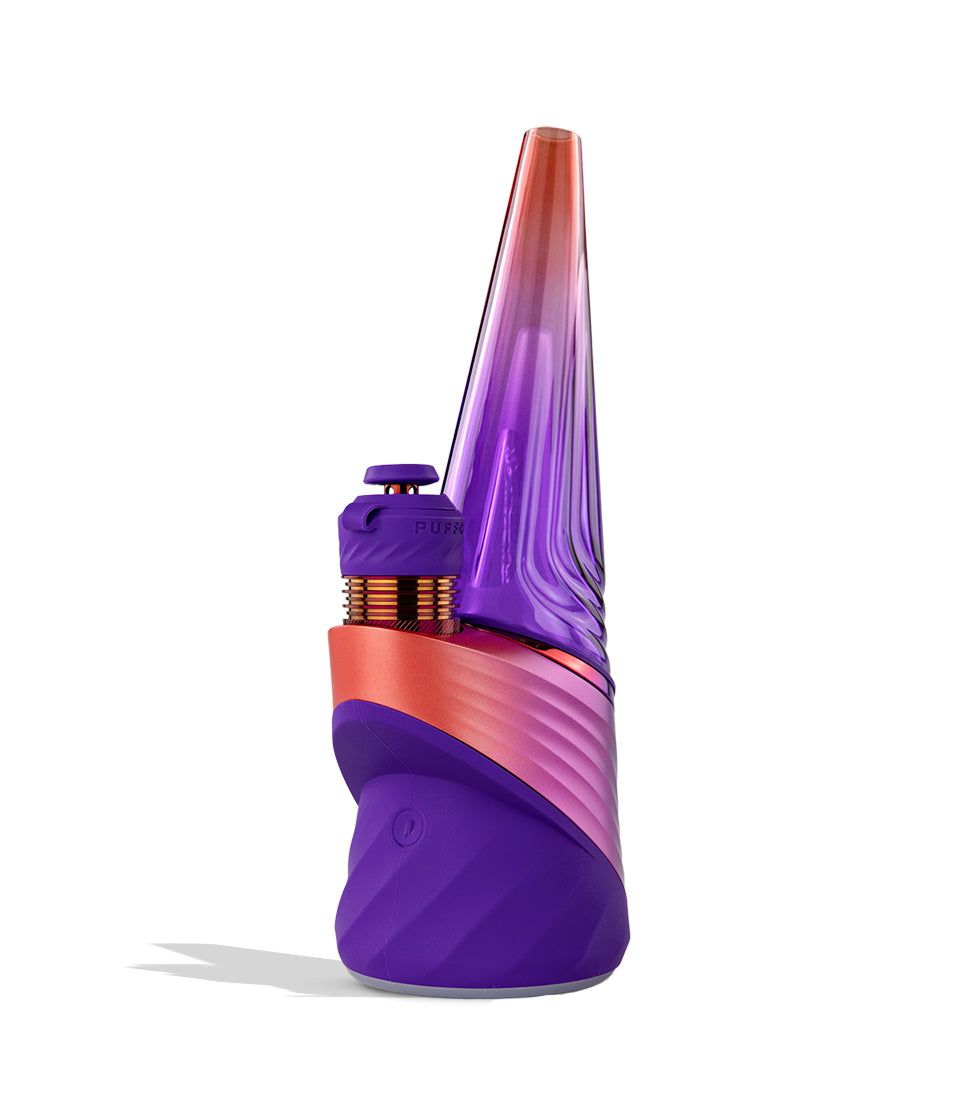
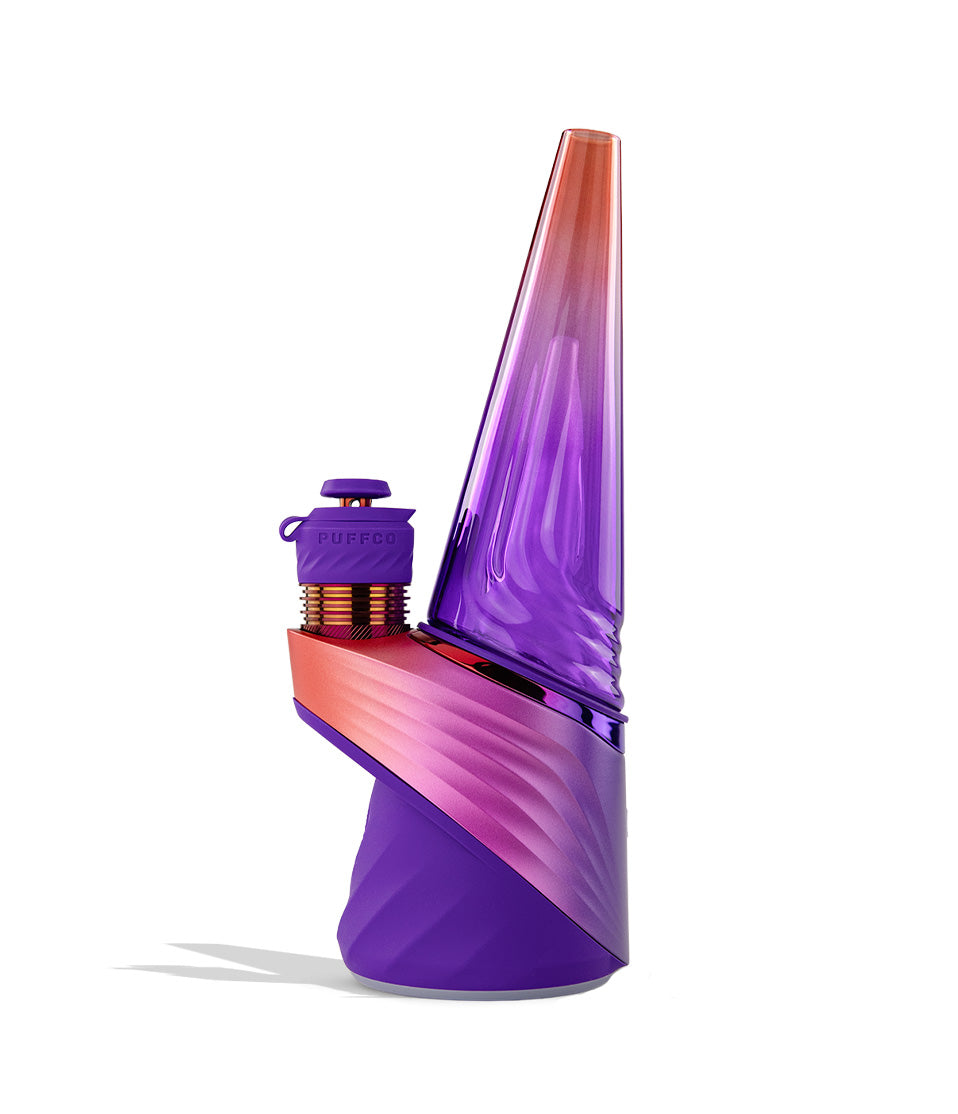
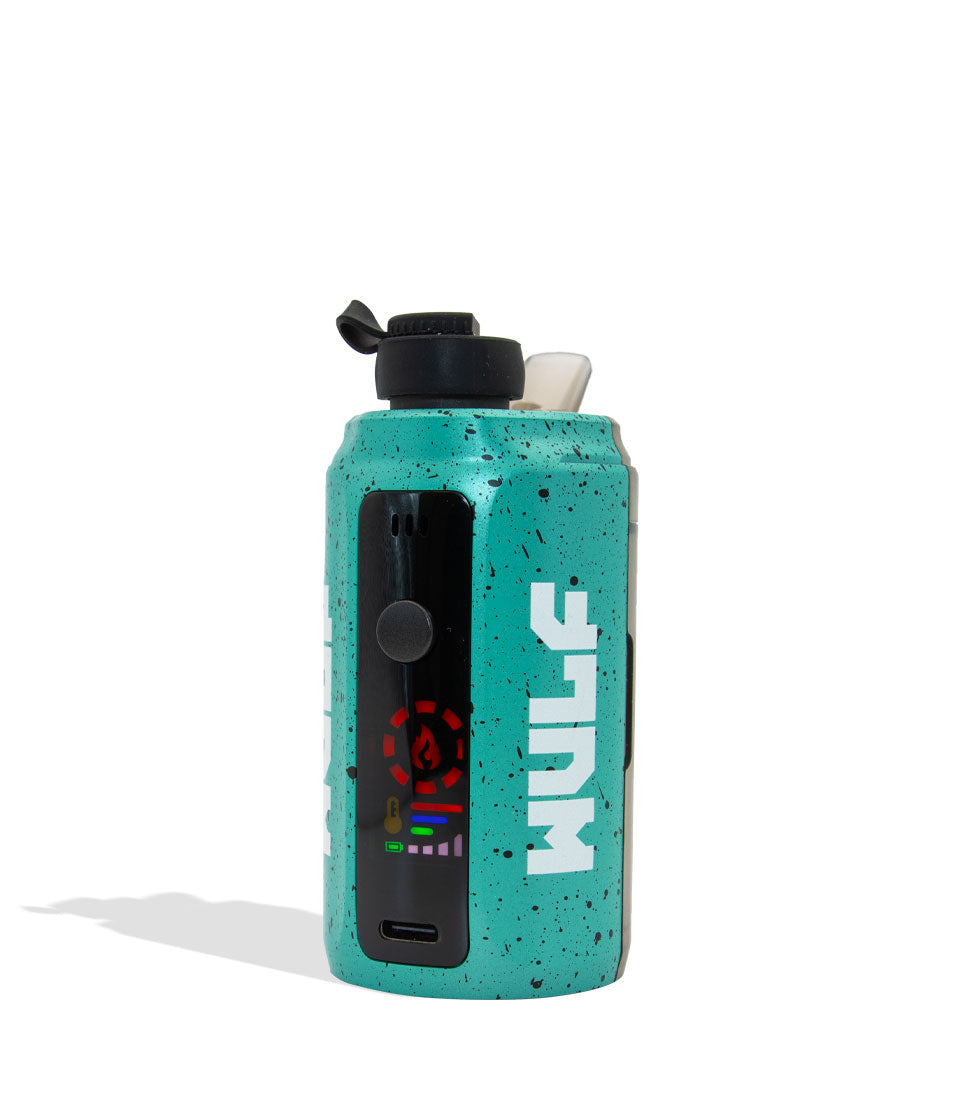
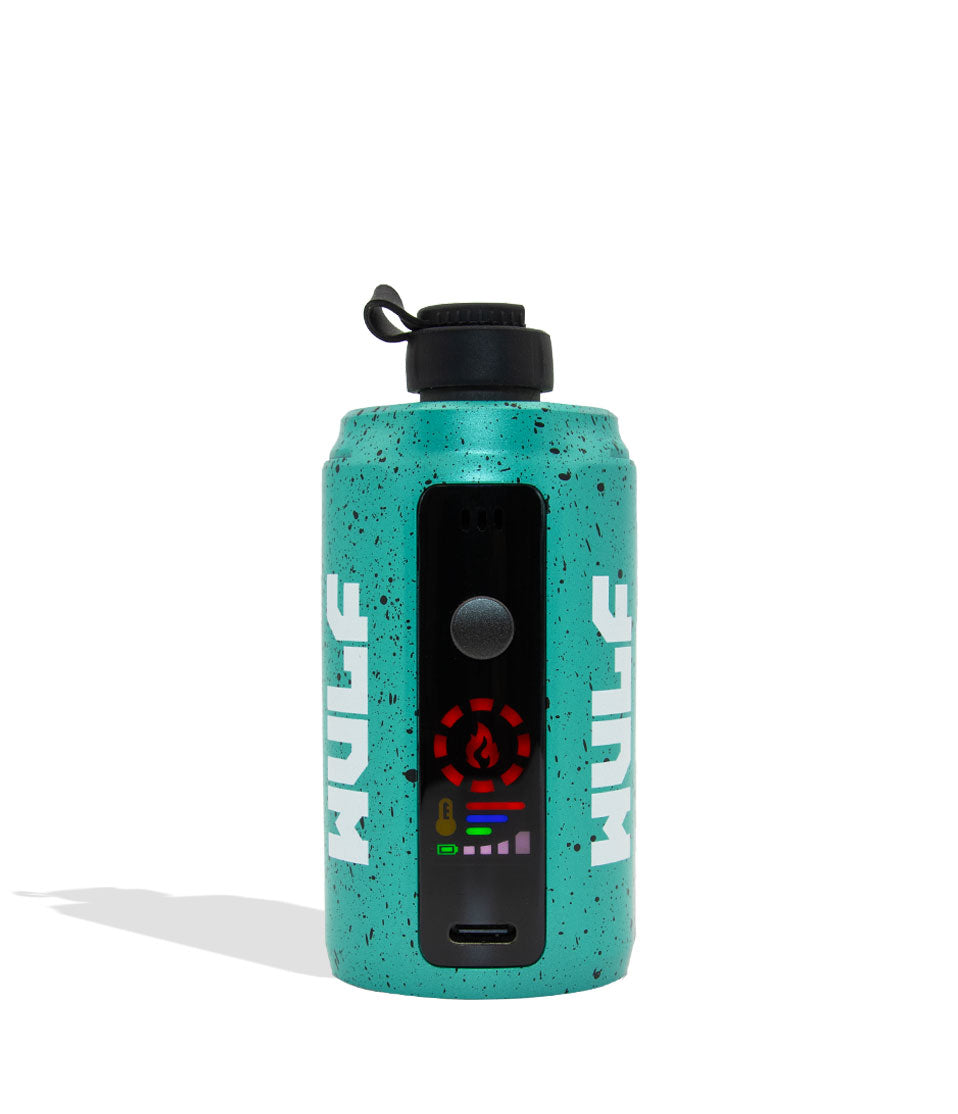
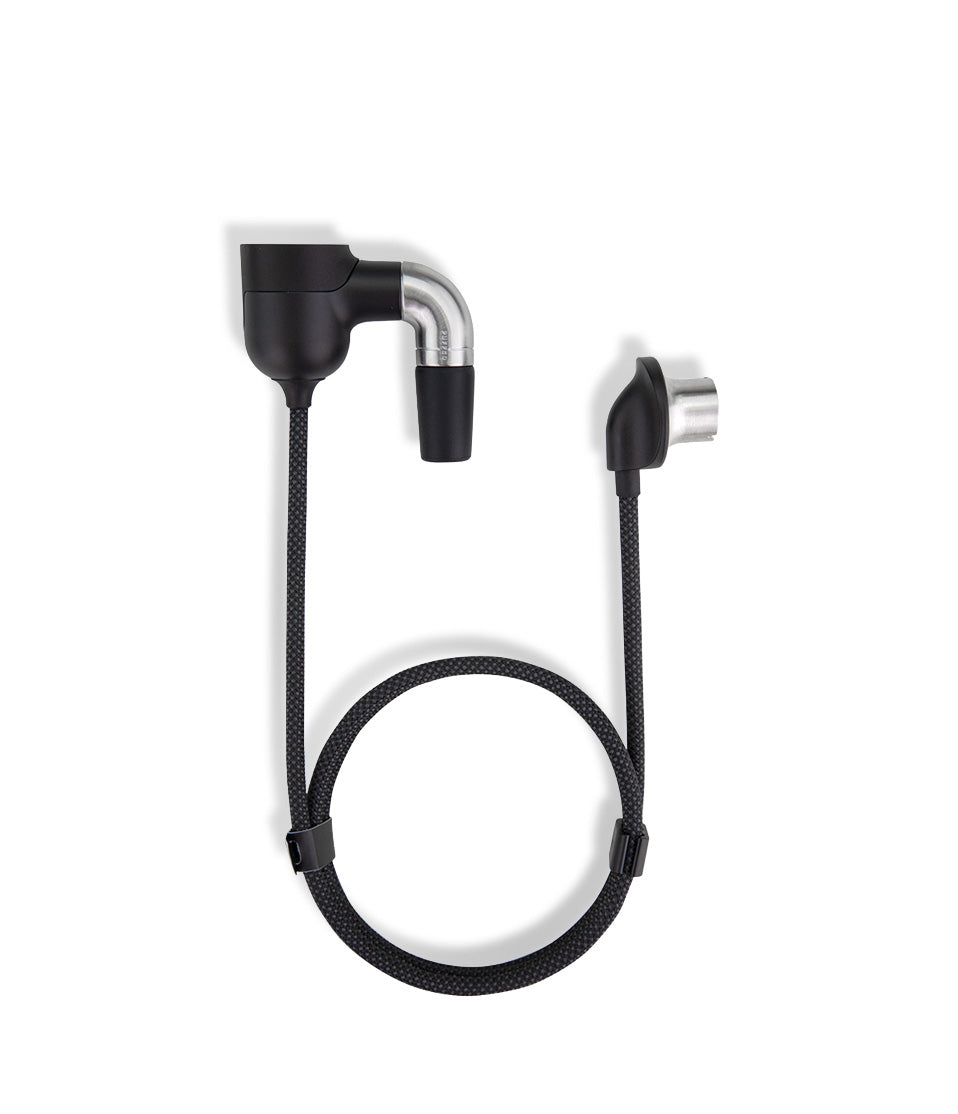
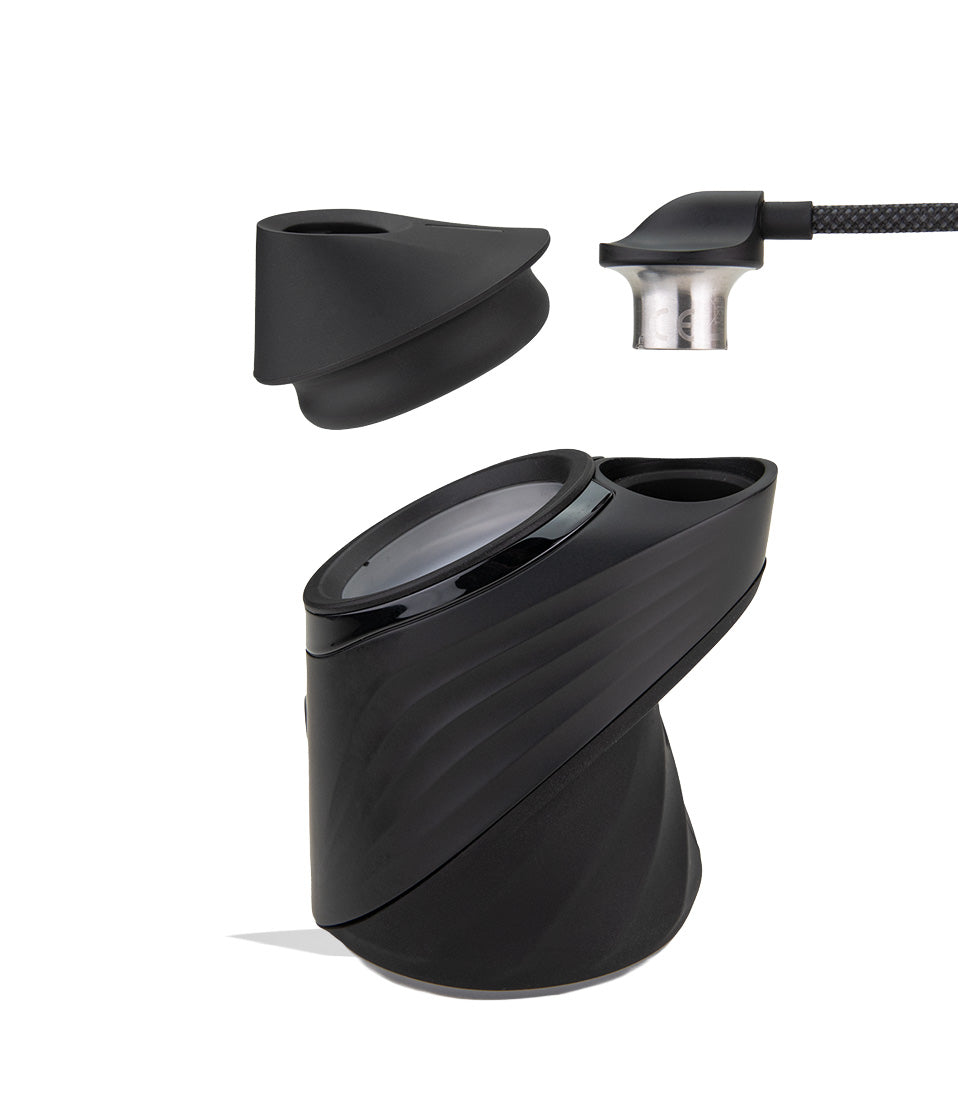
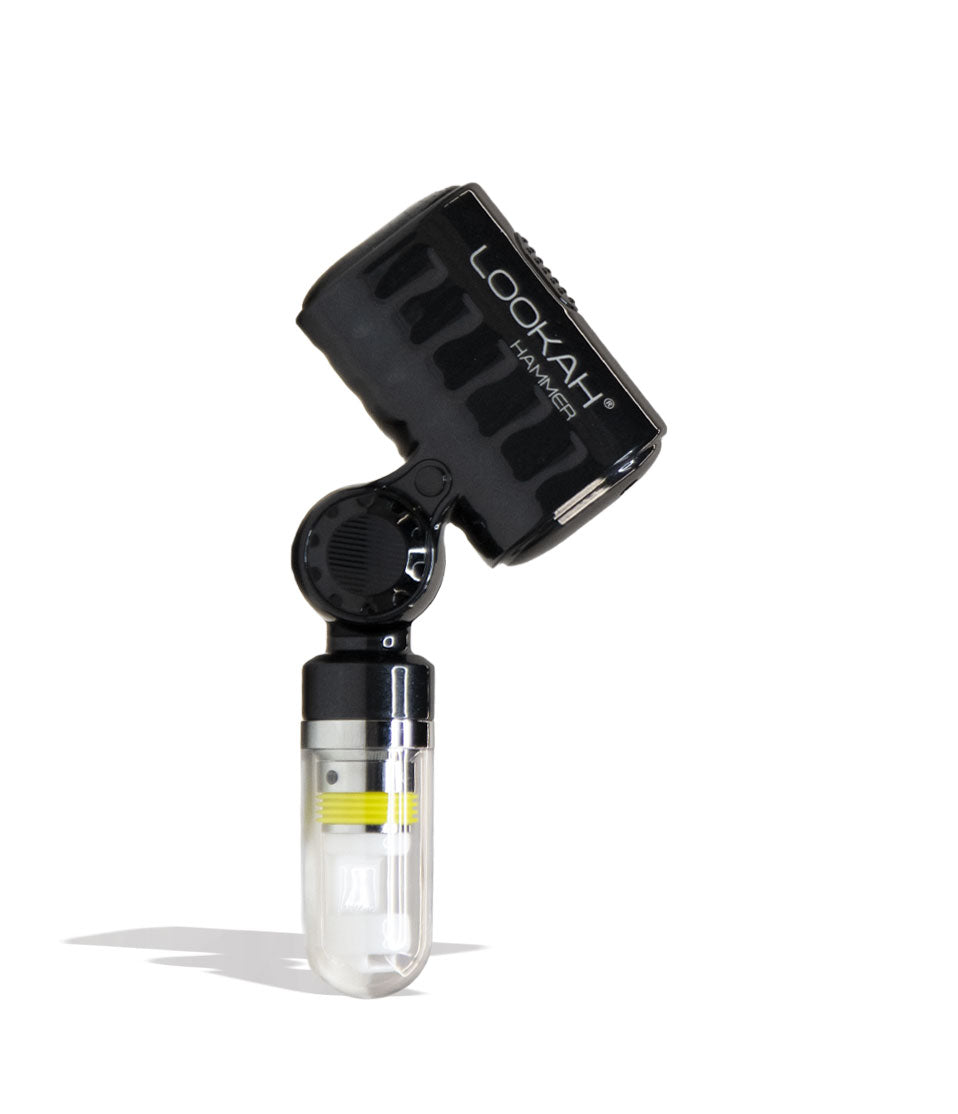
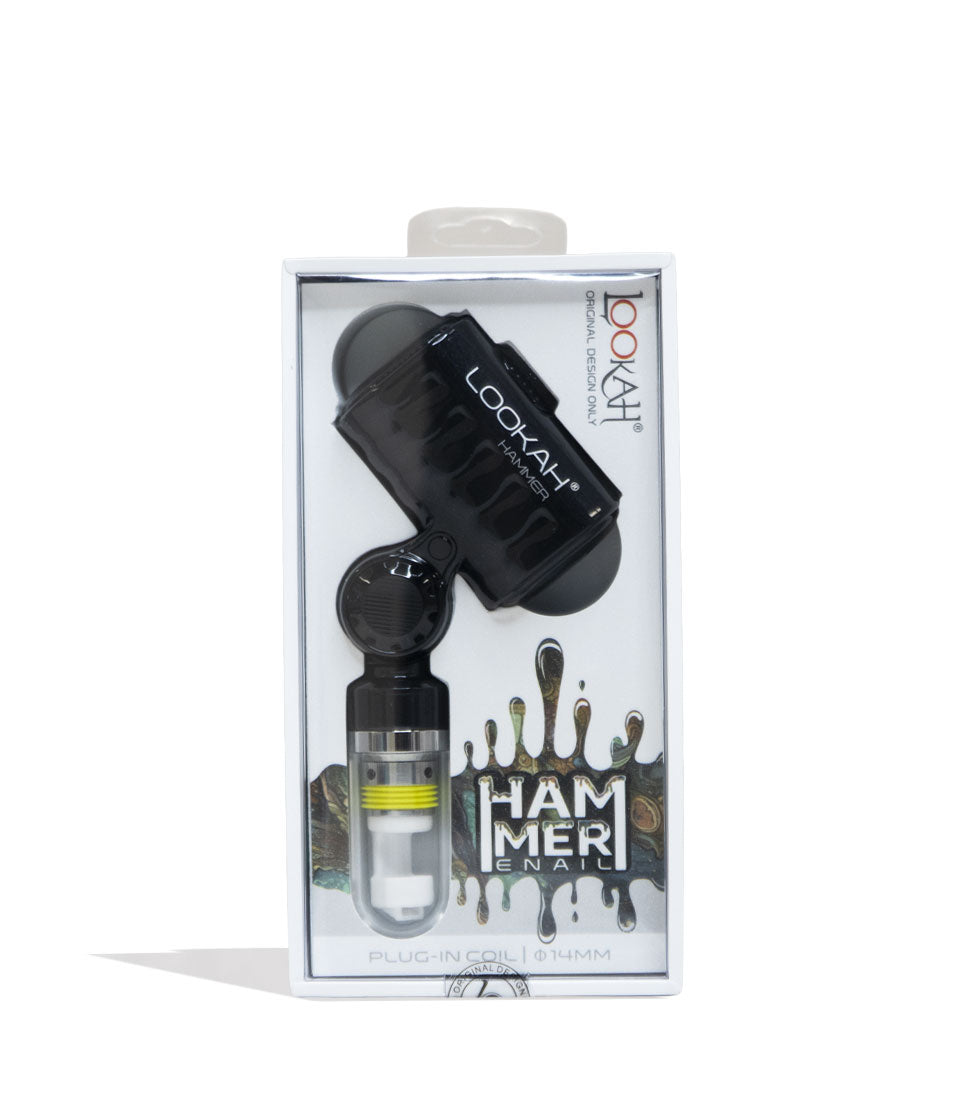
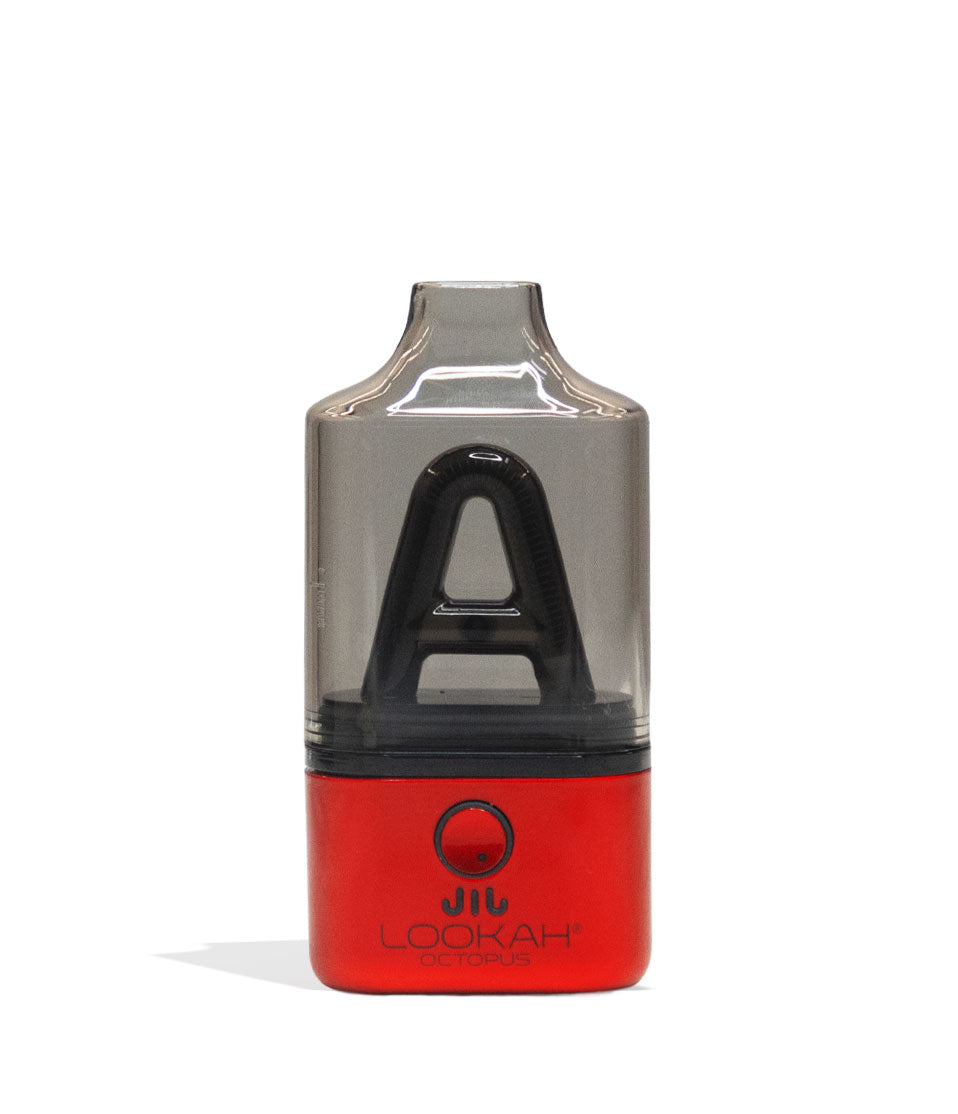
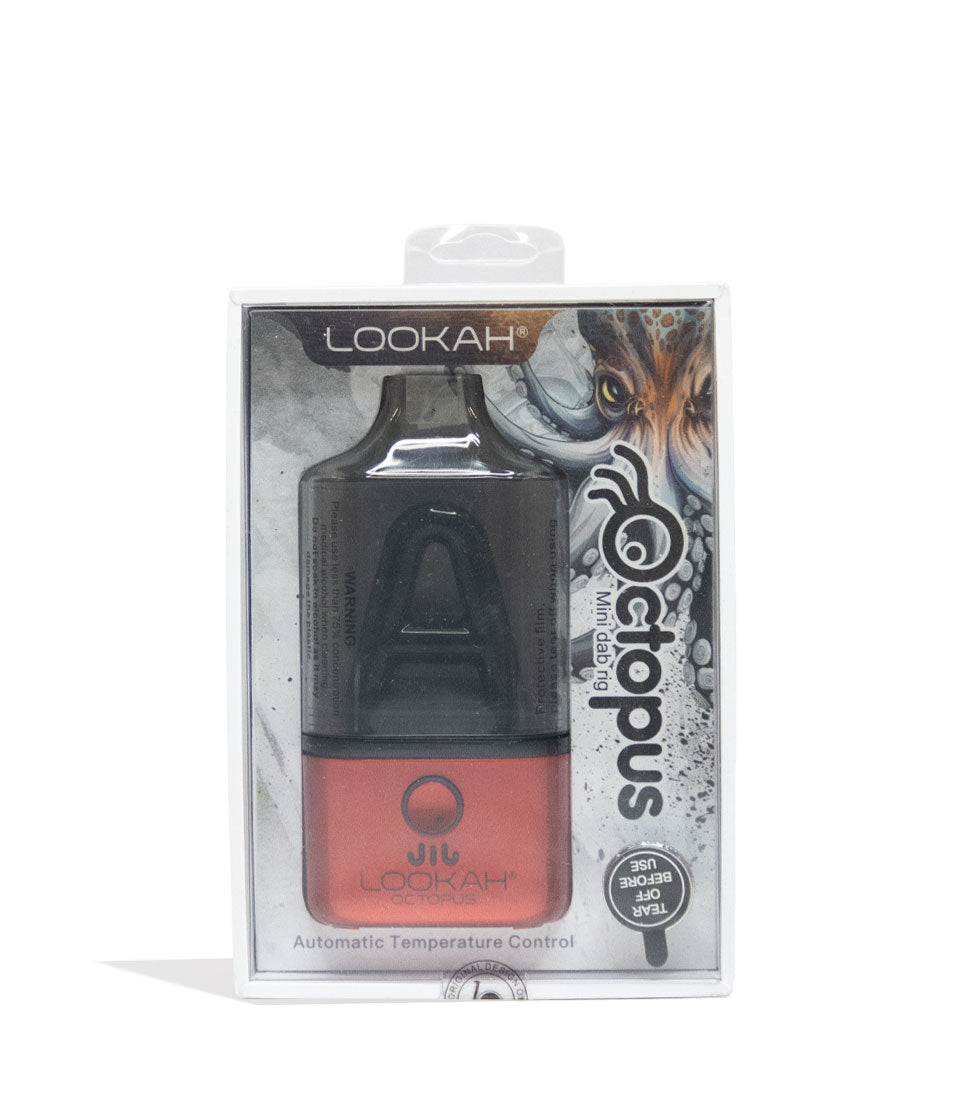
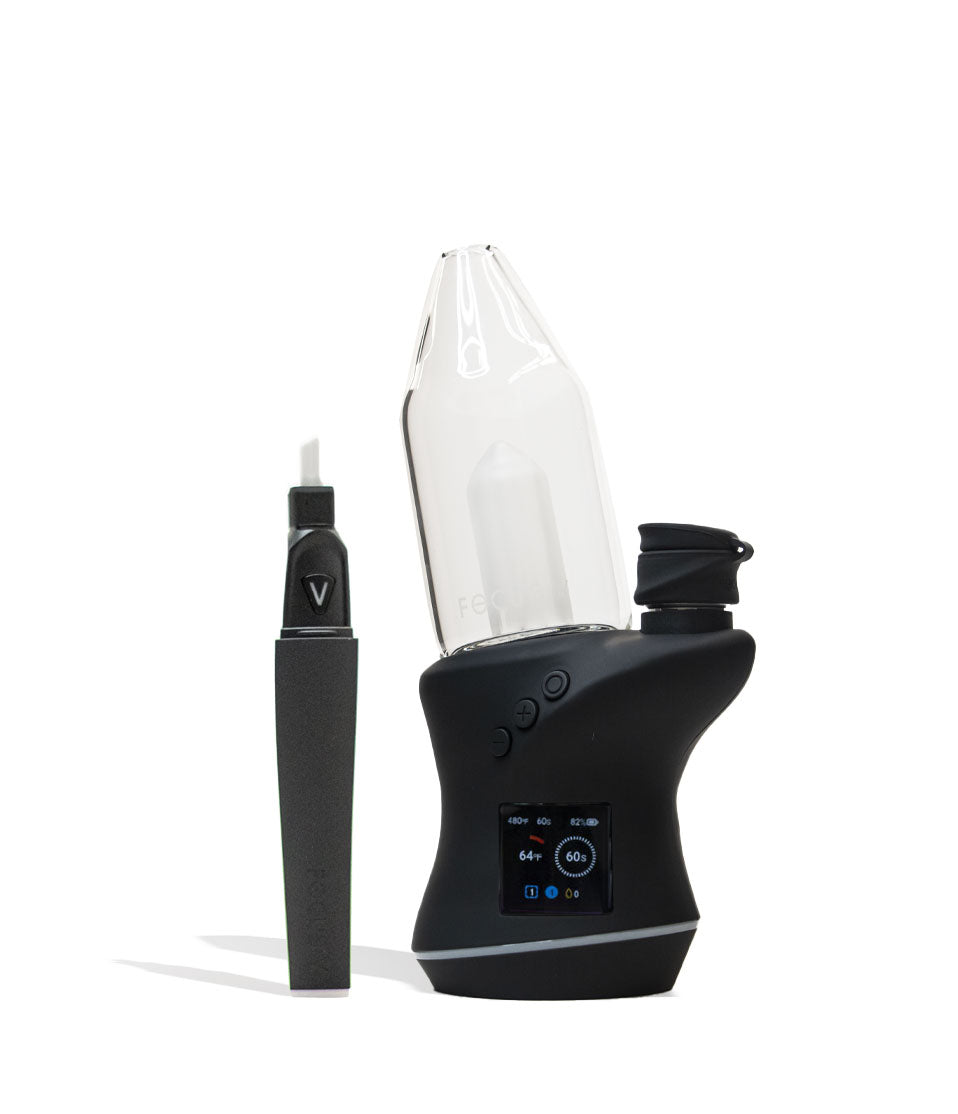
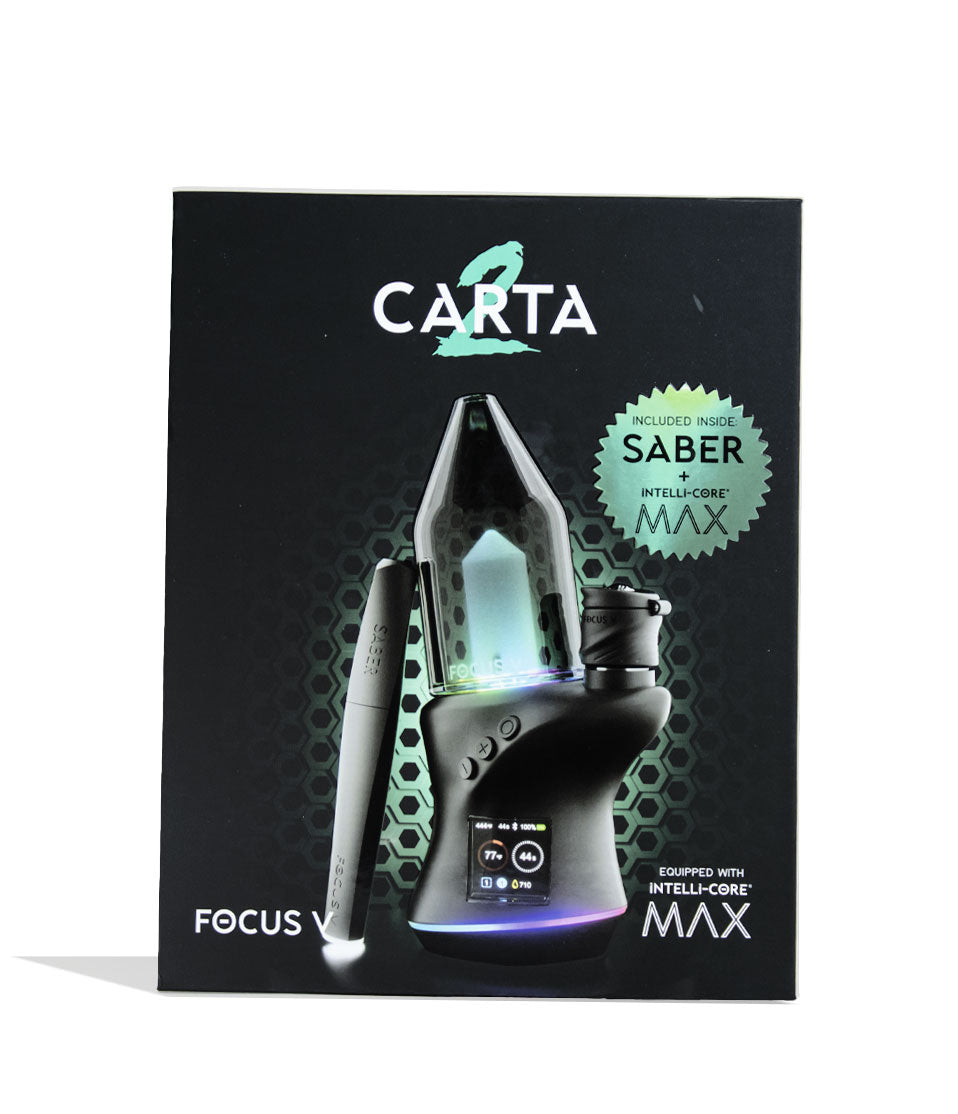
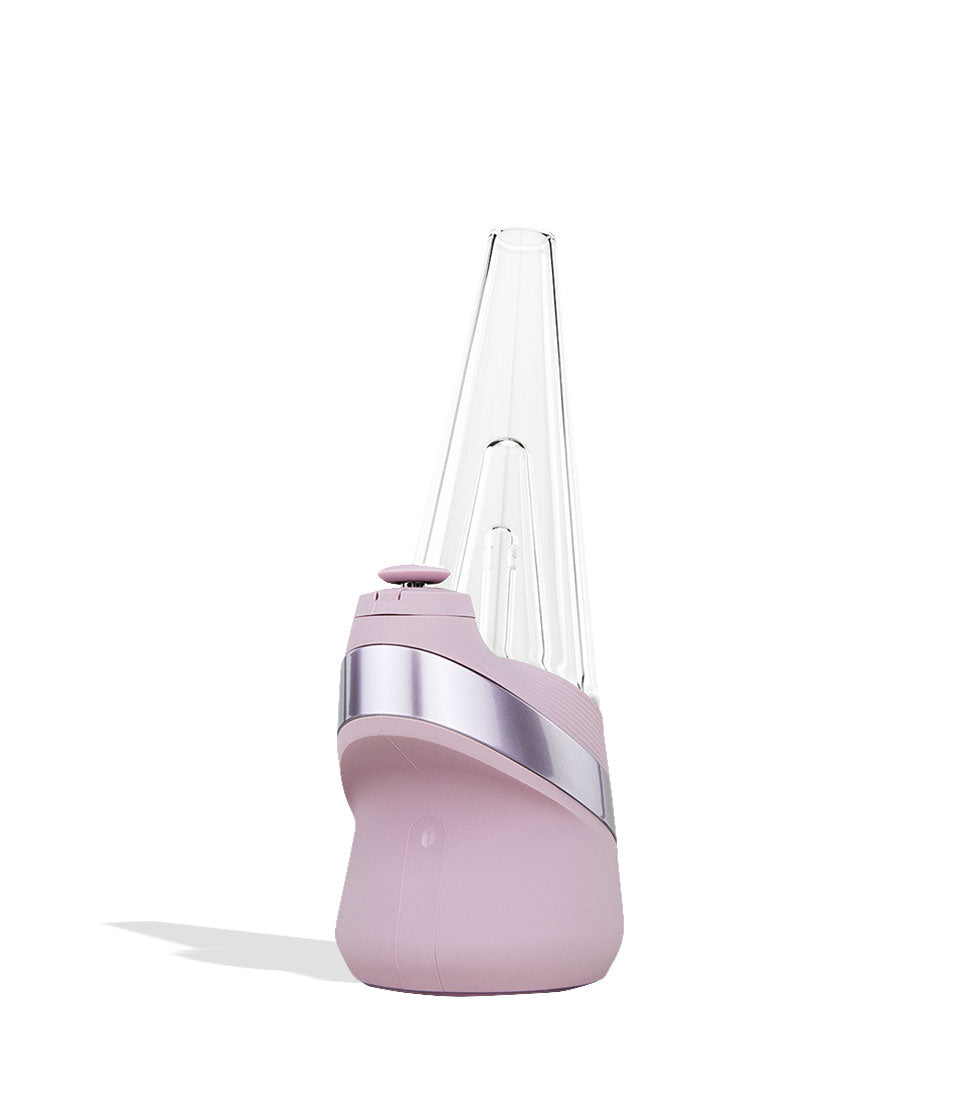
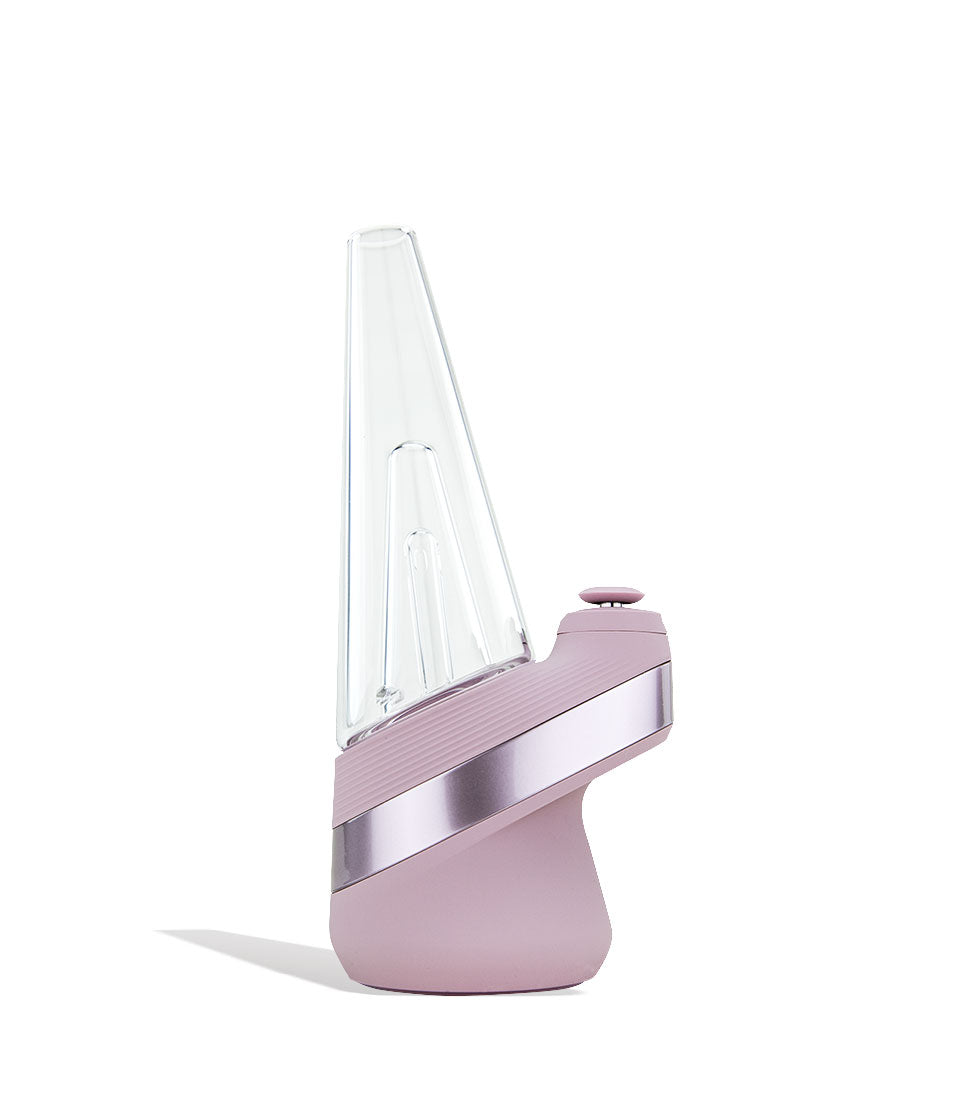
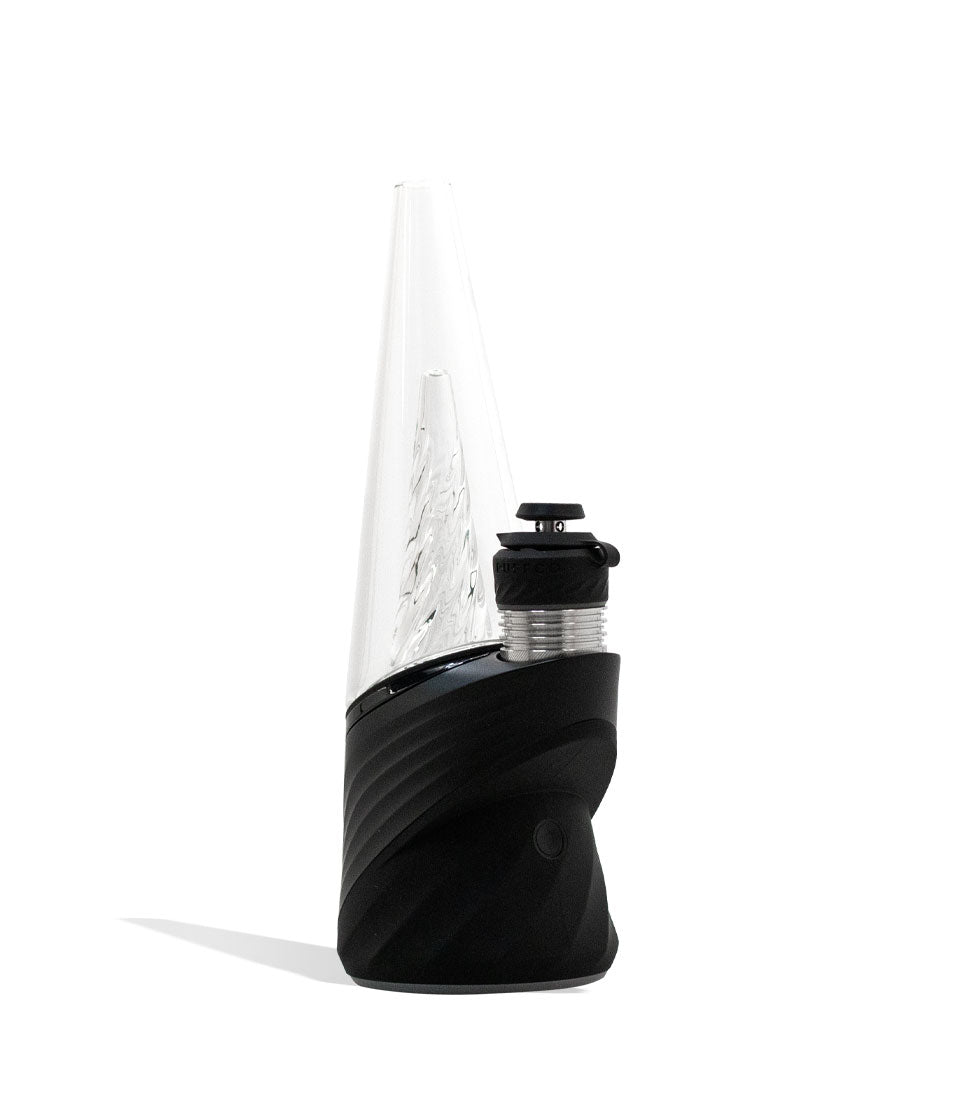
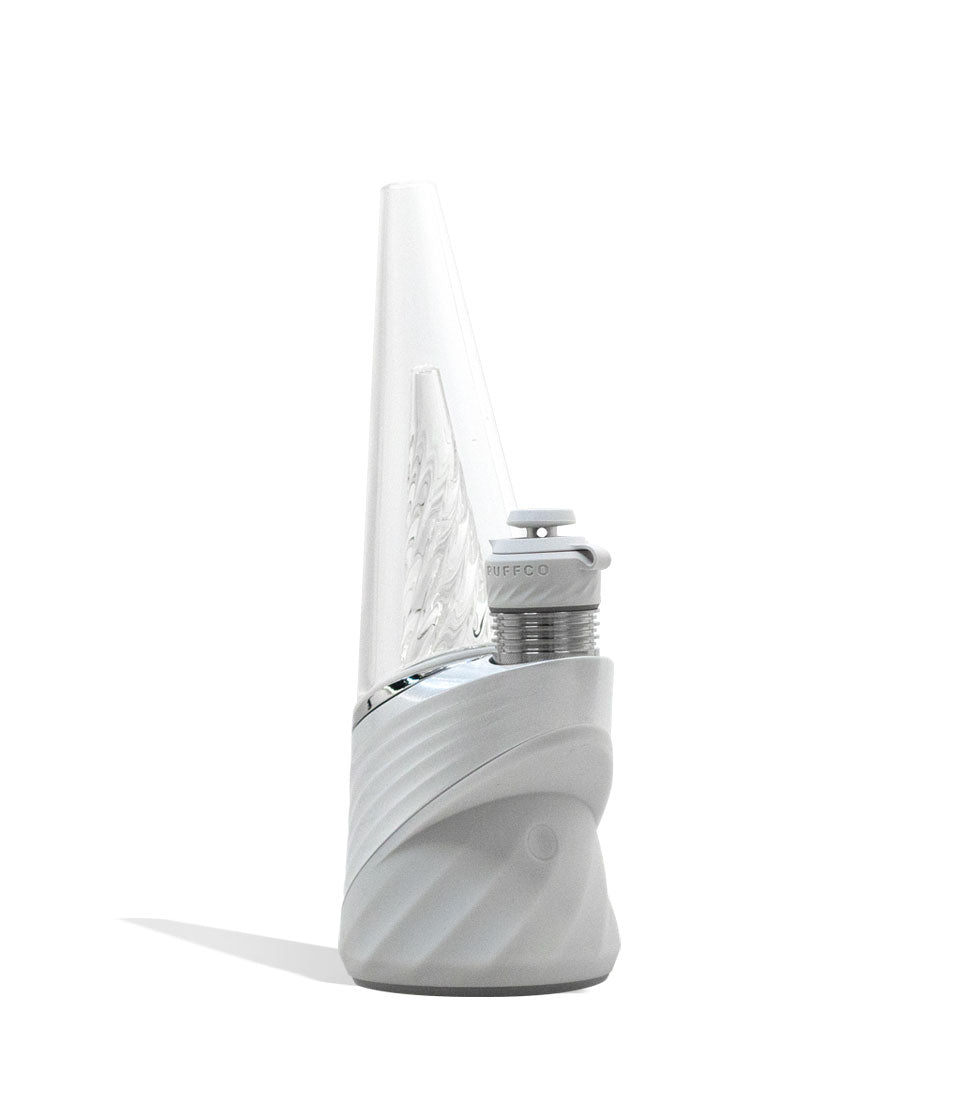
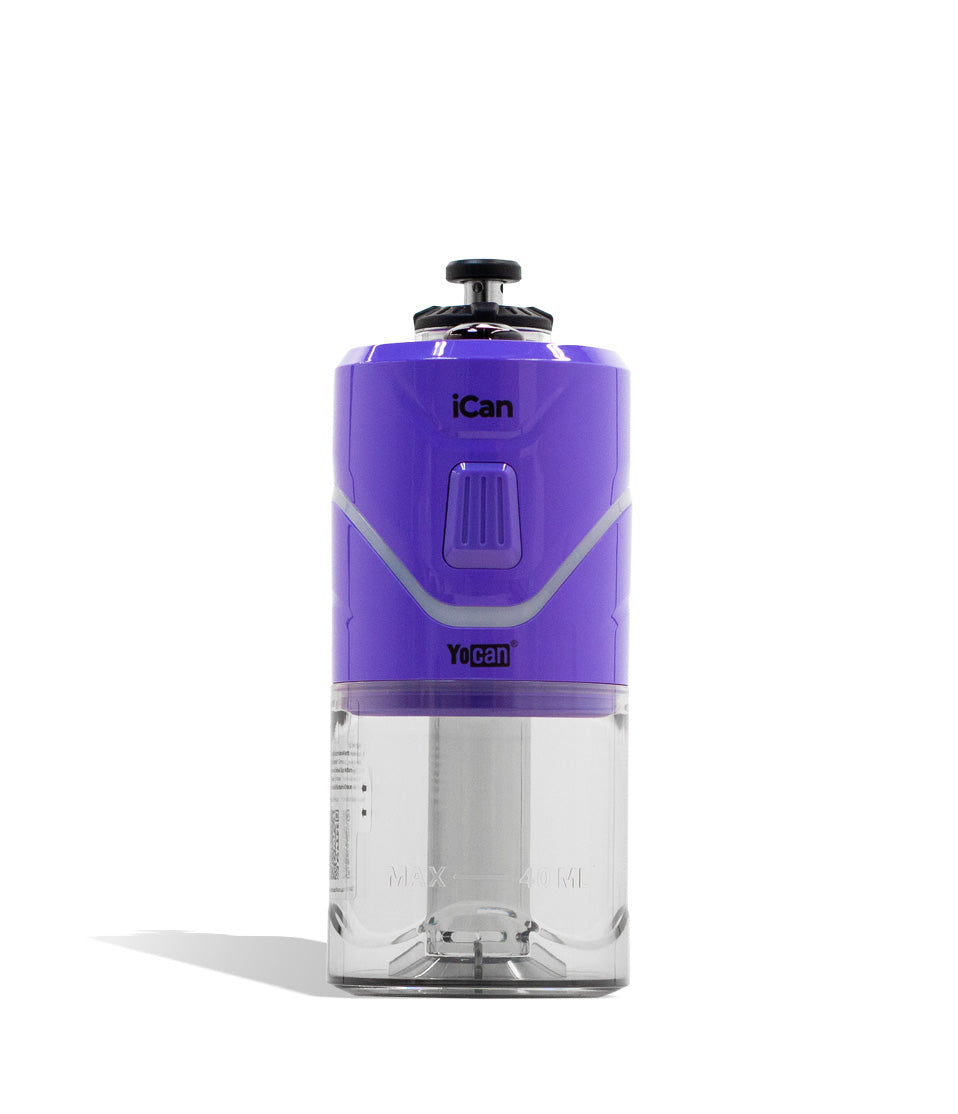
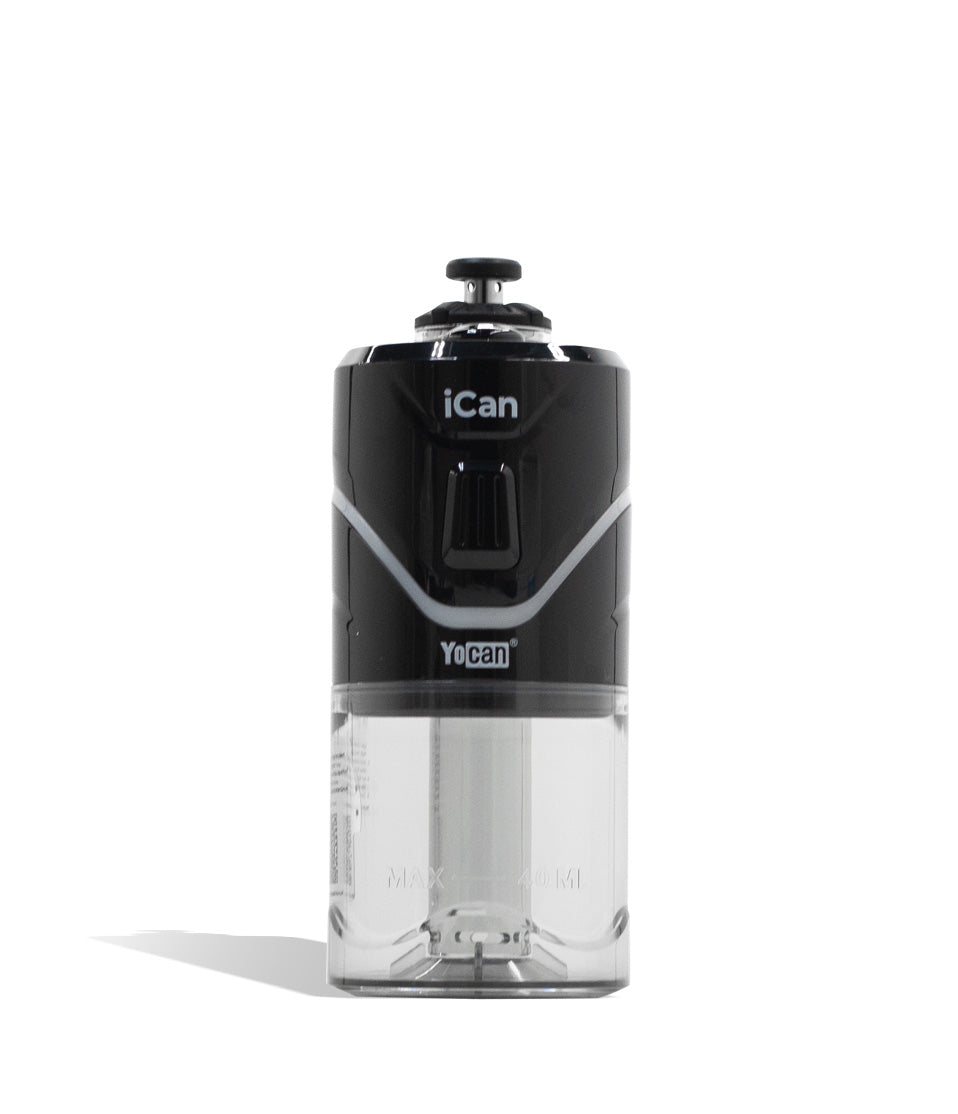
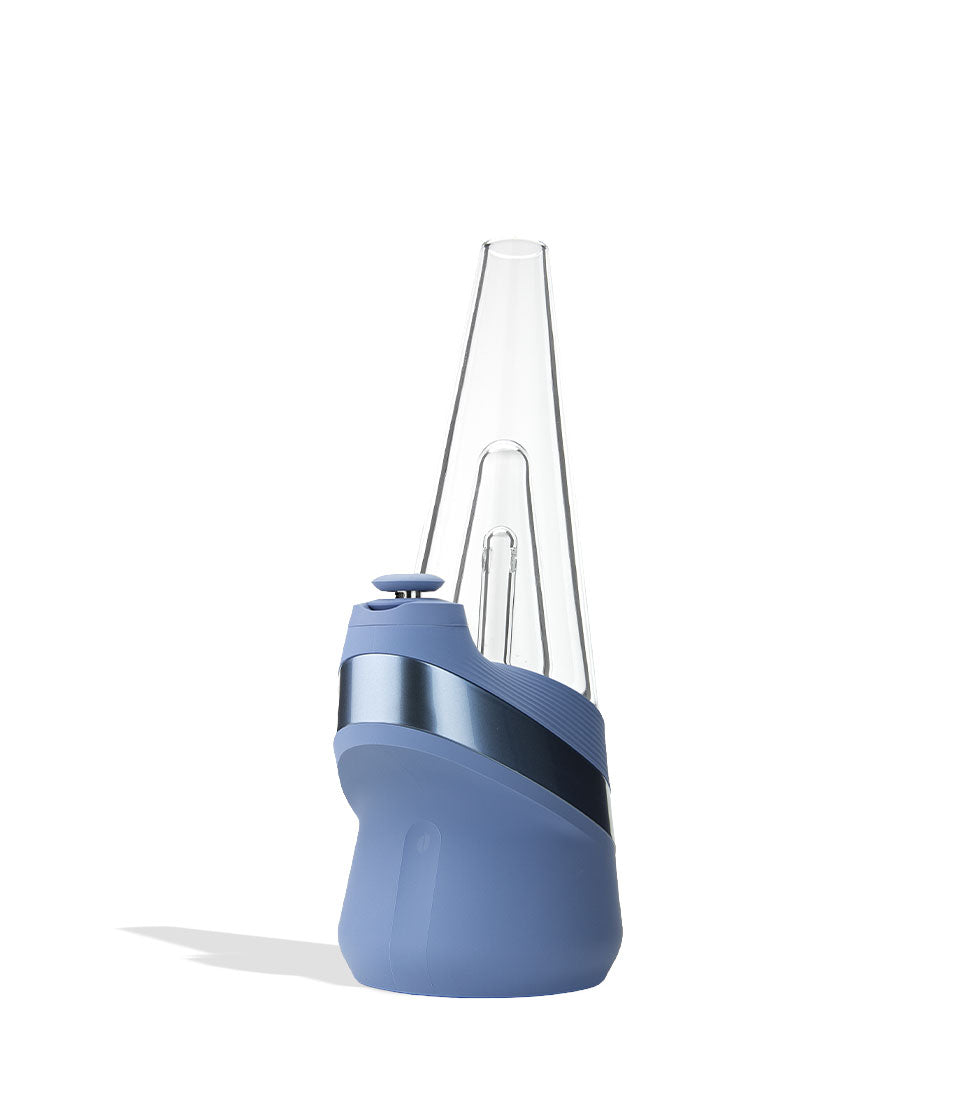
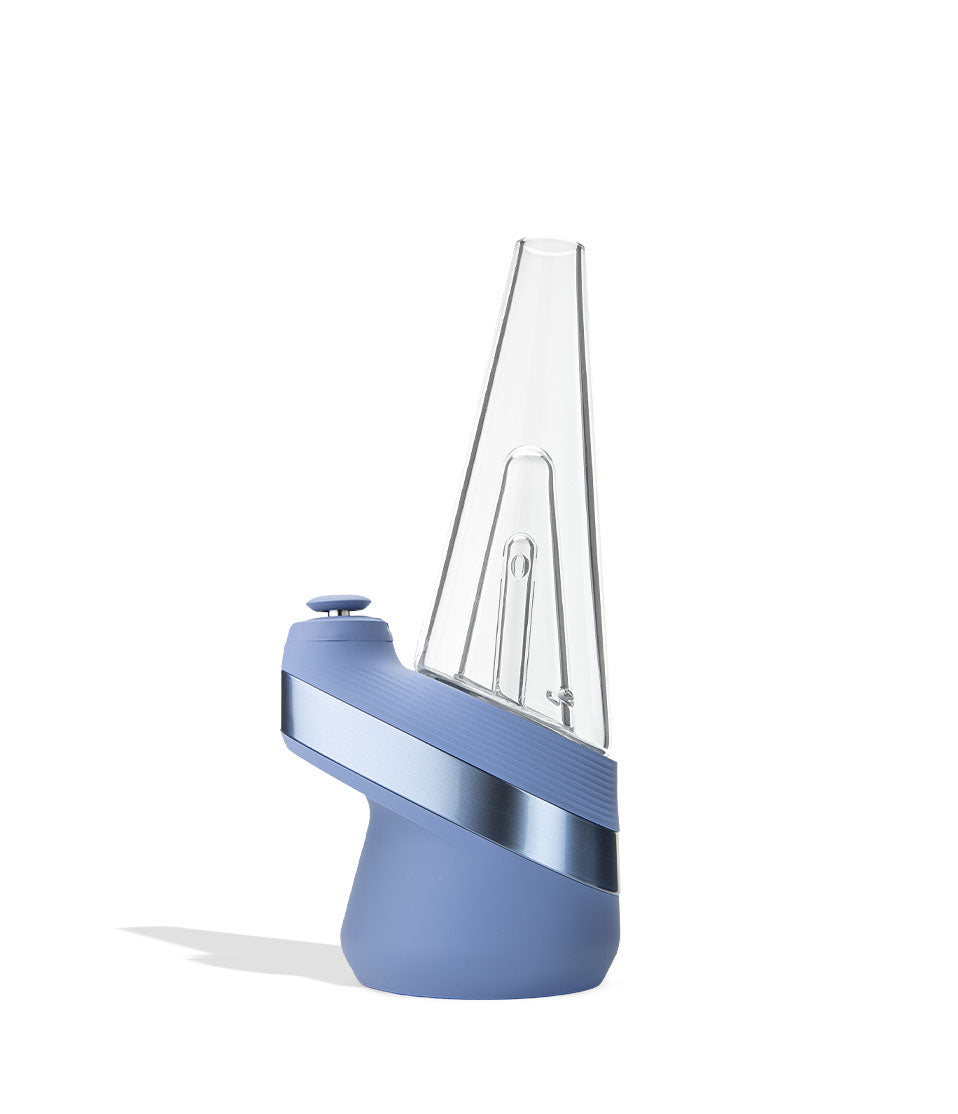
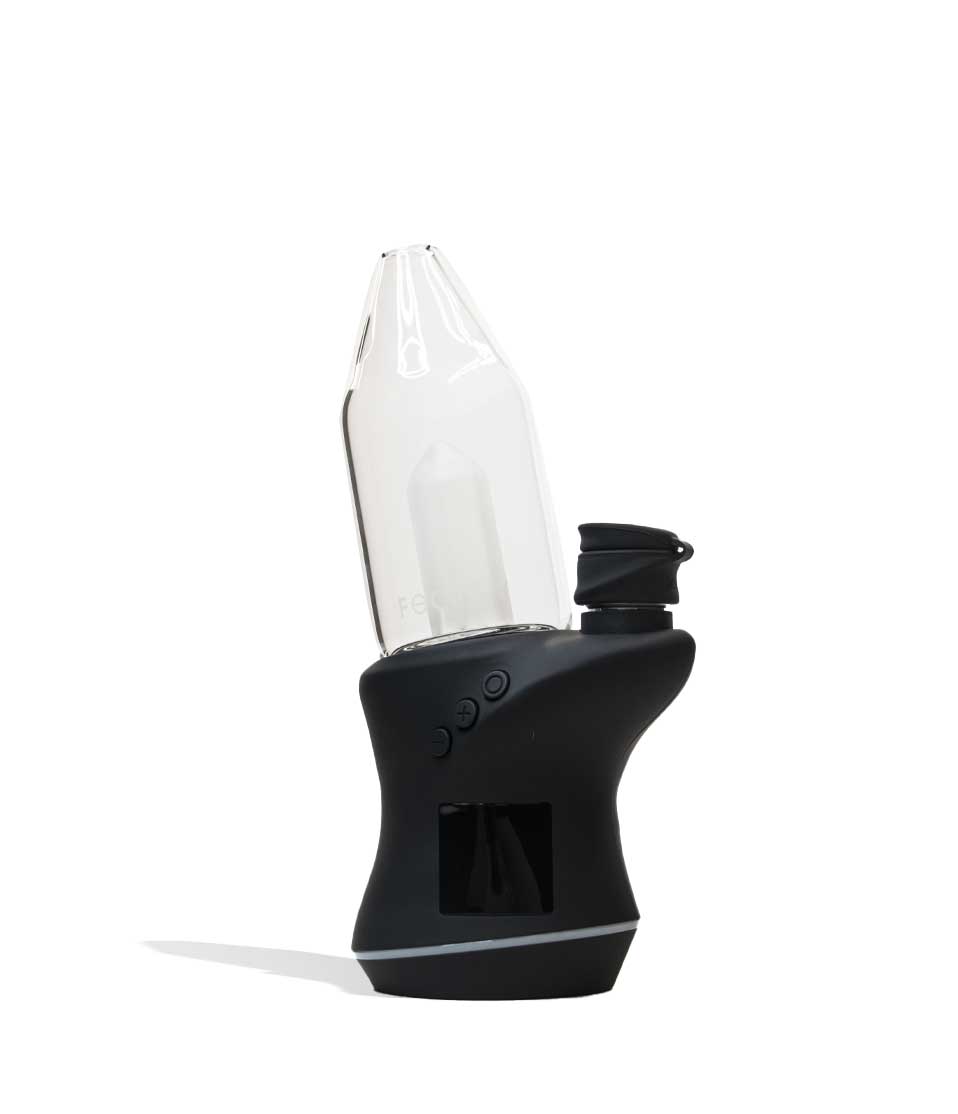
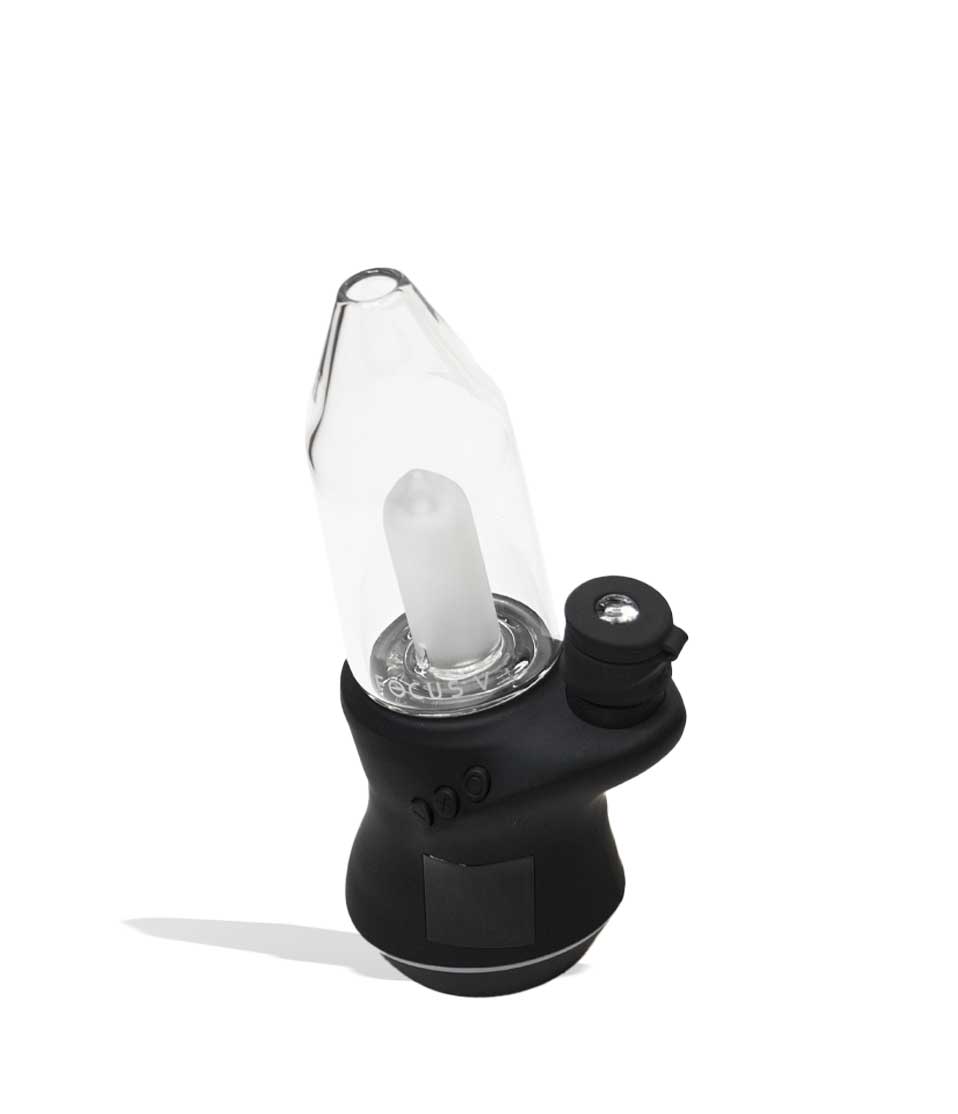
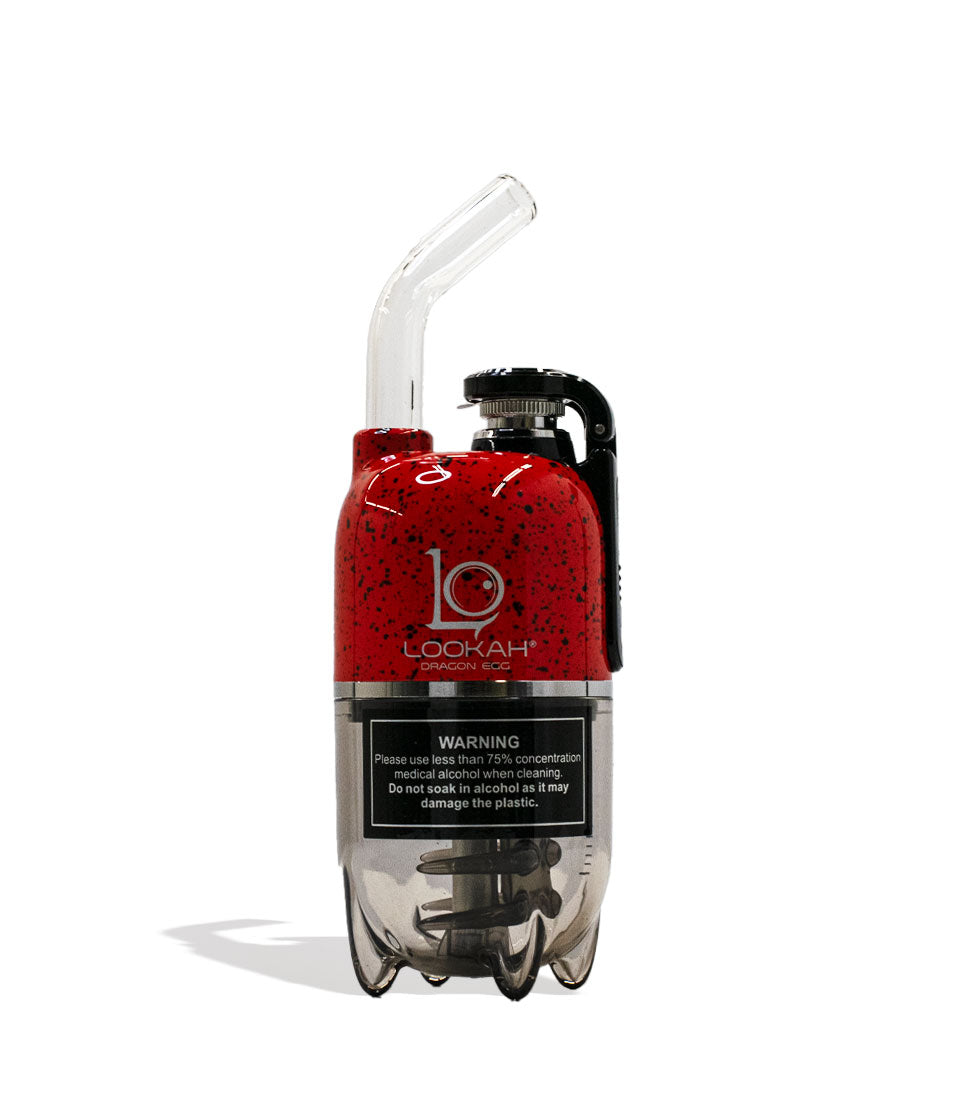
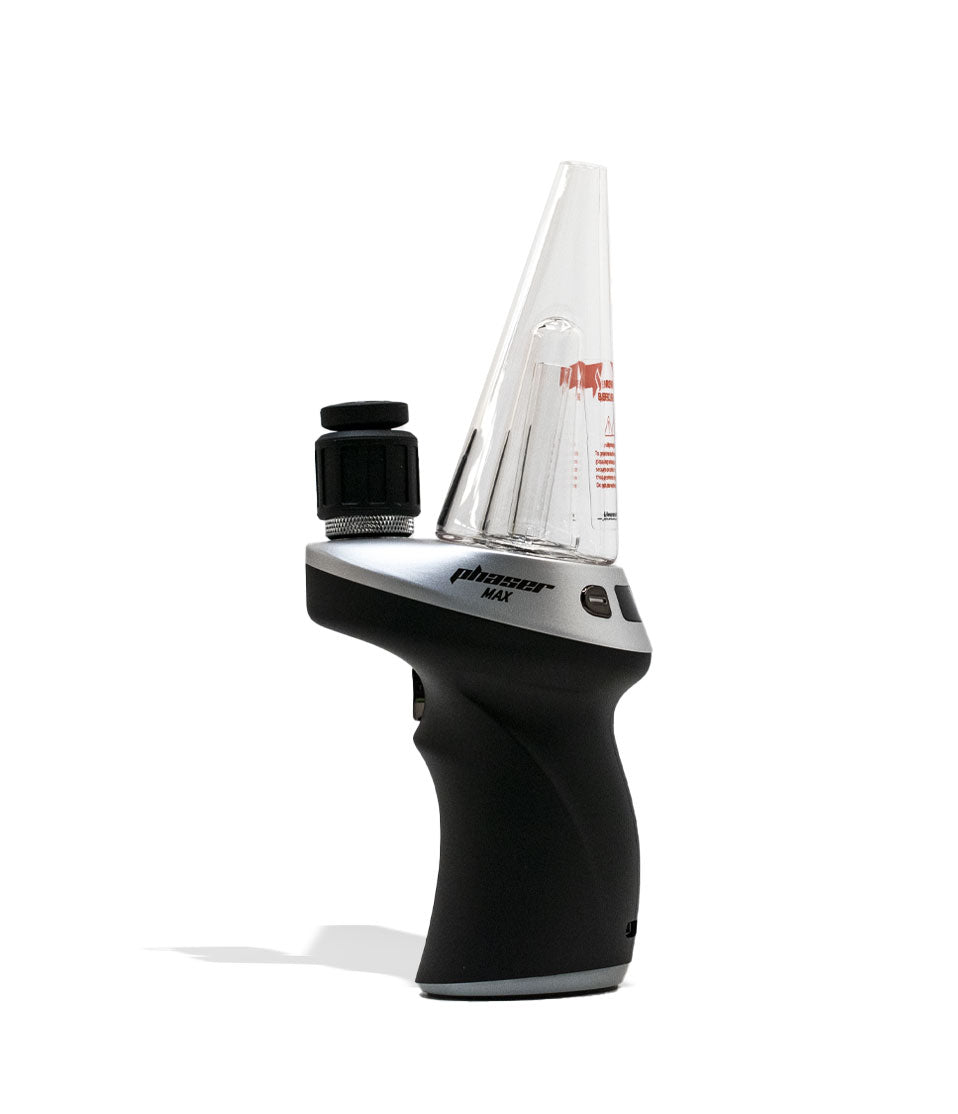
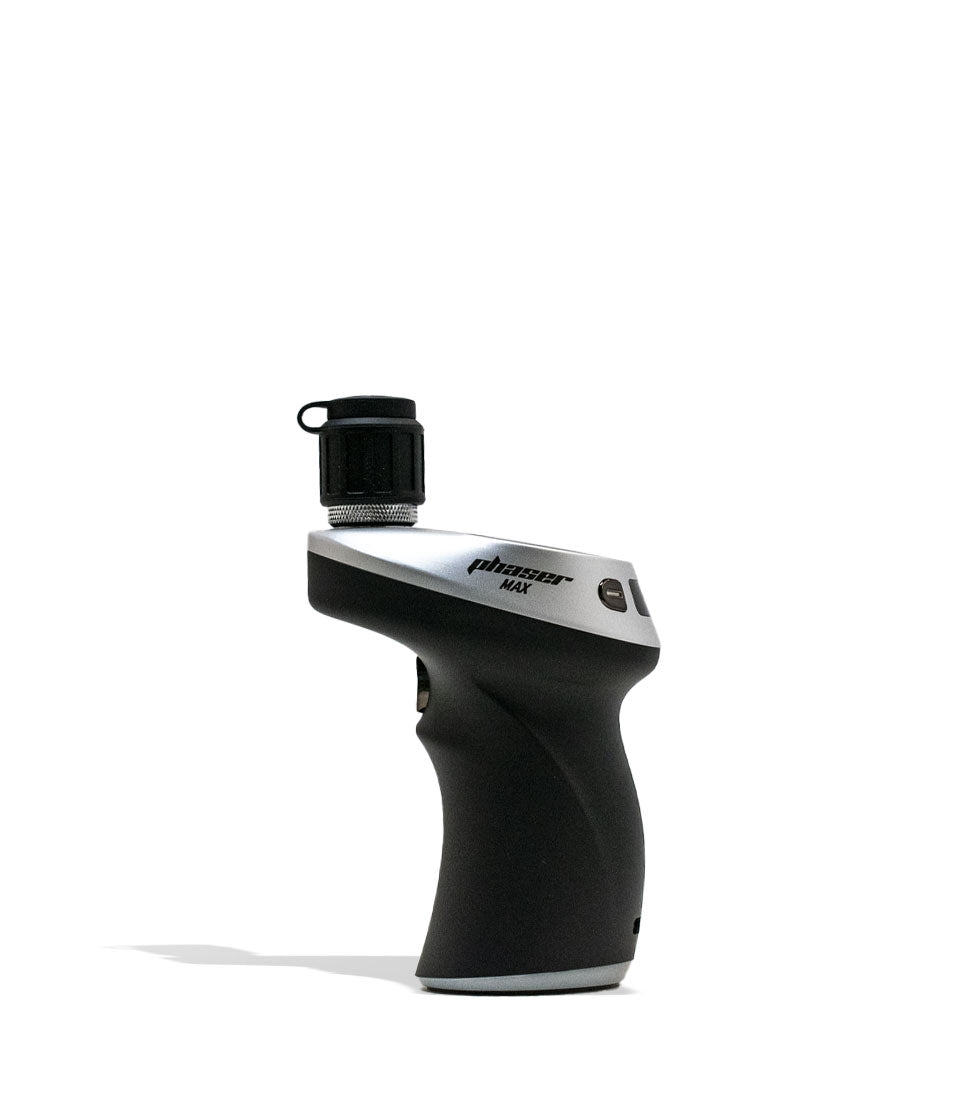
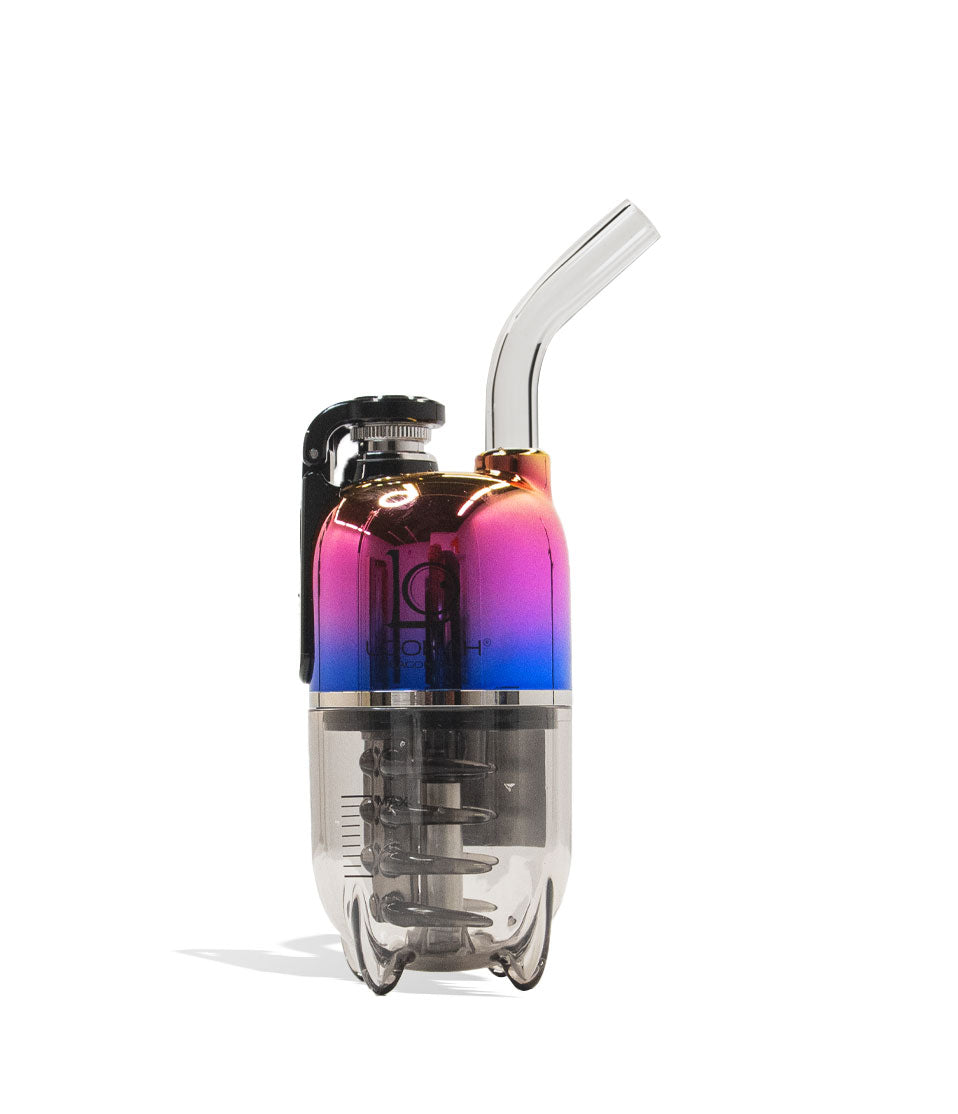
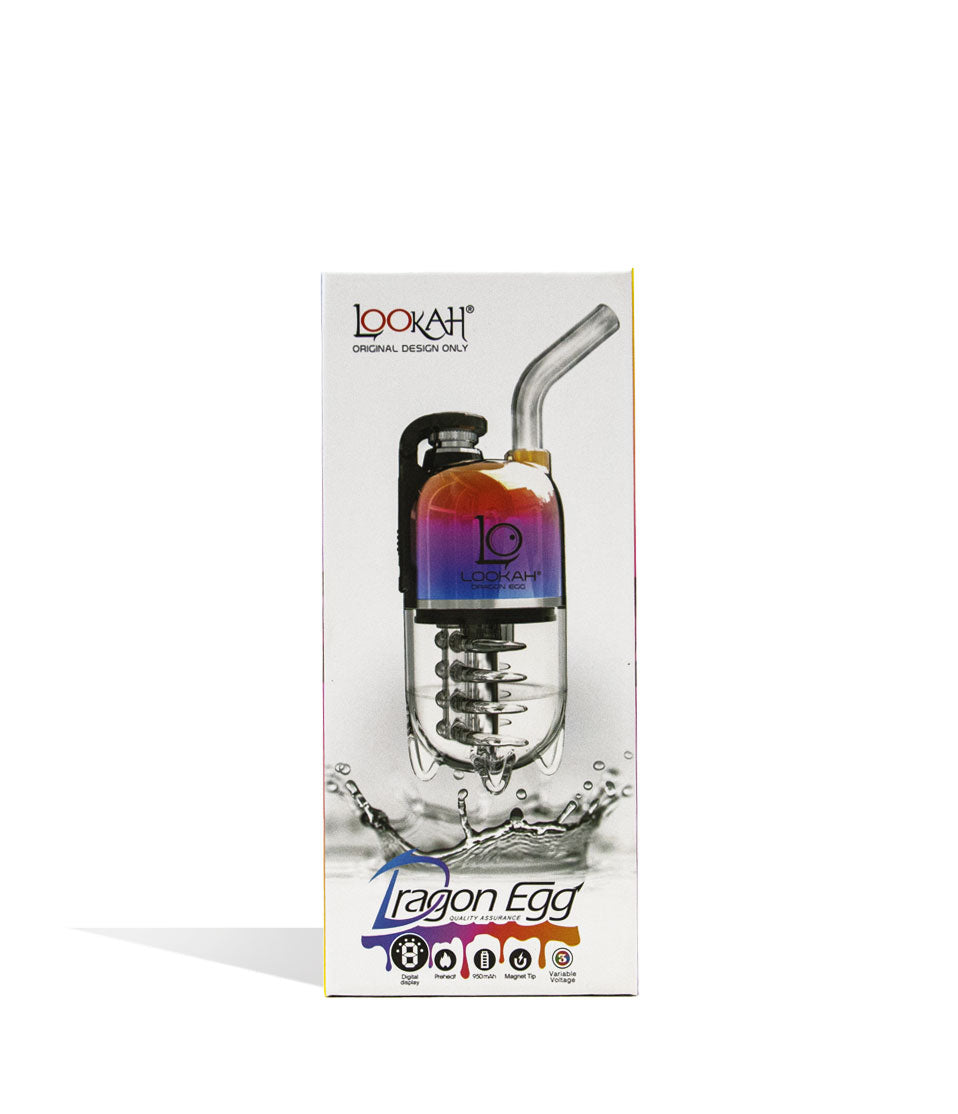
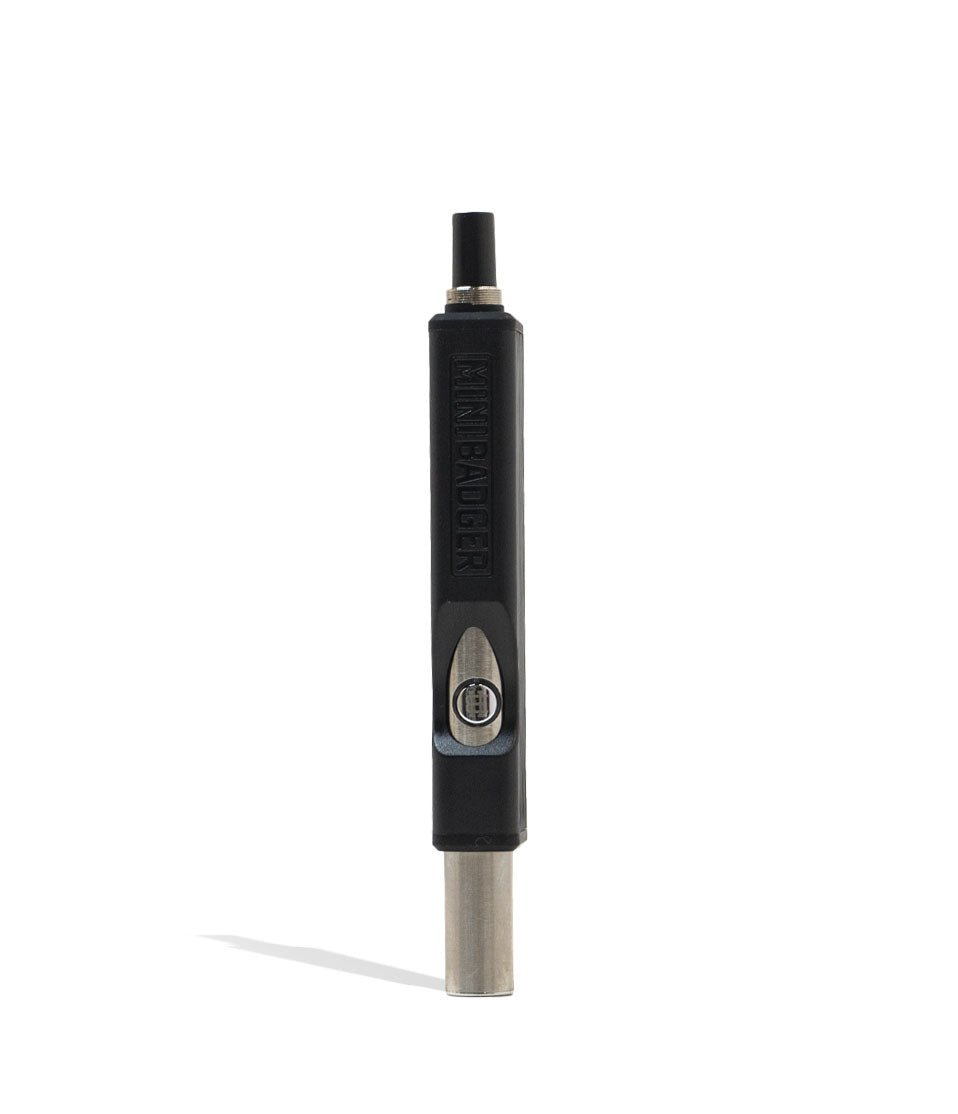
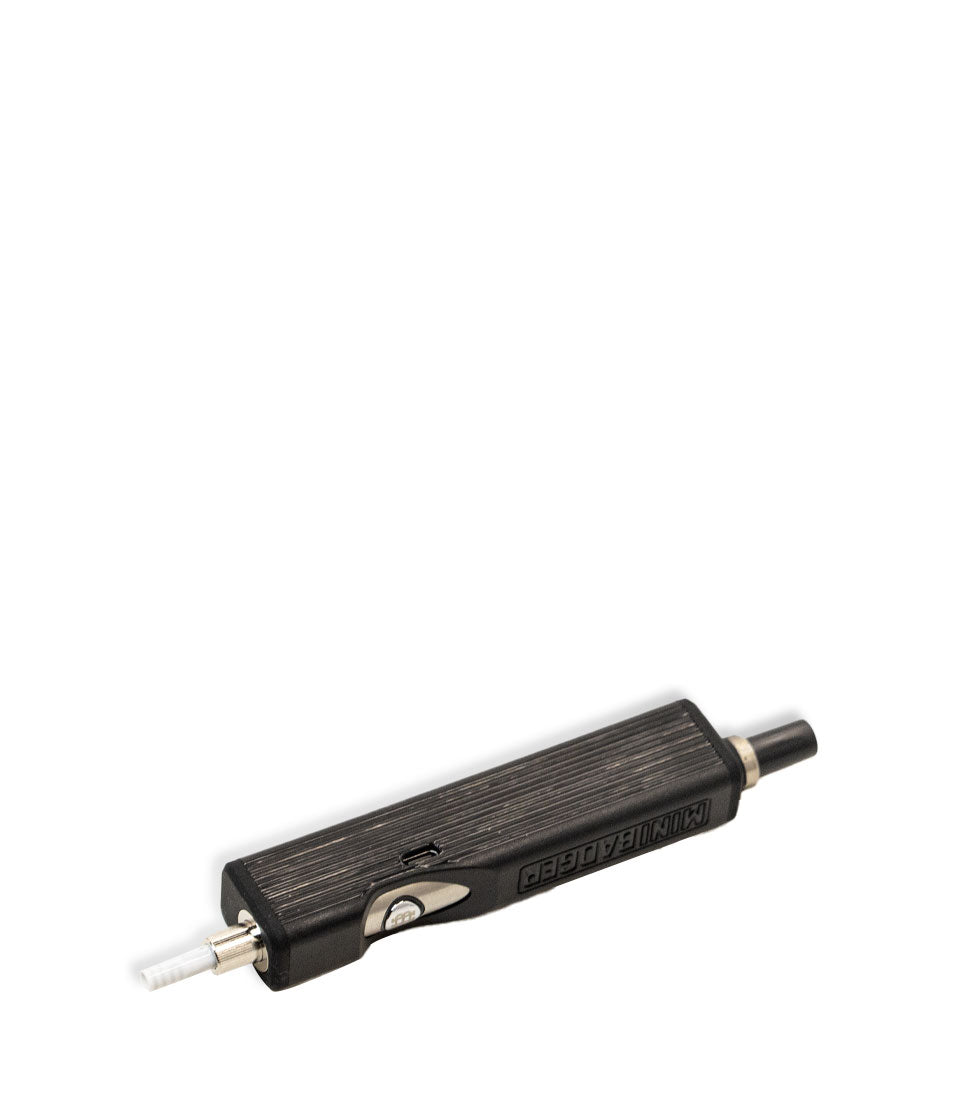
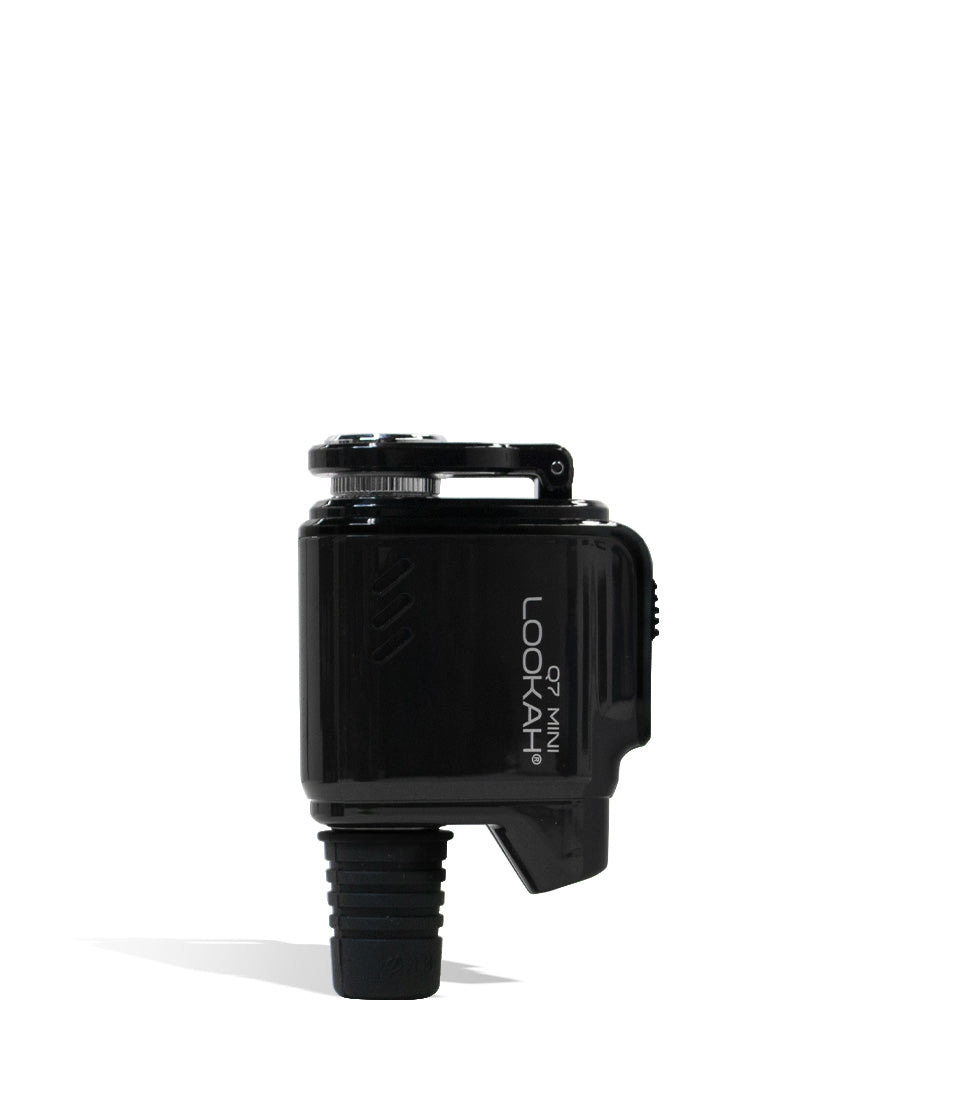
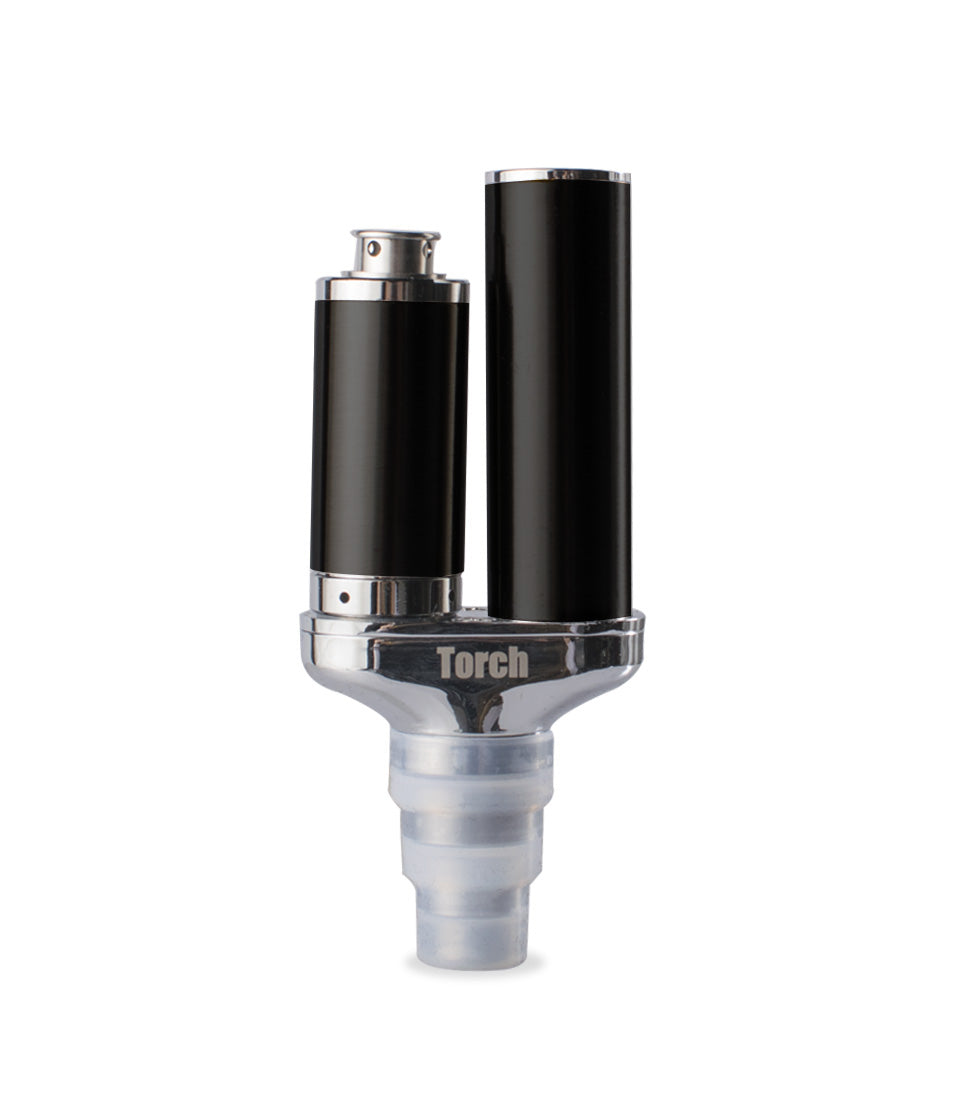
Shop Electric Dab Rigs & E-Nails
A closer look at the picks called out above.
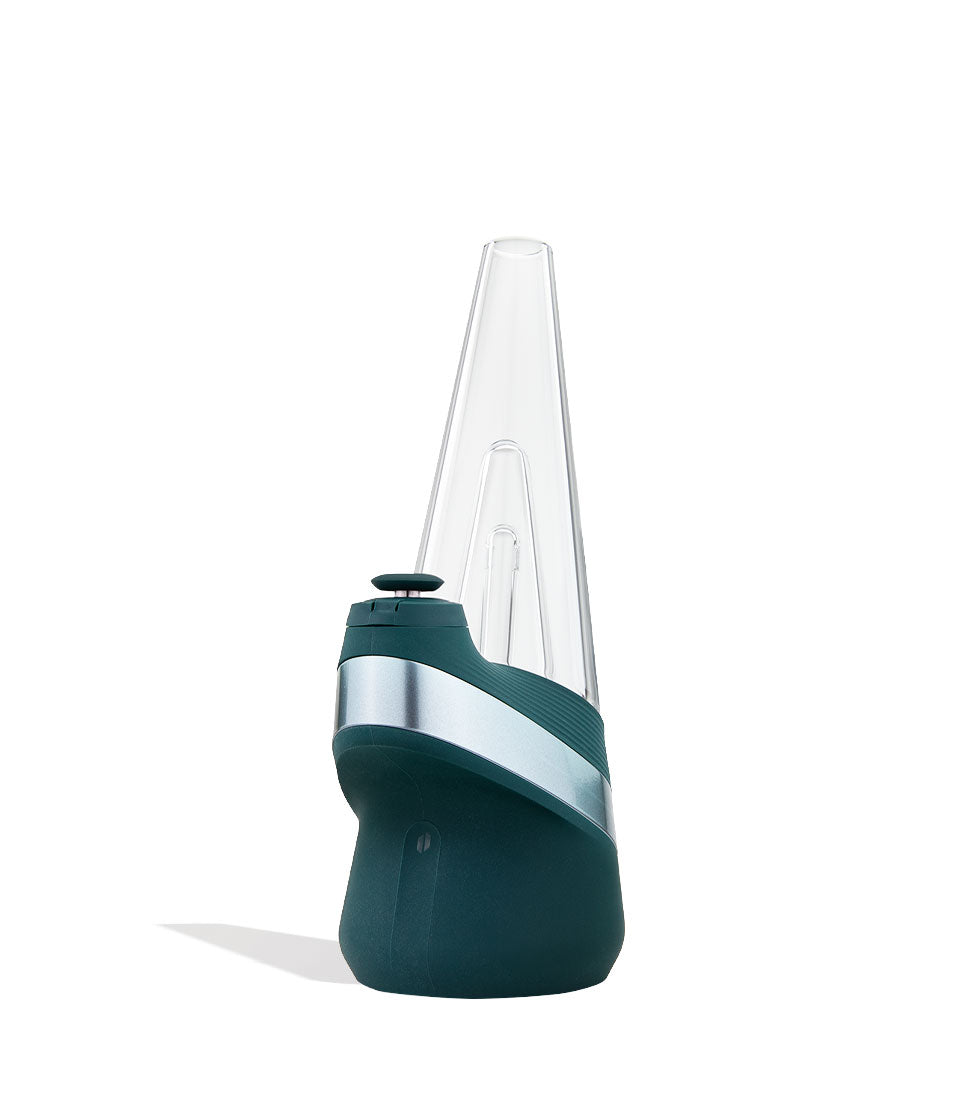
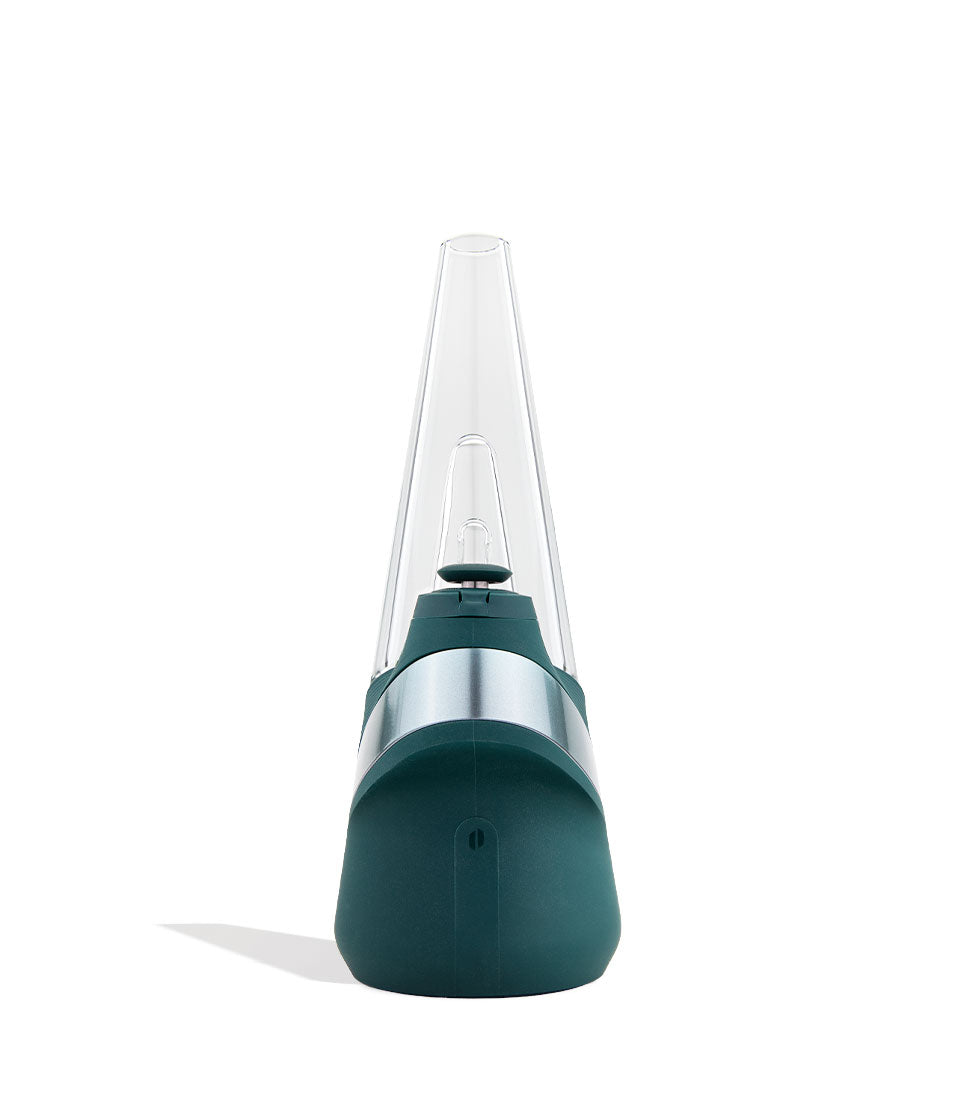
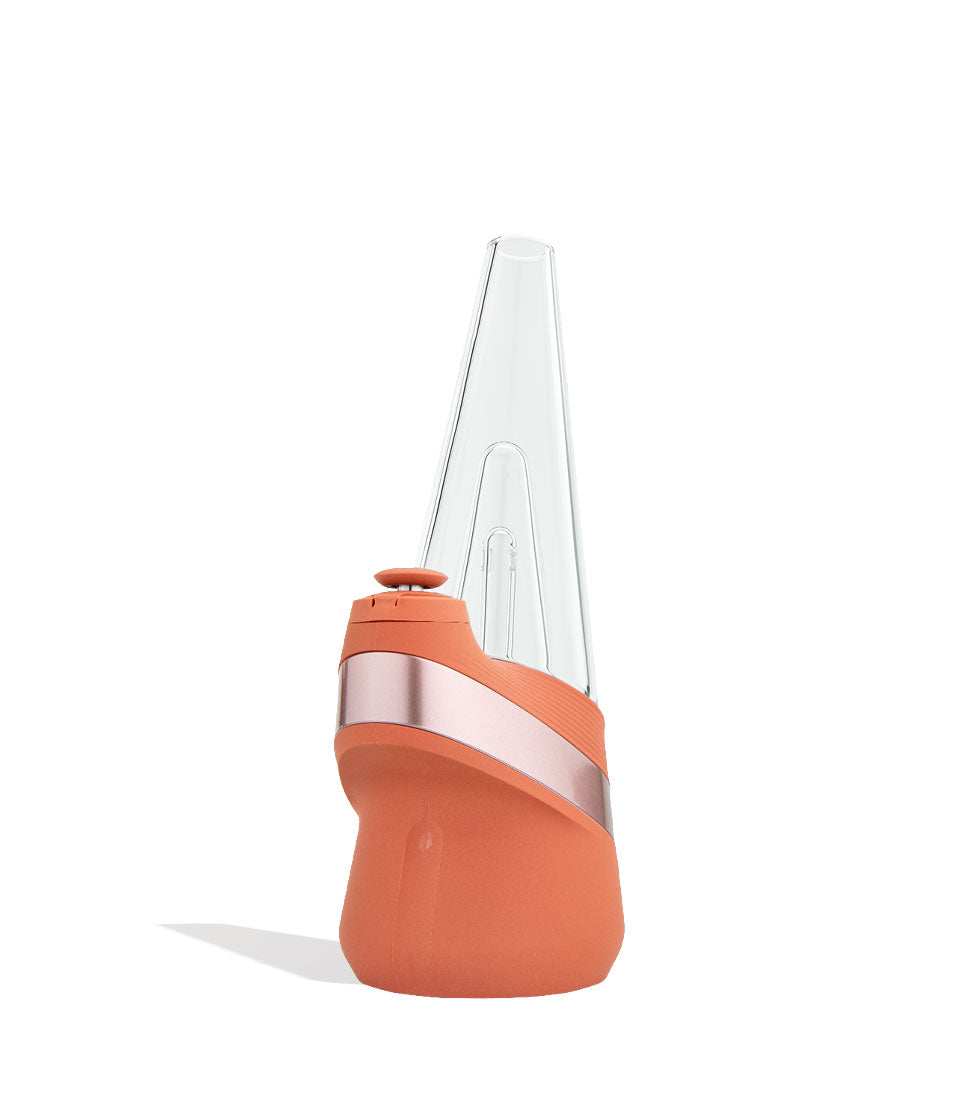
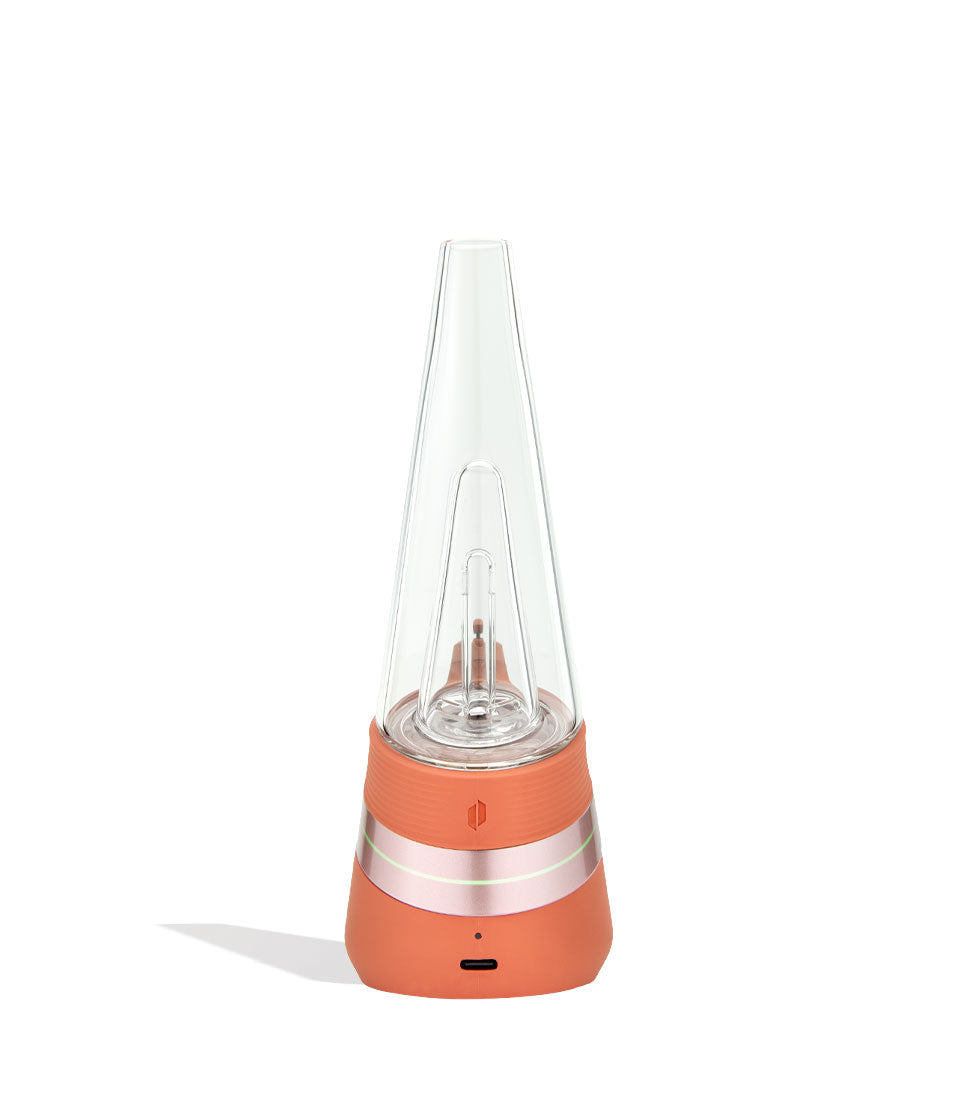
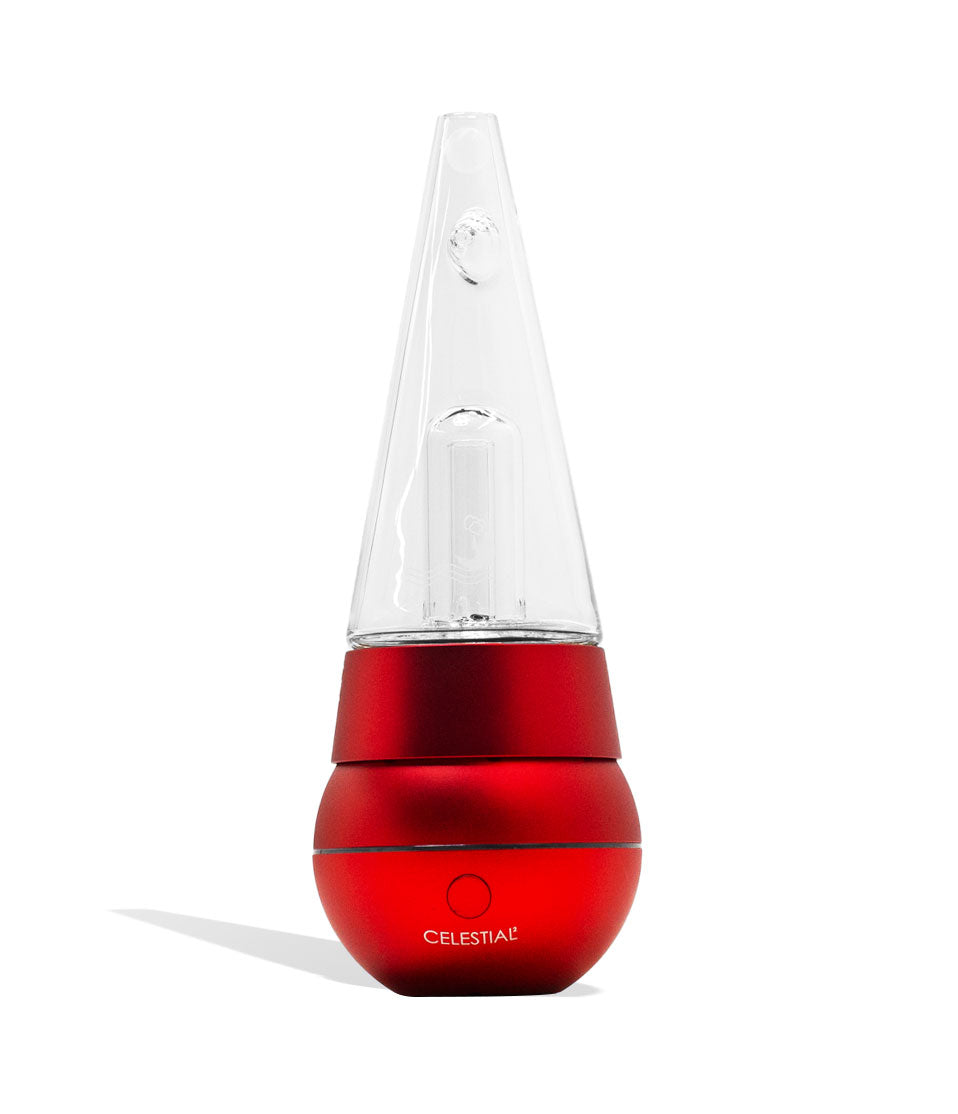
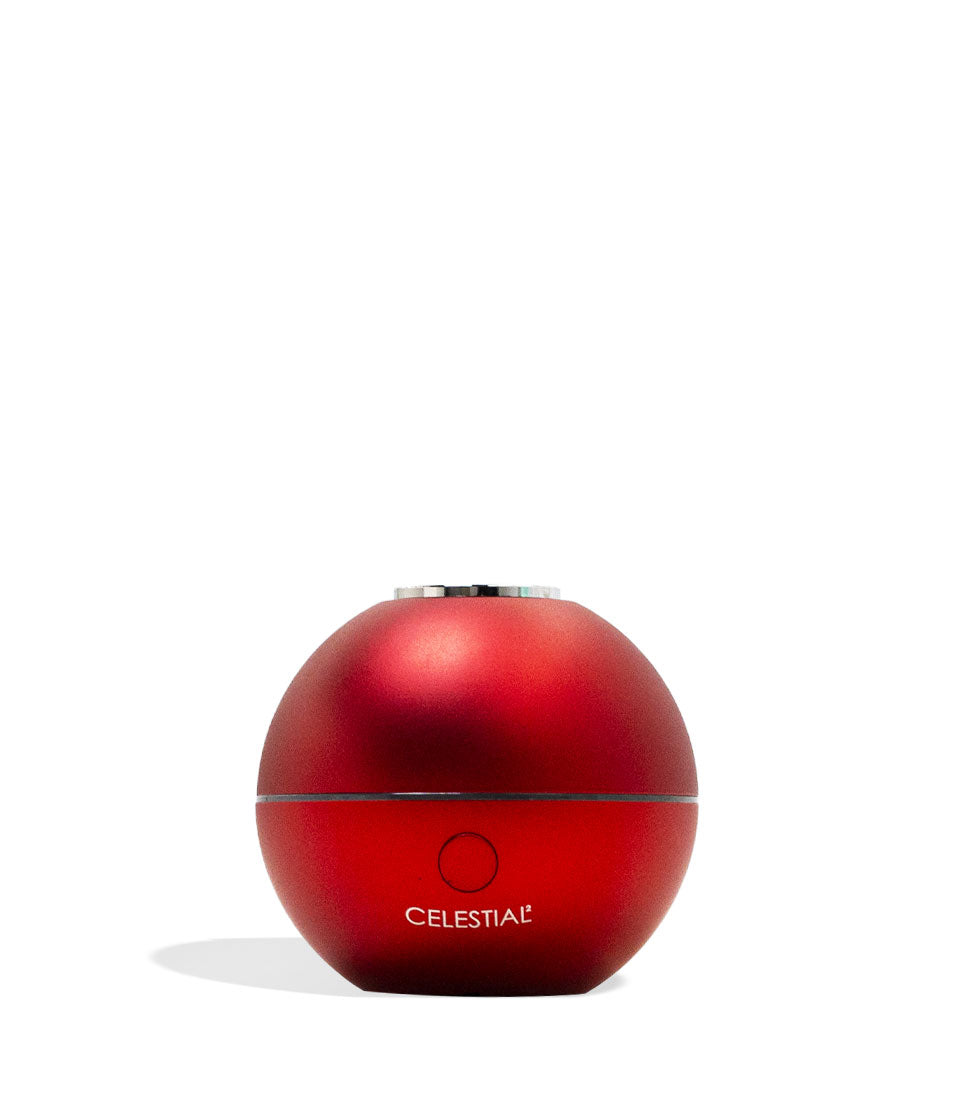
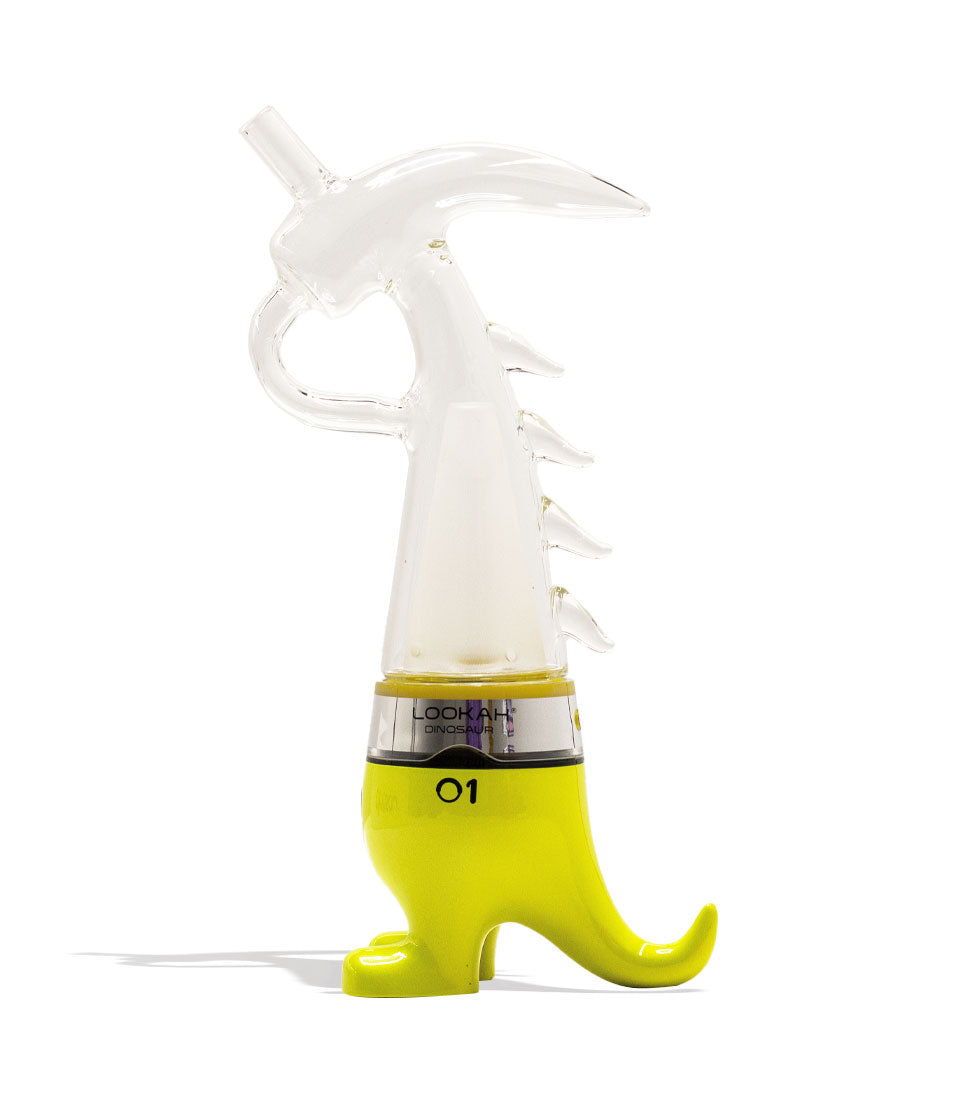
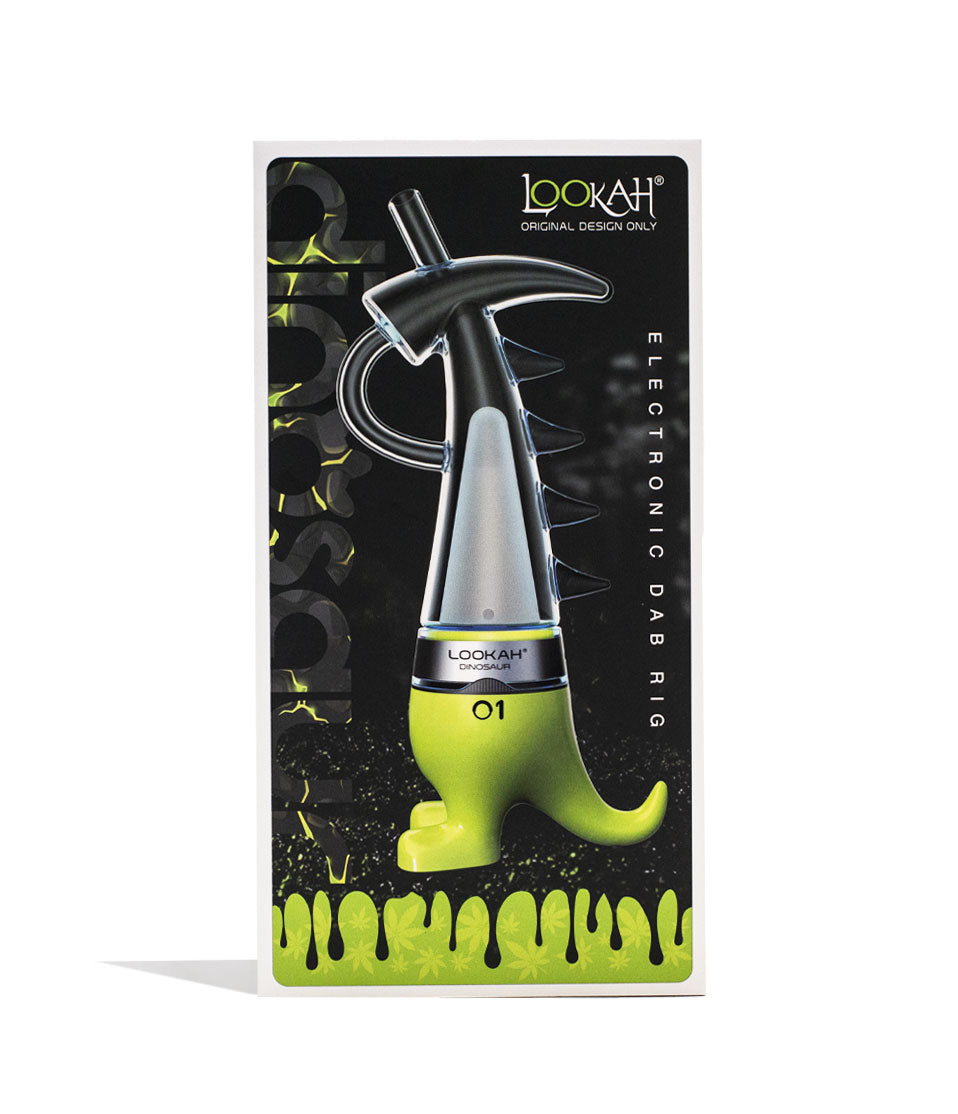

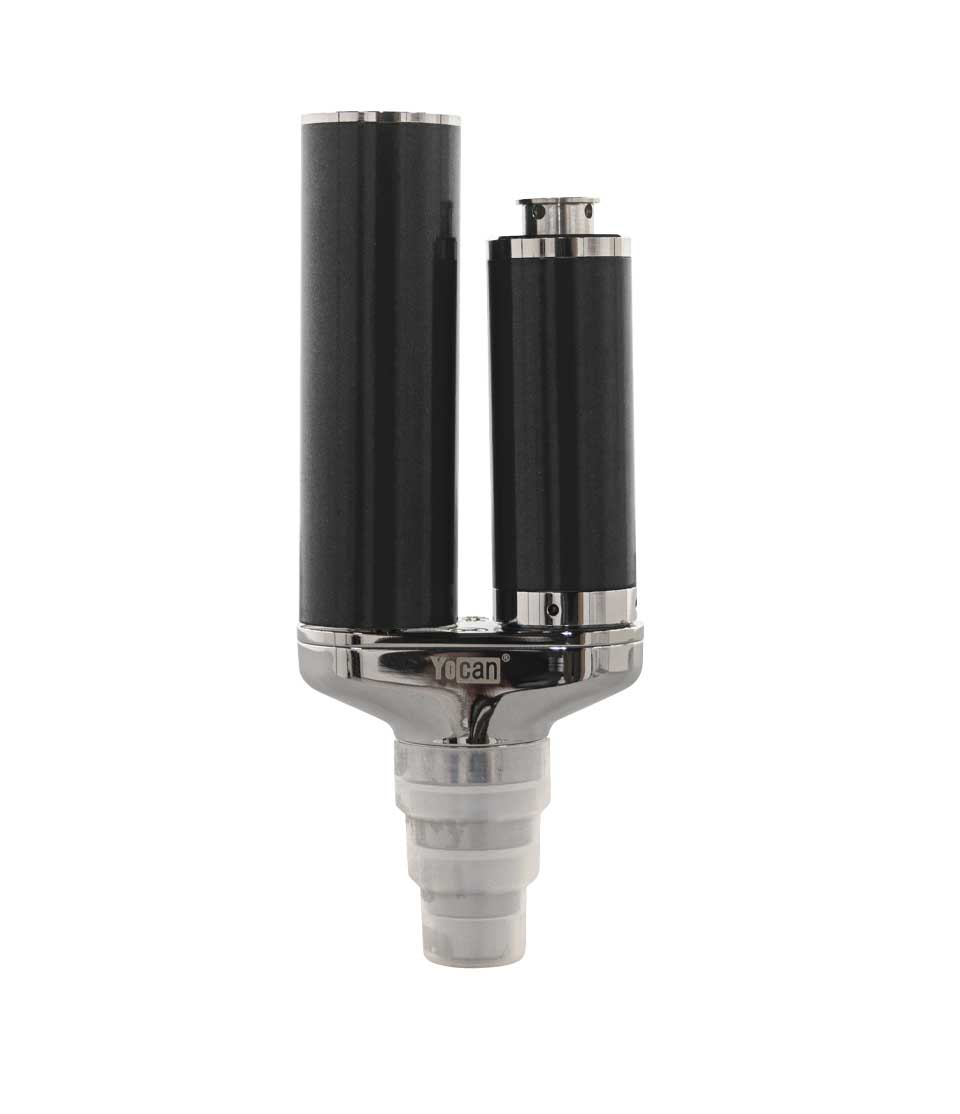
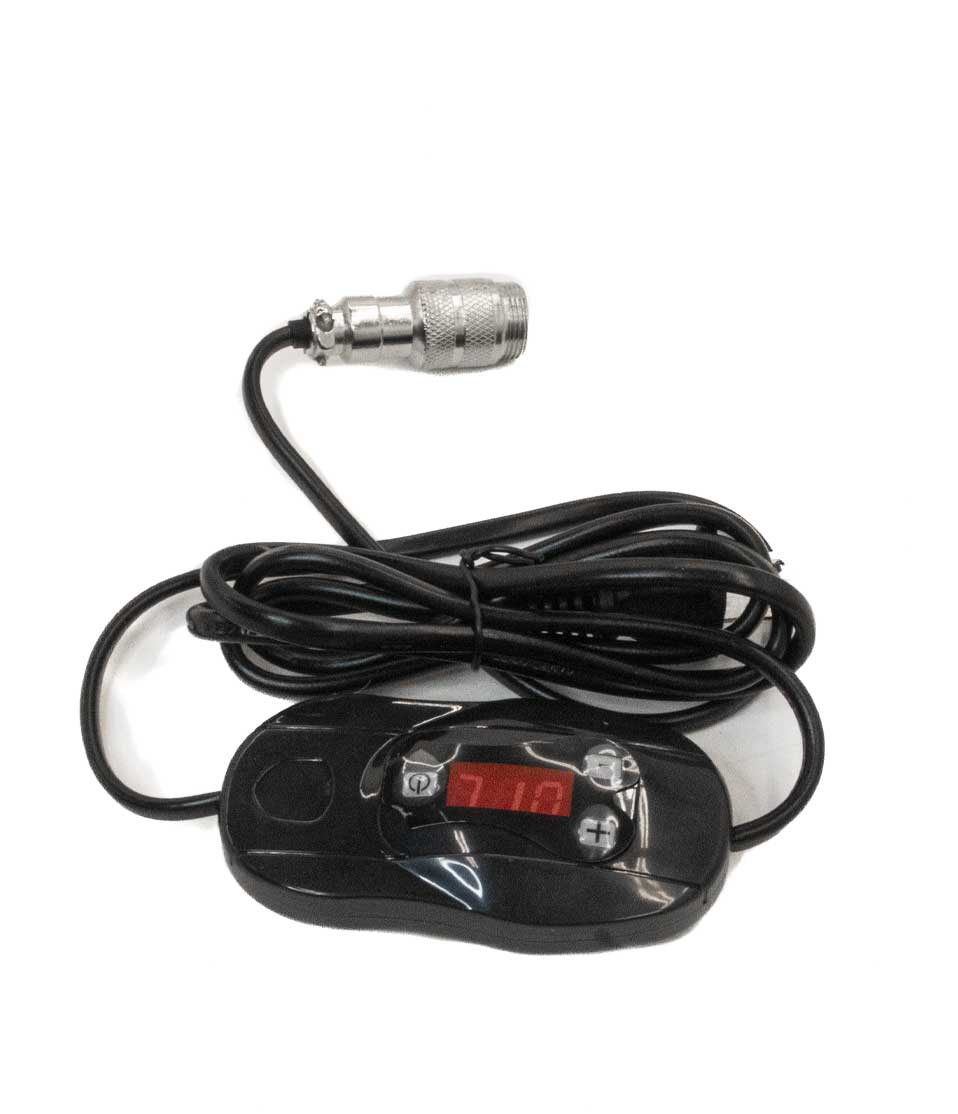
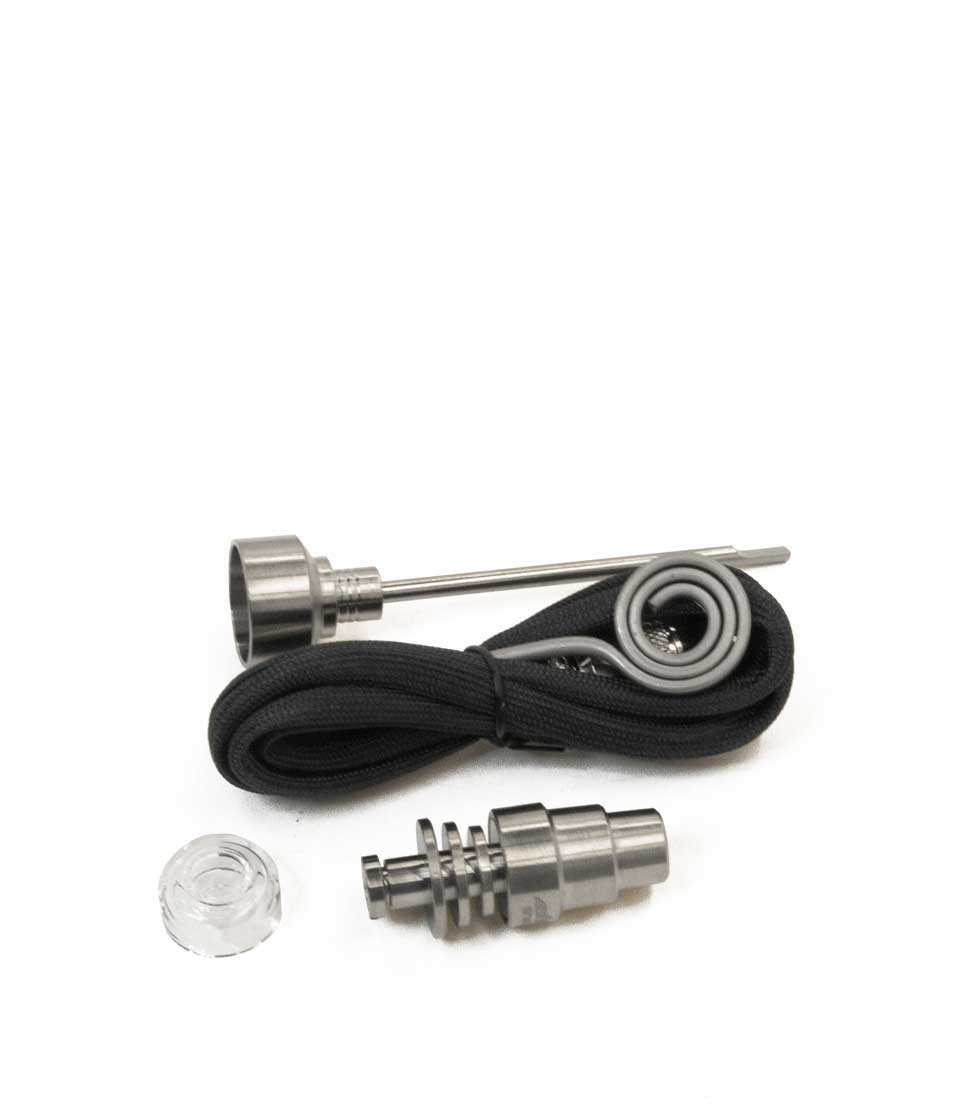
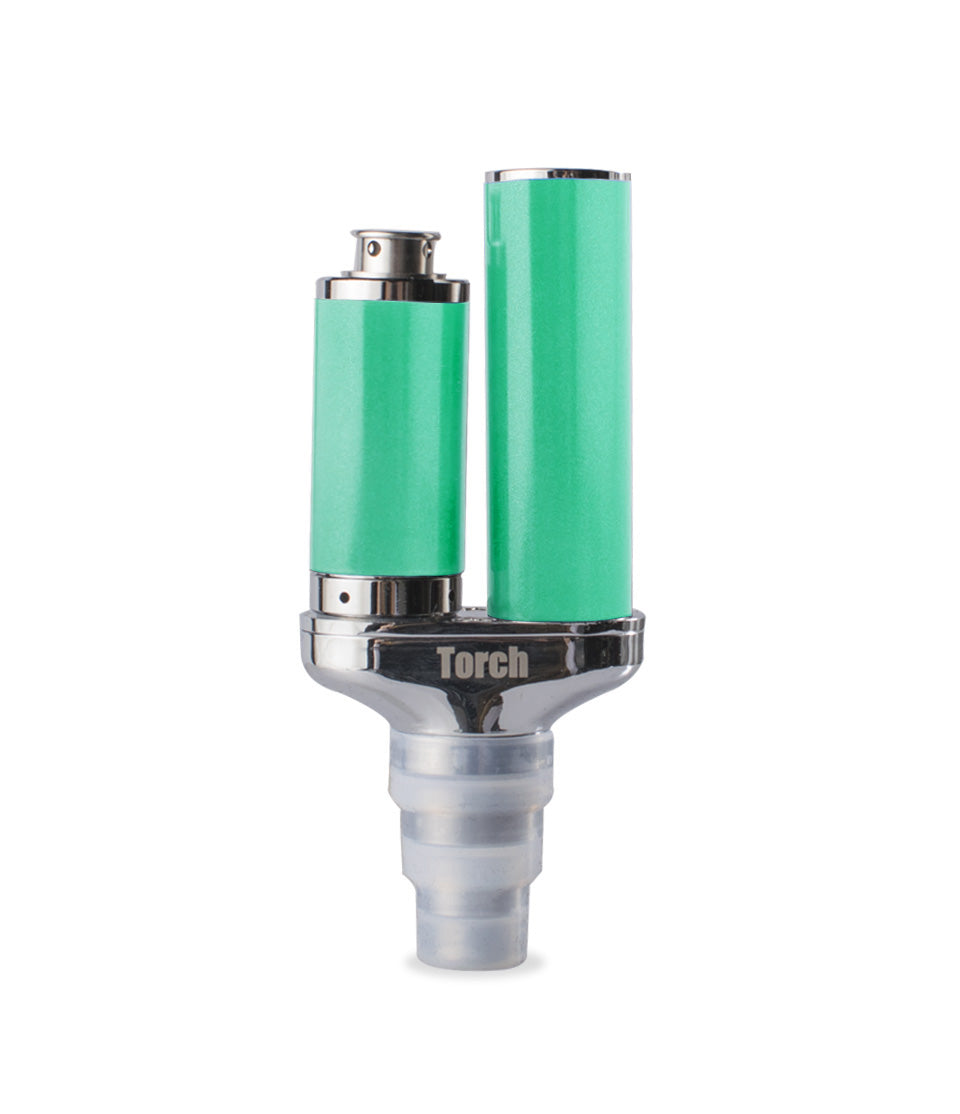
How-To
Complete How-To
From here, the walkthrough gets specific: the product details and buying considerations that turn the summary above into an actual decision.
Welcome to the world of e-rigs!
Get ready to cyber chase your clouds to a whole new level of mind blowing satisfaction, because Got Vape is here today to explain step-by-step how to use your e-rig for simple, effective vaping.
While the vast power and customization of e-rigs can seem daunting at first, with the help of this breakdown you’ll have a much better idea of what it all means and which settings you actually need to pay attention to for stronger sessions.
With over 20+ years of vaping experience, the Got Vape Crew has all of the insider tips you need to get the absolute most from your E-Rig and enjoy your clouds as intended, with all of the potency and flavor that you can handle.
Keep reading this Got Vape exclusive and by the end you’ll be able to get any e-rig going like a seasoned professional!
Table of Contents:
1. Charge Your E-Rig
2. Fill Your E-Rig With Water
3. Load Your E-Rig Atomizer With Concentrate
4. Turn On Your E-Rig
5. Choose The Right Temperature Preset
6. Use Your E-Rig
7. Swab The Chamber Clean Right After Your Session
8. Cleaning Your E-Rig
9. Store Your E-Rig Properly
Got Vape Crew E-Rig Tips
Easy E-Rig Dabbing
1. Charge Your E-Rig
First things first, if you want to use an e-rig, you’ll first have to charge its battery. While e-rigs are incredibly competent choices for your sessions, without power your sessions aren’t going to be able to get going.
While charging your e-rig is relatively straightforward, there are some important tips you should be aware of in order to charge safely and efficiently. This way your battery doesn’t just reach 100%, but does so in a manner that promotes healthy long term usage.
Charging & Prepping Tips:
- Only use the charging cable or base that came with your e-rig
- Always stay present while charging
- Quickly unplug your e-rig once at full battery
- Never charge overnight
- Charge in safe locations away from heat, moisture, or other extremes
Always exercise caution while charging your e-rig and keep an eye on it while you’ve got it plugged into any sort of power source. This helps protect yourself and those around you, all while ensuring your e-rig gets back to full capacity as soon as possible.
2. Fill Your E-Rig With Water
Because E-Rigs are electronic, when you fill them with water you want to be extra careful that you don’t spill any liquids into the battery ports themselves. More so than other dab rigs, preventing any leaks is paramount to keeping your battery operating properly.
How To Fill Your E-Rig:
- Remove the glass attachment to fill with water
- Never attempt to fill while attached to your e-rig
- Slowly fill your attachment to cover percolators with water
- Take a test hit to see if there’s splash back
- Carefully reattach your glass attachment to your e-rig
As long as you take your time and don’t rush, filling up your e-rig attachment with water is a relatively straightforward experience. The main thing is to always do your best to avoid spills, so make sure to wipe off the outside of your glass after filling, but before you attach it.
Having your E-Rig filled with the right amount of fresh water guarantees you get the full filtering effect, enjoying vapor that hits smooth and tastes great, all while still packing that quintessential concentrate potency.
3. Load Your E-Rig Atomizer With Concentrate
In order to properly load your E-Rig atomizer, you’ll first require either a traditional metal dab tool or more advanced hot knife. This is because concentrates are incredibly sticky and impossible to load with precision just by hand, thus requiring the dab tool to step in.
Using these proper tools prevents sticky messes, keeps your wax clean, and ensures your concentrate lands precisely in the center of the e-rig chamber. All essential steps to getting the most out of your e-rig day in and day out.
With your dab tool in hand, now’s the time to transfer your concentrates into the atomizer with the following steps:
- Use your dab tool to scoop up a small amount of concentrate (size of a grain of rice)
- Carefully place it onto the bottom of your atomizer / chamber
- Close your chamber to lock everything in
As opposed to torch dab rigs where you first heat the nail and then apply your materials, e-rigs flip the script by having you load them cold first and then heat them up. This way you can easily load in a precise amount and have time to scoop out extras if you’ve over-loaded.
Your concentrate should sit comfortably inside the heating element while still leaving room for air to pass through it, ensuring you enjoy beefy clouds instead of pulling hot, un-vaporized liquid into your glass top or mouthpiece.
As an improperly packed chamber can lead to splatter, clogged airflow, and wasteful pooling, we recommend that when in doubt, less is more. While we all want to hit the most epic globs, it turns out that it’s just not the most effective way to do so while using an e-rig.
So make sure to take your time while loading, stick with multiple small controlled dabs, and pace yourself – all to enjoy your e-rig with greater efficiency and ultimate satisfaction.
4. Turn On Your E-Rig
With your atomizer properly loaded with wax, you now power on your E-Rig and get started with the next phase of your sessions.
Most portable e-rigs power on by holding down the main power button or pressing it five times quickly (5x), while some others feature dedicated toggle switches. Always check your instructional manual first, as these will include a detailed rundown on how to power on your specific type of e-rig.
When correctly input, most vapes will flash their screen or indicator light to let you know you’ve powered on your vaporizer. Some vapes will even vibrate, a feature called haptic feedback, to give you a subtle reminder that you’ve switched things on.
If your E-Rig flashes red lights and powers down, this most likely means that you’re dealing with a low battery. Refer to step one before proceeding further with your session.
5. Choose The Right Temperature Preset
Once your e-rig is on, you can now move on to selecting your heat setting to cater to vapor with more flavor, potency, or a mixture of both. Depending on which level you select, the resulting clouds from your E-Rig can vary greatly.
Many e-rigs utilize multi-click button systems that allow you to alternate between color-coded heat levels that correspond to various voltage / temperatures (like Blue, Green, Red, and White).
Others feature precise digital controls with dedicated + / – adjustment buttons or full Bluetooth app integration that lets you create custom profiles and dive into the nitty gritty for a more premium level of customization.
No matter how you change your heat setting, doing so has a massive impact on how your concentrate vapor ends up tasting and feeling.
As a general rule:
- Lower Temperature / Voltage: Produces ultra smooth, highly flavorful vapor that really lets your concentrate terps shine.
- Medium Temperature / Voltage: Offer a balanced blend of rich flavor and satisfying cloud density. A nice day to day setting for active enjoyment.
- Higher Temperature / Voltage: Create massive, thick clouds and intense, fast-acting effects. Great for heady rips that show off the raw potency of your E-Rig.
Remember that different concentrate materials will react differently to heat levels, with delicate live rosins requiring a lighter touch and thick shatters needing maxed out heating to work properly.
This is where your experimentation comes into play as you slowly figure out your ideal setup and figuring out the limitations / intricacies of your specific E-Rig set up.
6. Use Your E-Rig
Every type of e-rig will have its own particular heat up time and overall operation.
In most cases, you activate your E-Rig by pressing the power button two times (2x) to start a pre-heat countdown where your concentrates are slowly brought to the point of vaporization and after which you can sip from your mouthpiece to enjoy smooth water filtered vapor.
Once the warming period has stopped, your E-Rig goes back to stand by mode and your chamber cools, allowing you to swab it out and prepare for another hit. This process can be easily repeated until you run out of battery, which a quick re-charge typically fixes in 30 – 60 minutes.
Using An E-Rig:
- Activate your pre-heat function (Press Power Button 2x)
- Wait until your concentrates reach heat
- Draw from your mouthpiece
- Clean out your chamber
- Rinse and repeat
As there’s no “exact science” to how long it takes to vaporize concentrates, always leave plenty of time for your E-Rig to reach its selected heat setting, and never attempt to rip it before the initial pre-heat cycle gives you the green light or vibration prompt.
Trust us when we say being patient for those extra few seconds pays off massively and helps ensure your session starts off (and continues) right. While your instinct may be to rip as hard as possible, this is actually the opposite of what you want to do.
Drawing From An E-Rig:
- Draw steadily and gently
- Don’t inhale too hard
- Slowly sip from your e-rig glass top
- Steady airflow and slow draws deliver the best clouds and prevent oil spillover
Pulling too hard sucks melted, hot wax right out of the chamber bucket and into the internal air paths, base connections, or glass water chamber before it has time to vaporize! This leads to worse clouds and more cleaning down the line for you to have to deal with.
Over time, you’ll slowly dial in your own perfect E-Rig draw speed, so don’t overthink it, just be conscious of your airflow while inhaling and you’ll avoid most issues.
7. Swab The Chamber Clean Right After Your Session
Once each of your E-Rig cycles is finished, we highly recommend taking the time to immediately swab out your chamber / atomizer. Wait a few seconds for the intense heat to dissipate, then use your swab while the chamber is still warm to easily scoop out leftovers.
This is by far one of the most important and effective methods of keeping your e-rig operating at 100%, preventing damage both in the immediate and long term by removing left over concentrates at their easiest, avoiding larger issues down the line.
Leaving used wax residue inside for extended periods can:
- Bake dark, burnt crust onto ceramic/quartz walls
- Clog air passages and freeze atomizer threads or connection pins
- Ruin the flavor of your next fresh session
- Seep past seals into your battery base
A quick wipe with a cotton swab after every single session keeps your chamber looking brand new and extends the life of your atomizer. This way your e-rig produces clean flavors with pure potency, all thanks to zero leftover materials tainting your experience.
Plus when you come back to use it next time, your E-Rig will be ready to deliver top tier clouds without requiring a lengthy cleaning session in between.
8. Cleaning Your E-Rig
Going hand in hand with swabbing your chamber is routine deep cleaning of your e-rig, as this is how you’ll preserve your sessions and keep your vape performing like new for as long as possible.
Regular deep cleaning helps maintain:
- Unrestricted, smooth airflow
- Stronger, denser vapor production
- Pure, unadulterated terpene flavor
- Longer atomizer and battery base lifespan
Soaking your glass attachments, silicone pathways, and removable atomizers in isopropyl alcohol every couple weeks or so makes a noticeable difference over time. Wipe down base connection with alcohol swabs to prevent electrical connection errors.
Always take your time while cleaning and never attempt to clean your e-rig while it is powered on. You want to first shut off your battery, then start cleaning. This way you’re protecting your e-rig from accidentally firing up while you’re wiping it down.
9. Store Your E-Rig Properly
Lastly, you need to store your e-rig properly to protect your device, preserve your battery, avoid water spills, and prevent accidental damage from cutting your favorite dabber’s lifespan abruptly short.
When you’re finished vaping:
- Turn the e-rig off completely (5x clicks or power toggle)
- Allow the atomizer to cool down
- Empty water
- Store the device strictly upright on a flat, stable surface
- Keep it somewhere cool and dry, away from direct sunlight
- Protect it during travel with a padded carrying case
Because residual concentrate liquifies when warm, storing your e-rig on its side or upside down will cause sticky oil to run into the base connections or glass airways. Keeping it upright takes only a second and saves you tons of cleanup trouble later!
Got Vape Crew E-Rig Tips
Here are a few of our favorite Got Vape Crew Tips after more than two decades working with e-rigs and vaporizers:
- Keep a stash of cotton swabs and isopropyl alcohol close to your sesh station
- Don’t overload the chamber, a grain of rice sized dab is best
- Always fill water off the battery base to protect electronic housing
- Charge your battery base fully before long group outings
- Start with lower temperatures at first to taste the terpene profile
- Replace atomizers as soon as flavor tastes metallic or heat feels uneven
- Always store your e-rig upright whenever possible to avoid sticky leaks
Simple habits often make the biggest difference. Keep these in mind the next time you fire up your e-rig, and we guarantee you’ll enjoy the smoothest, most potent clouds possible.
Easy E-Rig Dabbing
At the end of the day, using an e-rig isn’t really that complicated. With the right loading habits, sensible heat settings, proper draw speed, and a quick swab after each hit, you’ll enjoy smooth, flavorful sessions every time without fail.
This leaves you free to enjoy your concentrates to their most mind melting fullest, without complicated torches or messy setups hindering your experience. Rip your clouds when you want, how you want, and where you want, only when you use your e-rig right.
Have any more questions? The Got Vape Resource Center is ready to help with more step-by-step guides just like this. Thanks for stopping in with the Got Vape Crew and rip some dabs out there!
Frequently Asked Questions
How-To FAQs
Quick answers to what shoppers usually ask before putting this guidance to use.
How Much Concentrate Should I Load In My E-Rig?
What Temperature or Voltage Should Beginners Start With On An E-Rig?
Why Am I Getting Harsh Hits or Burnt Flavor From My E-Rig?
How Often Should I Clean My E-Rig?
Why Is Wax Leaking Into My Glass Attachment or Base Threads?
Got Vape Trust Center
About This Resource
Here's a look at who put this guide together, how it was fact checked, and how the Got Vape team keeps it current.
Editorial Standards
- Written for shoppers, not search engines.
- Checked for accuracy and plain, practical usefulness before it goes live.
- Grounded in the manufacturer specs and product documentation we can verify.
- Revisited whenever products, regulations, or category trends shift enough to matter.
- Shaped by years of hands-on time with this gear, not just spec sheets.
- Written to help you land on the right device without the guesswork.
Research Methodology
We built this walkthrough around the actual steps, from unboxing through everyday use, based on time spent with the device and the questions people ask most.
- Hands-on product experience
- Step-by-step setup and use
- Cleaning, care, and troubleshooting
- Common questions answered
- Safe and responsible use
- Real-world use considerations
- Editorial review for clarity and accuracy
Article Information
Intended Audience
- Everyday customers
- First-time buyers
- Experienced enthusiasts
- Dry herb users
- Concentrate users
- Anyone upgrading their setup
Editorial Policy
We revisit Got Vape guides on a regular basis rather than publishing them once and walking away. If a product spec, regulation, or category trend changes enough to matter, the article gets updated and the review date moves with it.
Keep Exploring
Related Resources
A few more Got Vape guides worth a look if you want to get even more out of your setup.
Category Guide
Take your e-rig to the next level and learn how aftermarket accessories like Glass Tops can redefine your dabs, all with the he...
Read Resource →
How-To
Looking to step foot into the world of dabs? Well Got Vape has you covered with the top 5 most important features to look for w...
Read Resource →
Safety
Find out how to choose a safe portable e-rig in 2026 with the experts over at Got Vape. Having spend the past 20 plus years wor...
Read Resource →
How-To
Don't settle for anything less than the best and find out how to clean your concentrate vaporizer to enjoy clearer, more flavor...
Read Resource →