

Resource Center
How To Clean A 510 Battery Properly (Step-By-Step Guide)

Continue With This Resource
Got Vape Quick Brief
What You Should Know
Skim this first for the short version: the main points, the questions people ask, and what to consider before you buy.
Overview
Key Takeaways
- Wipe down thread connections immediately if an oil cartridge leaks to keep sticky residue from hardening inside the firing pin.
- Use a cotton swab lightly dampened with isopropyl alcohol to break down residue around the metal threads and center pin.
- Never submerge your battery or saturate swabs; dripping alcohol into internal circuit boards or charging ports risks damaging the 510 battery.
- Scrub the bottom threads and connection pin of your 510 cartridge alongside your battery to ensure proper power flow.
- Allow all threaded connections to air dry 100% before attaching a cartridge or turning the power back on.
Questions This Resource Answers
- What causes a 510 thread battery to misfire, flash error lights, or experience weak vapor production?
- What is the recommended cleaning solution and swab technique for dissolving hardened cartridge oil?
- How frequently should you perform routine thread maintenance versus a complete deep clean on a 510 battery?
- What critical mistakes should you avoid during maintenance to protect internal lithium-ion circuit boards?
- How do you safely clean the center pin and 510 thread well without causing electrical damage?
Recommended Products
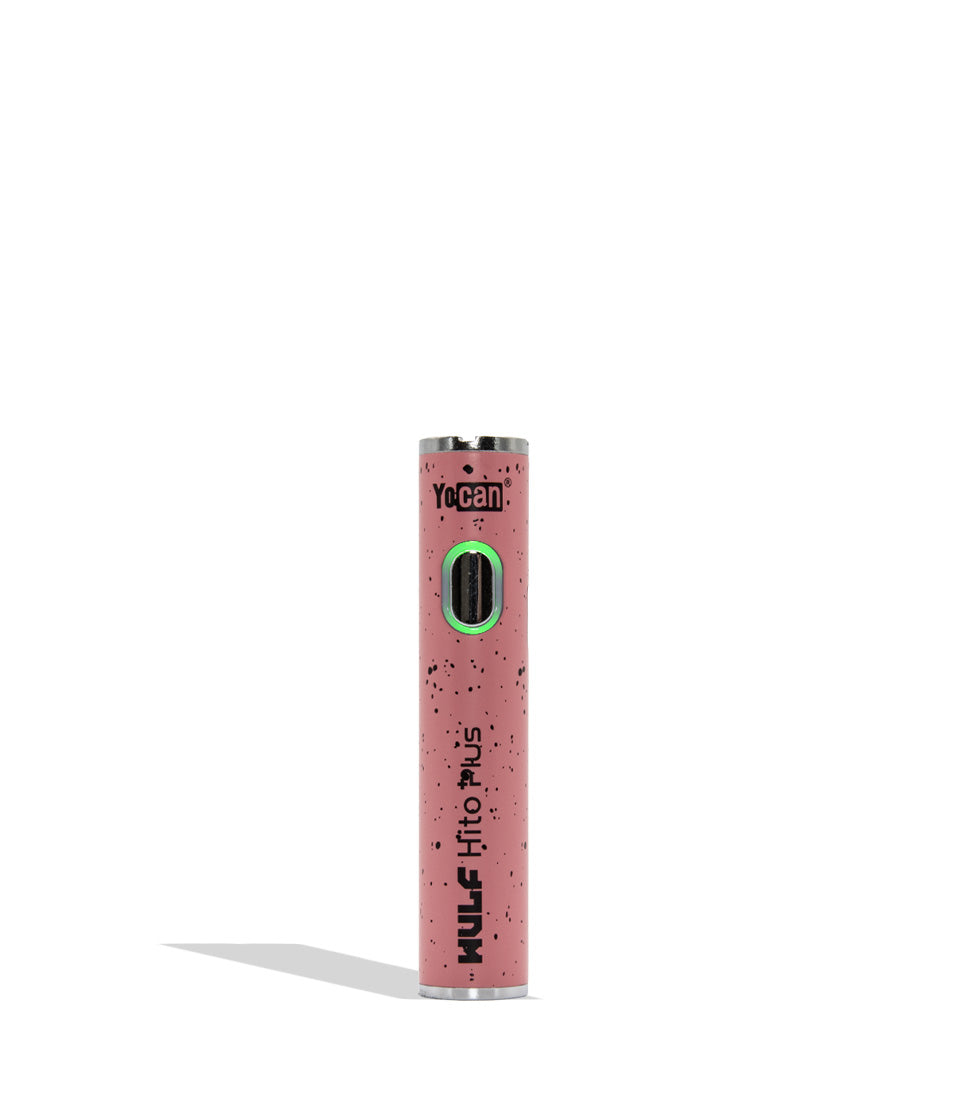
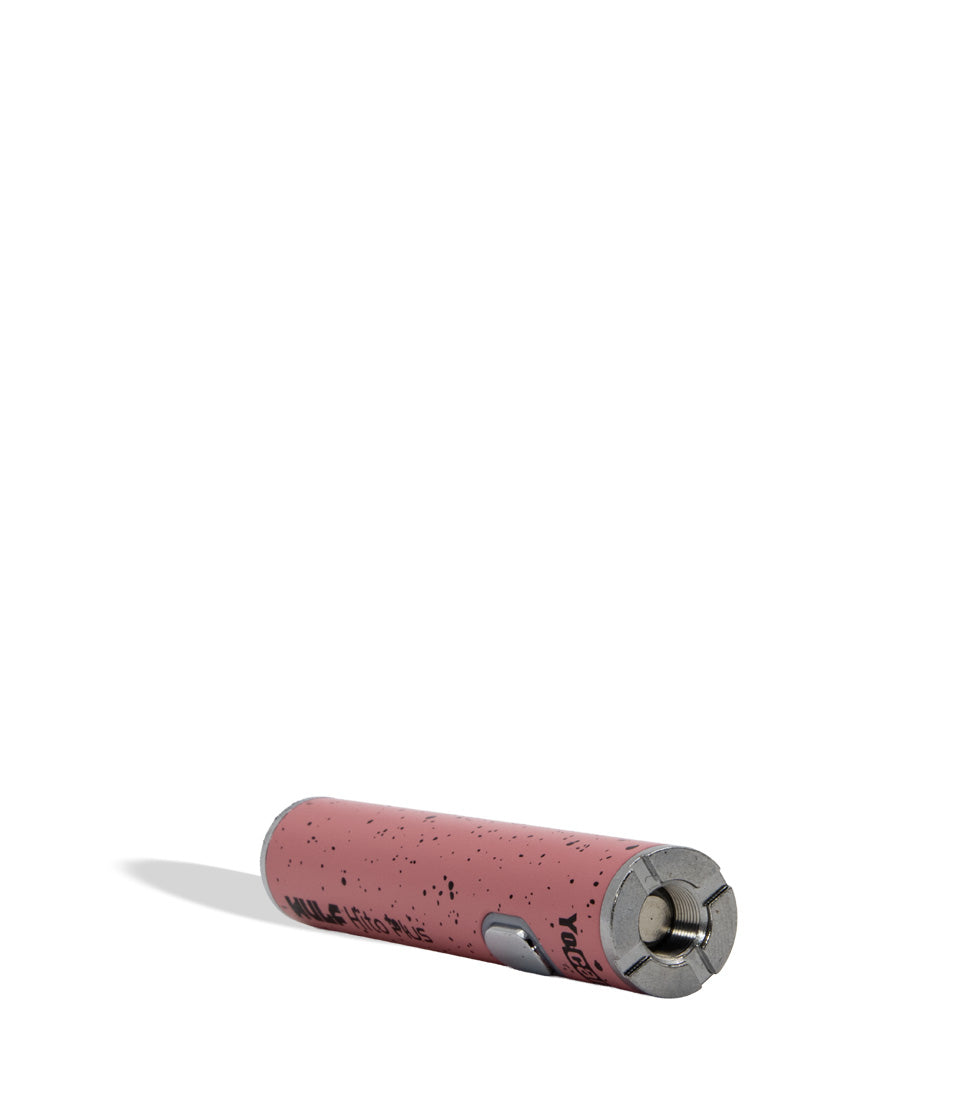
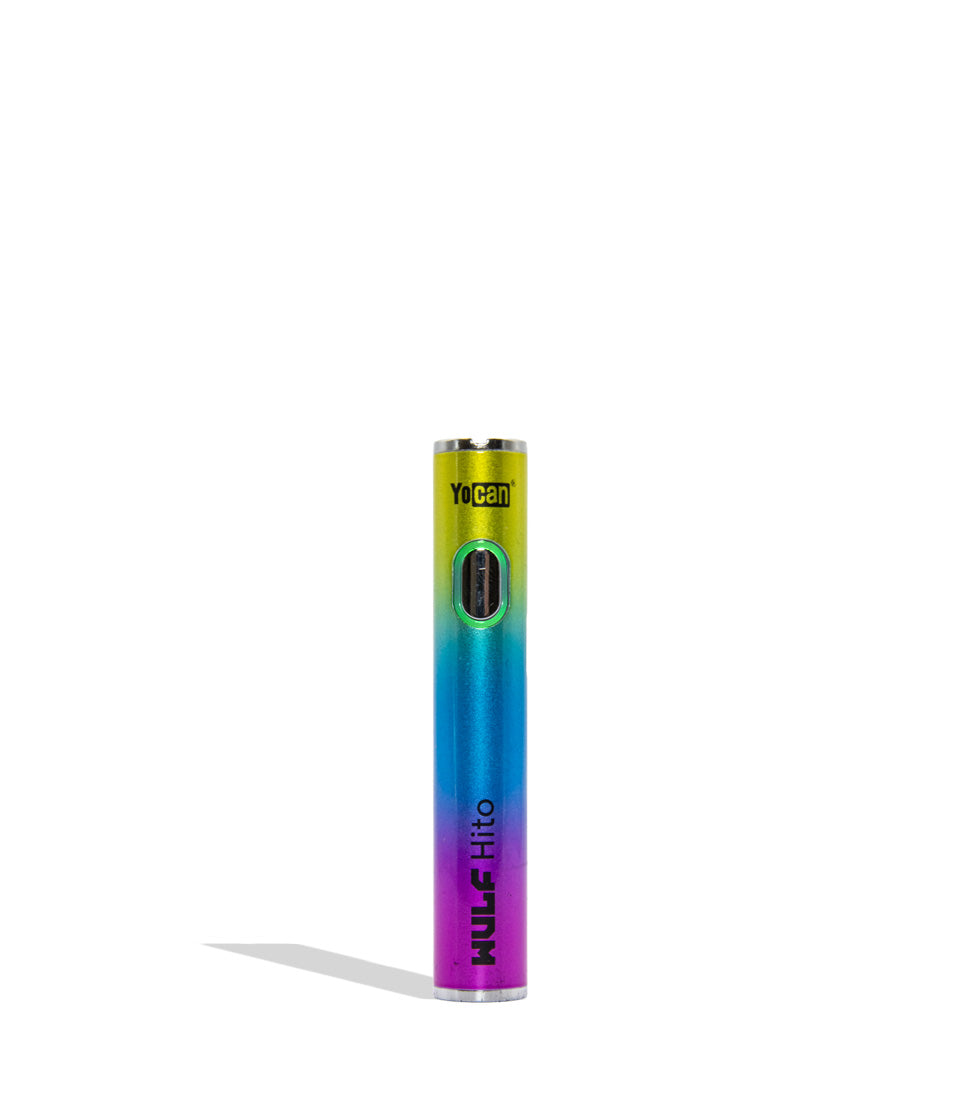
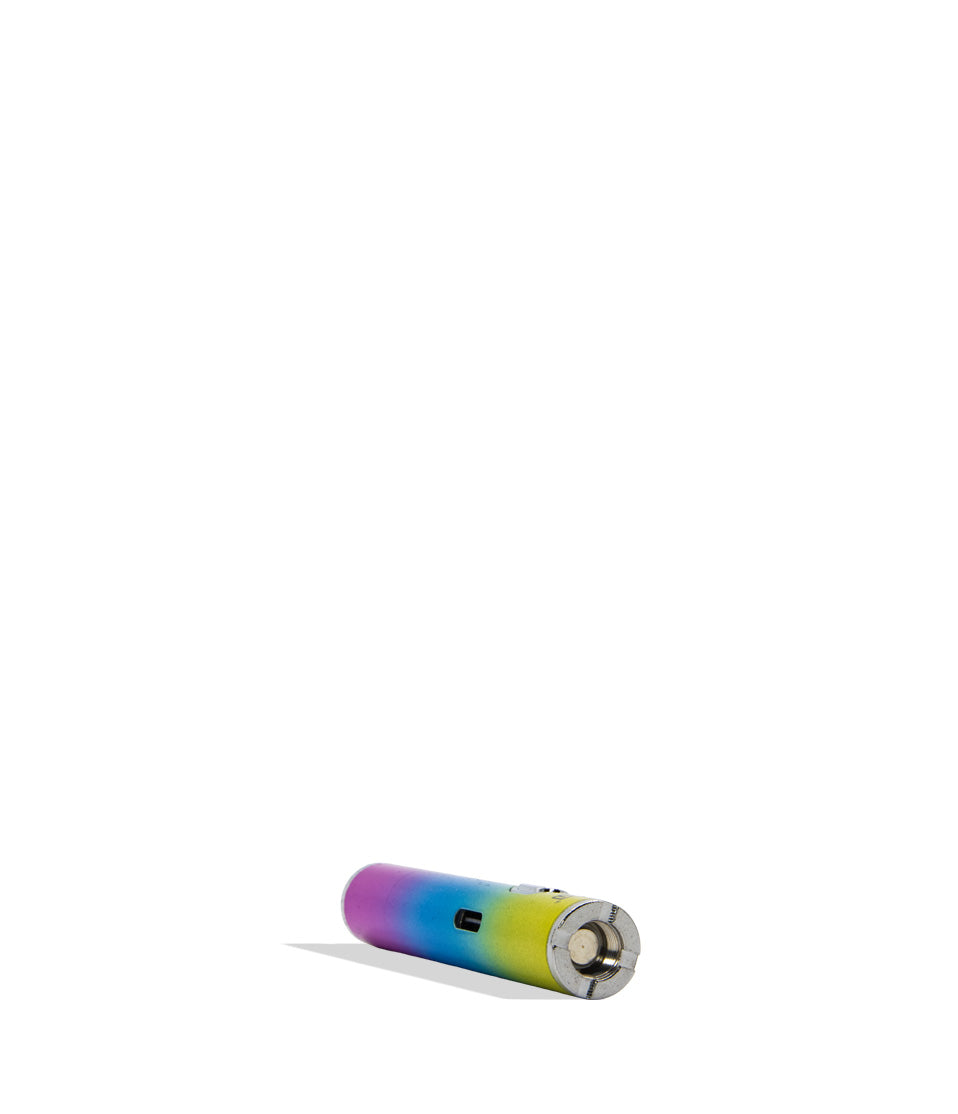
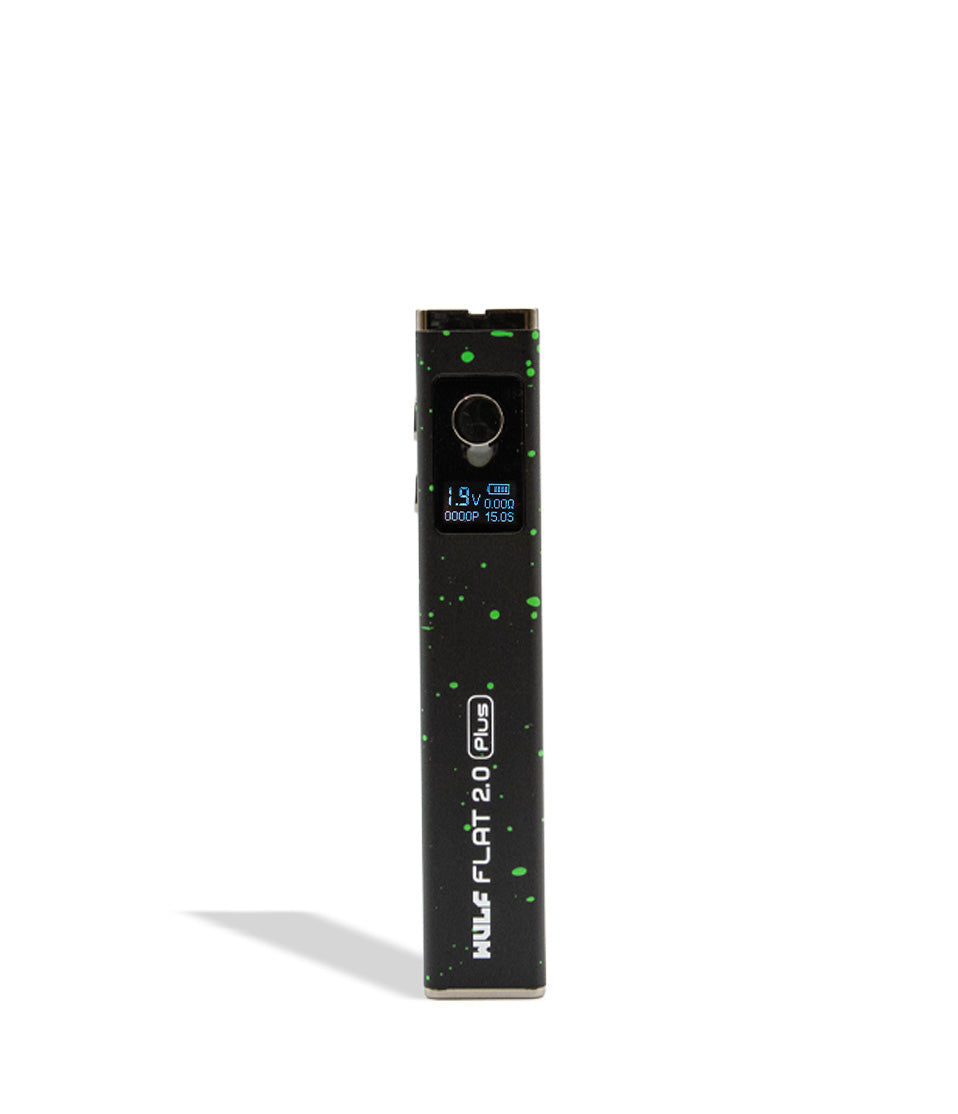
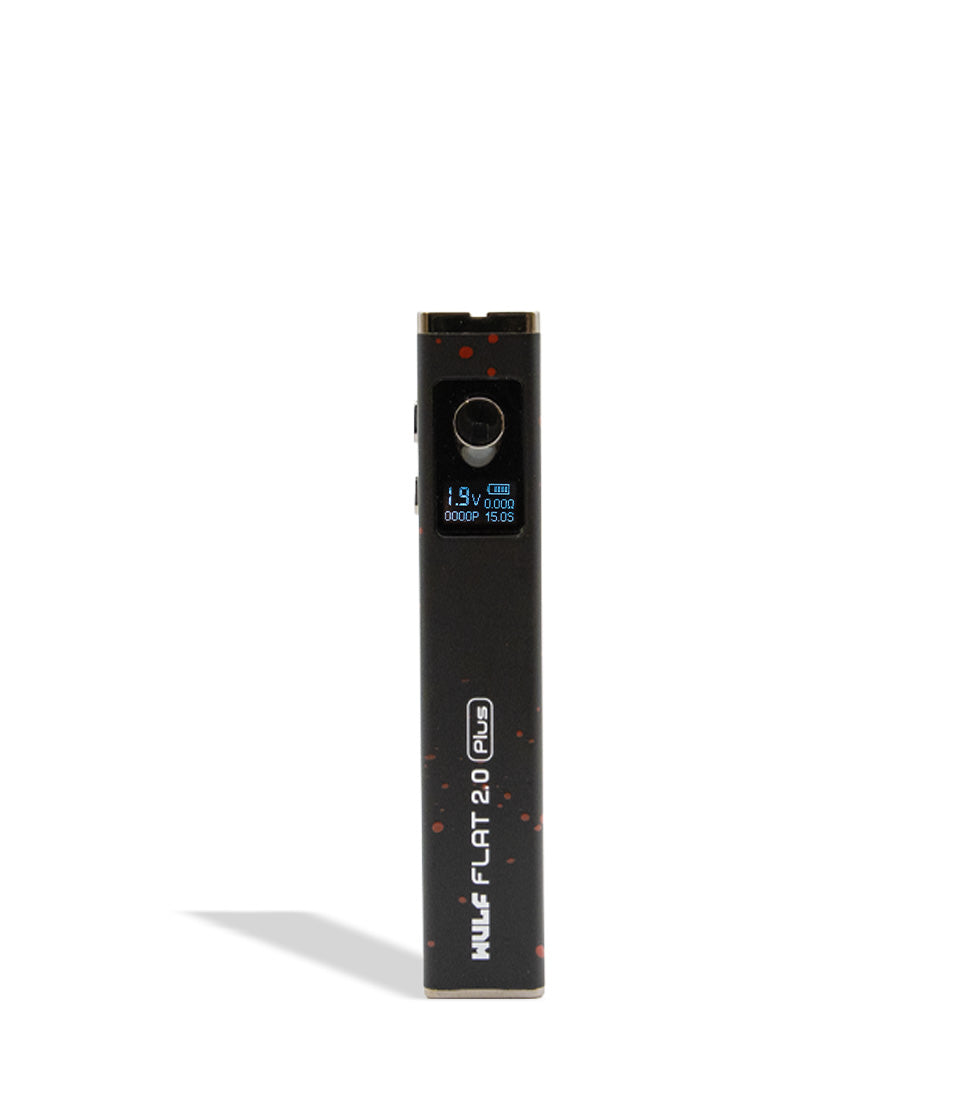
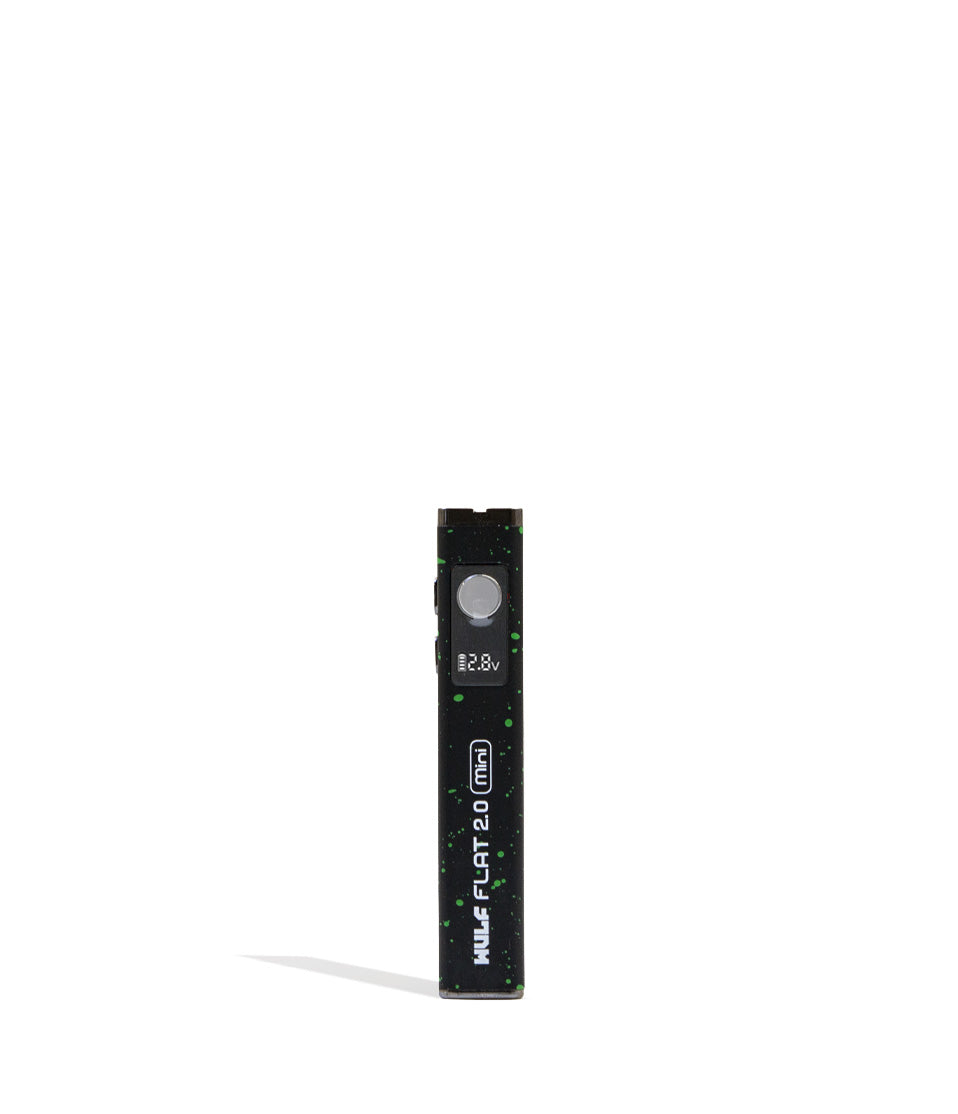
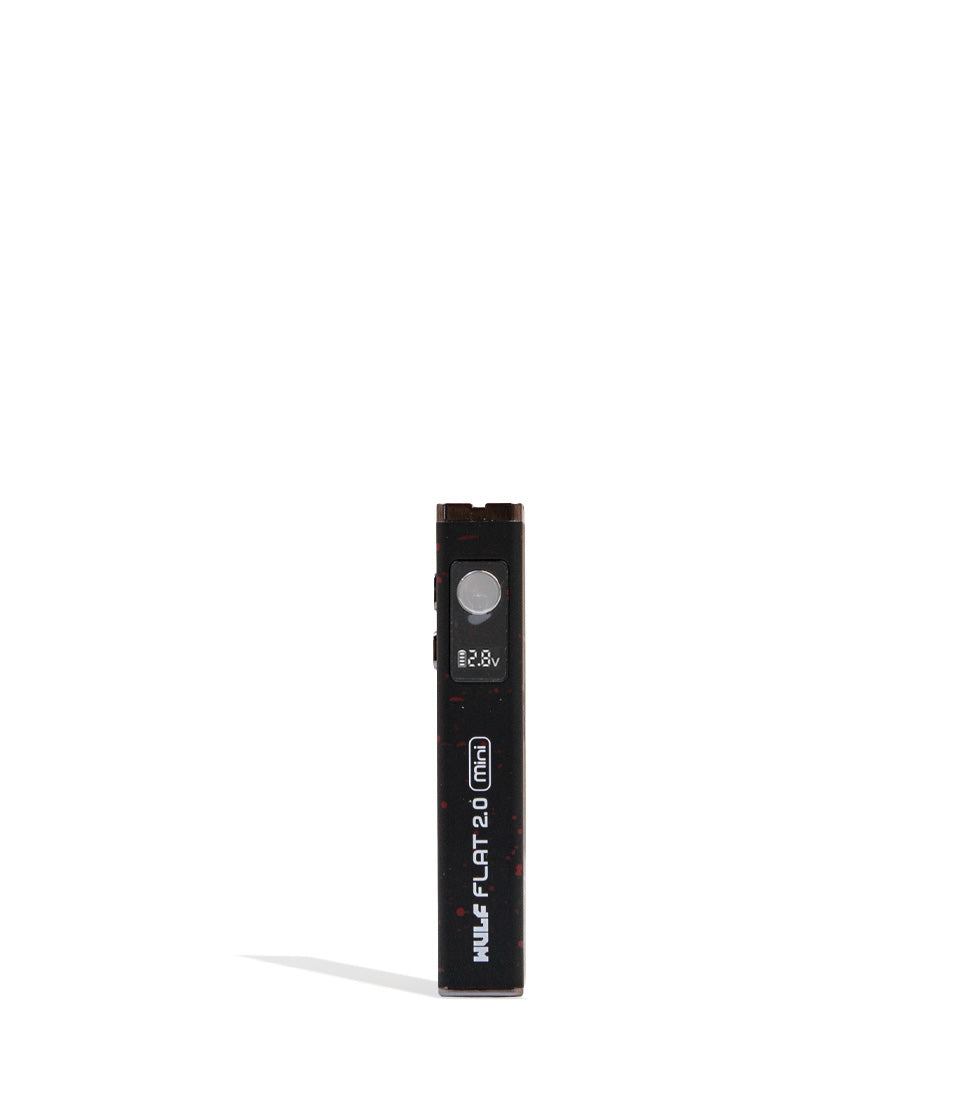
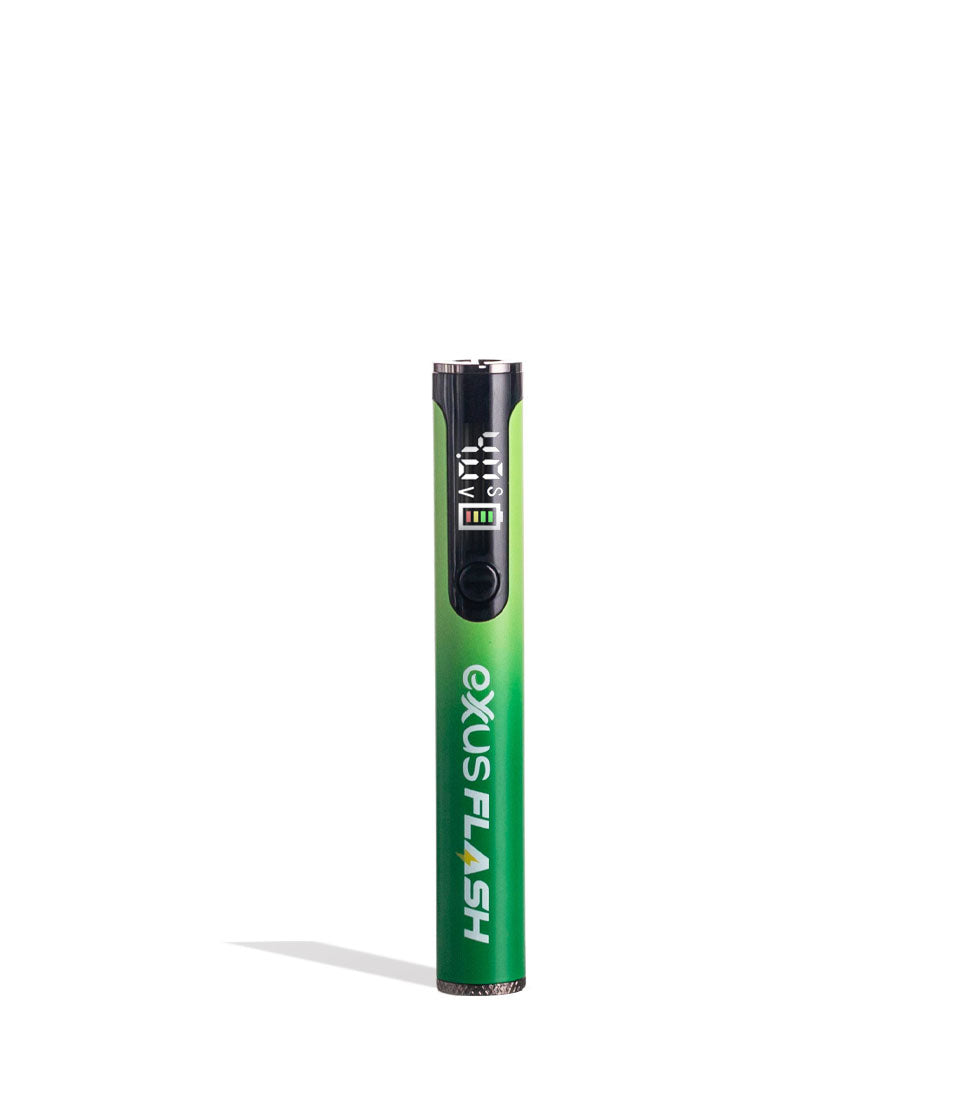
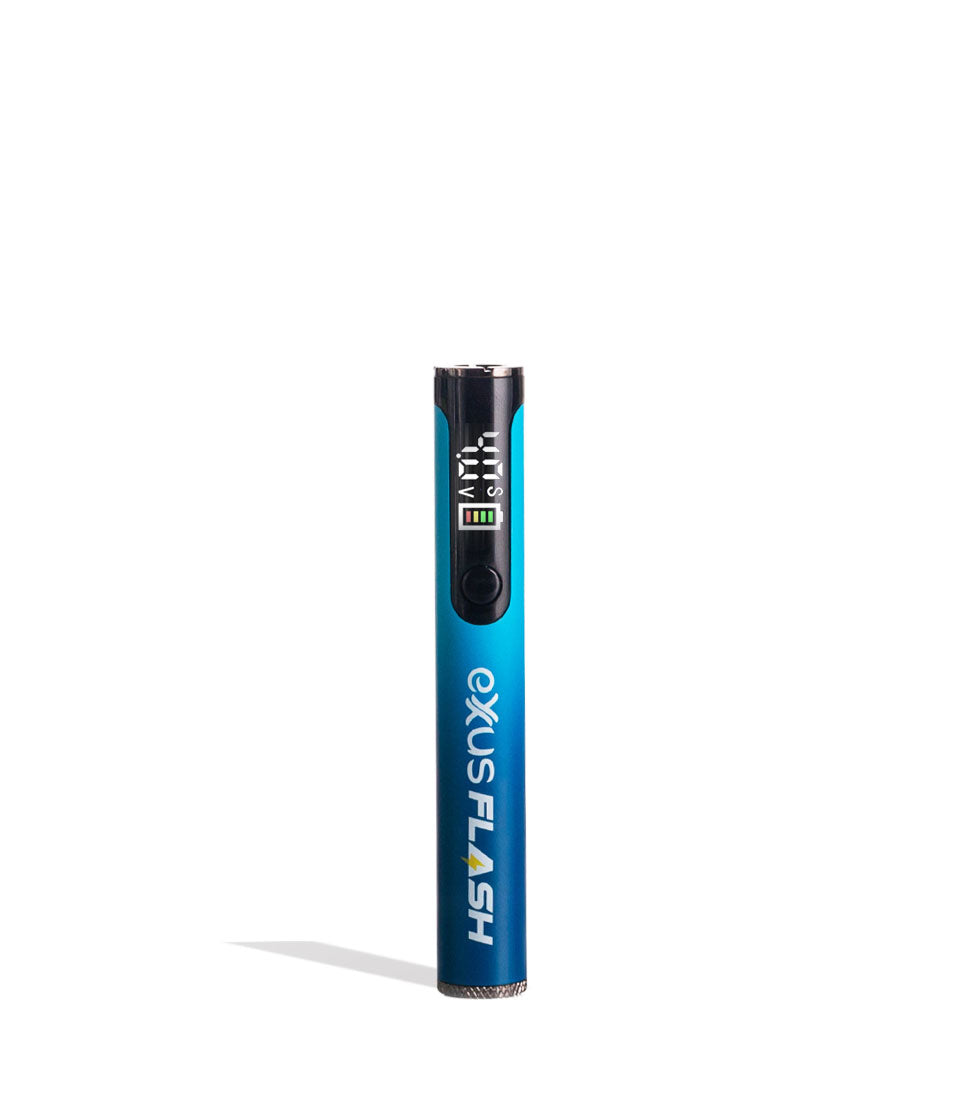
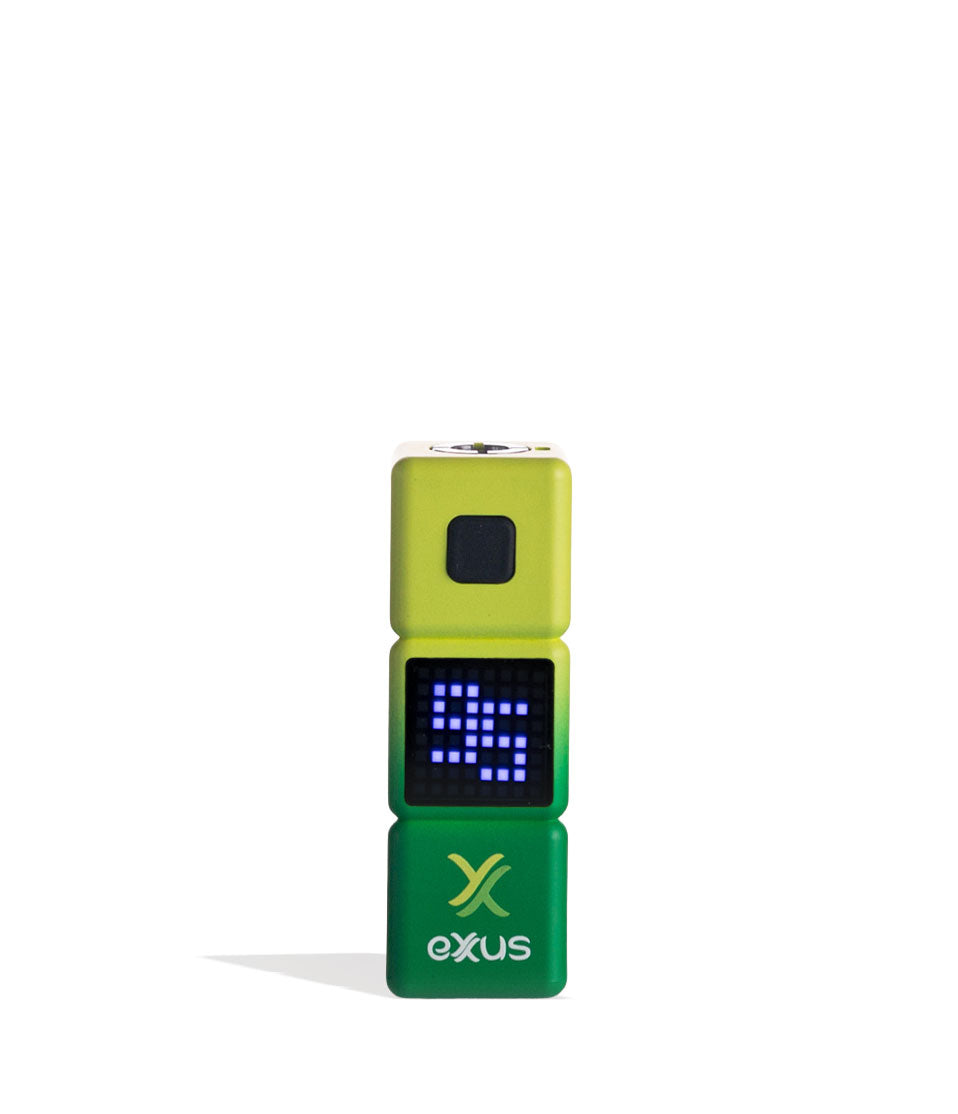
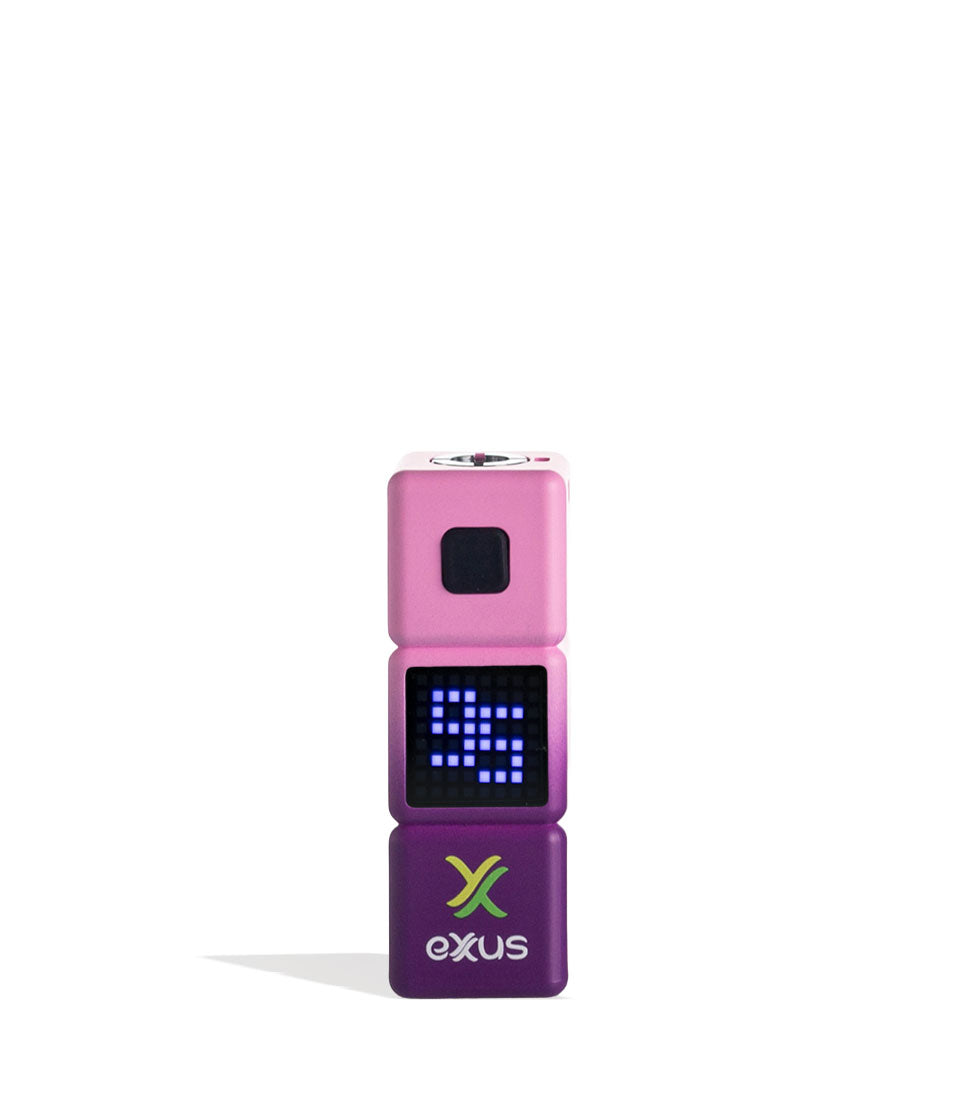
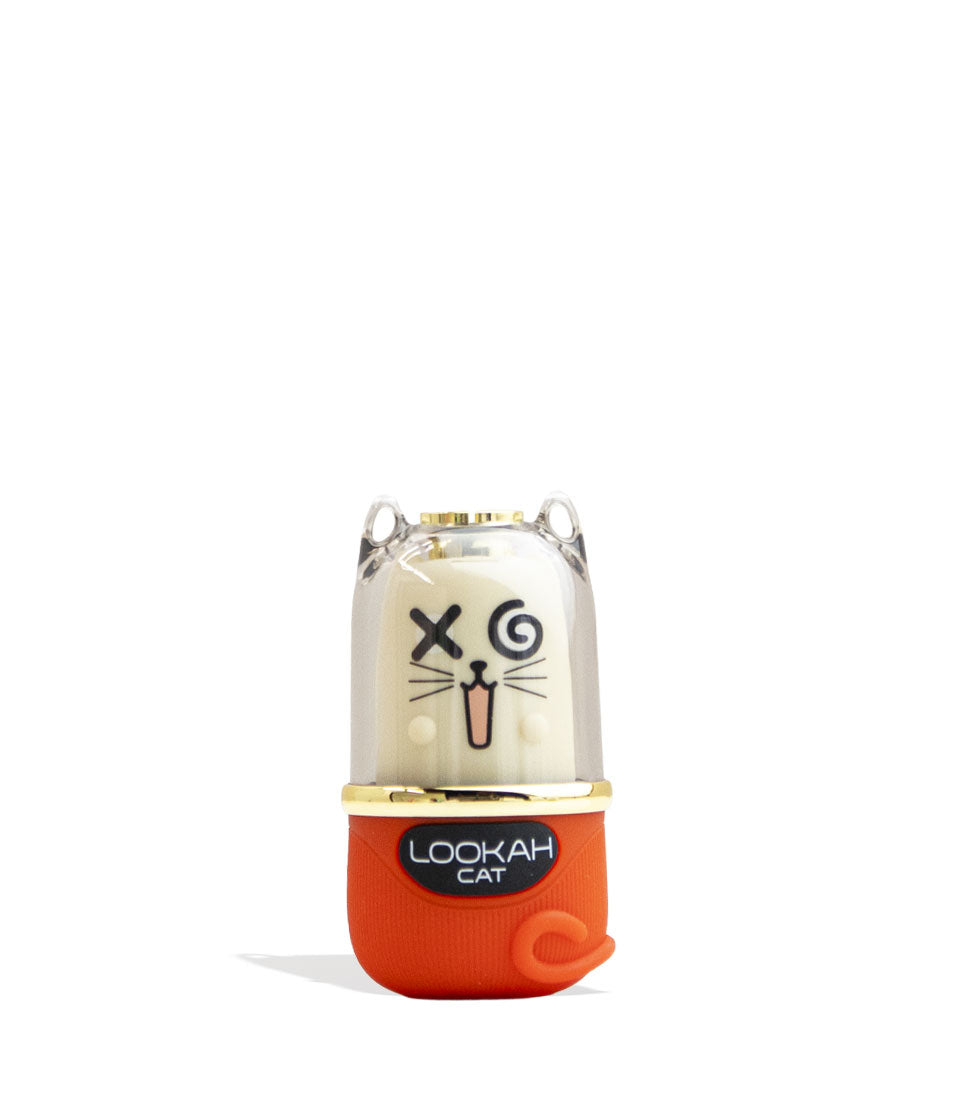
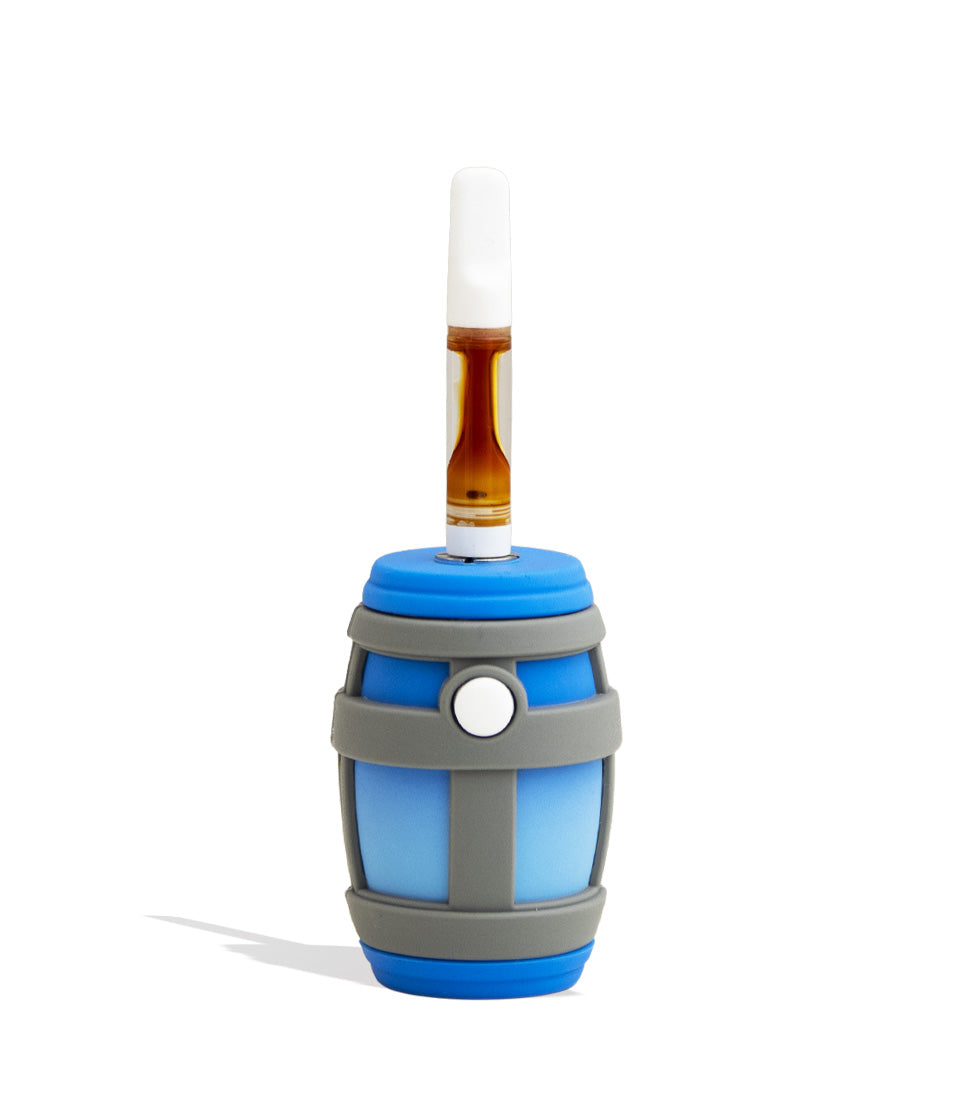
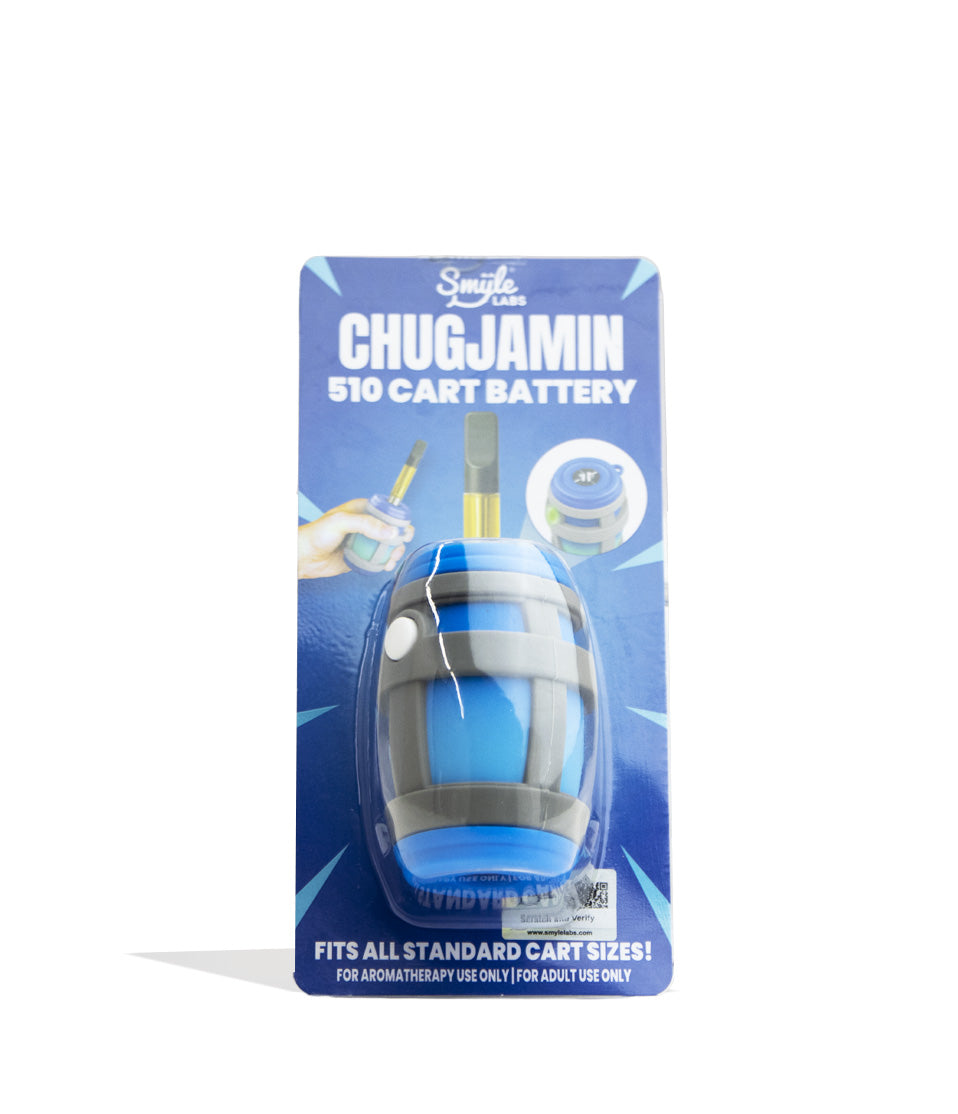
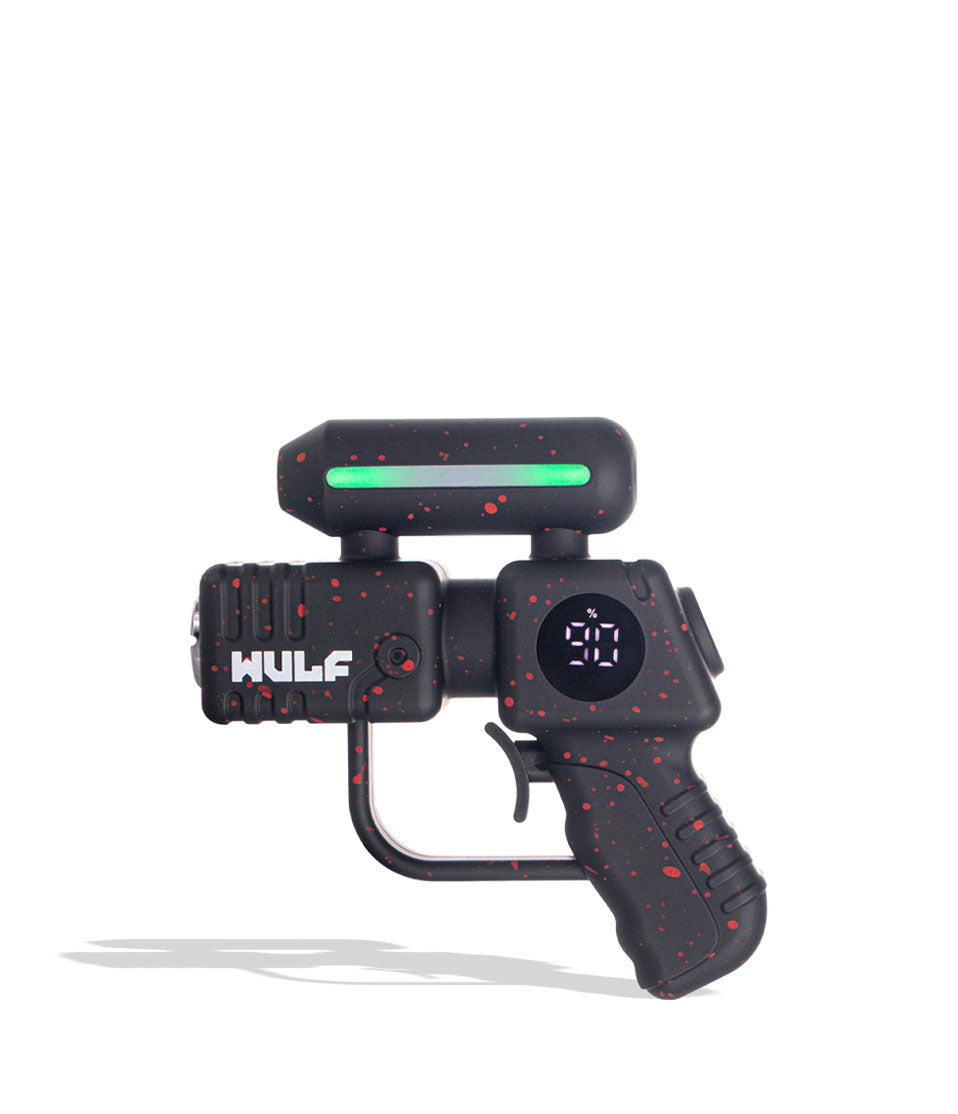
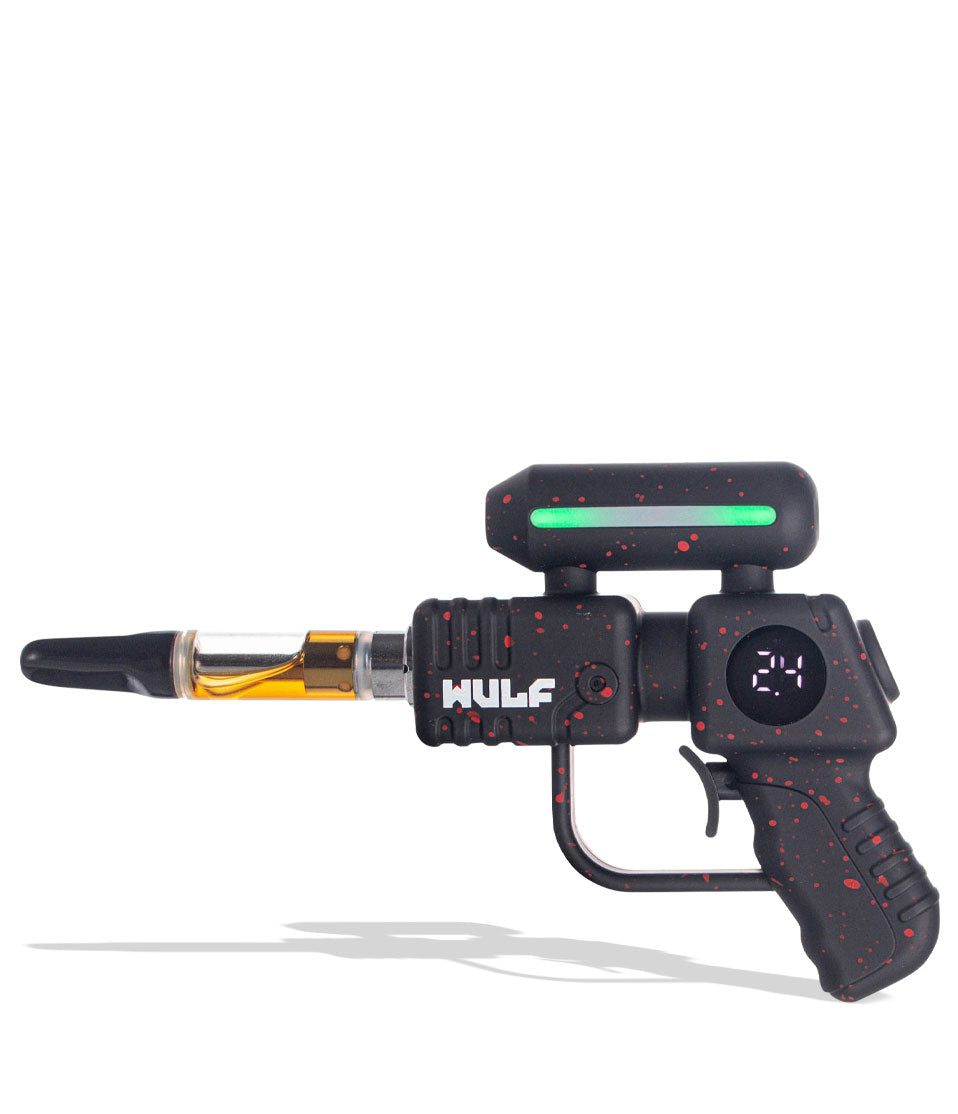
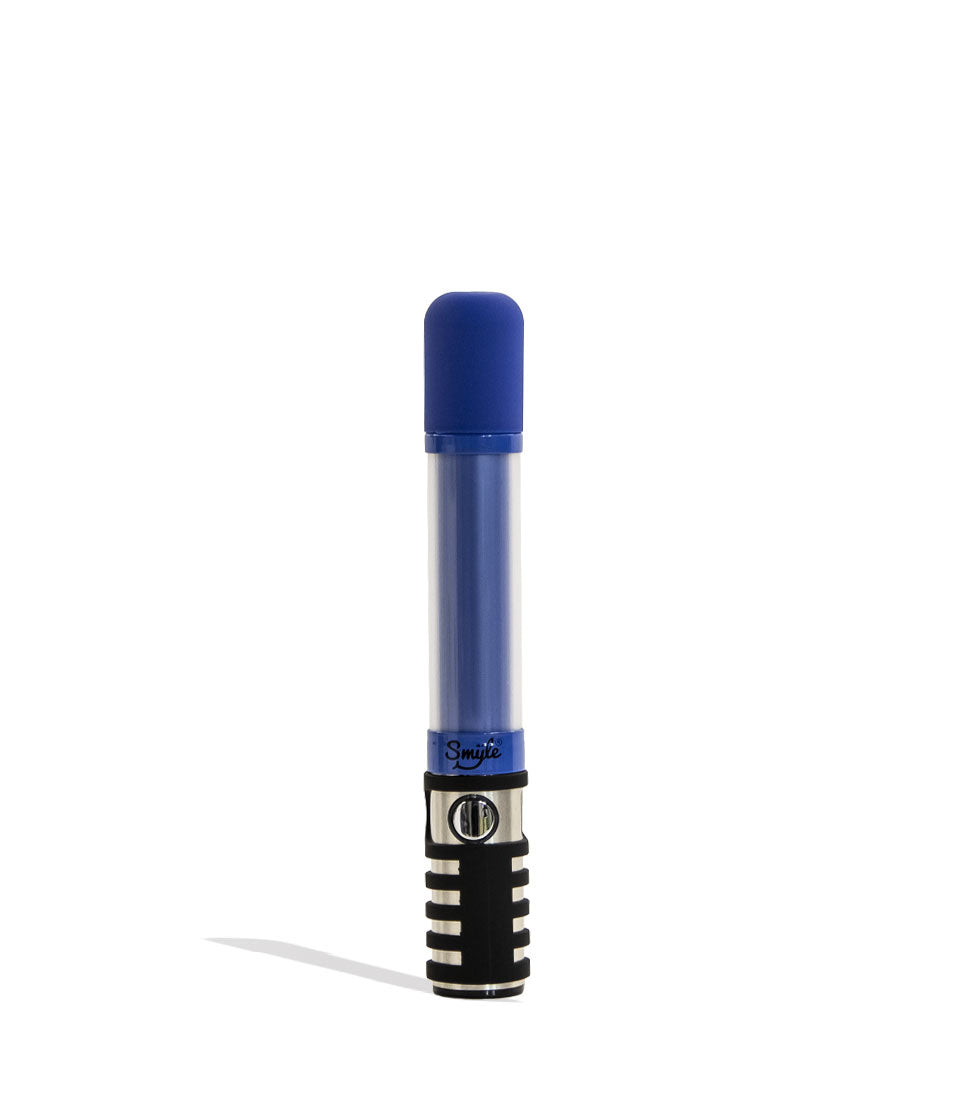
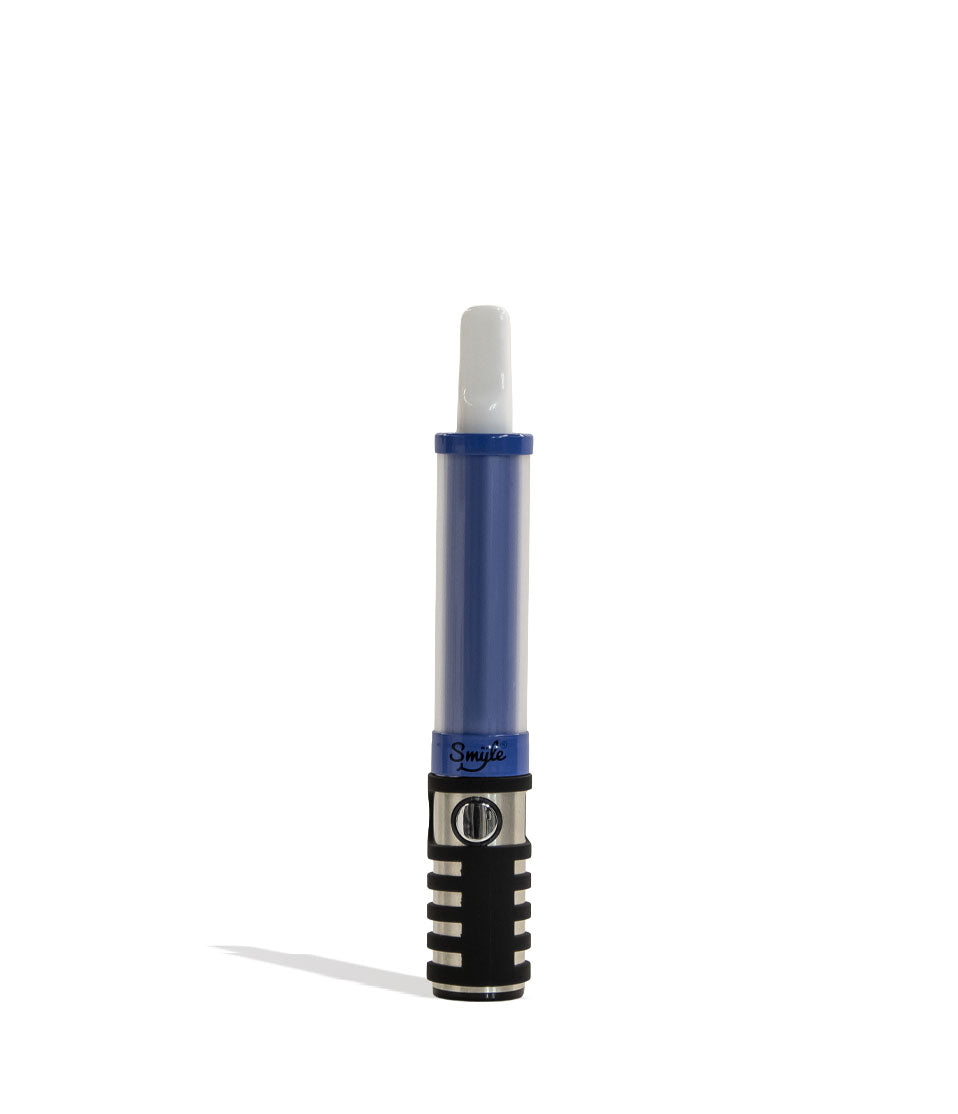
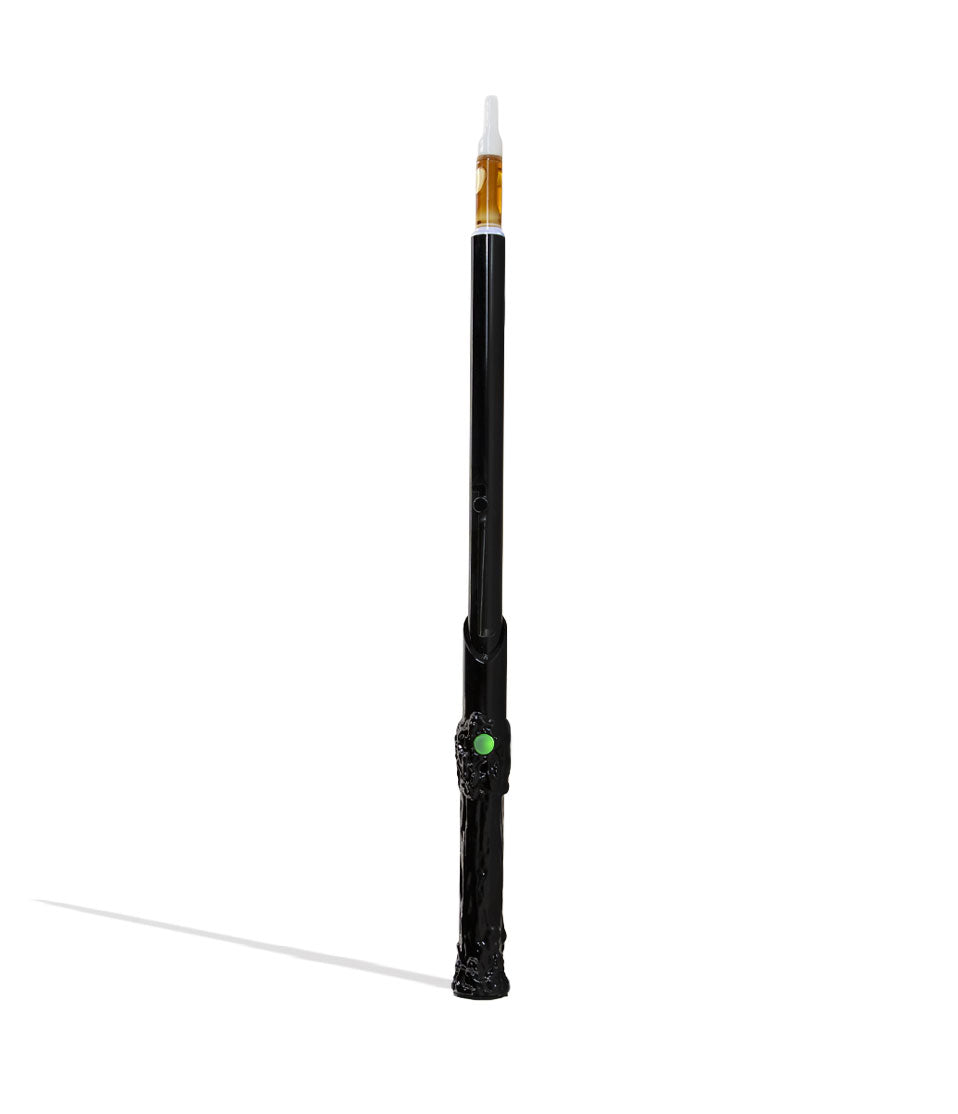
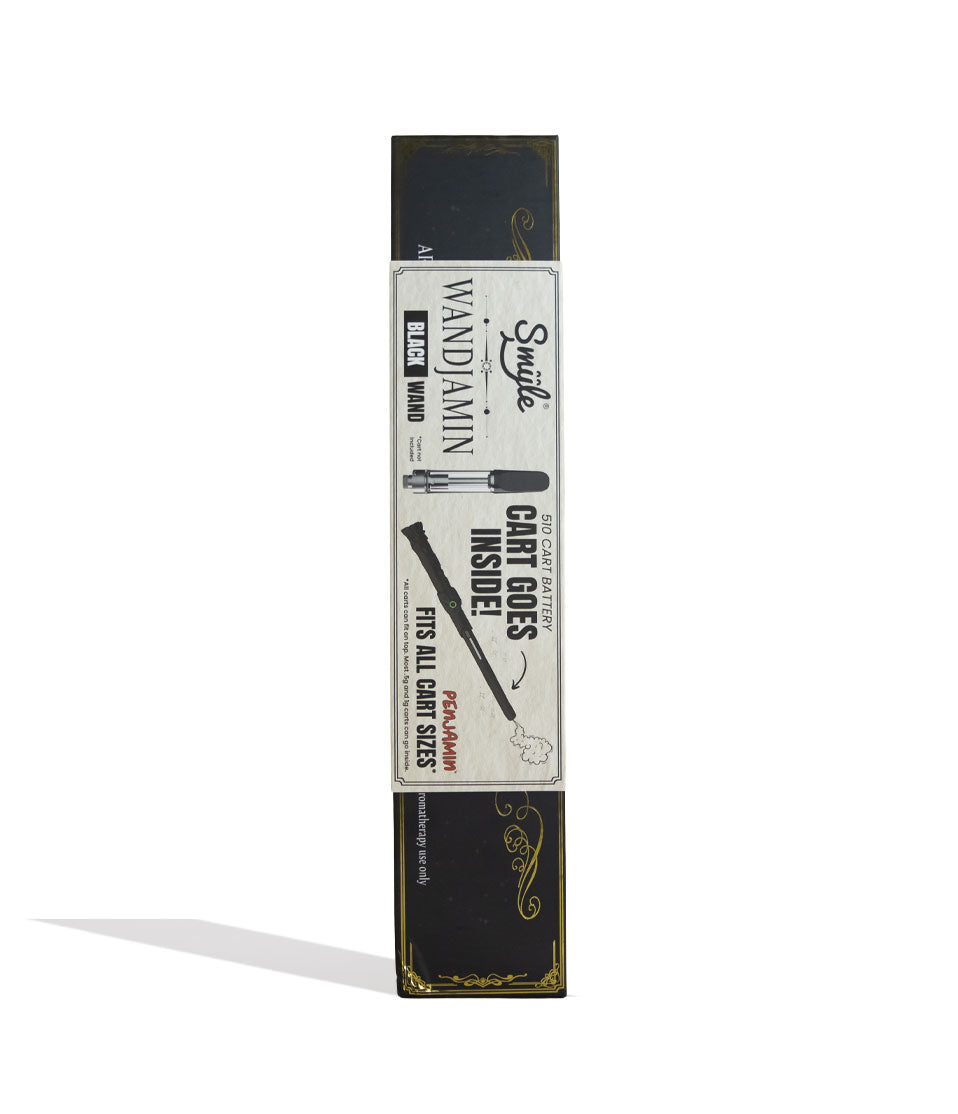
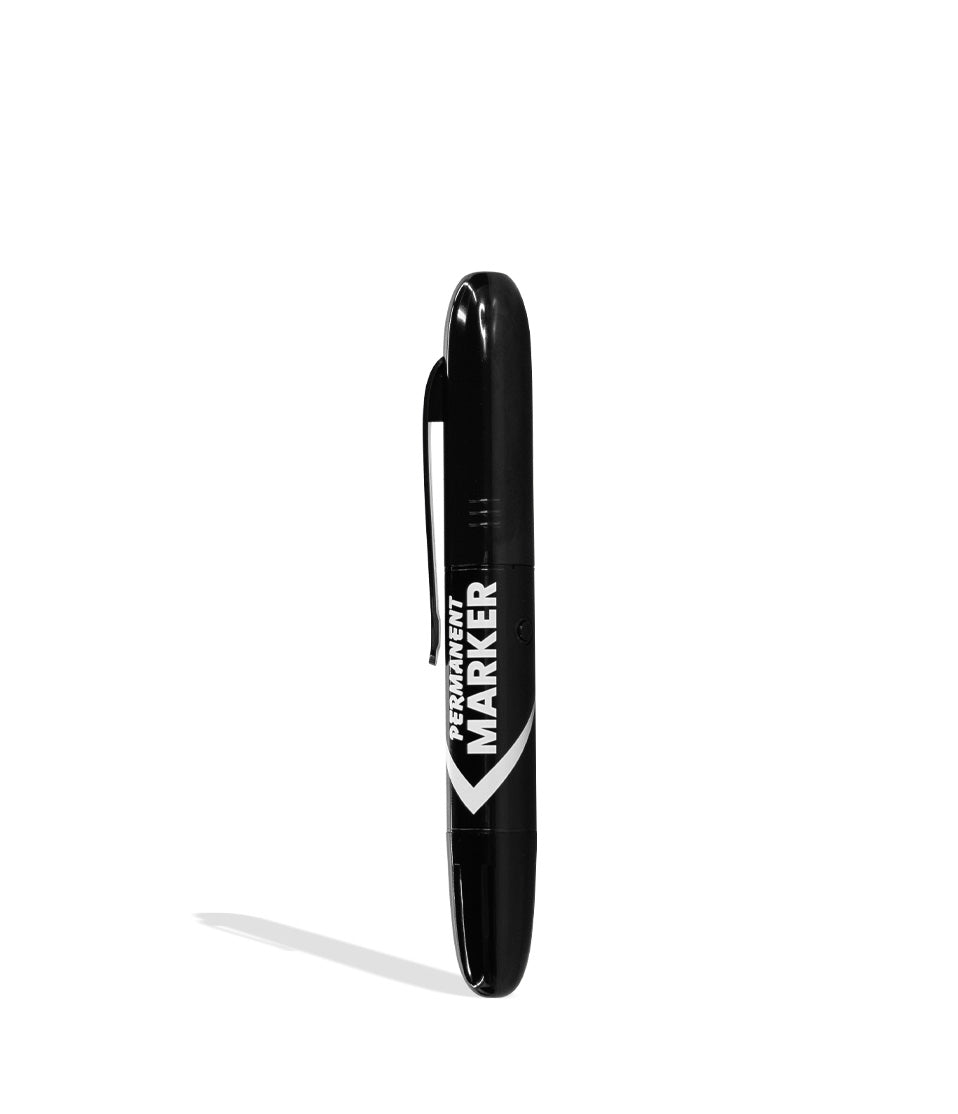
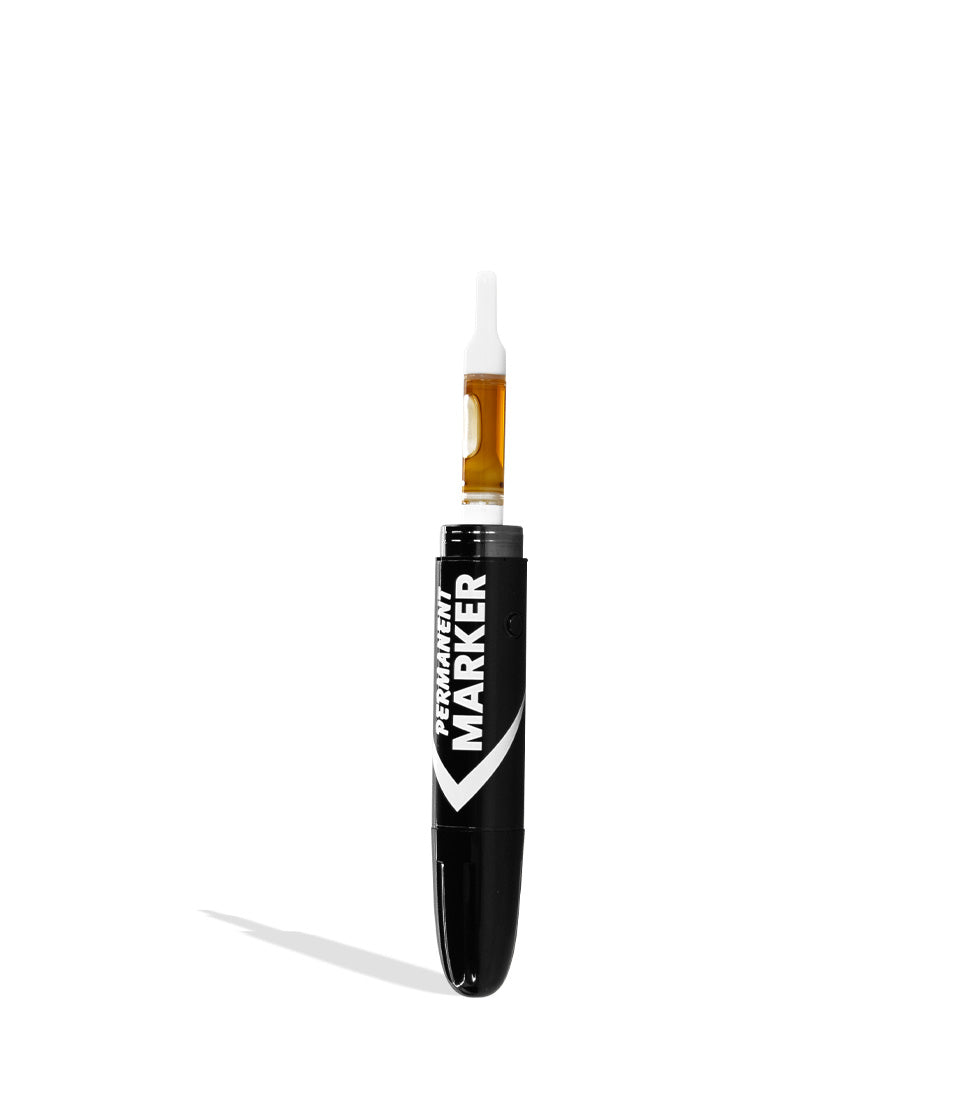
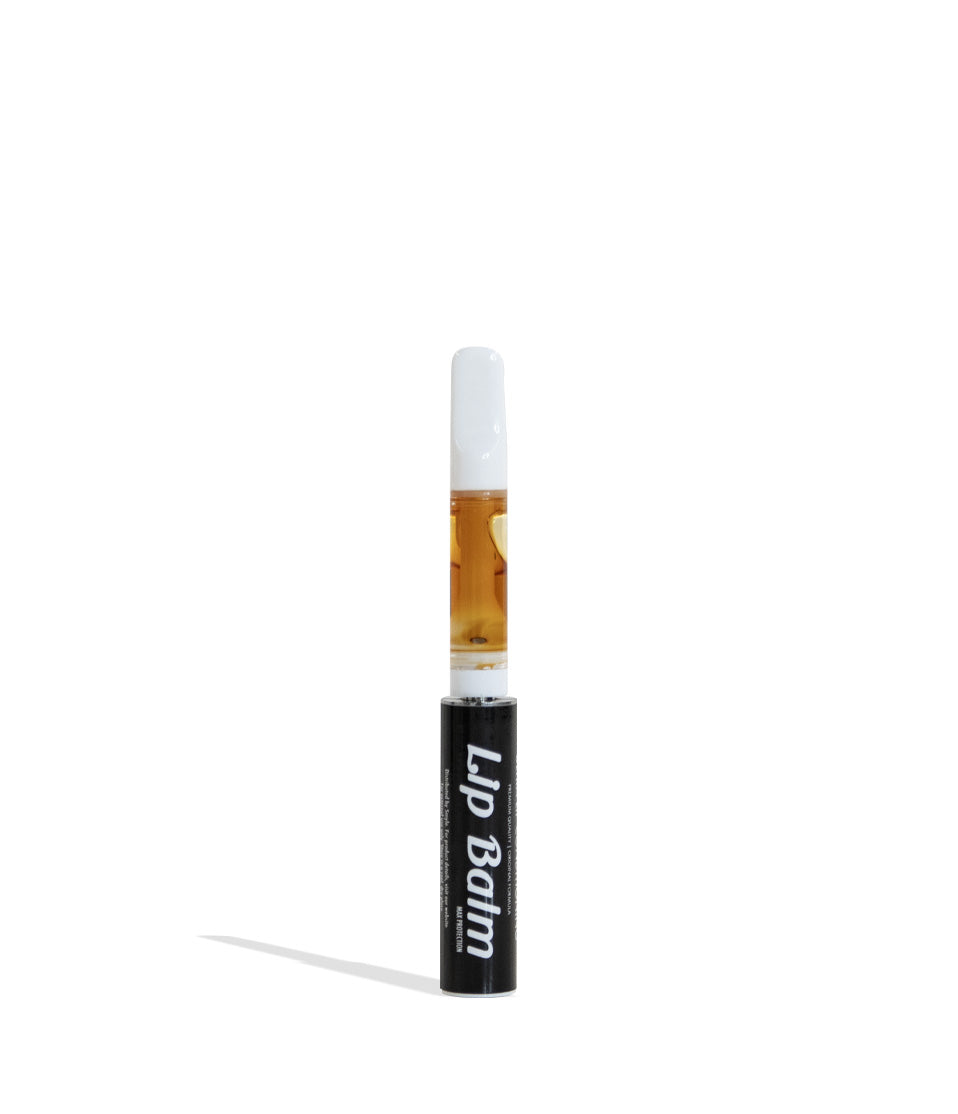
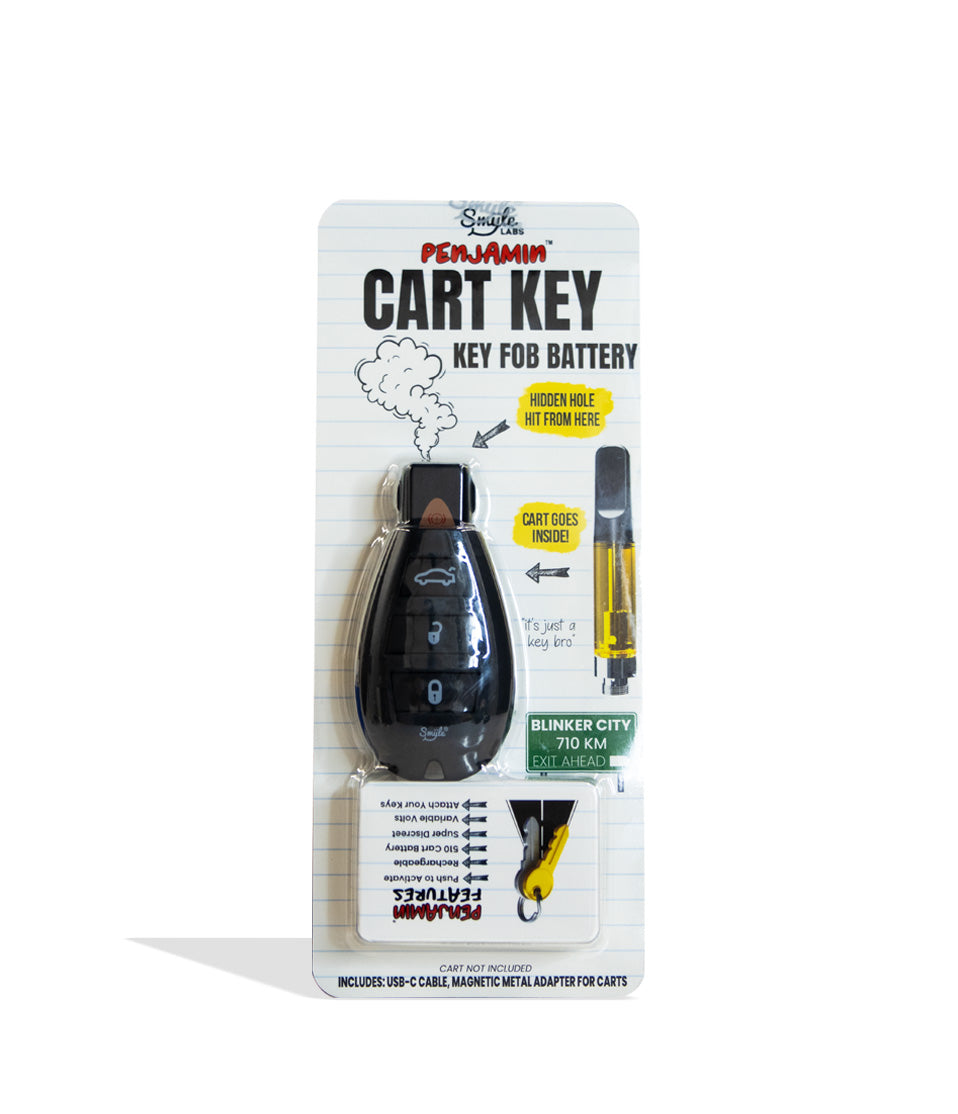
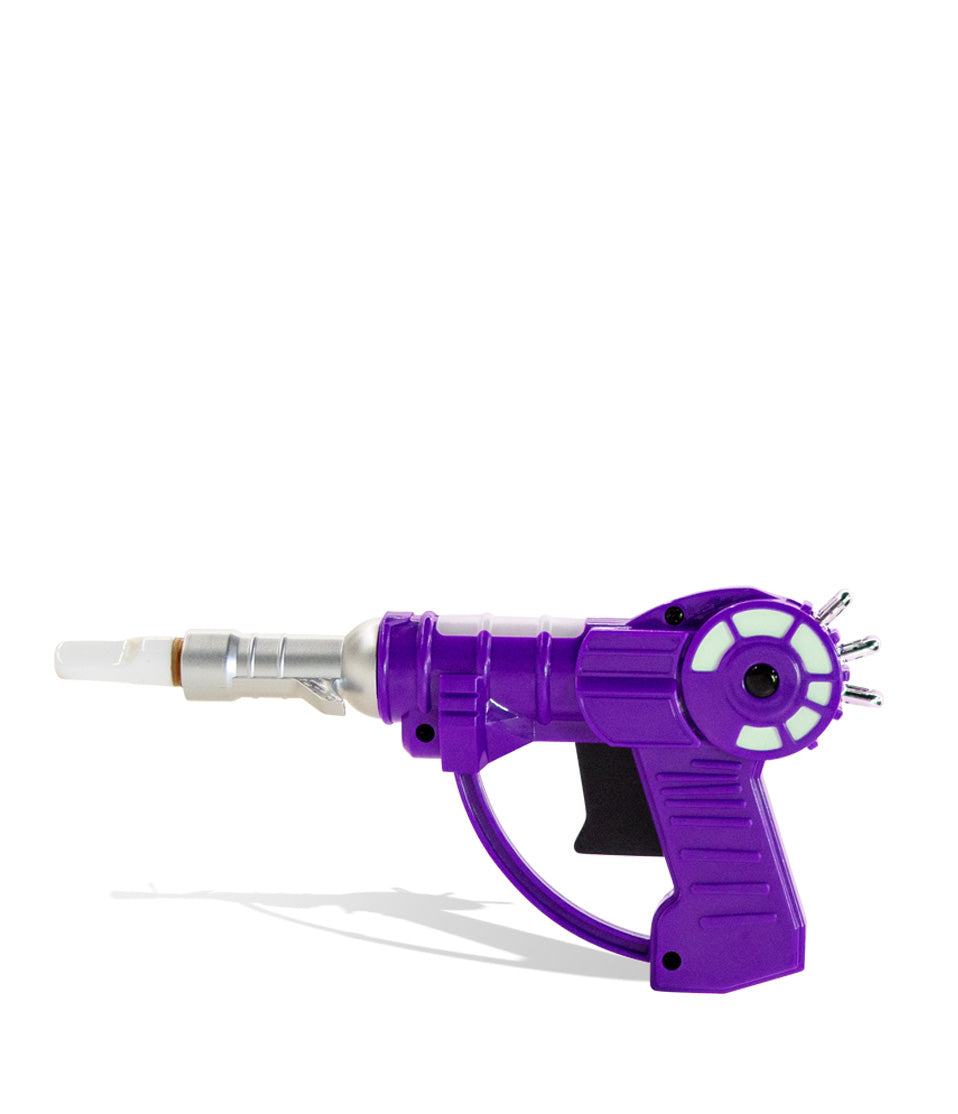
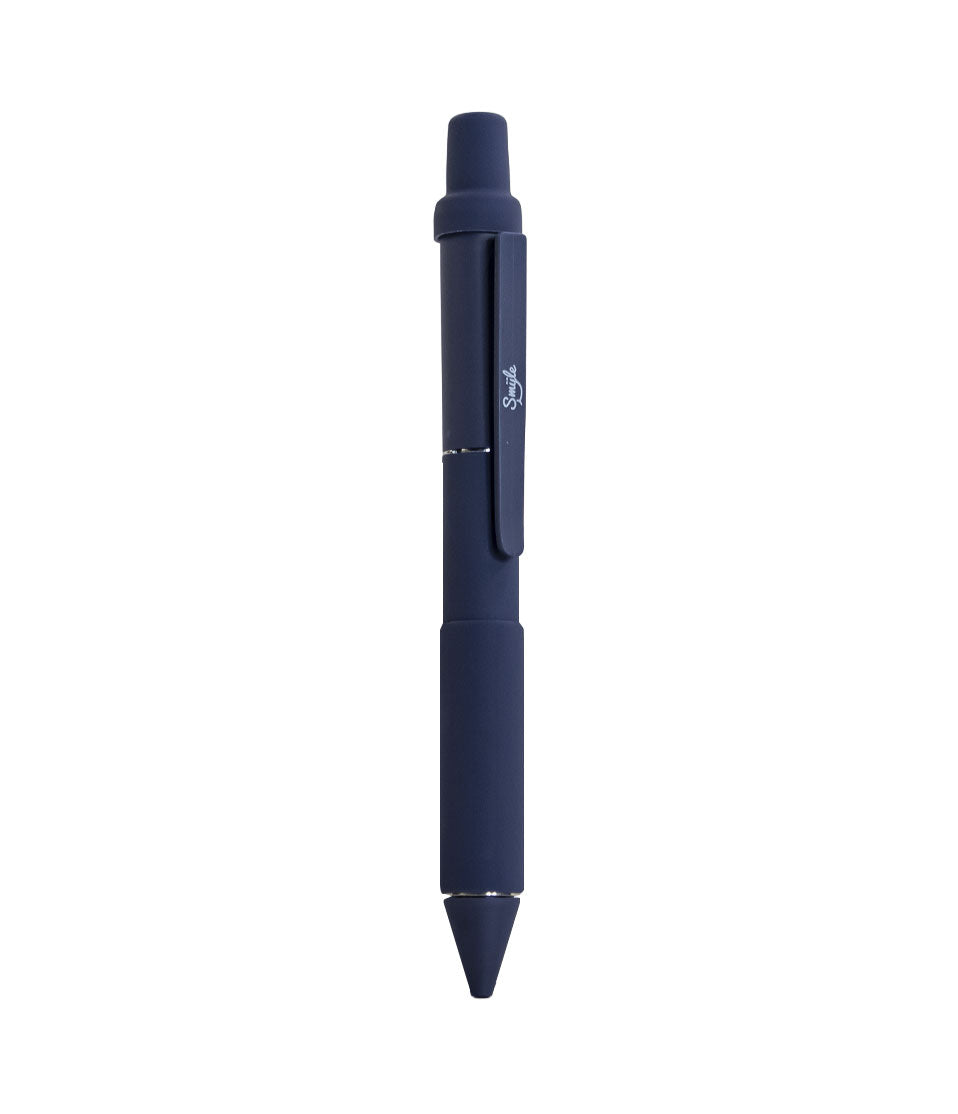
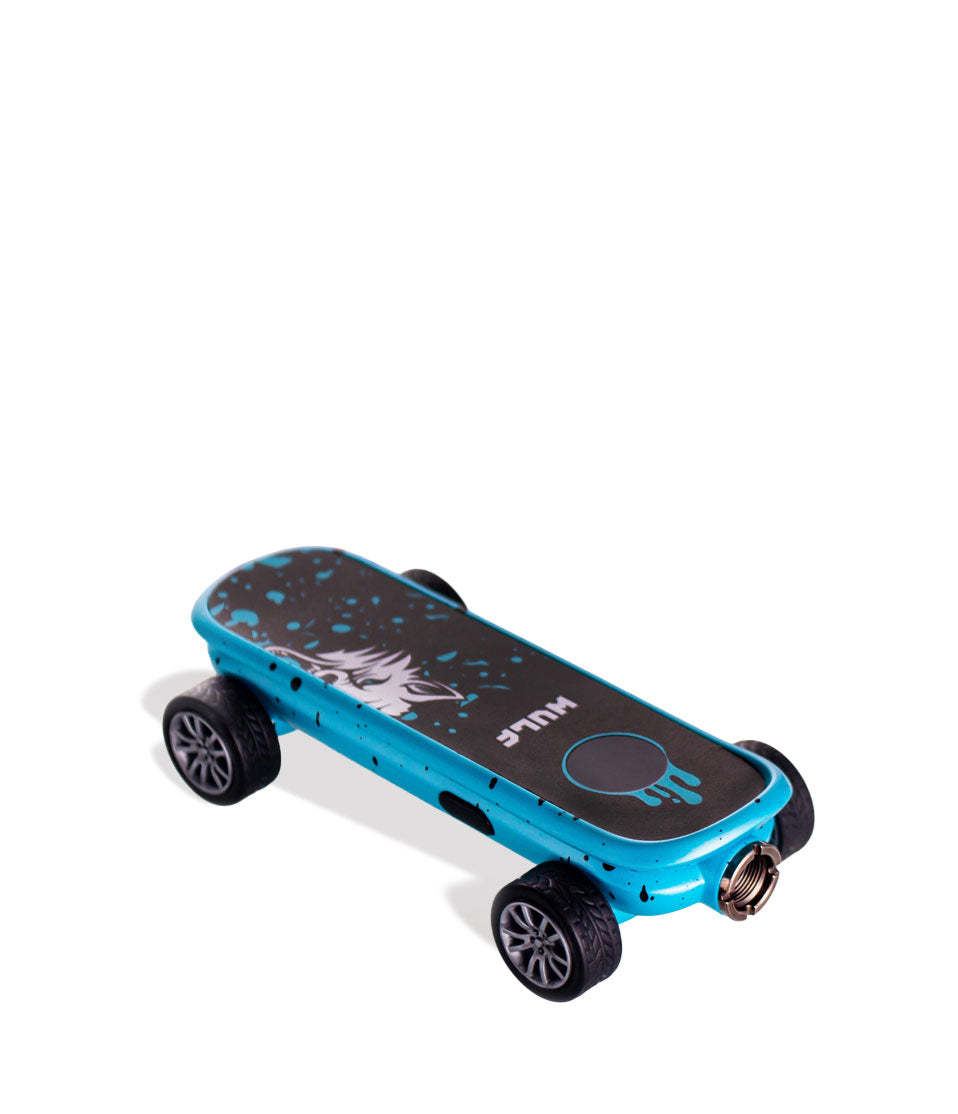
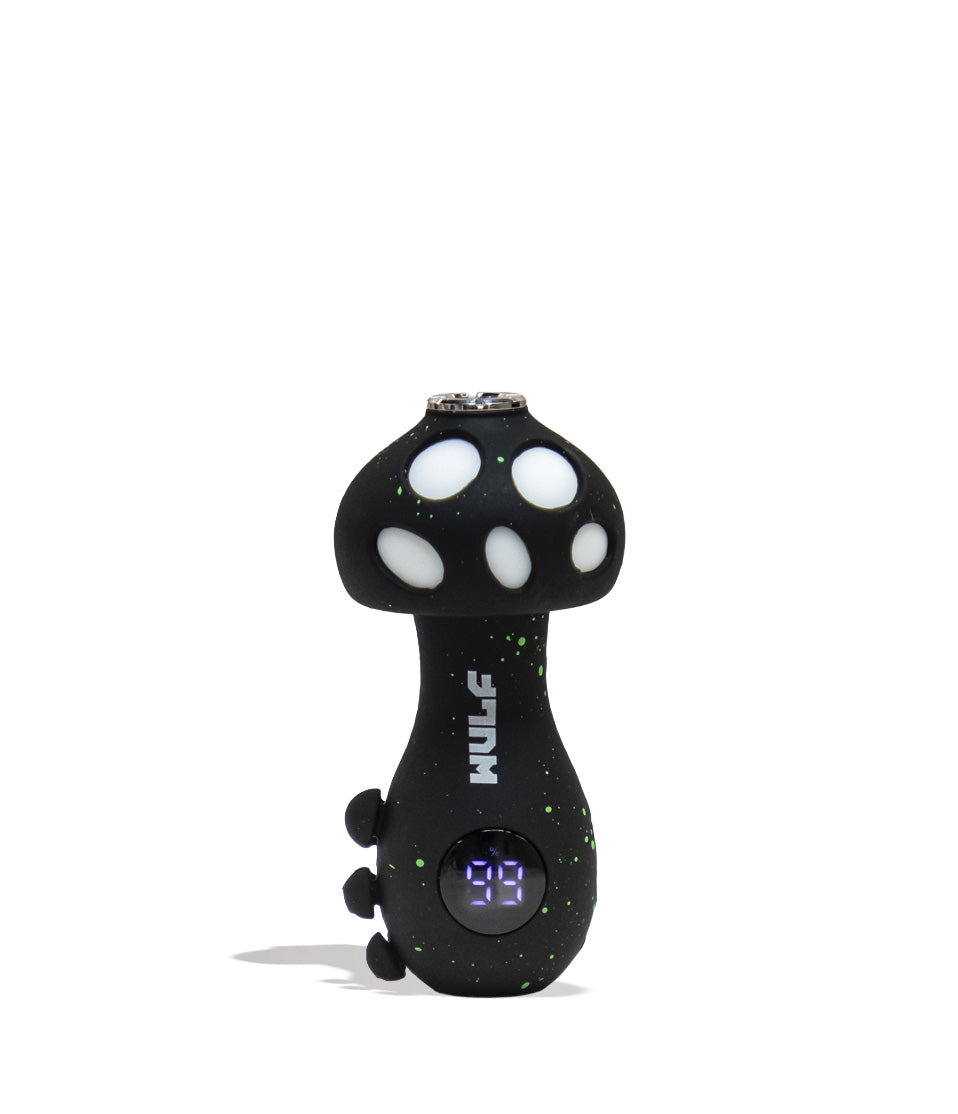
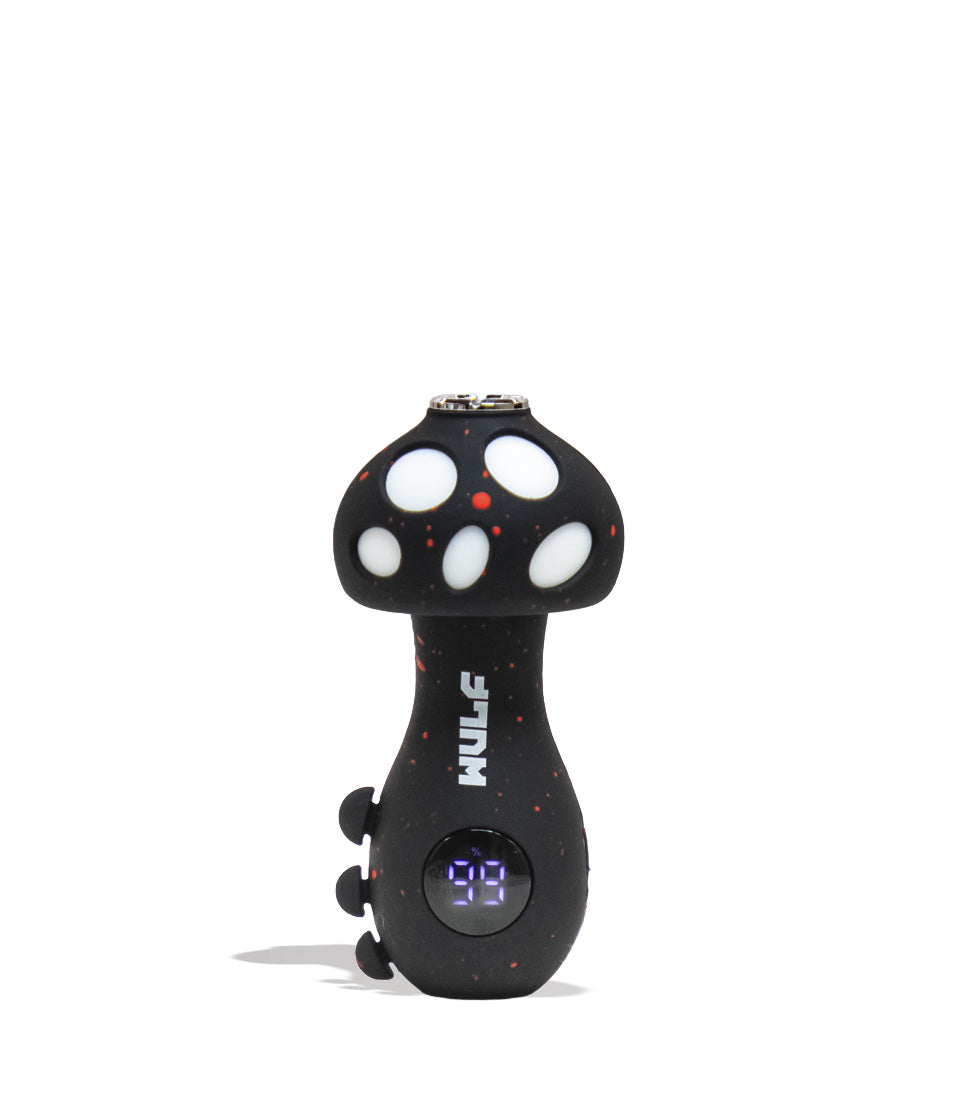
Shop 510 Thread Batteries
A closer look at the picks called out above.







How-To
Complete How-To
From here, the walkthrough gets specific: the product details and buying considerations that turn the summary above into an actual decision.
Keep your 510 battery squeaky clean, efficient, and ready to deliver peak vapor performance with expert tips from your friends in the Got Vape Crew!
As the #1 method to keep your 510 thread battery firing reliably and lasting for years, routine maintenance is a skill everyone should end up mastering at some point or another.
That’s why today Got Vape is here to spread our 20+ years of vaping knowledge and let you know the best tips to easily and effectively keeping your 510 battery operating at 100% capacity.
This step by step 510 battery cleaning guide breaks down the exact process using real-world techniques that maximize performance and extend your vaporizers lifespan. For more information on how to use your 510 thread battery, check out our in depth guide right here.
Table of Contents:
510 Battery Cleaning Quick Start Guide
Why Cleaning Your 510 Battery Matters
How Often Should You Clean Your 510 Battery?
Cleaning Tools for a 510 Battery
Step 1: Power Off and Remove the Cartridge
Step 2: Inspect Connections
Step 3: Scrub 510 Thread Connection
Step 4: Clean the Exterior Body, Buttons, and Charging Port
Step 5: Air-Dry Completely Before Reassembly
Quick Cleaning vs. Deep Cleaning
Common 510 Battery Cleaning Mistakes to Avoid
Keep Your 510 Battery Fresh in 2026
510 Battery Cleaning Quick Start Guide
If you’re in a rush or simply don’t like reading, here is a quick reference guide outlining the core steps to keep your 510 thread battery in top shape:
| STEP | ACTION | HOW TO | PRO TIP |
|---|---|---|---|
| 1 | Power Off | Click the firing button 5x to turn off power, then unscrew the cartridge. | Never attempt to clean a powered-on battery or while connected to a charger. |
| 2 | Inspect | Check the thread well for pooled oil, pocket lint, or dark gunk. | Use a flashlight to inspect deep connection wells on draw-activated concealed batteries. |
| 3 | Prep Swab | Slightly dampen a cotton swab with isopropyl alcohol and squeeze out excess. | Keep swabs damp, not dripping! Excess alcohol can seep past internal seals. |
| 4 | Clean Threads | Gently swirl the swab around the thread grooves and gold center pin. | Use light pressure so you don’t depress or displace the spring-loaded firing pin. |
| 5 | Clean Body | Wipe down the firing button, voltage dials, body housing, and USB-C port. | Use dry swabs around sensitive LED screens or USB charging ports. |
| 6 | Clean Cart | Wipe the male threads and bottom contact pin of your oil cartridge. | A dirty cartridge pin will transfer sticky oil right back to your freshly cleaned battery. |
| 7 | Dry Fully | Set the battery on a towel and allow all connections to air-dry for 15 to 30 minutes. | Never attach a cart or press the firing button until threads are 100% dry. |
Why Cleaning Your 510 Battery Matters
While the oils in our 510 cartridges are delicious and potent to enjoy, the reality is that after enough sessions things can start to get a little sticky… That’s where cleaning your 510 battery comes in to keep everything rolling smooth, without issue.
When left unchecked, this sticky oil hardens, creating an insulating barrier that blocks electrical current and leads to a host of other problems that end up reducing your overall vapor efficiency (aka less flavor potency).
Even top tier 510 batteries start to malfunction without maintince, so this isn’t a problem of needing to “buy better” but simply take care of what you already own, so you can continue to enjoy cartrdiges for years to come.
In general, a dirty 510 battery leads to:
- Reduced power transfer and weak vapor production
- “Open Circuit” or “No Atomizer” white light flashing warnings
- Sticky, jammed power buttons
- Blocked airflow paths on draw-activated batteries
- Permanent short circuits and shortened overall battery lifespan
- Maintaining your 510 thread battery ensures consistent voltage output so every cartridge hits as hard and tastes as pure as intended.
Thus keeping your 510 battery isn’t just about aesthetics or avoiding the indignity of dealing with sticky components, it’s actually about ensuring that your vaporizer continues to work and you investment isn’t wasted due to lack of care.
How Often Should You Clean Your 510 Battery?
When it comes down to how often you should clean your vaporizer, the answers comes down to how often you’re using your 510 battery and in what condition your leaving it each time.
Depending on how often you end up using it, you may not have to clean your 510 battery for some time. However if you’re a frequently flyer and use your cartridges every day, then you’ll have to end up cleaning far more often.
For casual vapers, a quick swab down once a month keeps connections clear and ready to fire up without problem. Heavy vapers should visually inspect to make sure connections are clean and wipe things down every 2 weeks or so.
If you ever unscrew a cartridge and notice a golden ring of oil sitting on the battery floor, clean it immediately before it cools and bakes onto the metal contacts! This is because oil is always easier to clean immediately, then after letting it harden over time.
Cleaning Tools for a 510 Battery
You don’t need to be Inspector Gadget to properly clean a 510 battery, but instead just a few common house hold items and you’ll have all of the tools you need to get things sqeaky clean in no time.
Simple tools produce consistent results. All of them can be acquired from a pharmacy, big box store, or right here online at Got Vape. At the office we keep some isopropyl wipes and swabs at our desks, this way we always have all of the cleaning supplies we need.
While you might not be so lucky to work in a Vape Factory with everything on hand, gathering up these needed supplies shouldn’t take long and due to the bulk sizes they come in, will last you for quite a long time.
Essential cleaning tools for 510 battery maintenance:
- Isopropyl alcohol
- Cotton swabs / Q-tips
- Paper towels or microfiber cloth
- Small wooden toothpick or cotton swab shaft
As the easiest type of vaporizer to clean, simply remembering to take the time to maintain your 510 battery is half the battle. And with the proper tools by your side, you’ve got absolutely everything you need to keep your 510 battery one hundred.
Step 1: Power Off and Remove Cartridge
Start by powering down your 510 battery completely. On most single button operated batteries, click the power button 5 times in a row (5x) and wait for LED lights to power down / haptic feedback to activate.
Next gently remove the cartridge from the top of your 510 Battery and place it to the side in a safe location. We can’t tell you how many times we’ve misplaced a cartridge while cleaning, so do yourself a favor and make sure it’s somewhere safe.
Always make sure to both power off and remove your cartridge from the 510 battery in order to begin cleaning. This helps protect your battery from any damage while cleaning and ensures you can safely access the important threaded connections.
Cleaning a powered down battery prevents accidental firing, short circuits, or electrical damage while working around metal contact pins.
Step 2: Inspect Connections
Now that everything is disassembled and powered off, the next step is giving your 510 battery an optical pat down to ensure that everything is a-ok and identify which areas need the most cleaning.
Look for both visual cues such as golden brown oils and touch examples such as feeling any stickiness. These are both dead give aways that your 510 battery is in need of a clean and should be the first areas you hit in the next step.
Once you’ve identified the issues, going about cleaning your 510 battery is a whole lot easier to accomplish. This way instead of fumbling around in the dark like Velma looking for the cartridge she dropped, you’ll be cleaning up with laser precision.
If you need help seeing, try shining a flashlight or phone light onto the connections. This helps you see any hidden oils and is helpful to give everything a “double check” once you’ve completed your cleaning later on.
Step 3: Scrub 510 Thread Connection
When it comes to the actual process of cleaning, your number one best friend is going to be an isopropyl swab / q-tip. To create one simply dampen a swab / q-tip with a bit of isopropyl alcohol and voila, you’ve ready to go!
You want the swab to be damp to the touch, never dripping wet. Excess liquid can seep past the rubber gasket surrounding the center firing pin and damage the internal batteries on accident.
Now take the swab and gently scrub away at the 510 threaded connections on both your battery and the cartridge. Use slow circular scrubbing motions in order to gently remove any left over oils and get things back to normal.
It may take a few passes, so make sure to take your time and not get frustrated if any sticky spots remain. So make sure to have plenty of swabs at the ready and you’ll be able to take care of even the dirtiest of batteries around.
Step 4: Clean the Exterior Body, Buttons, and Charging Port
Oil from unwashed hands can migrate onto the main battery housing, power button, and variable voltage controls over time. Plus let’s just be honest, with how many hands end up on a 510 battery, it’s just a good idea to give things a clean up.
Use a fresh, lightly damp alcohol wipe or swab (just as before) to clean the exterior casing, removing fingerprints and stickiness. Make sure to wipe around the edges of the power button to prevent any annoying sticking issues.
Finish by inspecting the USB-C or micro-USB charging port at the base. Use a dry swab or toothpick to sweep out any accumulated pocket lint or dust from the charging port openings.
This way there’s no greasy smudges or other build up on your 510 battery and you can confidently share it with friends knowing your not passing around an embarrassingly dirty vaporizer.
Step 5: Air Dry Completely Before Reassembly
Once all components are clean, leave your battery and cartridge separated to air dry completely on a clean paper towel. You absolutely MUST follow this step, as using your 510 battery while any moisture remains can cause serious issues.
Because isopropyl alcohol evaporates quickly, drying usually takes only 10 to 15 minutes. However, giving it a little extra time guarantees zero liquid moisture remains in narrow thread crevices.
While it can be annoying waiting for everything to dry, it ensures that nothing gets messed up and helps protect your battery from any accidental damage. So put your feet up, watch an episode of your favorite show, and your 510 battery should be all ready to go.
Once fully dry, screw your cartridge back onto the battery until snug (never over tightened), click 5 times to turn power on, and take a fresh, effortless puff with your now squeaky clean 510 battery!
Quick Cleaning vs. Deep Cleaning
Heads up, not every session requires a full breakdown. Instead the easier way to keep your 510 battery running smoothly is by dividing maintenance into two distinct, yet simple categories:
Quick Cleaning:
- Wipe the bottom pin of your cartridge if you notice oil leakage.
- Swab out any fresh liquid oil sitting on the battery floor.
- Keep airflow vents clear.
Deep Cleaning (Every Couple Weeks):
- Full device inspection.
- Isopropyl alcohol swabbing of battery threads, firing pins, and magnetic adapters.
- Cleaning exterior housing, voltage adjustment buttons, and USB charging ports.
- Wiping down cartridge bases and mouthpiece tips.
Consistent quick cleans dramatically reduce the need for aggressive deep cleaning down the road. So if you do notice anything getting sticky or dirty, just give it a quick wipe down and you’ll avoid 90% of the deep cleaning later on.
Plus, with a properly maintained 510 battery you’re ensuring your clouds stay top tier, instead of slowly degrading as dirt builds up without cleaning.
Common 510 Battery Cleaning Mistakes to Avoid
Even experienced 510 battery enjoyers like the Got Vape Crew make missteps during routine maintenance. So don’t beat yourself up if something happens, just know that it comes with the territory of learning a new battery.
To help you dodge these same mistakes, we’ve broken down all of the most frequent 510 battery cleaning errors that pop up and how you can prevent them from occurring during your own sessions.
Top 510 battery cleaning mistakes to avoid:
- Using dripping wet swabs: Saturated swabs leak liquid alcohol past center pin seals directly into the internal battery board.
- Cleaning while charging or powered on: Attempting to clean an powered on 510 battery can cause short circuit warnings or damage firing pins.
- Scraping pins with sharp metal tools: Gouging center pins with steel paperclips or dab tools can strip gold plating or break delicate internal springs.
- Over-tightening cartridges post-cleaning: Cranking cartridges on too tight crushes center pin rubber insulators, causing short circuits.
- Rushing the drying step: Attaching cartridges to damp, wet threads can trigger white error light flashes.
Avoiding these pitfalls ensures your 510 battery stays reliable and performs flawlessly every single session.
Keep Your 510 Battery Fresh in 2026
Now that you know how to keep your 510 battery clean, it’s time for you to fire up your favorite clouds and rip some clouds! With all the expert tips to keep your battery clean, you can enjoy your sessions knowing you’re always getting the best quality vapor.
Remember that understanding how to clean a 510 thread battery properly isn’t just about routine maintenance, but it’s about protecting your investment and getting the absolute best flavor, potency, and cloud density out of your favorite oil cartridges.
With over two decades of experience testing and working with vaporizers, the Got Vape Crew knows one thing for certain: clean connections deliver richer flavor, faster heating, and devices that last for years.
Have any more questions? The Got Vape Resource Center is here to provide you with more step by step guides, reviews, and other vapor tips to help you get the most out of your sessions. Until next time, stay cloudy, y’all!
Frequently Asked Questions
How-To FAQs
Quick answers to what shoppers usually ask before putting this guidance to use.
What Should I Do If My 510 Battery Keep Flashing White Or Red After Cleaning?
How Do I Fix A Sticky Power Button On My 510 Thread Vape Pen?
Is It Safe To Clean The USB-C Charging Port On The Bottom Of My Battery?
Why Does My Cartridge Get Stuck In My 510 Threads?
Got Vape Trust Center
About This Resource
Here's a look at who put this guide together, how it was fact checked, and how the Got Vape team keeps it current.
Editorial Standards
- Written for shoppers, not search engines.
- Checked for accuracy and plain, practical usefulness before it goes live.
- Grounded in the manufacturer specs and product documentation we can verify.
- Revisited whenever products, regulations, or category trends shift enough to matter.
- Shaped by years of hands-on time with this gear, not just spec sheets.
- Written to help you land on the right device without the guesswork.
Research Methodology
We built this walkthrough around the actual steps, from unboxing through everyday use, based on time spent with the device and the questions people ask most.
- Hands-on product experience
- Step-by-step setup and use
- Cleaning, care, and troubleshooting
- Common questions answered
- Safe and responsible use
- Real-world use considerations
- Editorial review for clarity and accuracy
Article Information
Intended Audience
- Everyday customers
- First-time buyers
- Experienced enthusiasts
- Dry herb users
- Concentrate users
- Anyone upgrading their setup
Editorial Policy
We revisit Got Vape guides on a regular basis rather than publishing them once and walking away. If a product spec, regulation, or category trend changes enough to matter, the article gets updated and the review date moves with it.
Keep Exploring
Related Resources
A few more Got Vape guides worth a look if you want to get even more out of your setup.

Best Of List
Find out the best 510 batteries that cost less than $20 with Got Vape and learn how you can save more and enjoy better vapor fr...
Read Resource →
Best Of List
Find out the difference between vape pens vs dab pens with the help of the Got Vape Crew! Learn everything about these two type...
Read Resource →
How-To
Learn how to maximize the life span of your battery and get the most out of each charge of your vaporizer. Follow along with Go...
Read Resource →
Category Guide
Do vaporizers lose performance as they age? Find out the answer here with the Got Vape Crew and learn how you can extend your v...
Read Resource →