

Resource Center
How To Clean An E-Rig Properly (Step-By-Step Guide)

Continue With This Resource
Got Vape Quick Brief
What You Should Know
Skim this first for the short version: the main points, the questions people ask, and what to consider before you buy.
Overview
Key Takeaways
- Swabbing out leftover wax from the atomizer bucket with a cotton Q-tip immediately after every session prevents stains and prolongs chamber lifespan.
- Disassembling the glass top from the electronic base before pouring water prevents liquid spills into sensitive charging ports and battery housing.
- Soaking glass attachments and ceramic atomizers in isopropyl alcohol dissolves stubborn reclaim, while soft silicone tethers should be washed in warm, soapy water.
- Holding the atomizer upside down while wiping contact pins prevents liquid alcohol from dripping down into internal base connections.
- Allowing all cleaned components to air-dry completely for 30 to 60 minutes and running a 1-minute empty burn-off cycle eliminates residual moisture and alcohol fumes.
Questions This Resource Answers
- What is the proper technique for swabbing out an e-rig chamber?
- How frequently should you perform daily post dab swabbing versus full deep cleaning on an electric dab rig?
- What cleaning solutions and tools are safe to use on e-rigs?
- How do you safely clean the internal vapor path and battery base contacts without causing short circuits?
- Why is running an empty burn off heat cycle necessary before taking your first dab after a deep clean?
Recommended Products
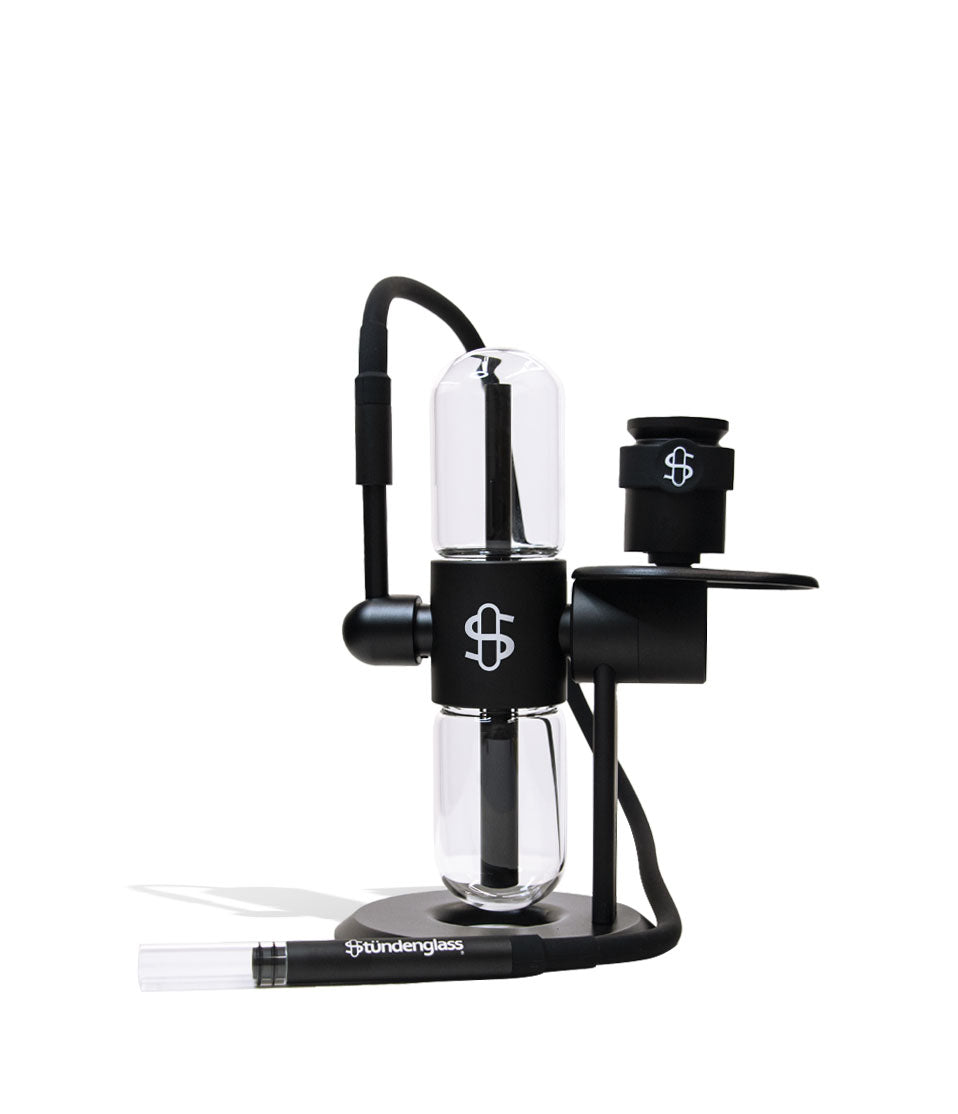
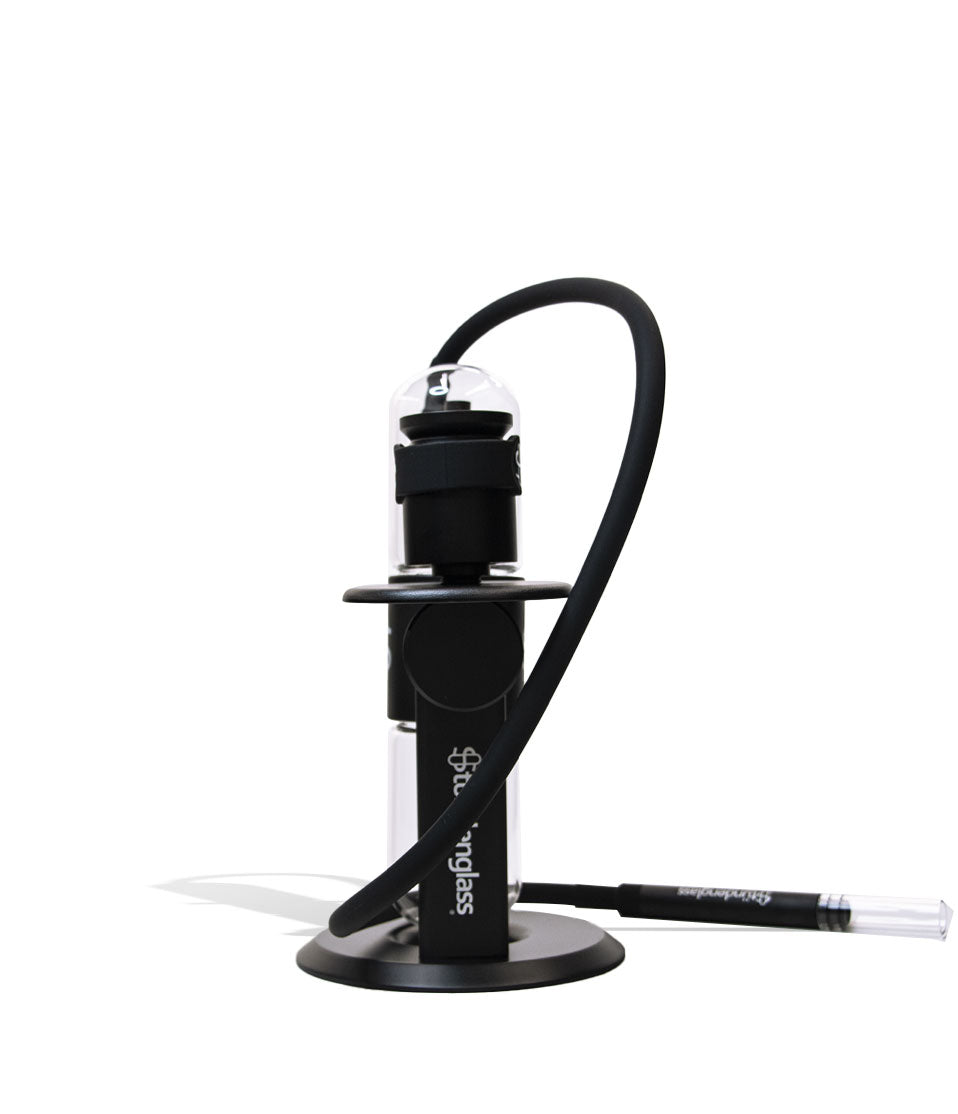
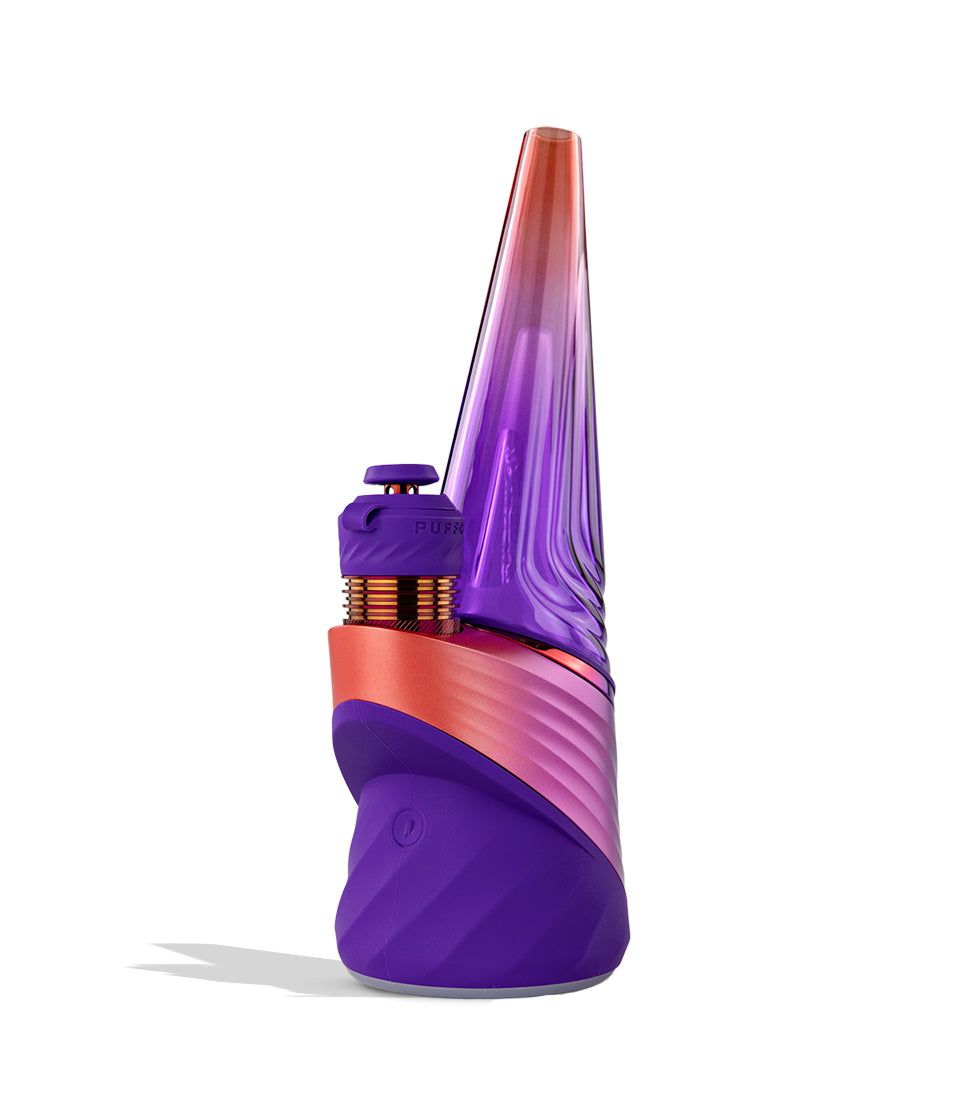
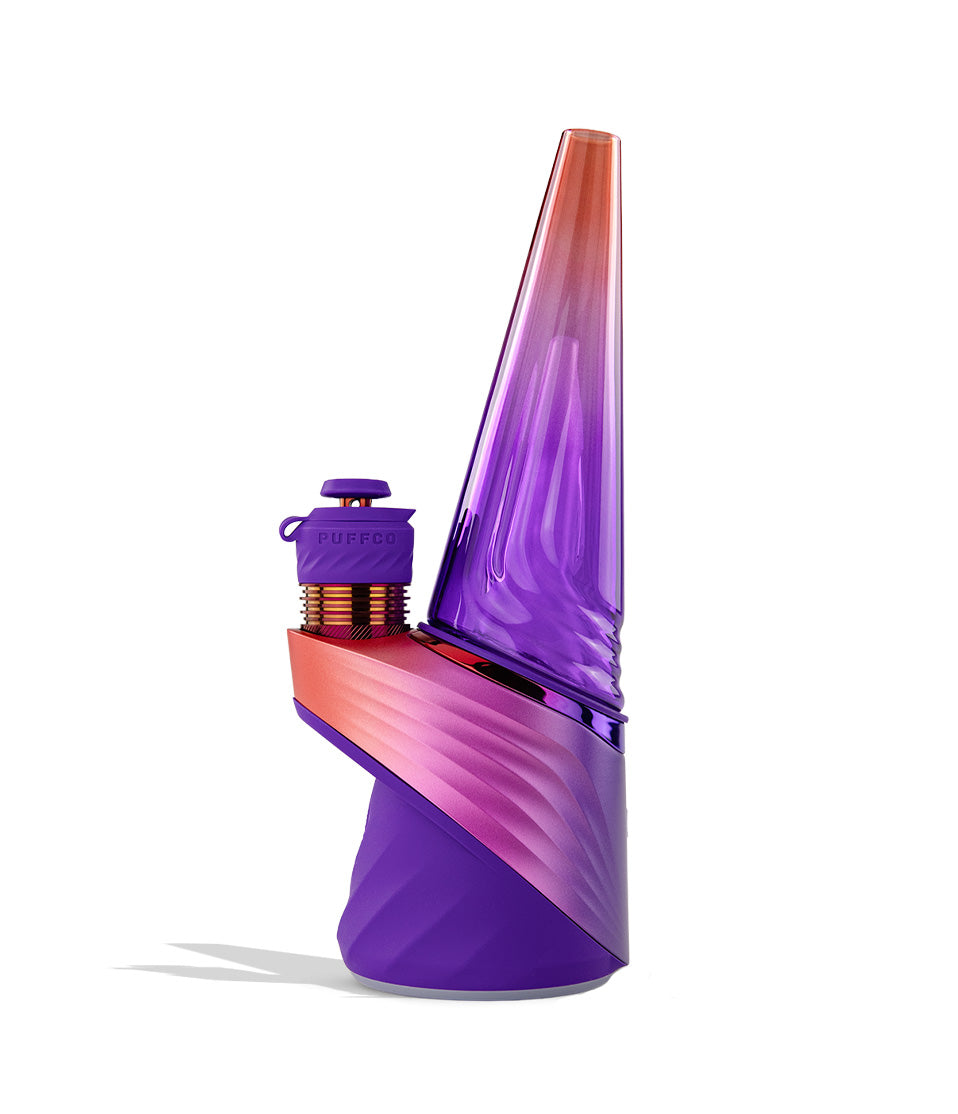
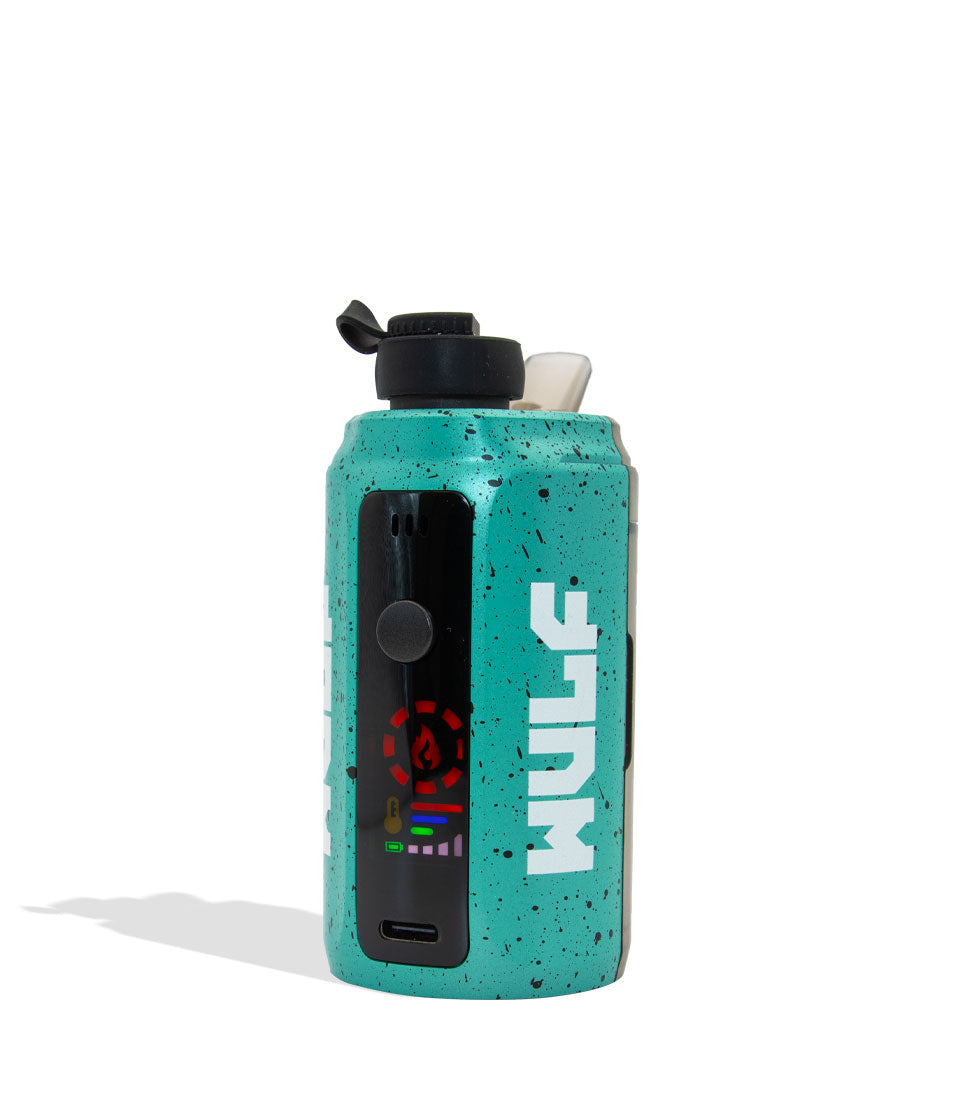
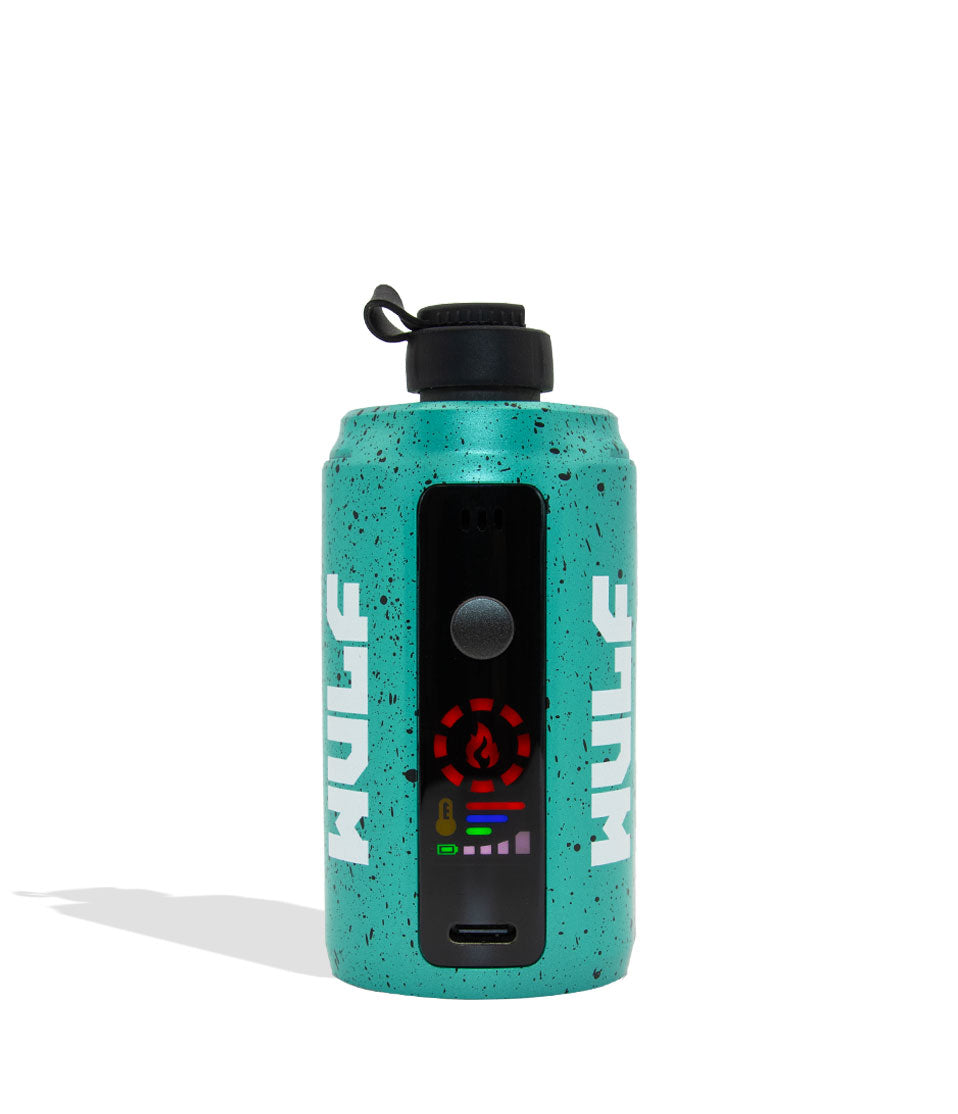
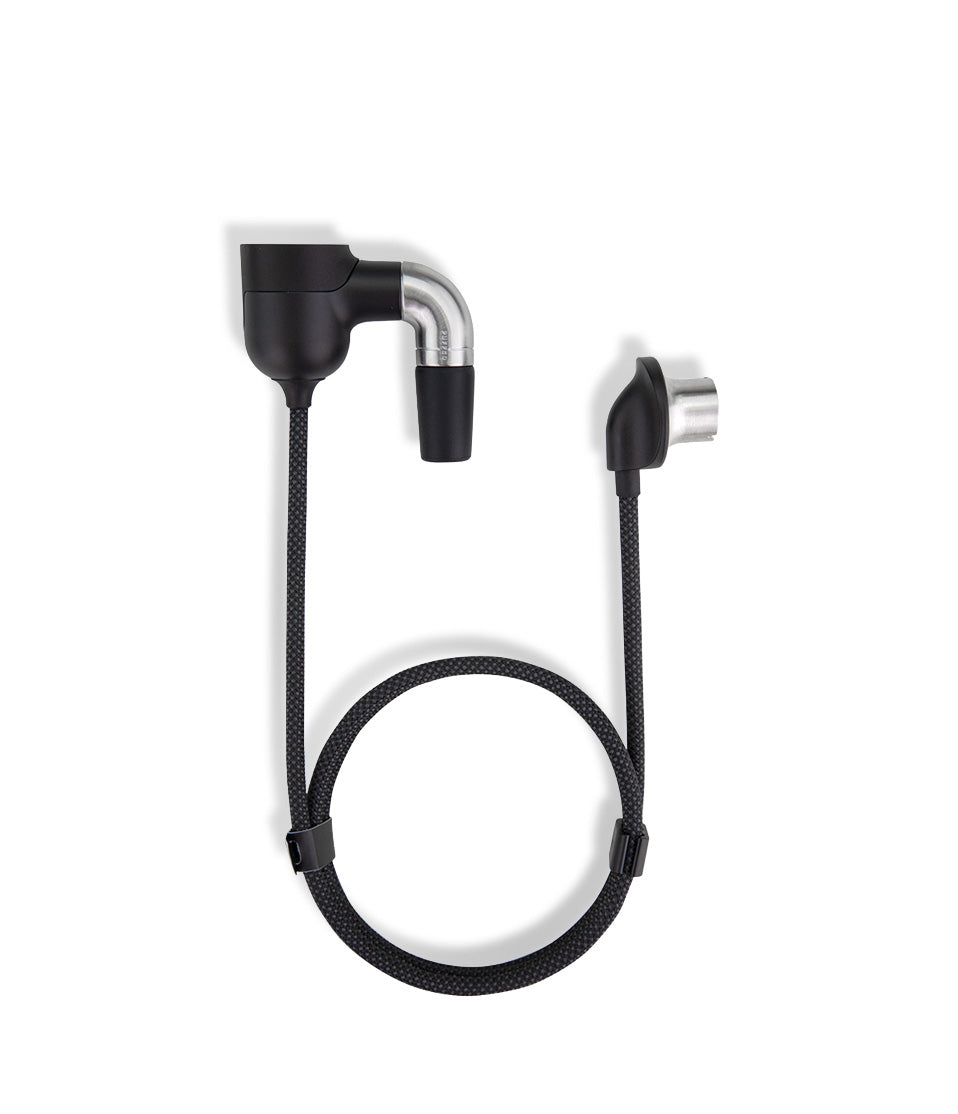
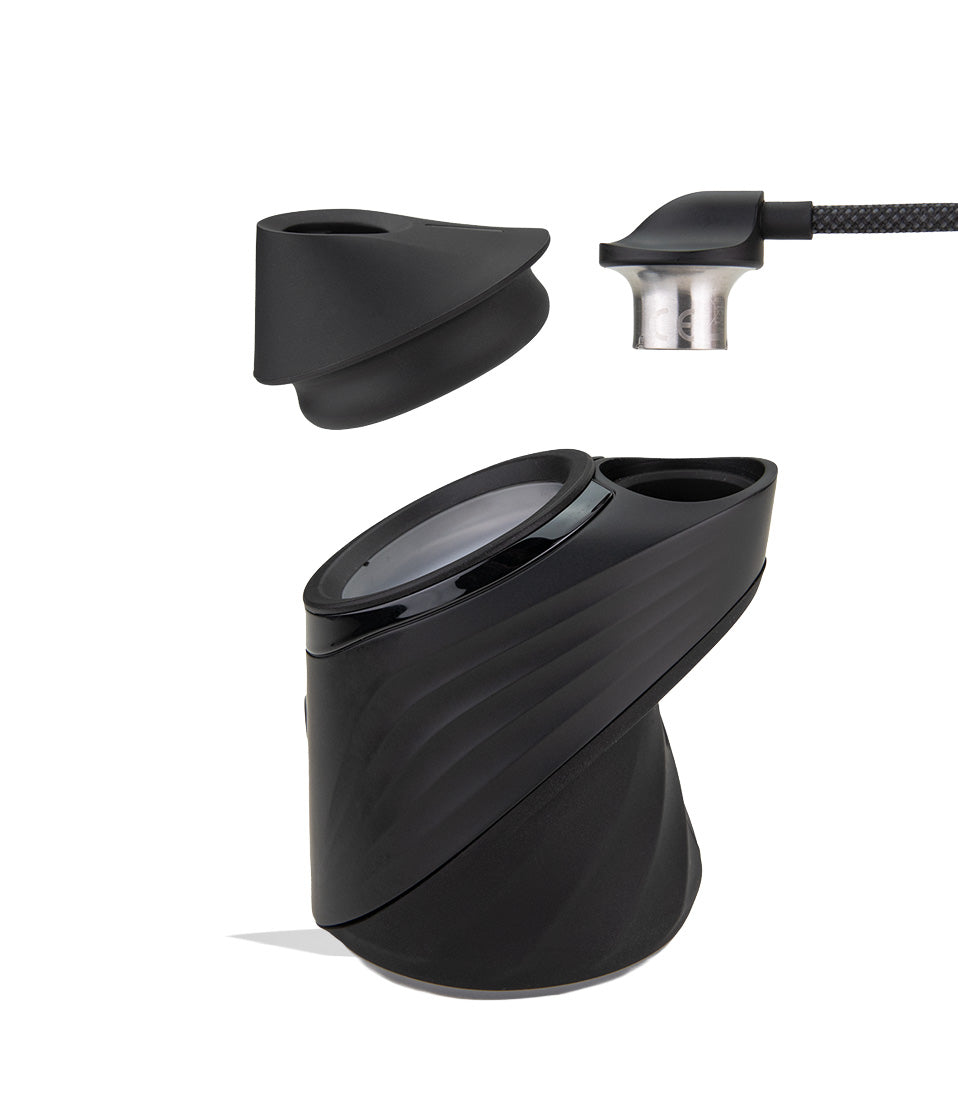
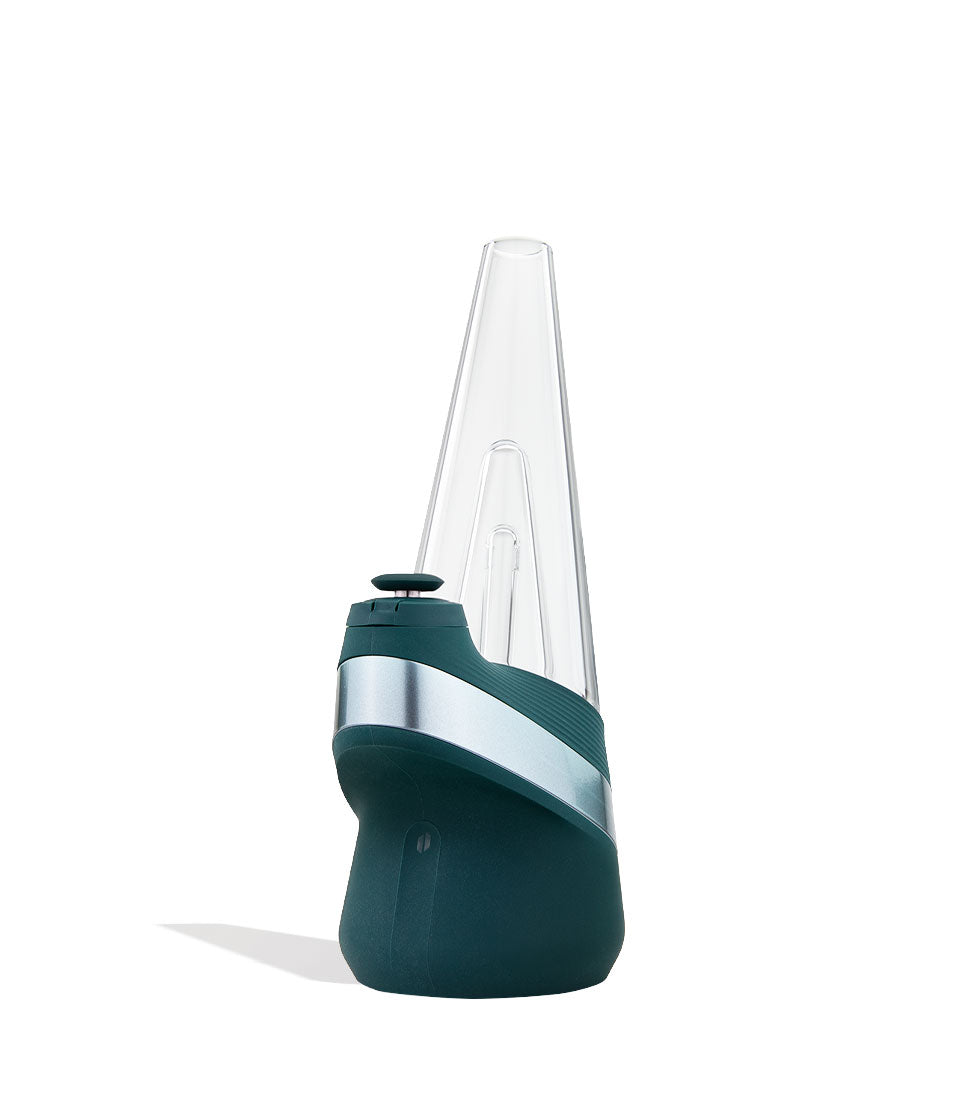
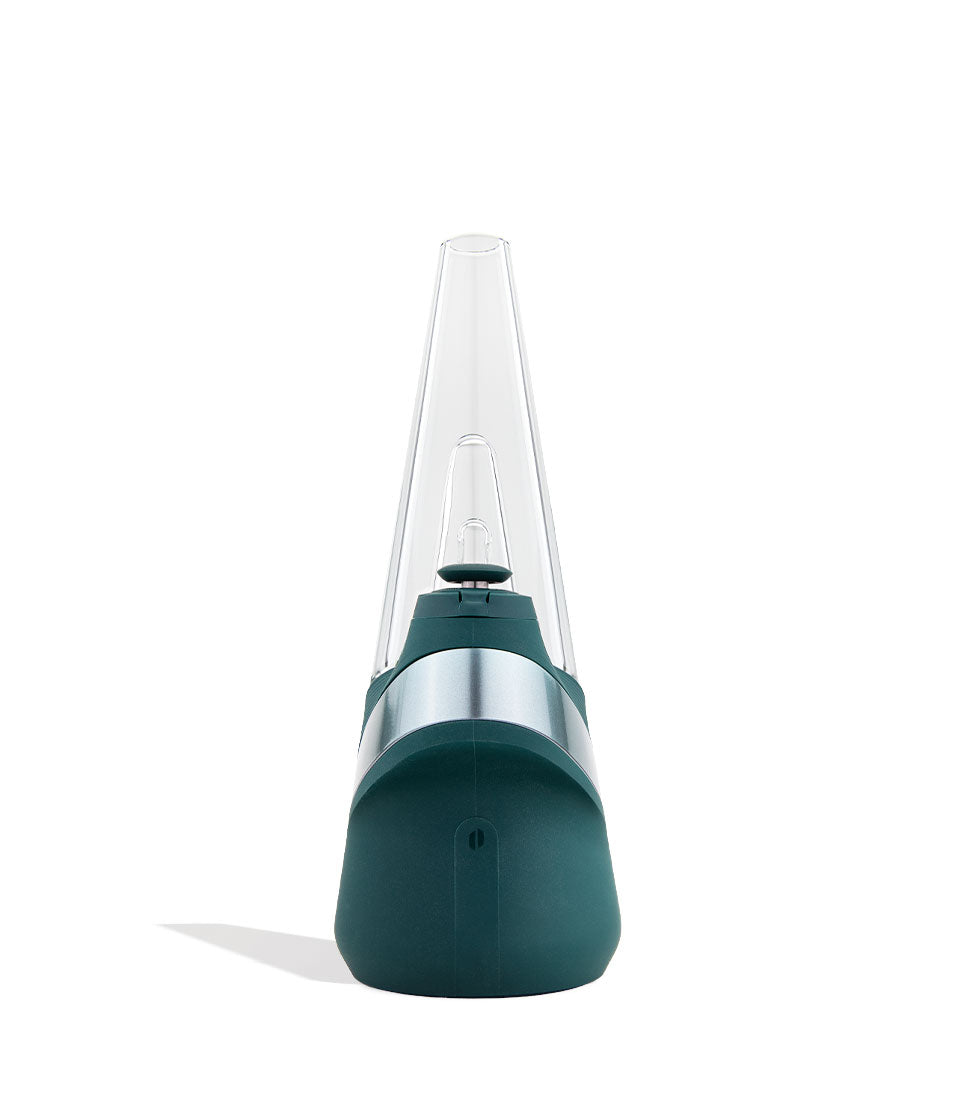
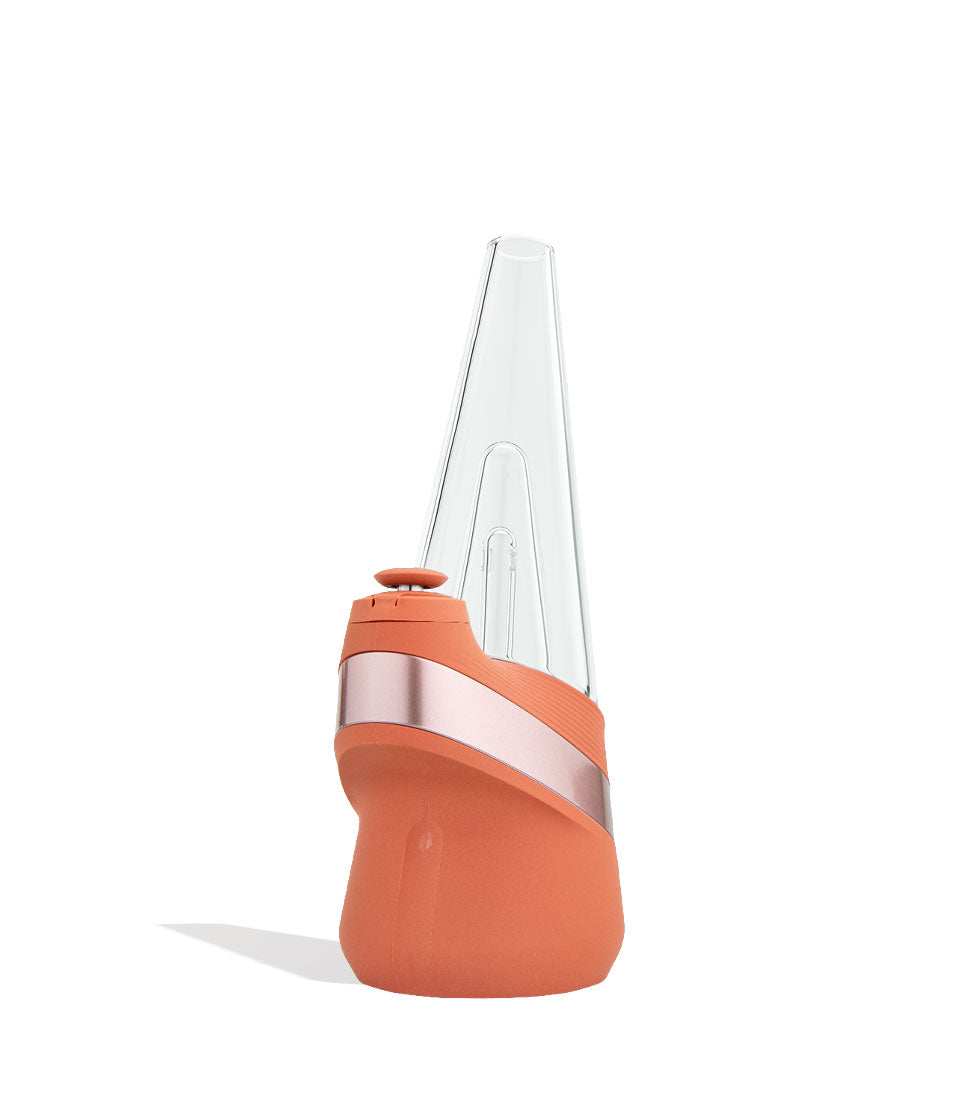
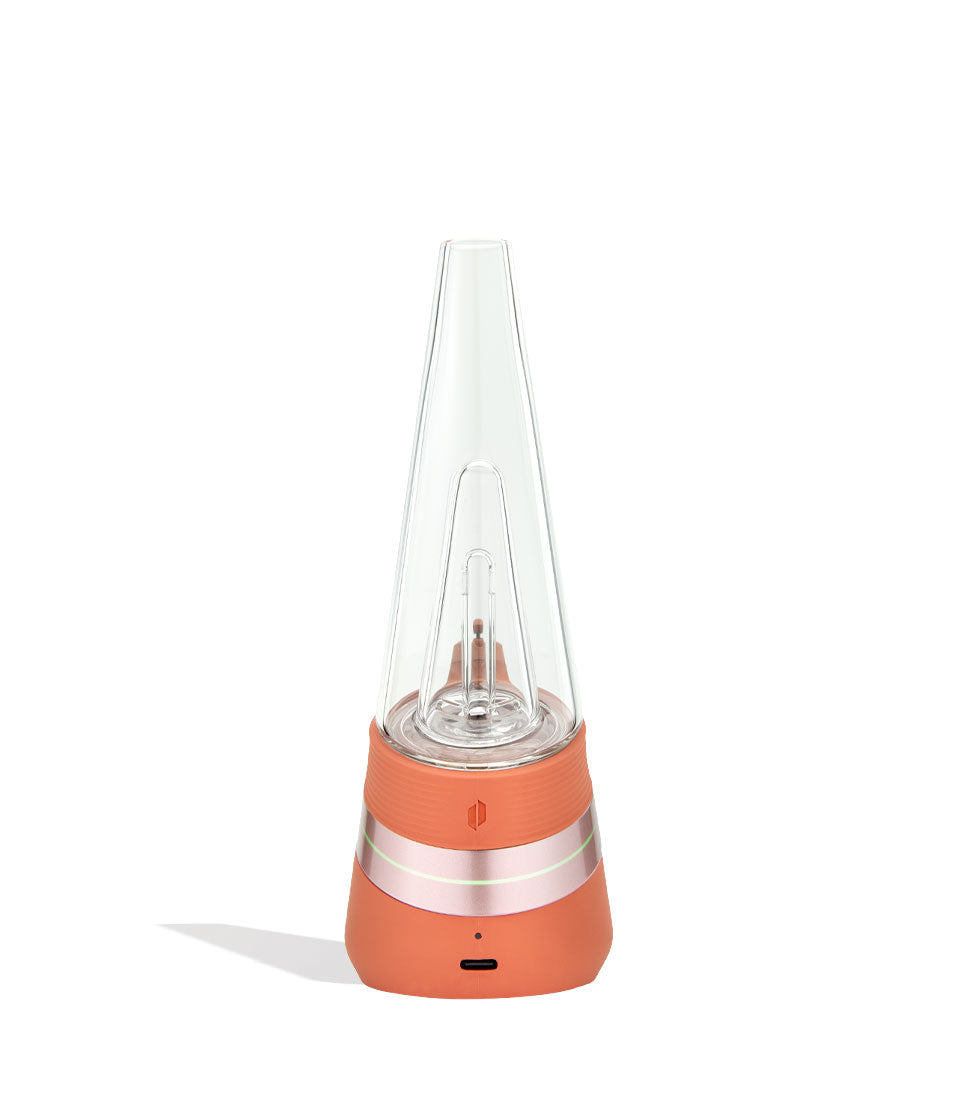
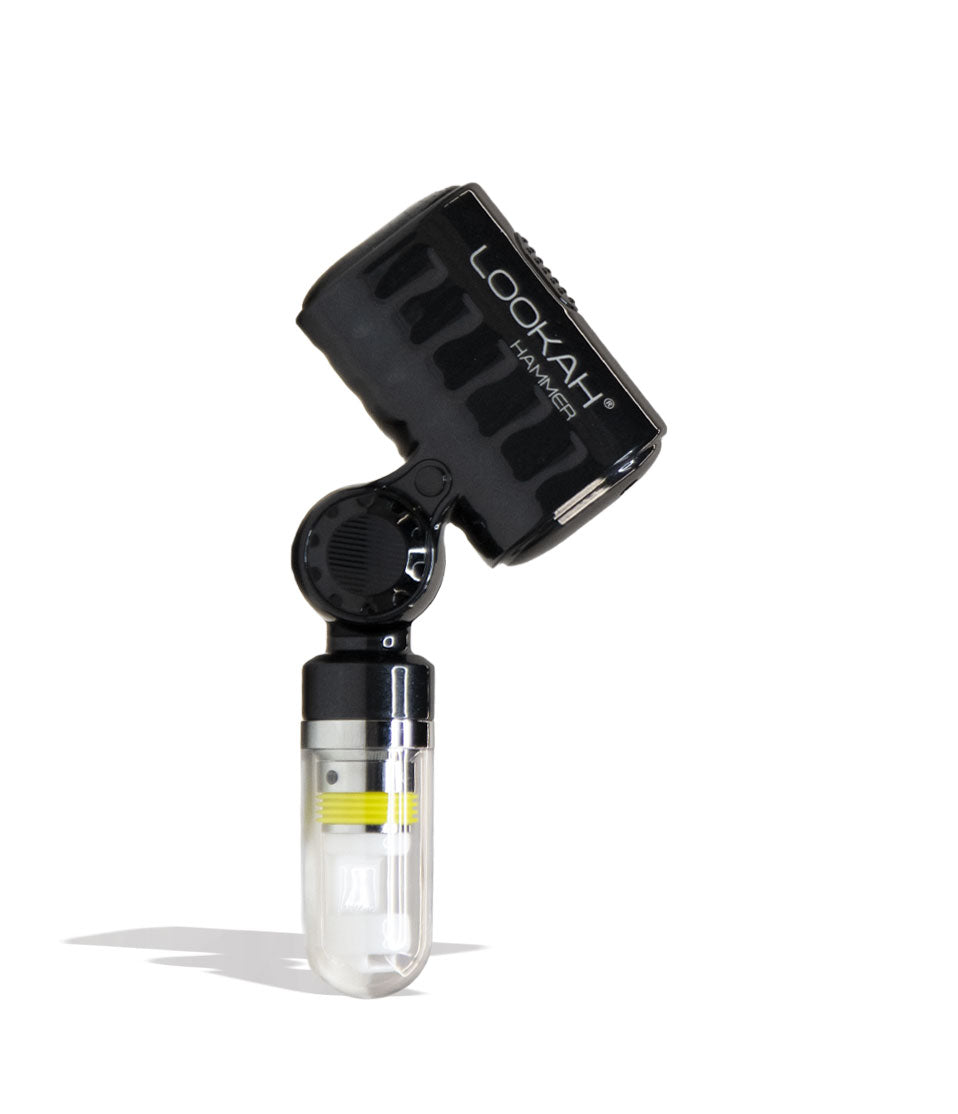
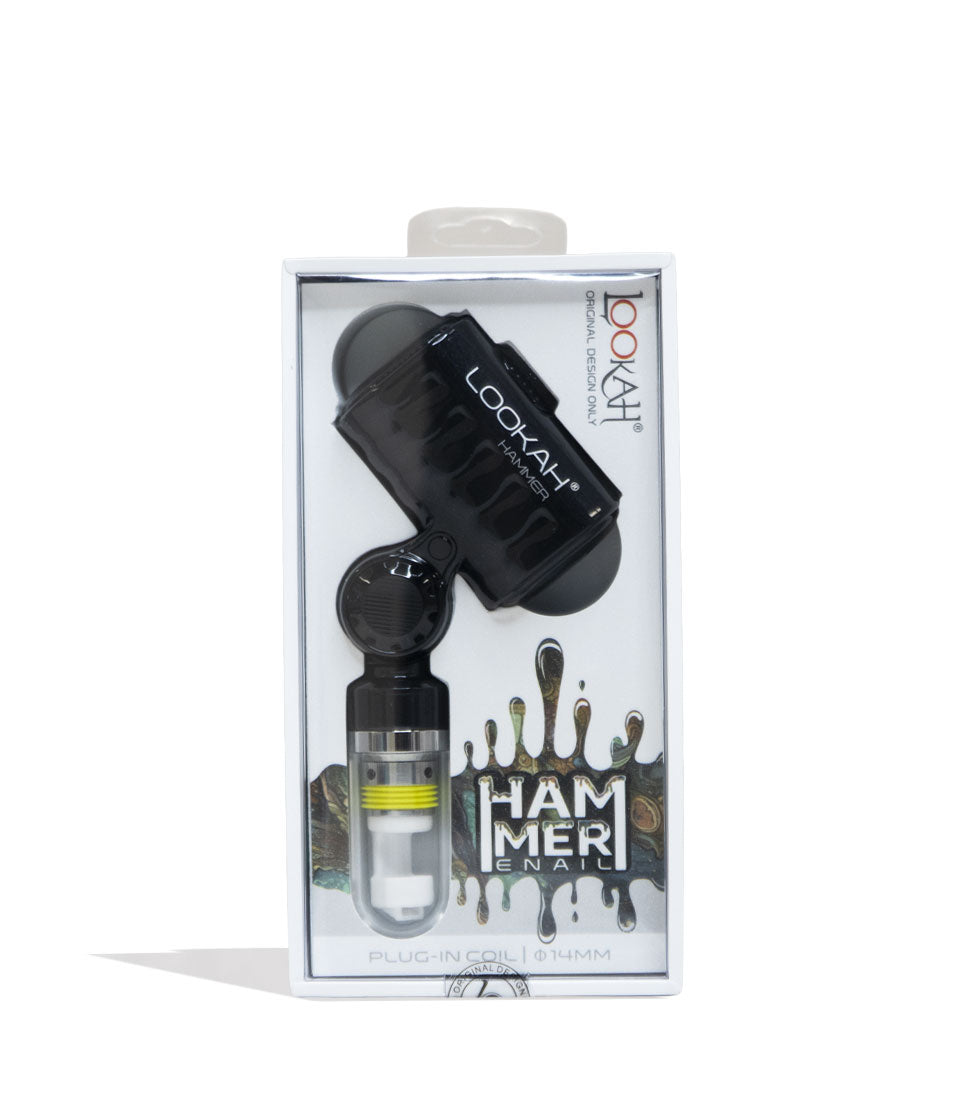
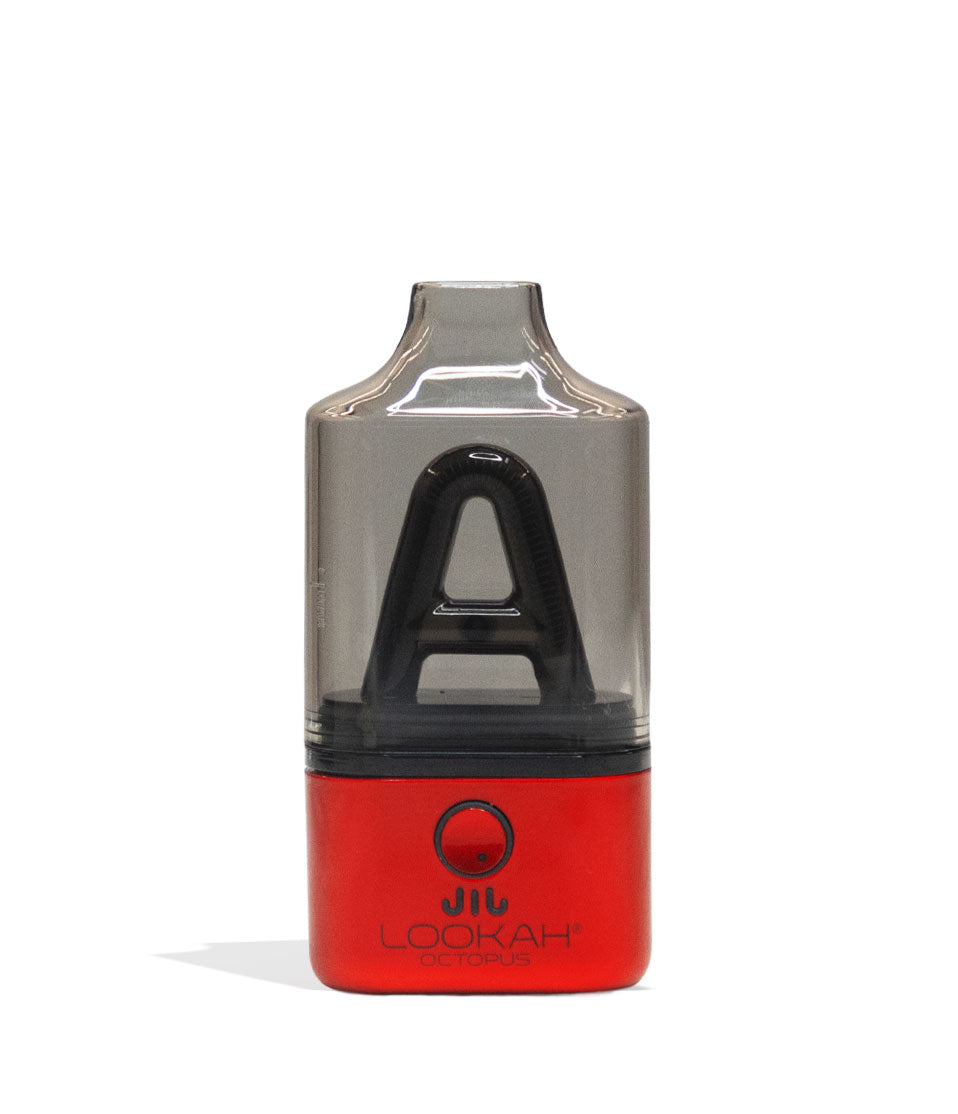
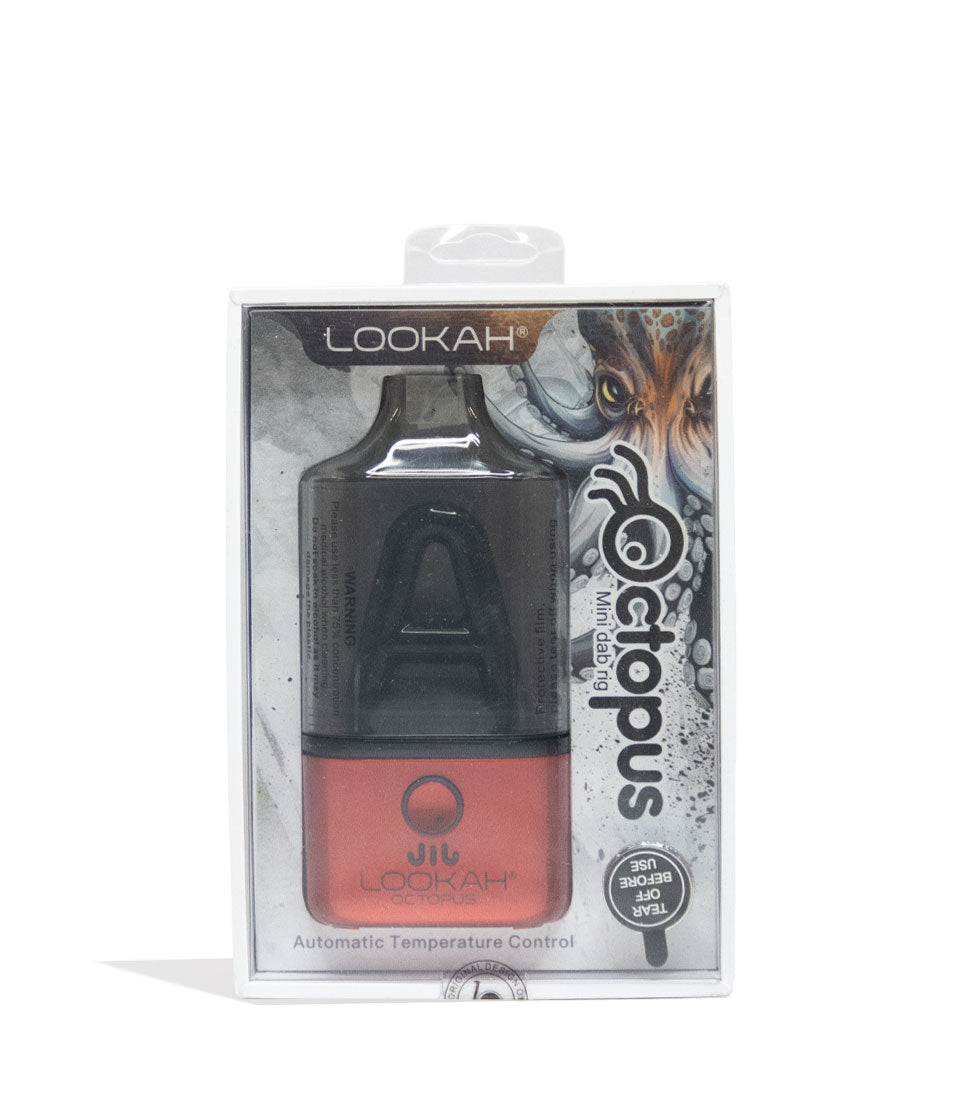
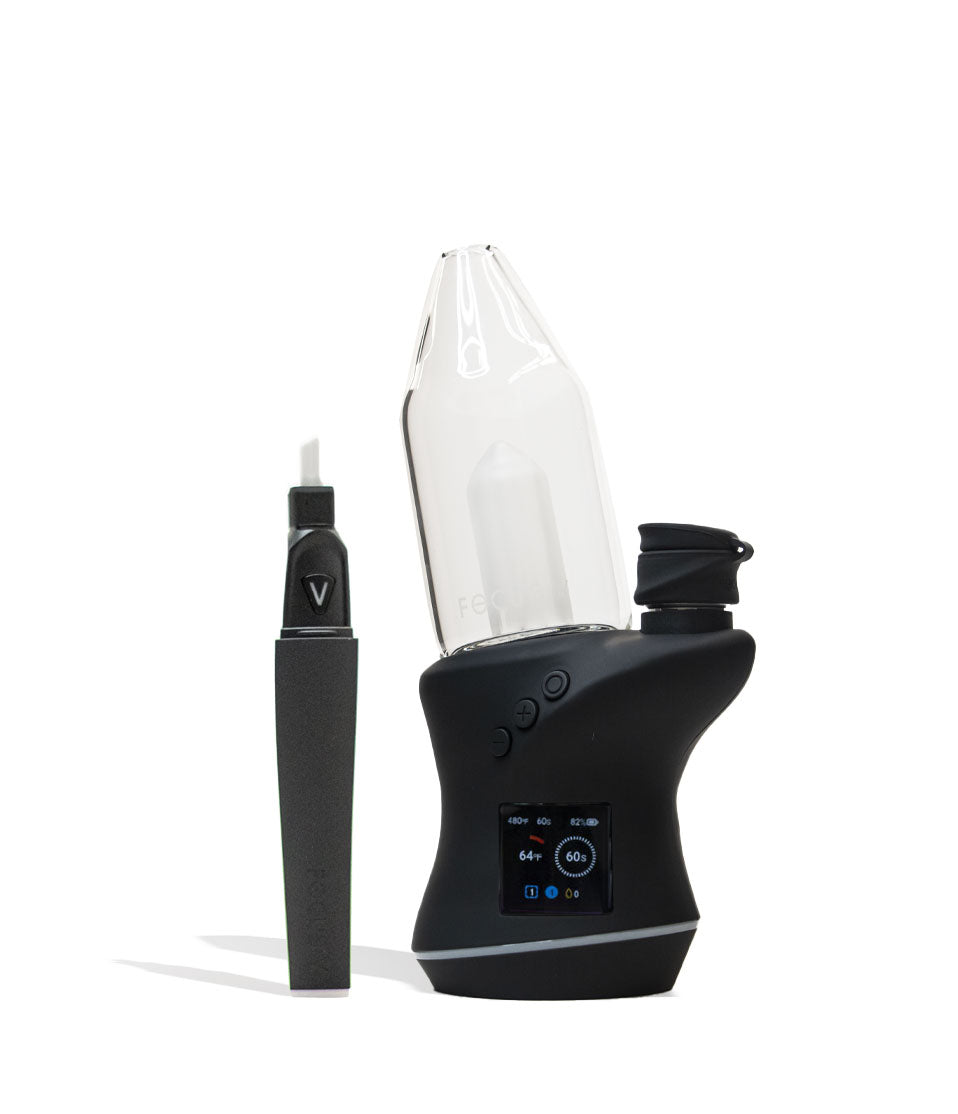
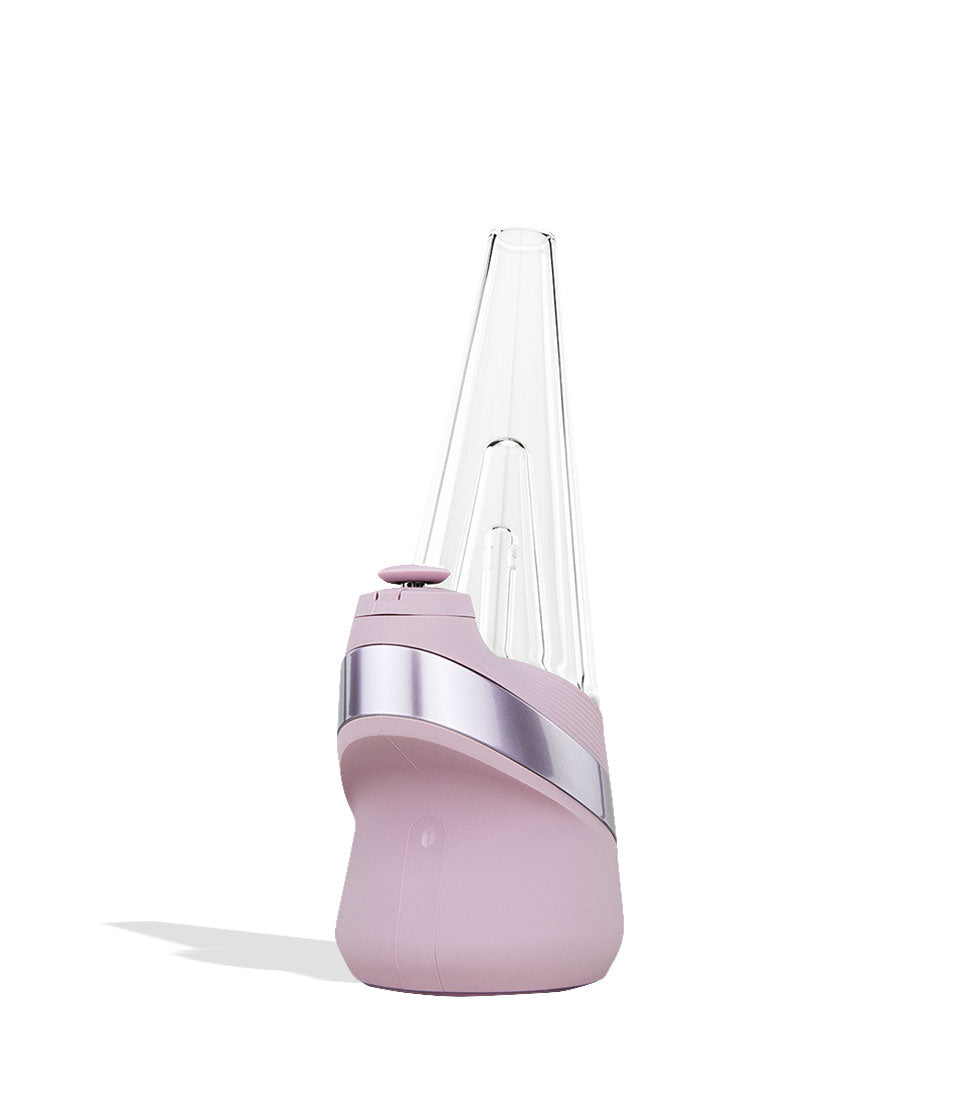
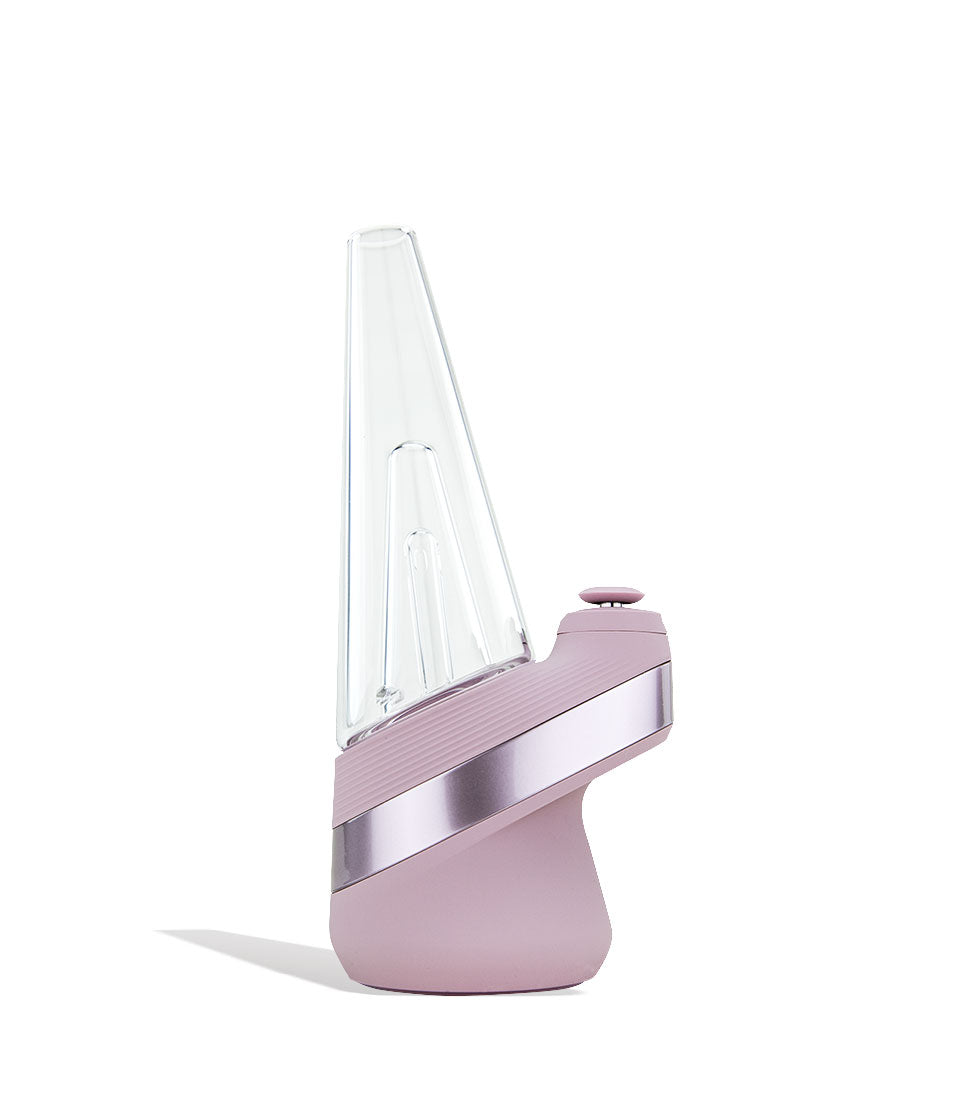
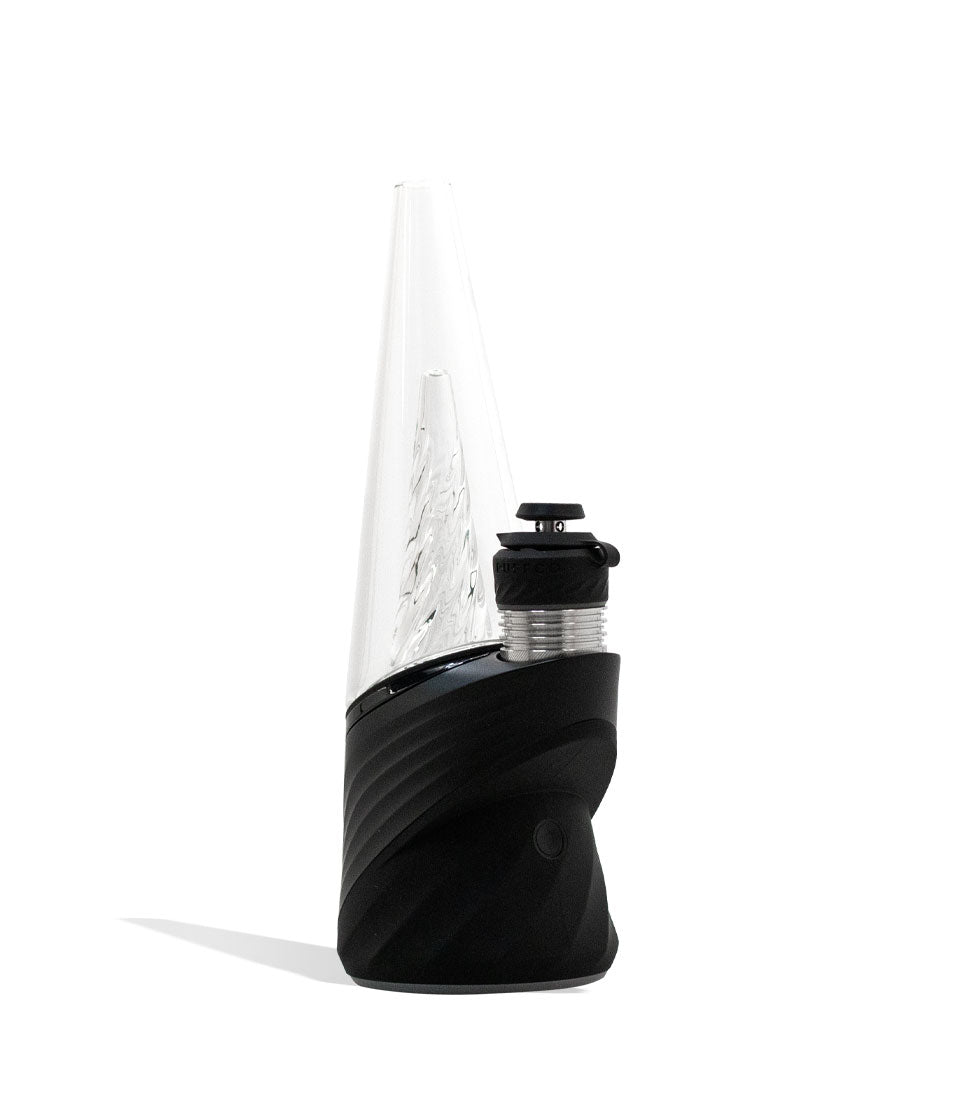
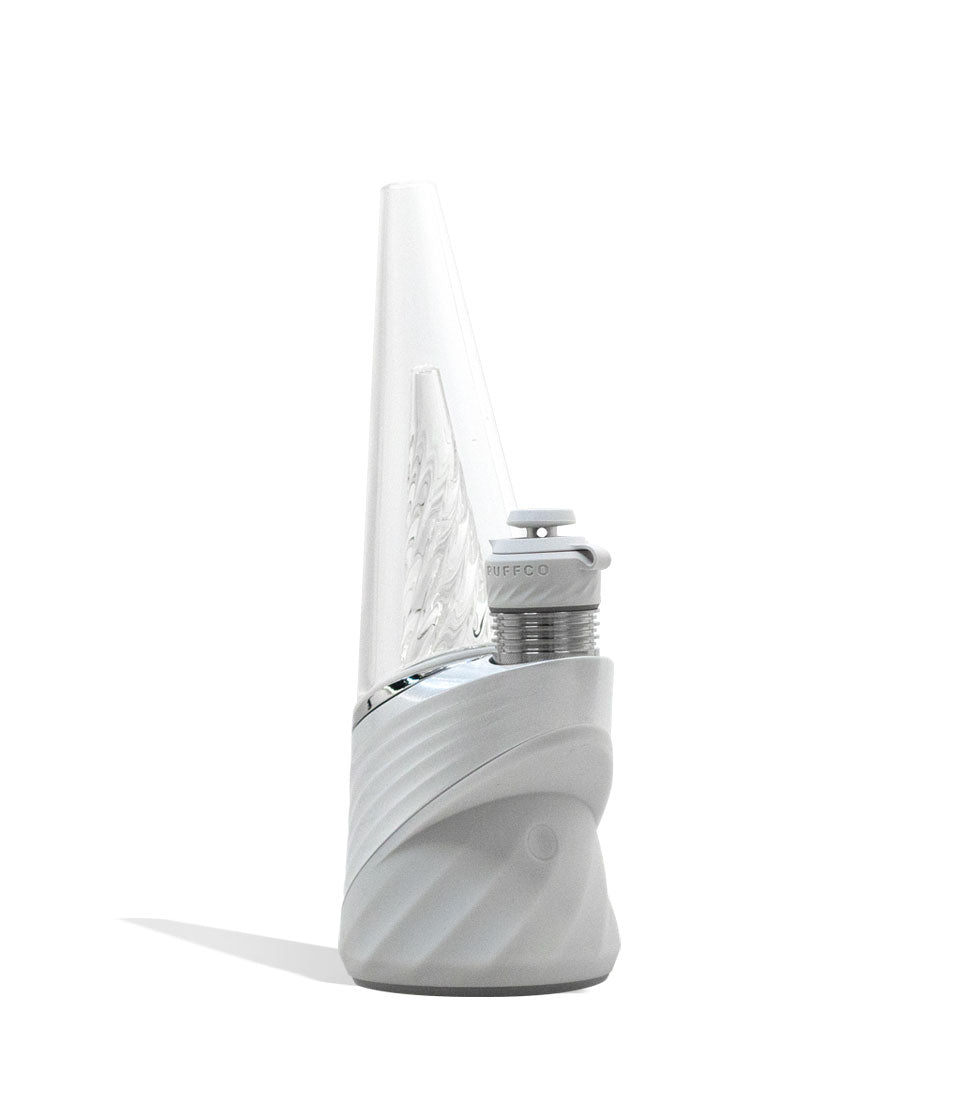
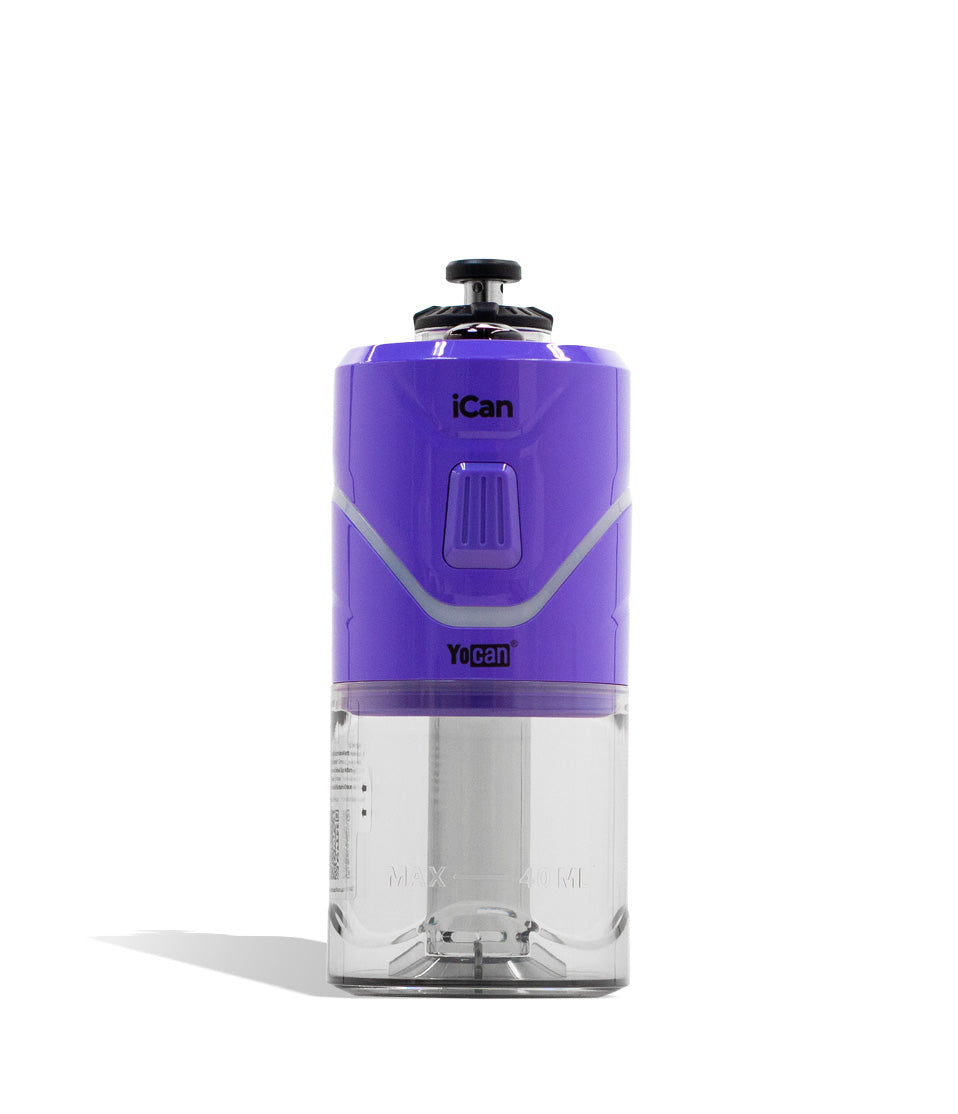
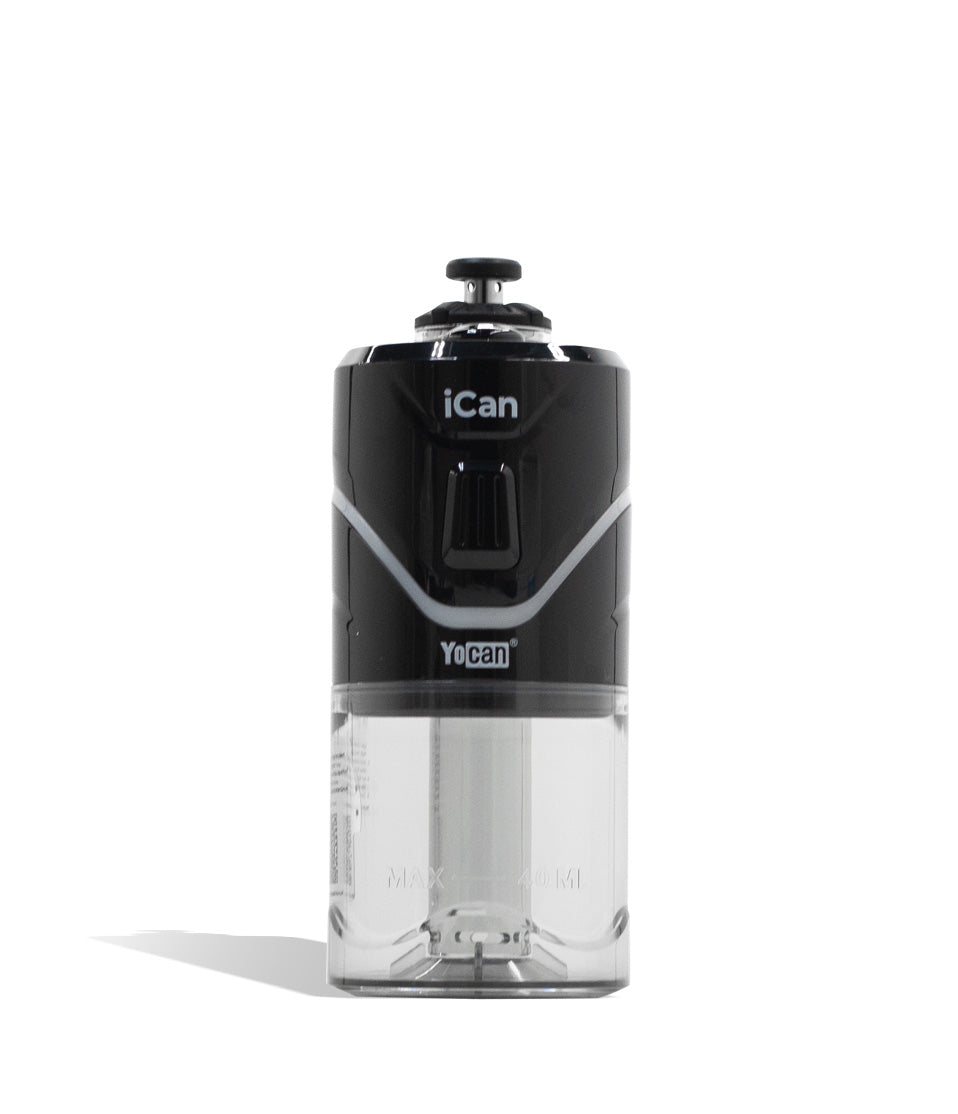
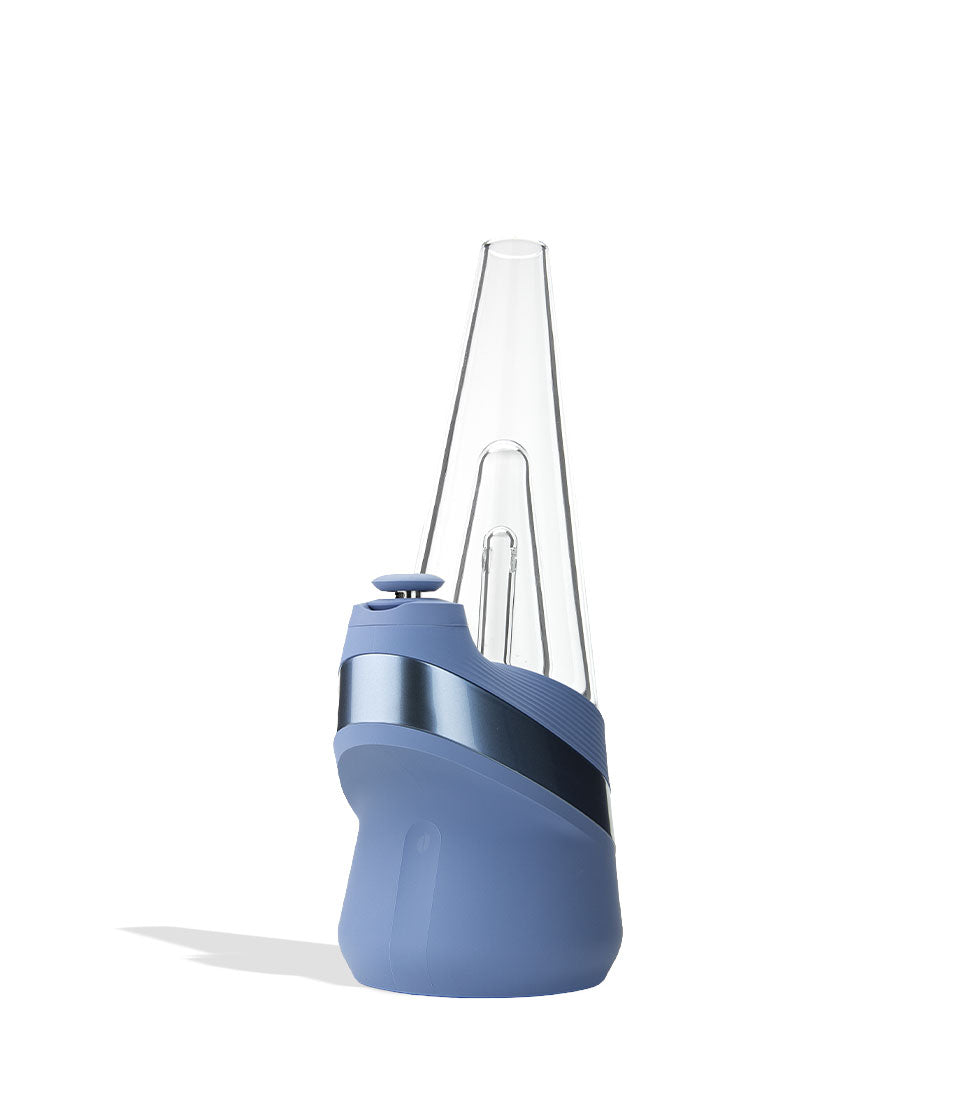
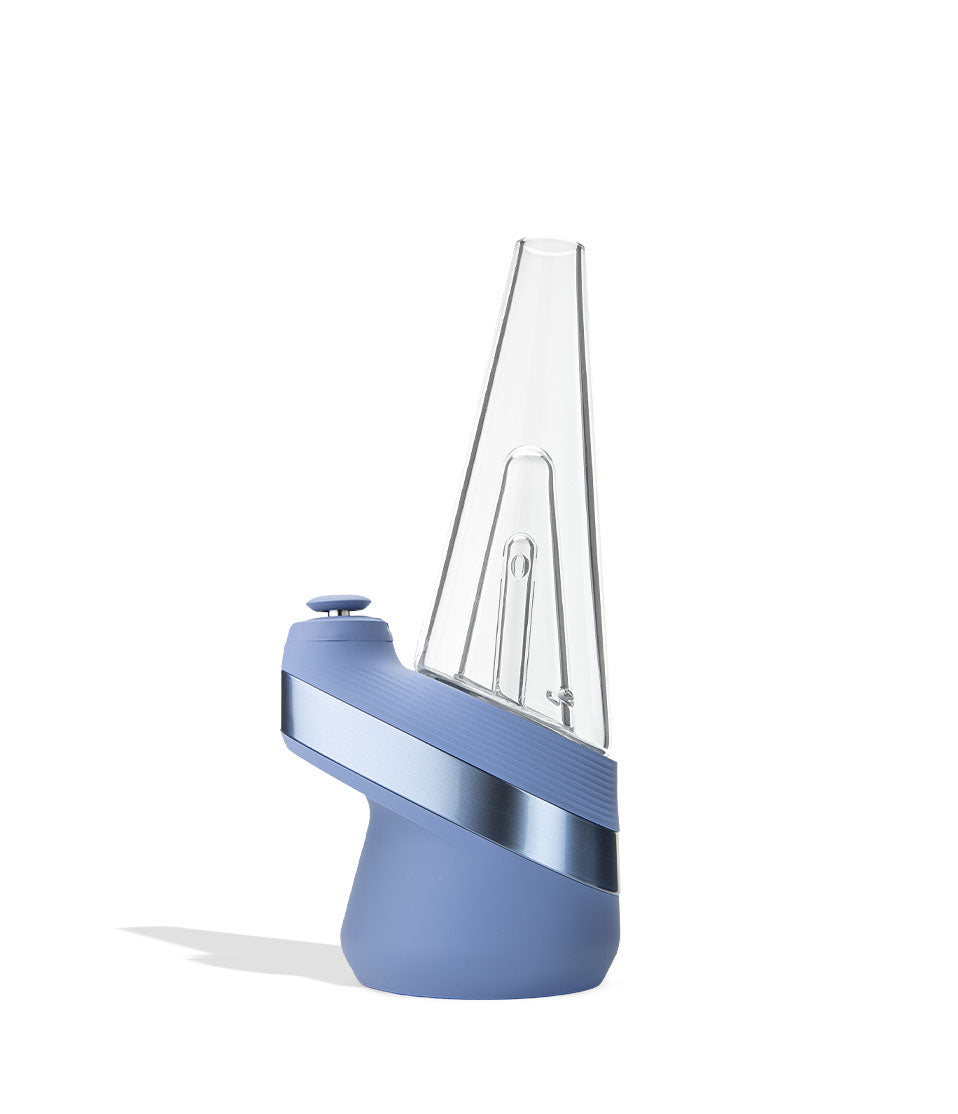
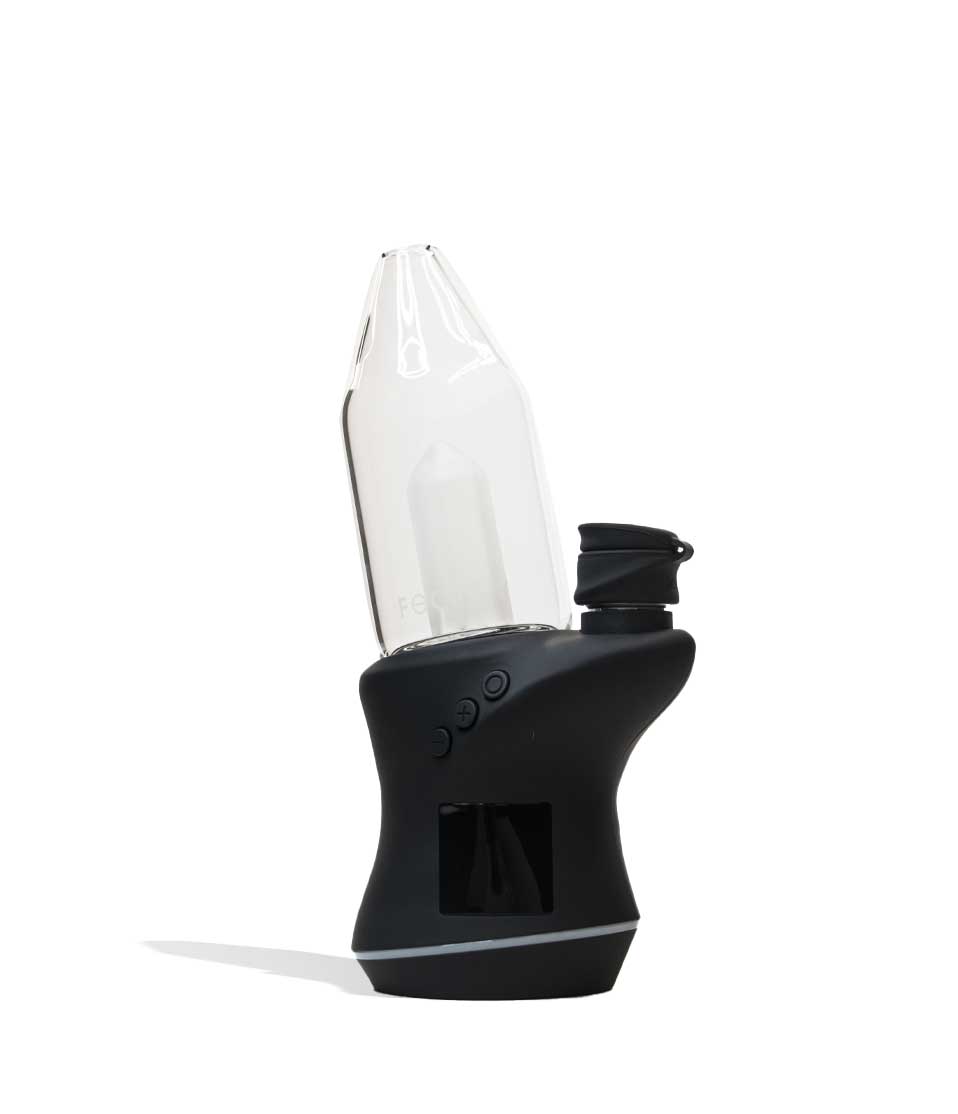
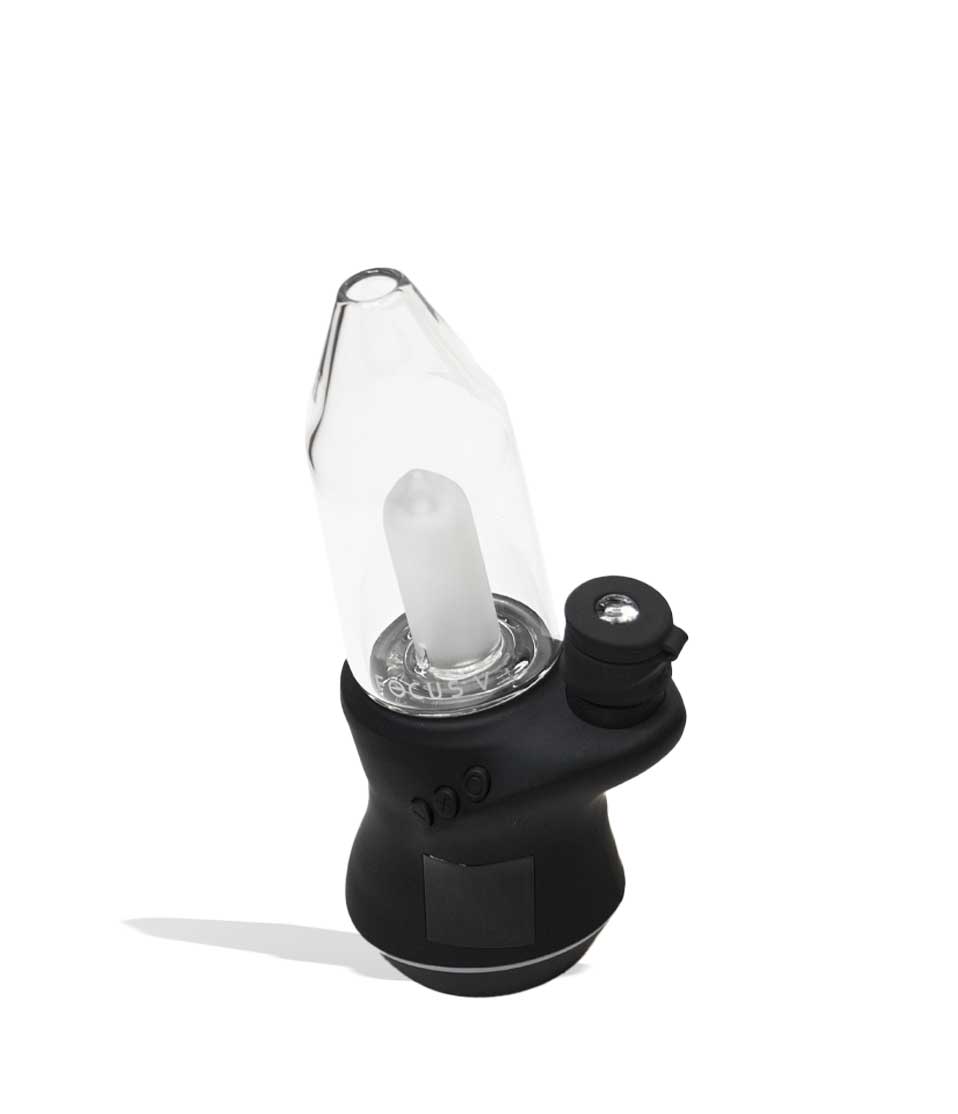
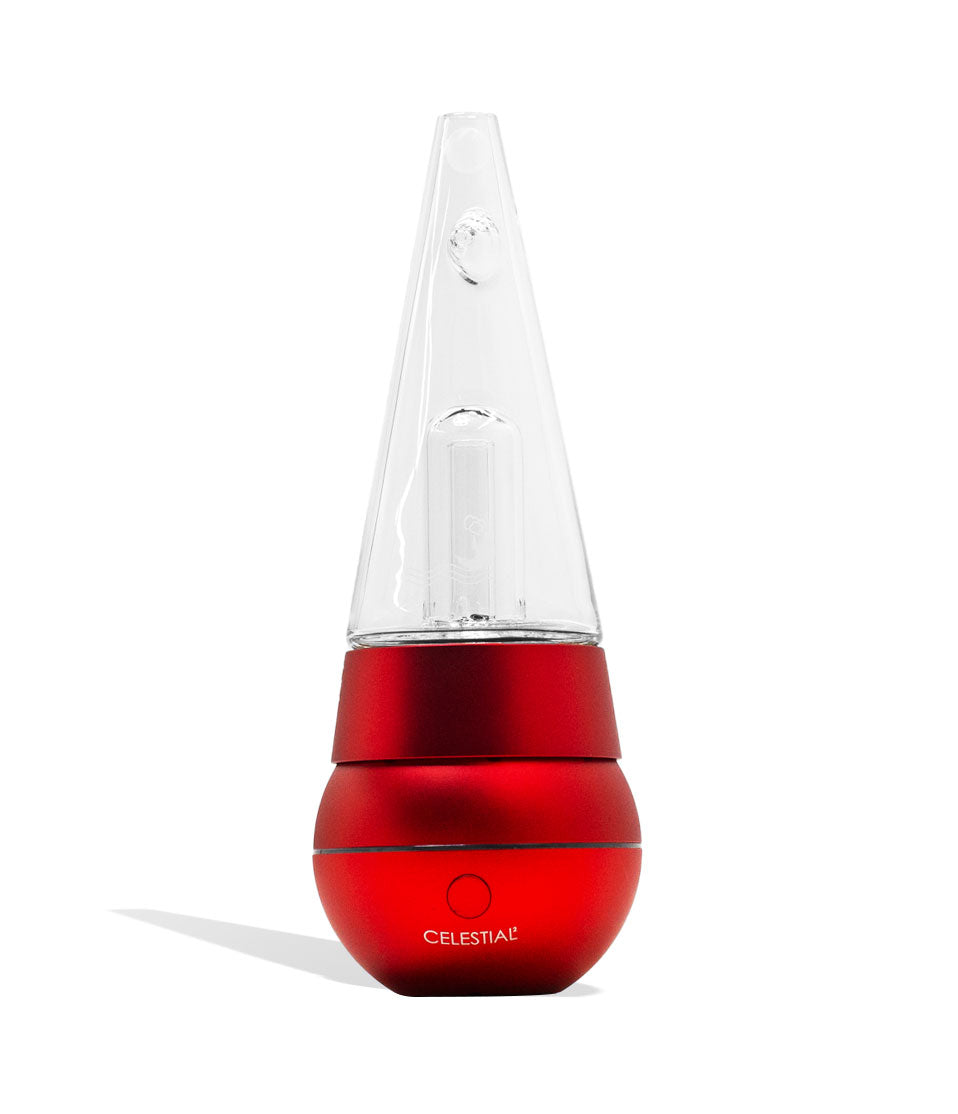
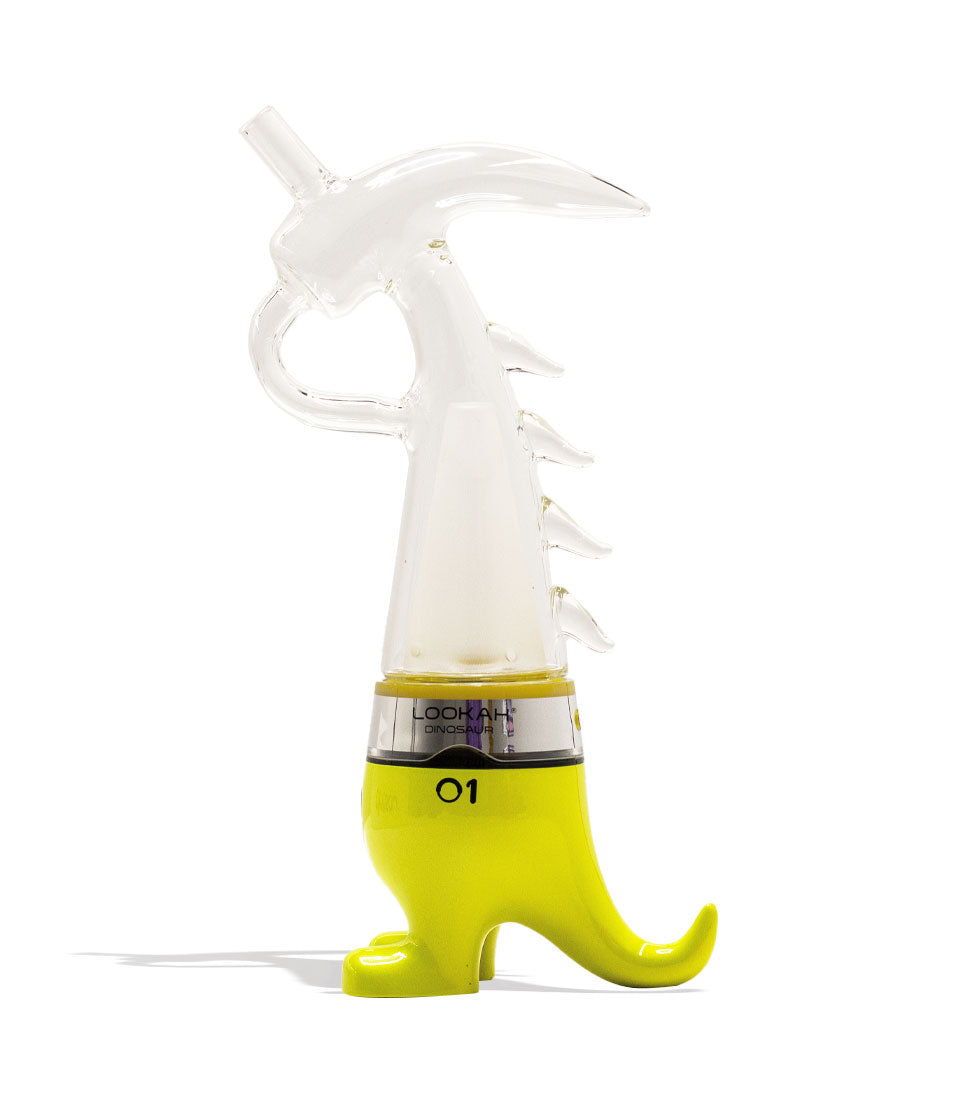
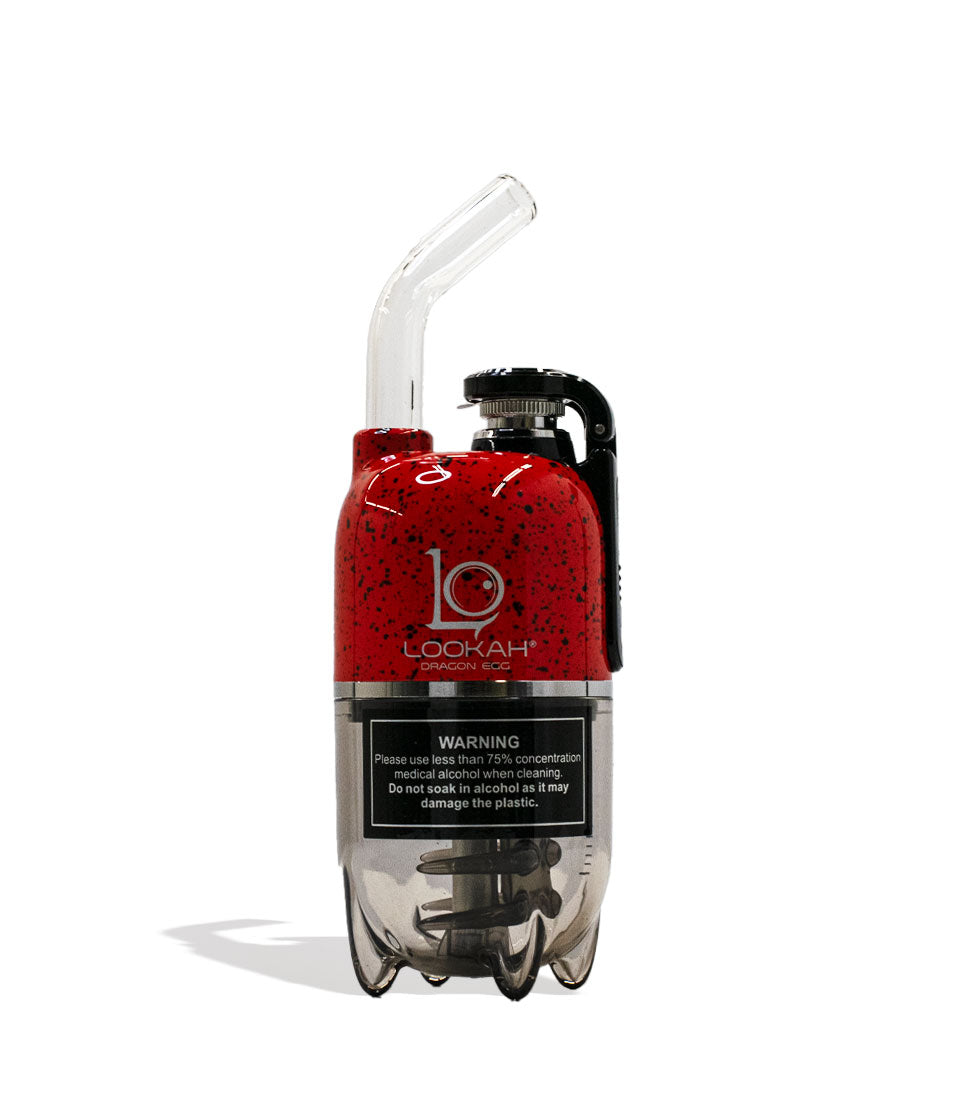
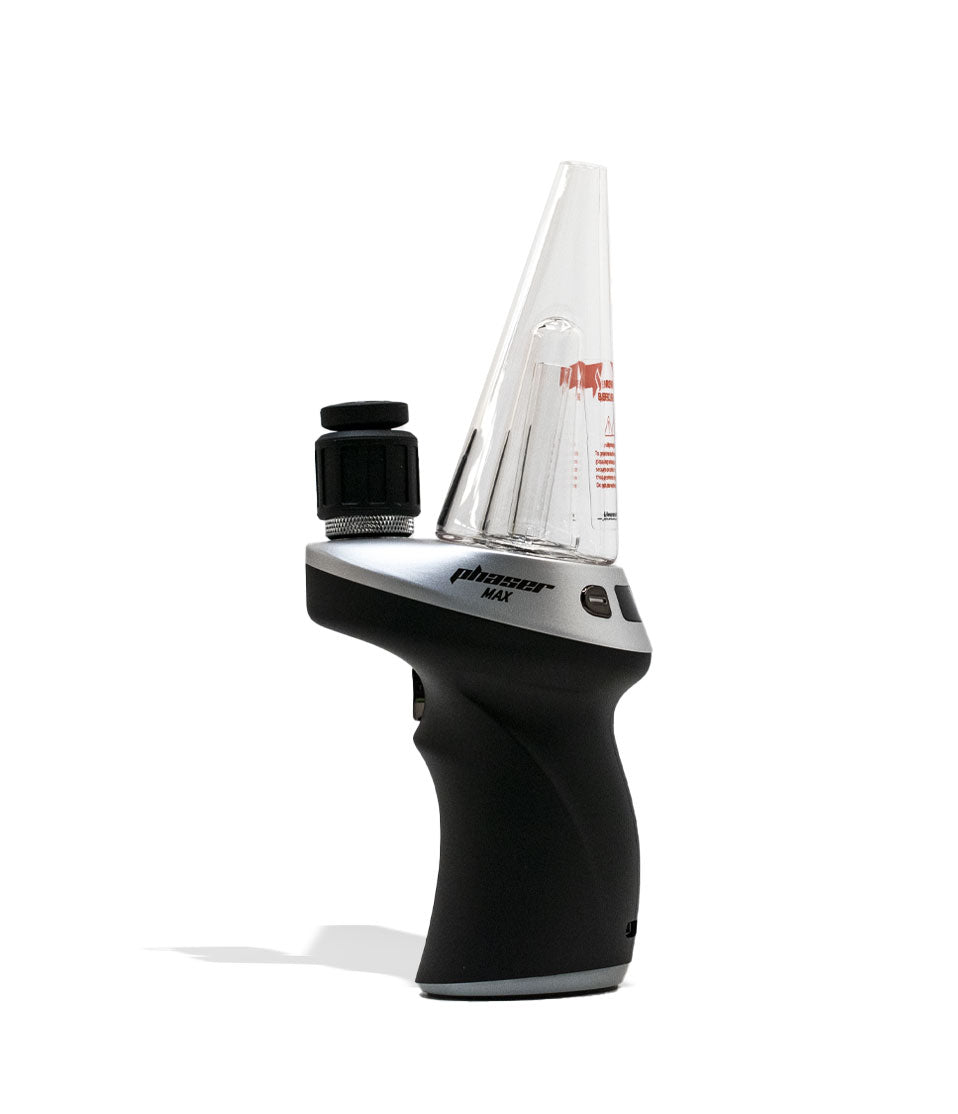
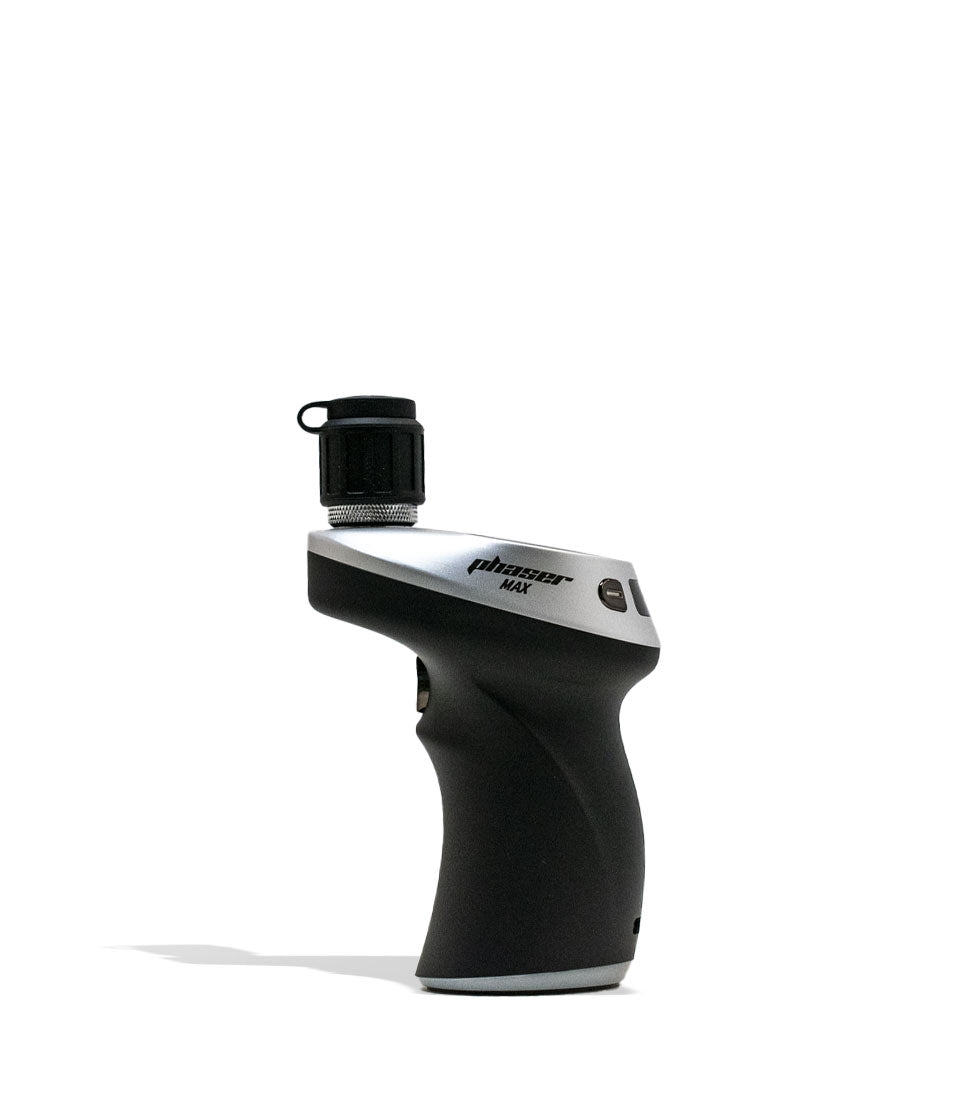
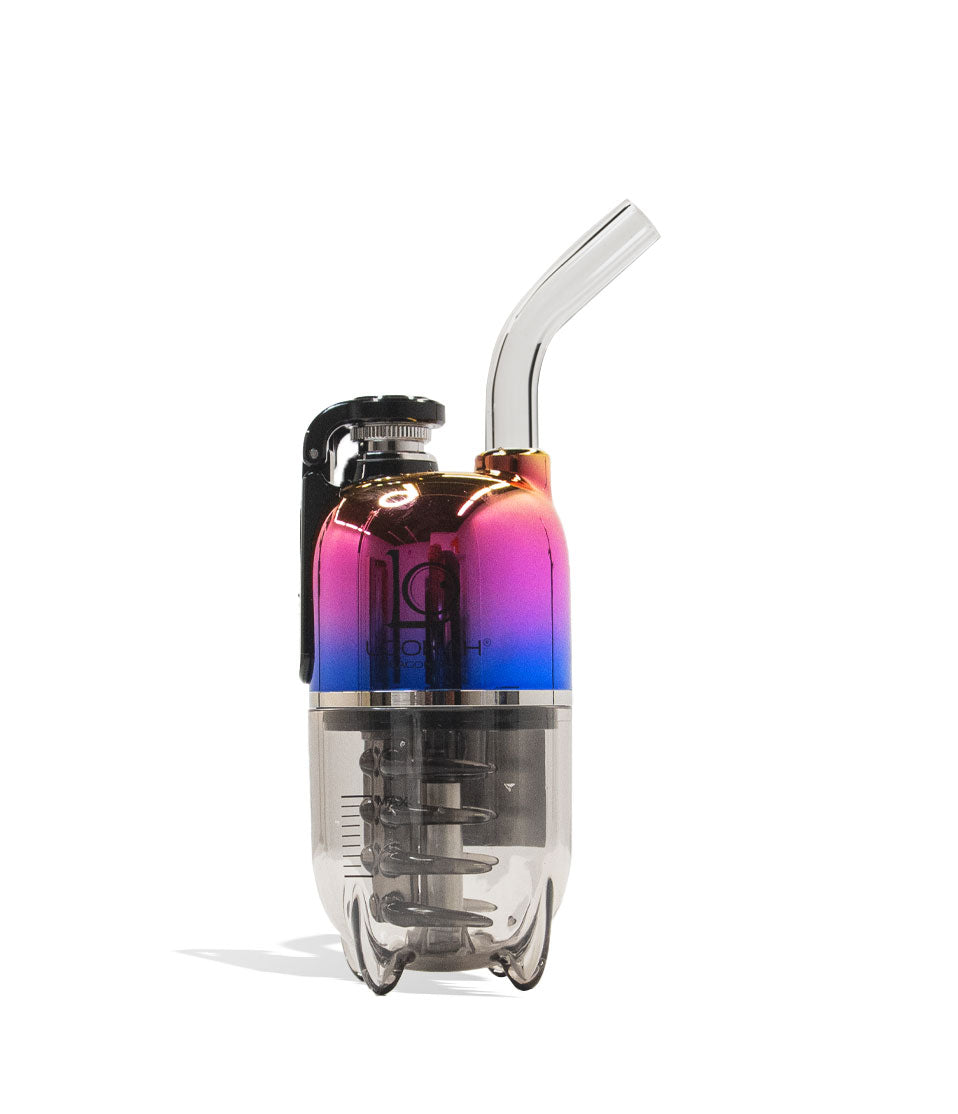
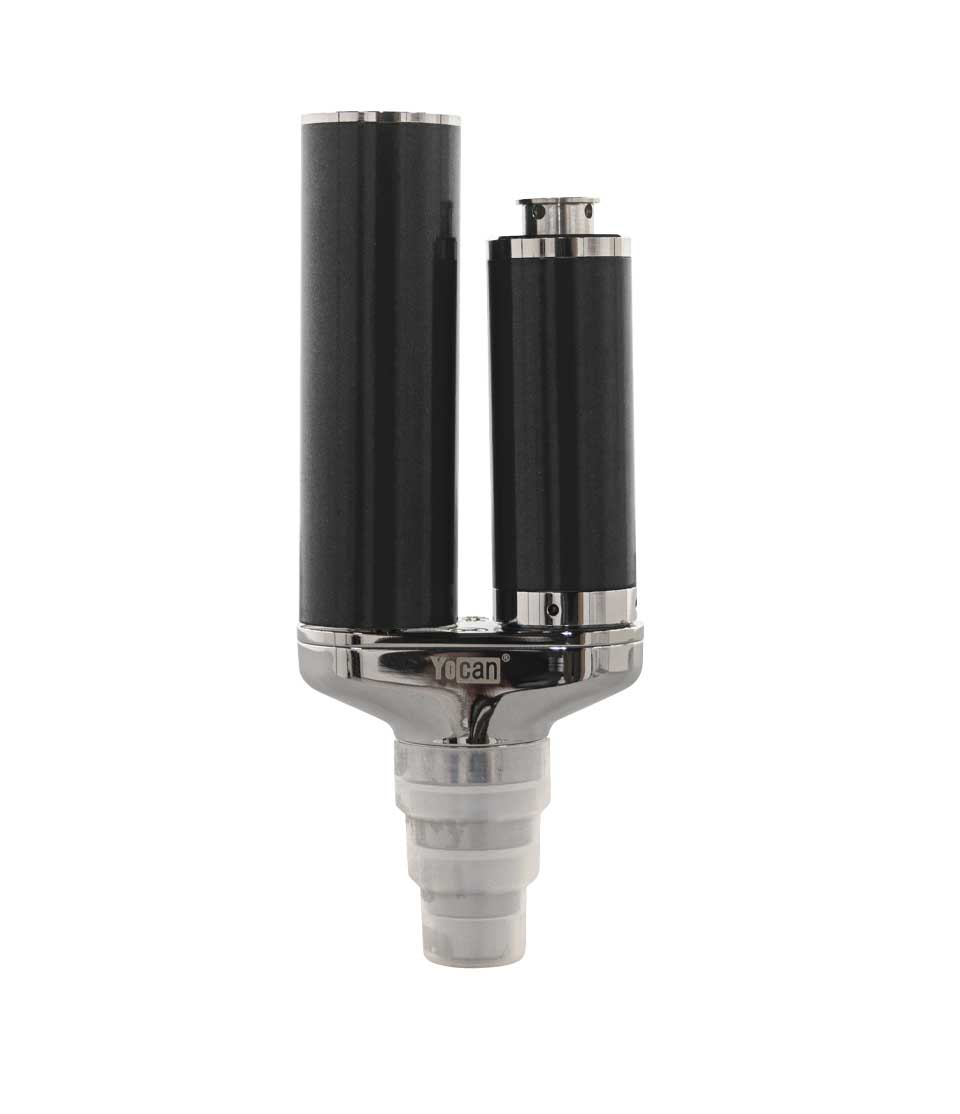
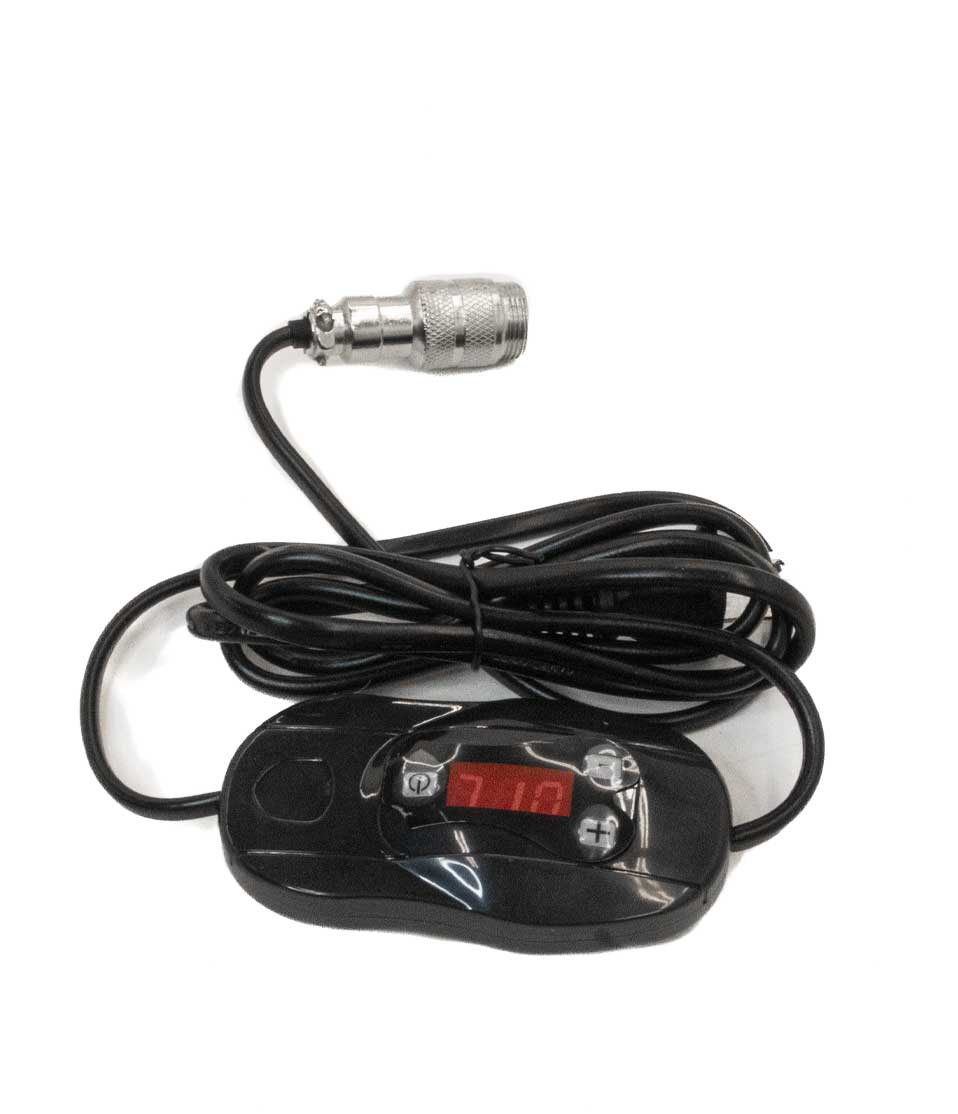
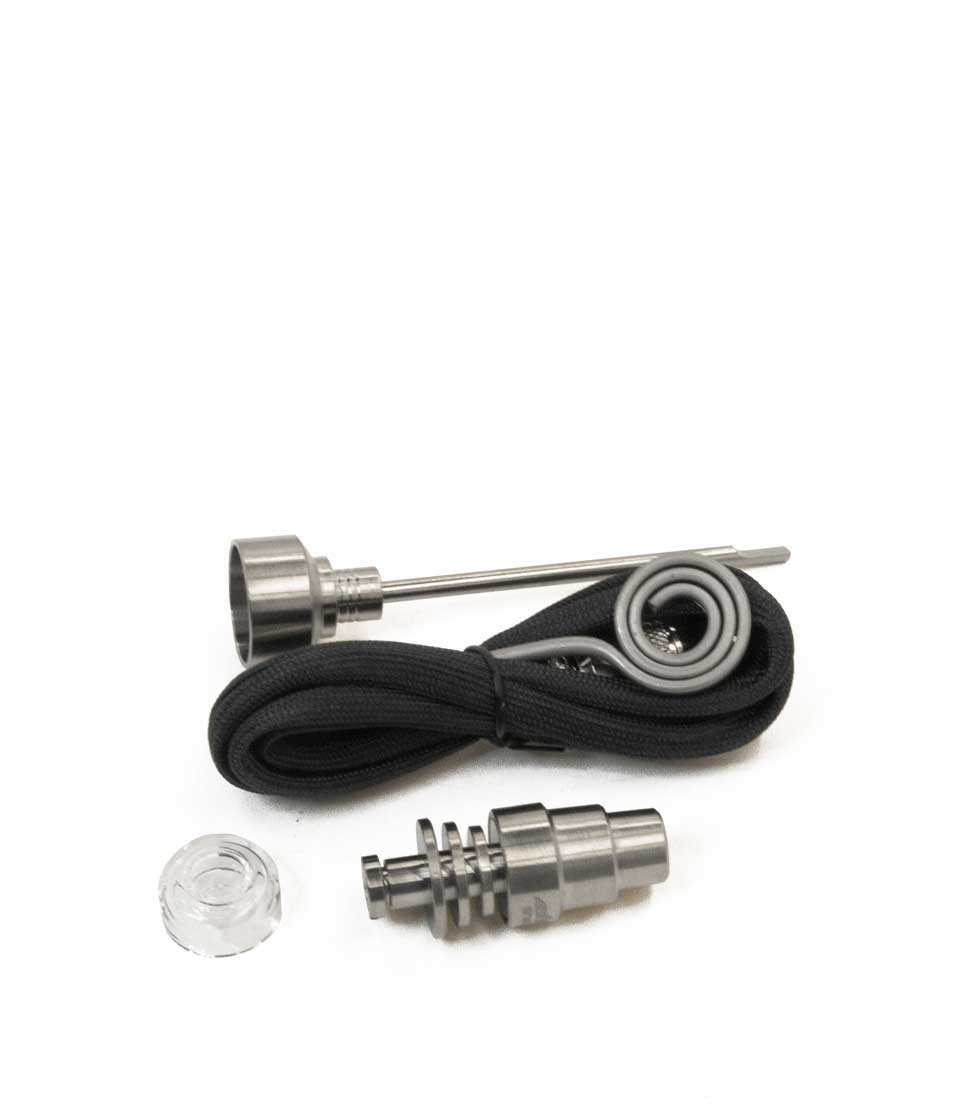
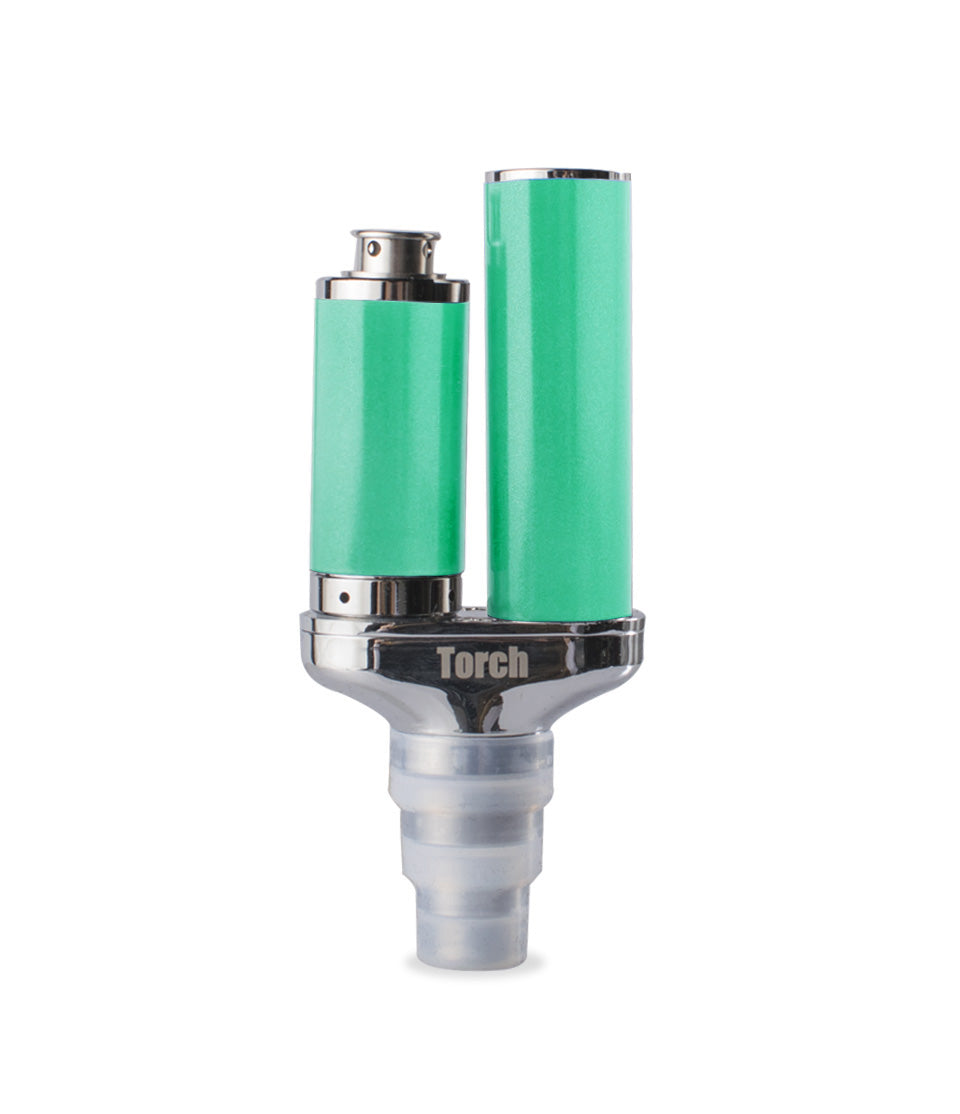
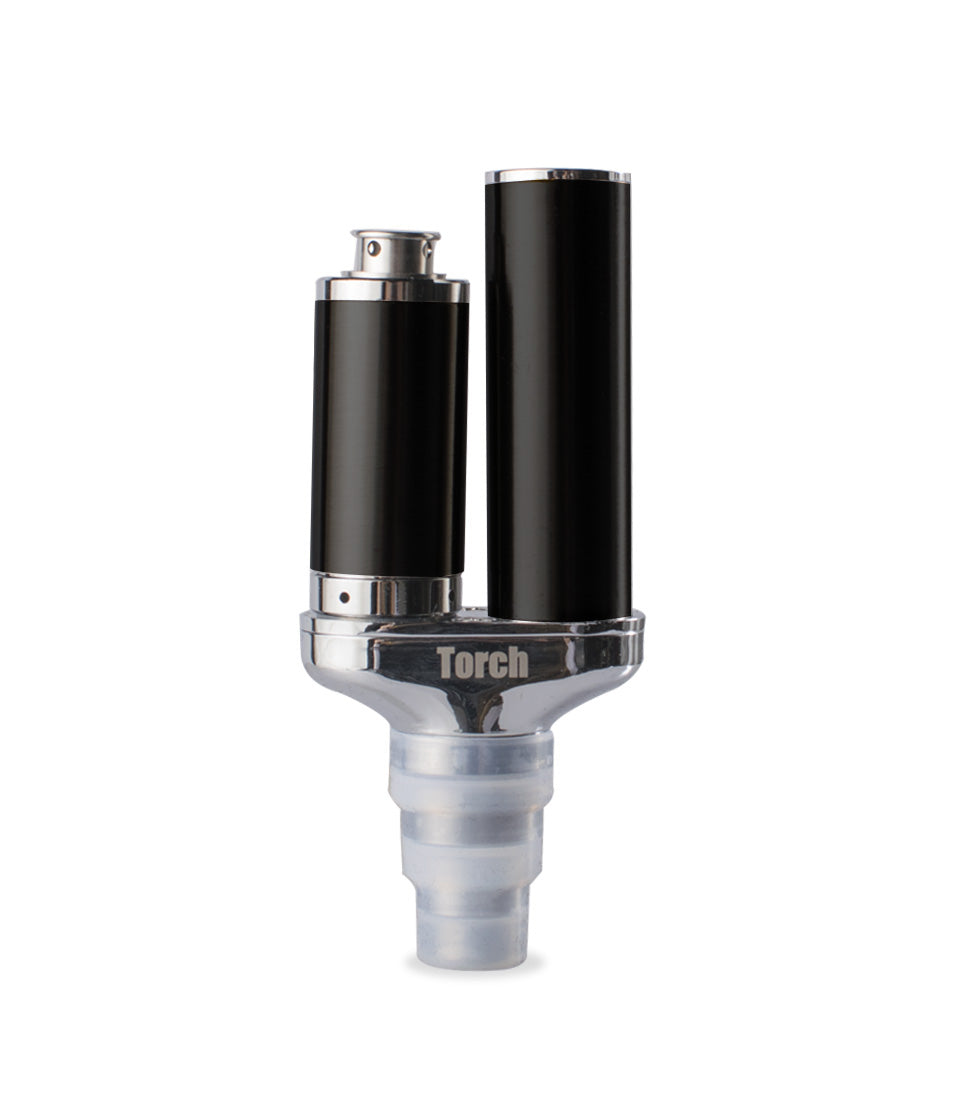
Shop Electric Dab Rigs & E-Nails
A closer look at the picks called out above.

How-To
Complete How-To
From here, the walkthrough gets specific: the product details and buying considerations that turn the summary above into an actual decision.
Keep your e-rig operating at 100% with some expert cleaning tips from your friends in the Got Vape Crew!
As the #1 method to keep your e-rig operating with mind melting potency and flavors worthy of a Michelin star chef, cleaning your electronic dab rig is an essential skill you’ll want to learn sooner rather than later.
This is because when your e-rig is clean, you get to experience vapor that’s clearer, more flavorful, and ultimately far more potent. Thus when you do notice burnt flavor, weak draw strength, or a clogged air pathway, it means that you’re in need of a clean.
Luckily for you, Got Vape has been cleaning and maintaining vaporizers and e-rigs for over 20 years now and we’ve learned a thing or two through our own trial and error. For more information on how to use your e-rig, check out our in depth guide right here.
This e-rig cleaning guide walks you through the exact process, with practical, real world tips that actually make a noticeable difference. In just a few short minutes you’ll have the expert tips to make cleaning your e-rig easy and enjoying your concentrates seamless.
Table of Contents:
E-Rig Cleaning Quick Start Guide
Why Cleaning Your E-Rig Matters
How Often Do You Clean an Electric Dab Rig?
Cleaning Tools for an E-Rig
Step 1: Power Off and Let It Cool
Step 2: Disassemble The E-Rig
Step 3: Clean The Main Components
Step 4: Clean the Vapor Path & Base Connections
Step 5: Let Everything Fully Dry
Step 6: Reassemble and Run a Burn-Off Cycle
Quick Cleaning vs. Deep Cleaning
Common Cleaning Mistakes to Avoid
Keep Your E-Rig Fresh in 2026
E-Rig Cleaning Quick Start Guide
Before we dive into our sticky icky step-by-step walkthrough on cleaning your E-Rig, here is a quick overview table outlining the essential steps to clean and maintain your set up like a professional dabber.
| STEP | ACTION | HOW TO | PRO TIP |
|---|---|---|---|
| 1 | Power Off | Power off the e-rig base and allow the chamber to cool completely (10-15 mins). | Swab out leftover wax immediately after your hit while the chamber is still warm. |
| 2 | Disassemble | Detach the glass bubbler, remove the chamber/atomizer, and take off tether caps. | Place small components on a tray or towel so tiny carb cap tethers don’t roll away or get lost. |
| 3 | Swab & Soak | Swab chamber walls with damp ISO cotton swabs. Soak removable glass/metal parts in ISO. | Keep swabs damp, not dripping wet! Never pour isopropyl alcohol directly into the battery base. |
| 4 | Clean Airway | Scrub down connection threads, air pathways, and glass joint seats with ISO swabs. | Remove rubber O-rings and silicone tethers before soaking glass or metal parts in alcohol. |
| 5 | Dry Thoroughly | Let all cleaned parts sit on a paper towel until 100% dry (30-60 mins). | Deep clean at night and let parts dry completely to guarantee zero alcohol moisture remains. |
| 6 | Enjoy! | Put parts back together and get ready for ultra smooth clouds with maximized potency. | With the hard work behind you, now is the time to enjoy the fruits of your labor and put your feet up with some dabs! |
Why Cleaning Your E-Rig Matters
While it almost goes without saying, concentrates leave behind sticky reclaim resin, dark wax pools, and other fun buildup that accumulates quickly when left unattended.
As part of the natural process of vaporizing wax, this isn’t something that you can prevent, but instead a process you have to deal with. As every force has an equal and opposite reaction, this reclaim is simply the price to be paid for enjoying sky high dabs (A trade off we’ll gladly accept!).
Without regular maintenance, even the best e-rigs start to underperform and fade from glory. Over time this can lead to more serious issues with your heating element and battery base, eventually resulting in your e-rig becoming an expensive paperweight.
In general, a dirty e-rig leads to:
• Harsh or burnt concentrate flavor
• Reduced vapor production
• Restricted draw resistance and clogged air paths
• Uneven heat distribution across your 3D chamber
• Shortened atomizer connection and battery lifespan
Maintaining an electric dab rig is just as important as choosing the right one, as even the best e-rigs available will not be able to operate at 100% efficiency when gunked up beyond all recognition.
How Often Do You Clean an Electric Dab Rig?
One of the most common questions and debates surrounding dabbing is how often do you actually need to clean an e-rig, with the answer depending more on how frequently your ripping dabs than anything else.
In general, we recommend that you swab out the chamber bucket with a cotton swab right after each session while the bowl is still slightly warm. This keeps liquid wax from baking into dark stains and gives you a clean slate to taste your terpenes in their purest form.
For moderate to heavy seshing, toss in a deep clean every couple of weeks in order to ensure sticky reclaim buildup doesn’t accumulate inside the air paths or base connection seat. However, if you notice tight draws or stale flavors emanating from your rig, go straight for the clean.
Cleaning Tools for an E-Rig
You don’t need anything complicated to clean your electric dab rig, but there are a few essentials that make achieving the best results quick and effortless. These will make sure you’re not banging your head against the wall and actually have what you need for maintenance.
Essential cleaning tools for E-Rig maintenance:
- Isopropyl alcohol (91% or higher recommended)
- Cotton swabs / q-tips (pointed-tip swabs work great for corners)
- Paper towels or microfiber cloth
- Warm water
- A small glass dish or sealable bag (for soaking non-electronic metal/glass components)
While simple, these tools produce consistent results. All of them can be acquired from a pharmacy, big box store, or right here online at Got Vape. With good tools never far away, there’s no excuse not to give your chamber a fresh scrub a dub dub!
Step 1: Power Off
Start by first powering off your e-rig battery and allowing the atomizer chamber to cool down. Never attempt to clean your atomizer while the device is actively heating, as this can cause burns or damage internal electronics.
Instead, power off your rig, wipe out any fresh wax, and allow things to fully cool off before proceeding with other cleaning materials like isopropyl alcohol that contains moisture.
Make sure to always let your chamber fully cool for around 10 to 15 minutes after a session before breaking out these heavy duty cleaning tools, as this helps protect your chamber from accidental damage.
Step 2: Disassemble The E-Rig
Next up it’s time to take apart all removable components from your e-rig, including the glass top attachment, heating chamber/atomizer, carb cap, silicone tether sleeves, and other various pieces.
This allows you to inspect all parts individually and actually access the narrow paths where reclaim collects, instead of being locked out from the inside and unable to reach the real danger zones.
We recommend placing all of these small parts in a tray or on a towel so nothing rolls away / gets lost in the process. There’s nothing worse than finishing a deep clean only to realize your custom glass carb cap has mysteriously disappeared into a black void.
Instead keep track of all your various e-rig components and where they go, this way when it comes time for reassembly you’re not left scratching your head trying to figure out what goes where.
Make sure to carefully detach the glass from your e-rig base and pour the old water out into a sink. Never pour water near the electronic connection housing on the bottom of the glass, as moisture can splash in and cause issues.
Step 3: Clean The Main Components
The two main areas you want to focus on when cleaning any e-rig is the chamber and the glass top / basin. This is because the concentrate reclaim that ends up in these spots has the most outsized impact on overall session quality, making them essentials to clean.
For quick cleans of your glass, rinse with warm tap water. For deep cleans, pour a small amount of isopropyl alcohol into the glass, cover the openings, and shake gently until sticky reclaim dissolves from the internal percolator slits.
Rinse thoroughly with warm water afterwards. If any sticky spots remain, use a swab with some isopropyl alcohol to remove leftovers by spot washing. With a little bit of targeted cleaning, your glass will be back to 100% in no time.
When it comes to cleaning your e-rig chamber, things get a bit more complicated. As these components actually have internal workings and electric connections, you’ll want to be extra careful here.
To clean your chambe dampen a cotton swab with isopropyl alcohol, squeezing out any excess liquid so it isn’t dripping wet, and gently swab the inside walls, connections, and exterior of your chamber.
Got Vape Crew Chamber Cleaning Tips:
- Hold the chamber upside down while swabbing so alcohol cannot drip into the base pins.
- Never pour or spray liquid alcohol directly into the electronic connection points.
- Avoid aggressive scraping with sharp metal tools that could scratch chamber walls.
- Use light, controlled circular motions.
- Take your time and swap out dirty cotton swabs as needed.
After you’ve cleaned these parts, make sure to always leave plenty of time for everything to completely dry. You don’t want any moisture left in your chamber, as this can mess with your dabs and cause splash back.
Step 4: Clean the Vapor Path & Base Connections
Vapor paths and electronic contact pins affect connection reliability and airflow more than most people realize. In face, ultra fine reclaim can seep beneath the chamber housing to create stubborn clogs or prevent power delivery.
Base connections can end up getting really dirty overtime, with the worse cases popping up on reddit looking like someone poured a bottle of honey into them, so make sure to always check these areas out while cleaning.
To keep things clean, scrub down the contact pins on both the battery base and the bottom of the atomizer using isopropyl alcohol swabs or wipes. Then gently clean out the air intake hole on the battery base where vapor travels into the glass.
Remember to always remove silicone gaskets, rubber O-rings, and tether parts before isopropyl alcohol soaks, as alcohol can degrade flexible materials like these over time. Instead, wash silicone parts separately in warm, soapy water for the best results.
Step 5: Let Everything Fully Dry
Once you’ve cleaned all parts of your electric dab rig, you MUST leave ample time for every component to dry COMPLETELY.
There’s no rushing this step. If alcohol or water remains in the chamber connection or air path when you turn the device back on, you risk short circuiting internal electronics or inhaling harsh fumes.
We recommend leaving parts to dry on a paper towel for at least 30 to 60 minutes. For ourselves, we tend to deep clean our e-rigs at night, before letting them sit out to dry overnight as an extra precaution.
Step 6: Reassemble and Enjoy!
Once every piece is bone dry and free of moisture, it’s time for you to reassemble your electric dab rig. Take your time, as you don’t want to force fit a tight glass connection or bend delicate contact pins.
In general with vaporizers, if something feels off while reassembling, it is. When dealing with airtight seals and precise parts, if you encounter any type of resistance make sure to stop and double check you’ve got everything lined up correctly.
As a general tip, before loading fresh concentrates, run a one minute “burn off” cycle by turning your device on to a medium heat setting with an empty chamber. This burns off any microscopic isopropyl residue or leftover moisture.
Once the burn off is complete, let it cool down slightly, load your favorite wax, and enjoy clean, flavorful hits from your newly cleaned e-rig!
Quick Cleaning vs. Deep Cleaning
Not every session requires a full breakdown. Instead you can break down cleaning your e-rig into two distinct categories: quick cleaning and deep cleaning.
Quick Cleaning (After Each Hit/Session):
- Swab out leftover liquid oil from the chamber bucket with a dry cotton swab while warm.
- Empty stale water from the glass bubbler at the end of the day.
- Wipe the carb cap and mouthpiece tip if needed.
Deep Cleaning (Every Couple Of Weeks):
- Full device disassembly.
- Isopropyl alcohol swabbing of contact pins, base housing, and air intake holes.
- Soaking glass attachments, metal carb caps, and removable 3D chambers in alcohol.
- Running an empty burn-off heat cycle.
Staying consistent with quick swabs after sessions dramatically reduces how often you need to perform heavy deep cleans, so always keep a pack of cotton swabs right at your dabbing station.
Common Cleaning Mistakes to Avoid
Even seasoned concentrate enjoyers can make a misstep during maintenance. The point isn’t to beat yourself up, but to learn the right techniques and keep your gear running smooth.
Top e-rig cleaning mistakes to avoid:
- Drenching the battery base: Using an overly soaked swab that drips liquid alcohol down into internal circuit boards.
- Swabbing a scorching hot bucket: Attempting to swab with alcohol while the bowl is at peak temperature, causing sizzle thermal shock and burnt cotton.
- Skipping the post-cleaning burn off: Inhaling leftover alcohol vapor on your very next session, yuck!
- Using metal tools on ceramic: Scraping ceramic bucket walls with steel dab picks, causing permanent scratches.
- Rushing the drying phase: Reassembling wet atomizers before moisture has fully evaporated, triggering short-circuit light warnings.
- Leaving water in the base: Tilting the glass attachment while still full of water, accidentally spilling water into the electronic base.
Luckily, now that you’re aware of these mistakes, avoiding them is going to be far easier. So make sure to go slow, clean with purpose, and always test things out to ensure that cleaning your e-rig goes as smooth as the vapor you’ll be enjoying post-clean.
Keep Your E-Rig Fresh in 2026
Understanding how to clean an e-rig isn’t just about routine maintenance, it’s about getting the absolute best flavor, efficiency, and potency that you deserve out of your concentrates every single time you load a dab.
So do yourself and your e-rig a favor by staying on top of cleaning! Trust us when we say it’ll pay off with better flavor, stronger potency, and a far longer lasting e-rig.
For more expert breakdowns and session guides, make sure to check out the rest of the postings at the Got Vape Resource Center! Until next time, stay cloudy, y’all!
Frequently Asked Questions
How-To FAQs
Quick answers to what shoppers usually ask before putting this guidance to use.
Why Is My E-Rig Flashing An Error Light After Cleaning It?
How Do You Remove Stubborn Dark Stains From A Ceramic Chamber Bucket?
Can Water Damage An E-Rig Battery Base During Cleaning?
Should I Swab My E-Rig Chamber After Every Hit?
Got Vape Trust Center
About This Resource
Here's a look at who put this guide together, how it was fact checked, and how the Got Vape team keeps it current.
Editorial Standards
- Written for shoppers, not search engines.
- Checked for accuracy and plain, practical usefulness before it goes live.
- Grounded in the manufacturer specs and product documentation we can verify.
- Revisited whenever products, regulations, or category trends shift enough to matter.
- Shaped by years of hands-on time with this gear, not just spec sheets.
- Written to help you land on the right device without the guesswork.
Research Methodology
We built this walkthrough around the actual steps, from unboxing through everyday use, based on time spent with the device and the questions people ask most.
- Hands-on product experience
- Step-by-step setup and use
- Cleaning, care, and troubleshooting
- Common questions answered
- Safe and responsible use
- Real-world use considerations
- Editorial review for clarity and accuracy
Article Information
Intended Audience
- Everyday customers
- First-time buyers
- Experienced enthusiasts
- Dry herb users
- Concentrate users
- Anyone upgrading their setup
Editorial Policy
We revisit Got Vape guides on a regular basis rather than publishing them once and walking away. If a product spec, regulation, or category trend changes enough to matter, the article gets updated and the review date moves with it.
Keep Exploring
Related Resources
A few more Got Vape guides worth a look if you want to get even more out of your setup.
Best Of List
Looking for an e-rig? Follow along with the Got Vape Crew as we highlight our top 5 electric dab rigs and hook you up with the ...
Read Resource →
How-To
Concentrate vaporizer not heating like it used to? Find out how to keep your vaporizer heating concentrates properly in this fr...
Read Resource →
How-To
Learn how often your should clean your vaporizer with Got Vape. Check out this 2026 guide to see how you can keep your vape cle...
Read Resource →
How-To
Vaporizer have weak airflow? No problem! Let Got Vape show you the insider tips on how to easily get things fixed and keep your...
Read Resource →