

Resource Center
How to Salvage Your Oil

Continue With This Resource
Got Vape Quick Brief
What You Should Know
Skim this first for the short version: the main points, the questions people ask, and what to consider before you buy.
Overview
Key Takeaways
- Sealing the old cartridge in a airtight bag before placing it in warm water keeps moisture from ever reaching the inside of the cartridge.
- Warm water loosens up the oil so it flows freely once you remove the mouthpiece and flip the cartridge over.
- A syringe is the cleanest way to extract oil if you want to use it on food, dry herb, or another cartridge instead of transferring cartridge to cartridge.
- Keep saved oil in the fridge so it hardens back up, then use a dab tool to portion it out later.
Questions This Resource Answers
- How do I get leftover oil out of an old or broken cartridge?
- What tools do I need to salvage cartridge oil at home?
- Can I transfer oil from one cartridge to another?
- How should I store salvaged oil for later use?
Recommended Products
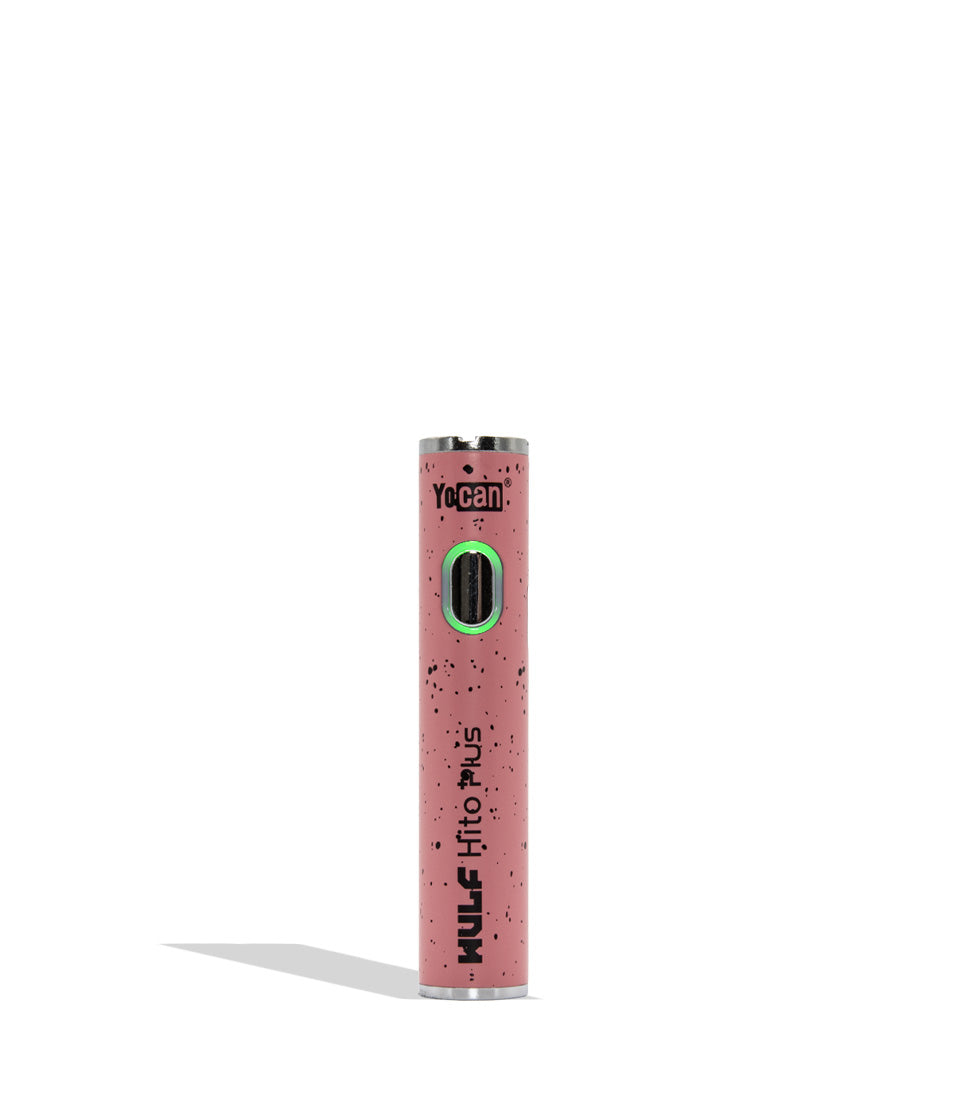
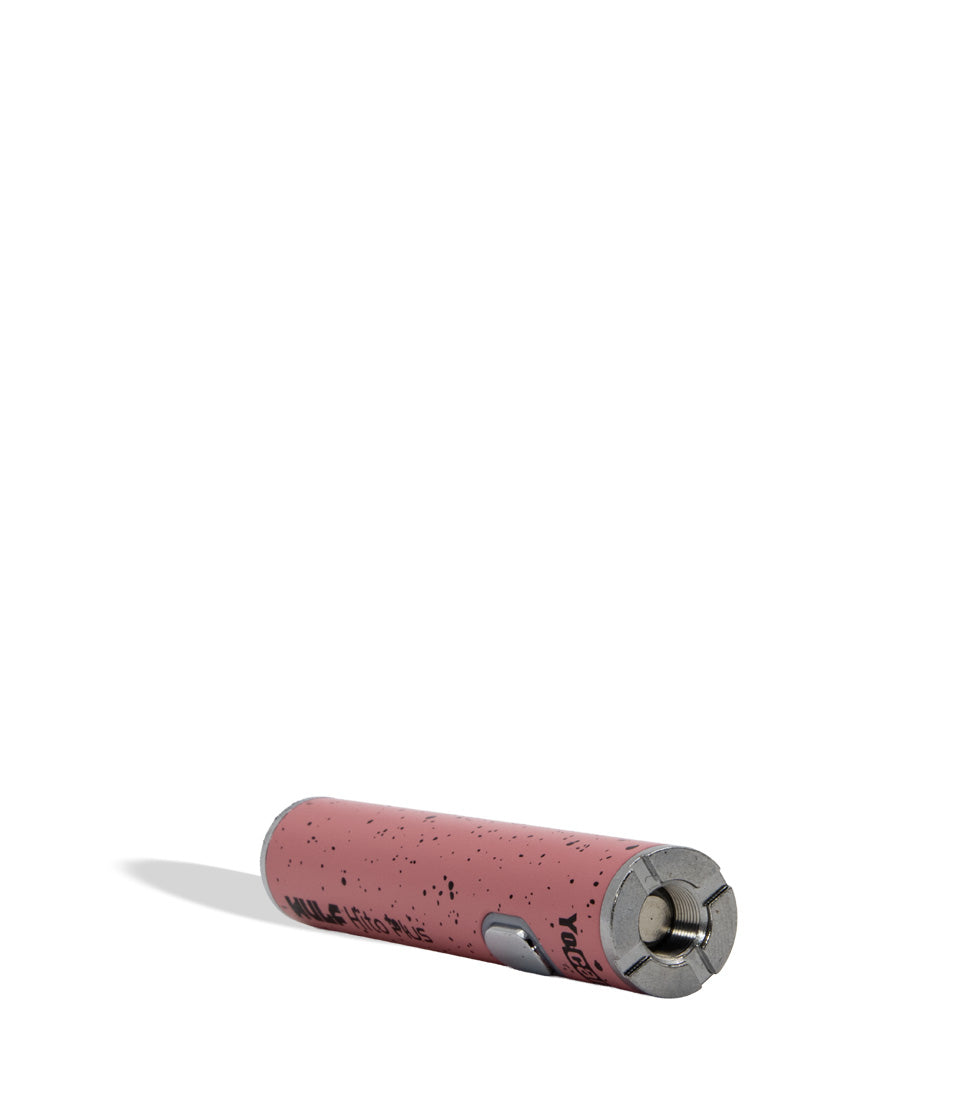
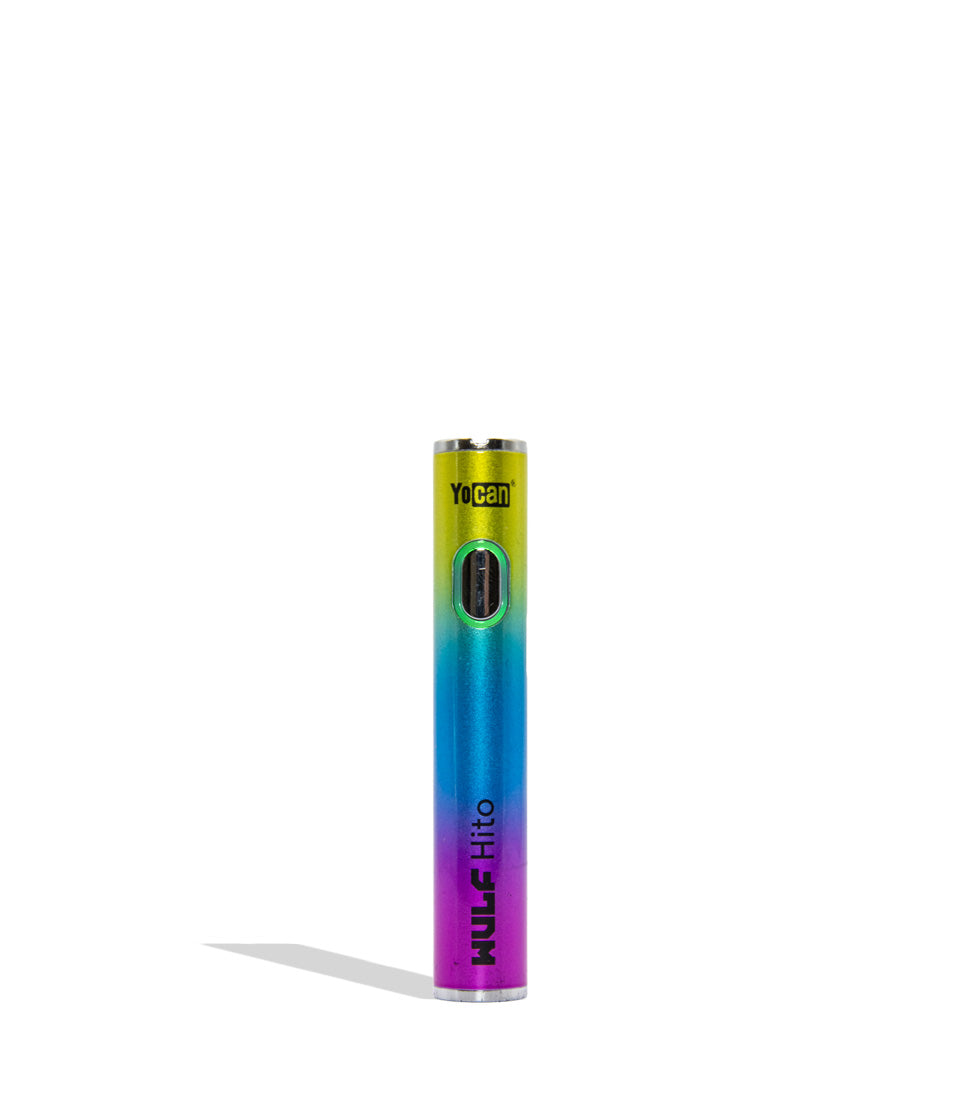
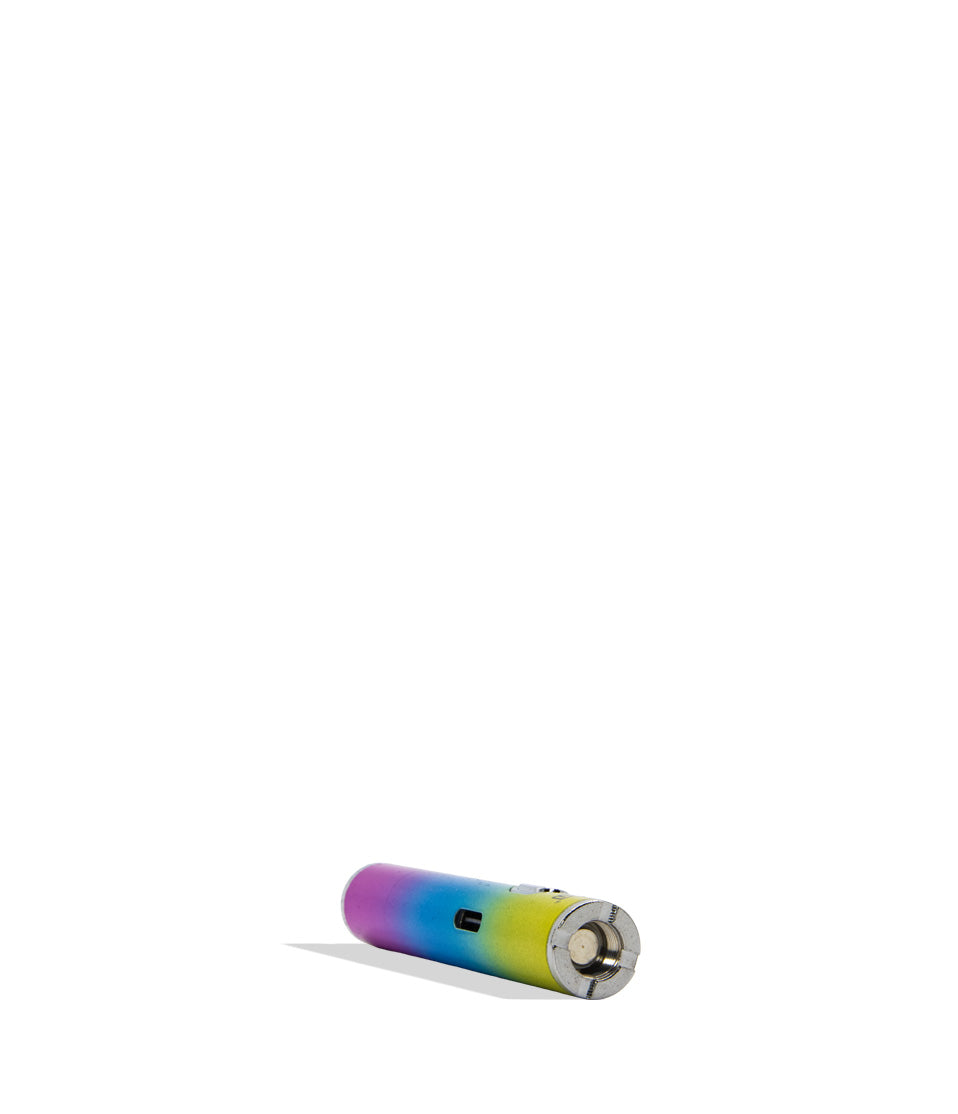
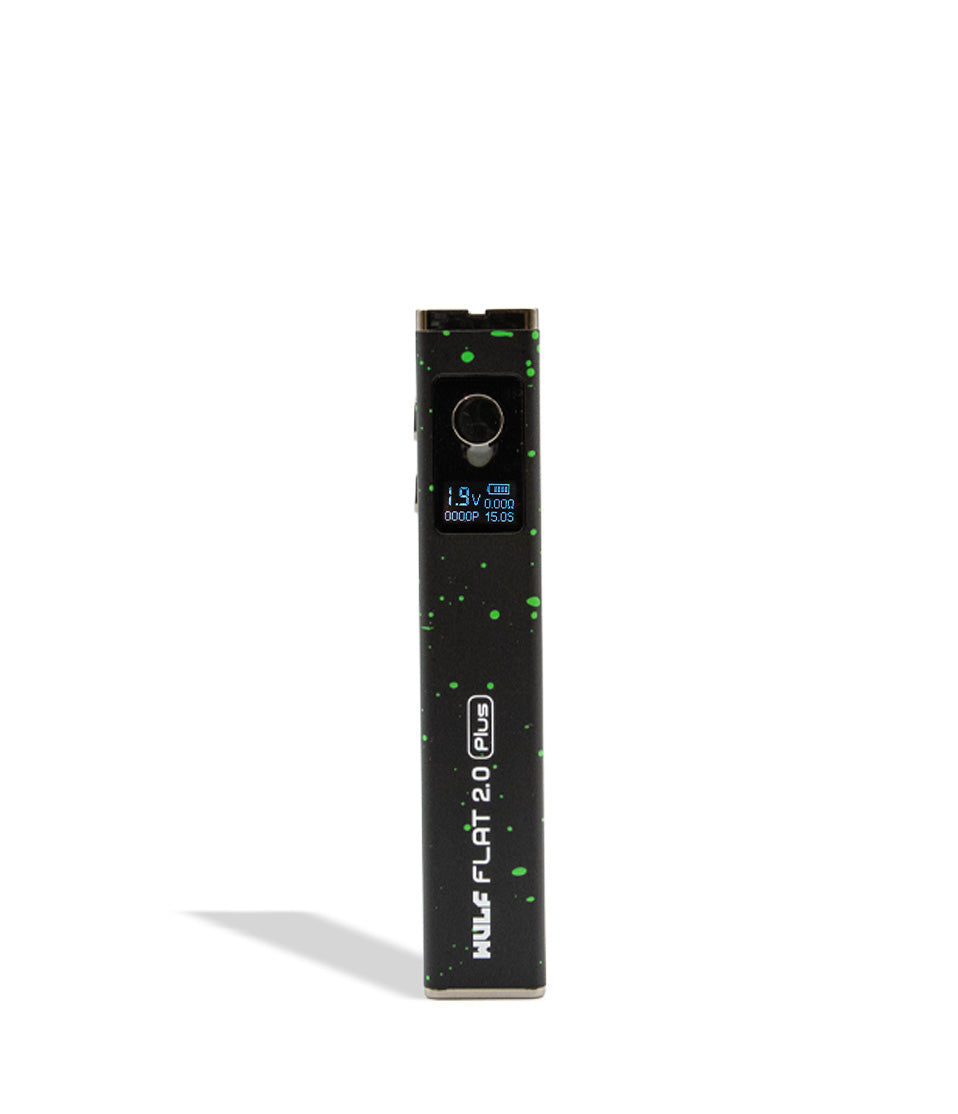
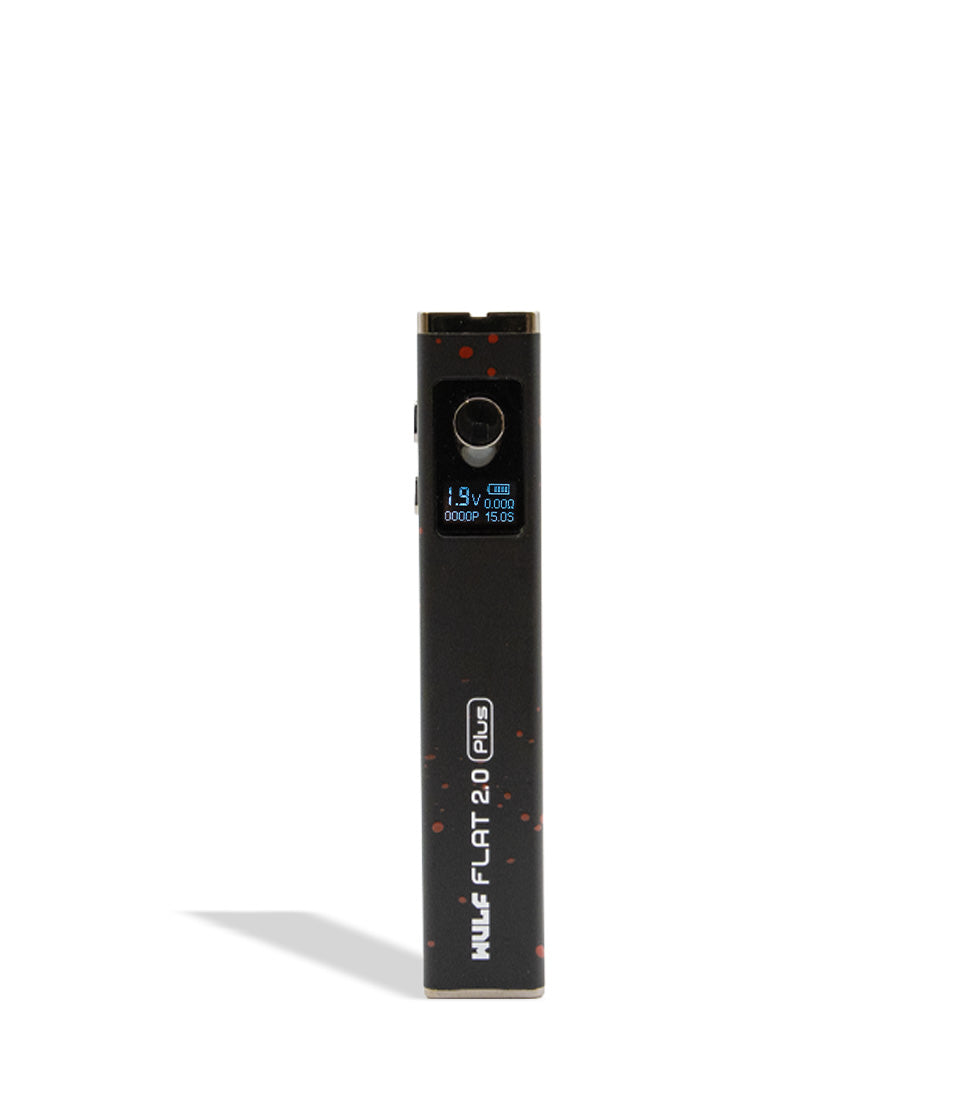
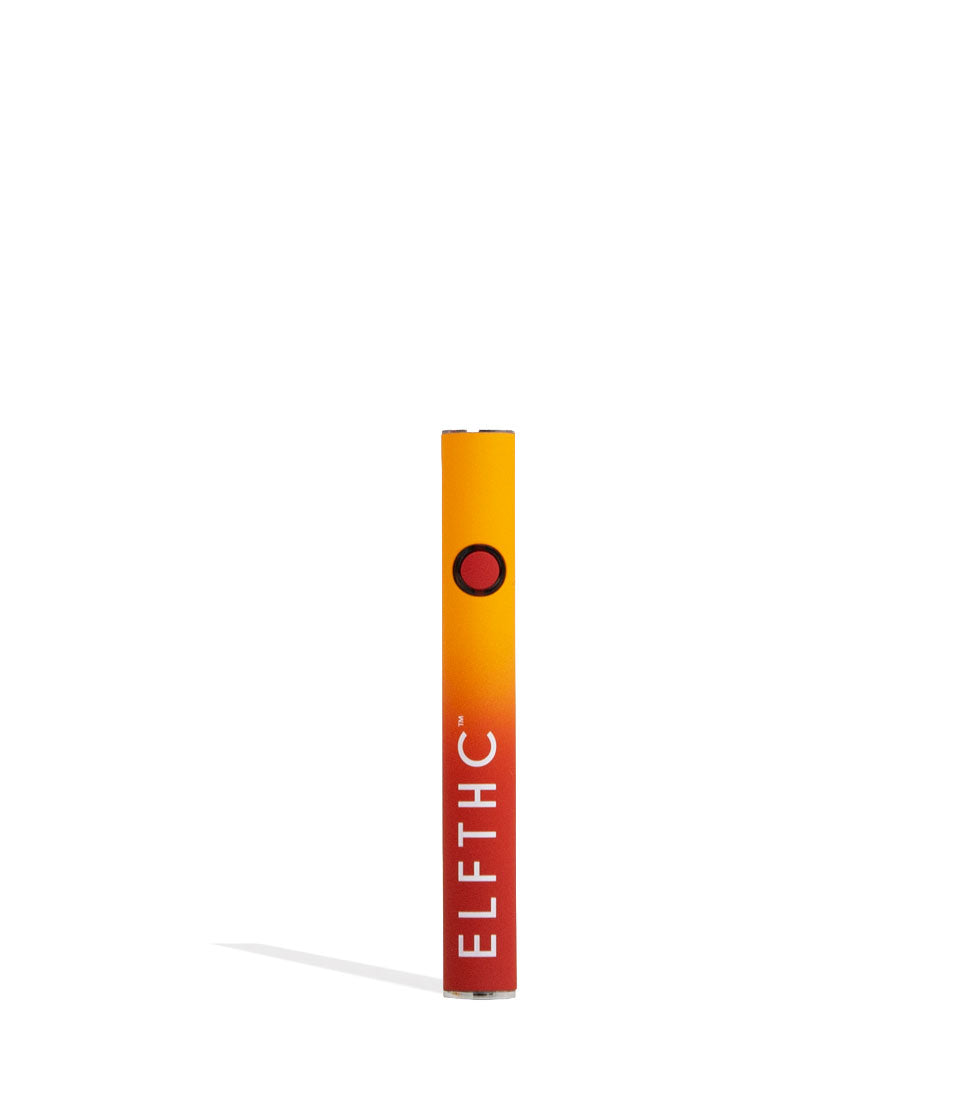
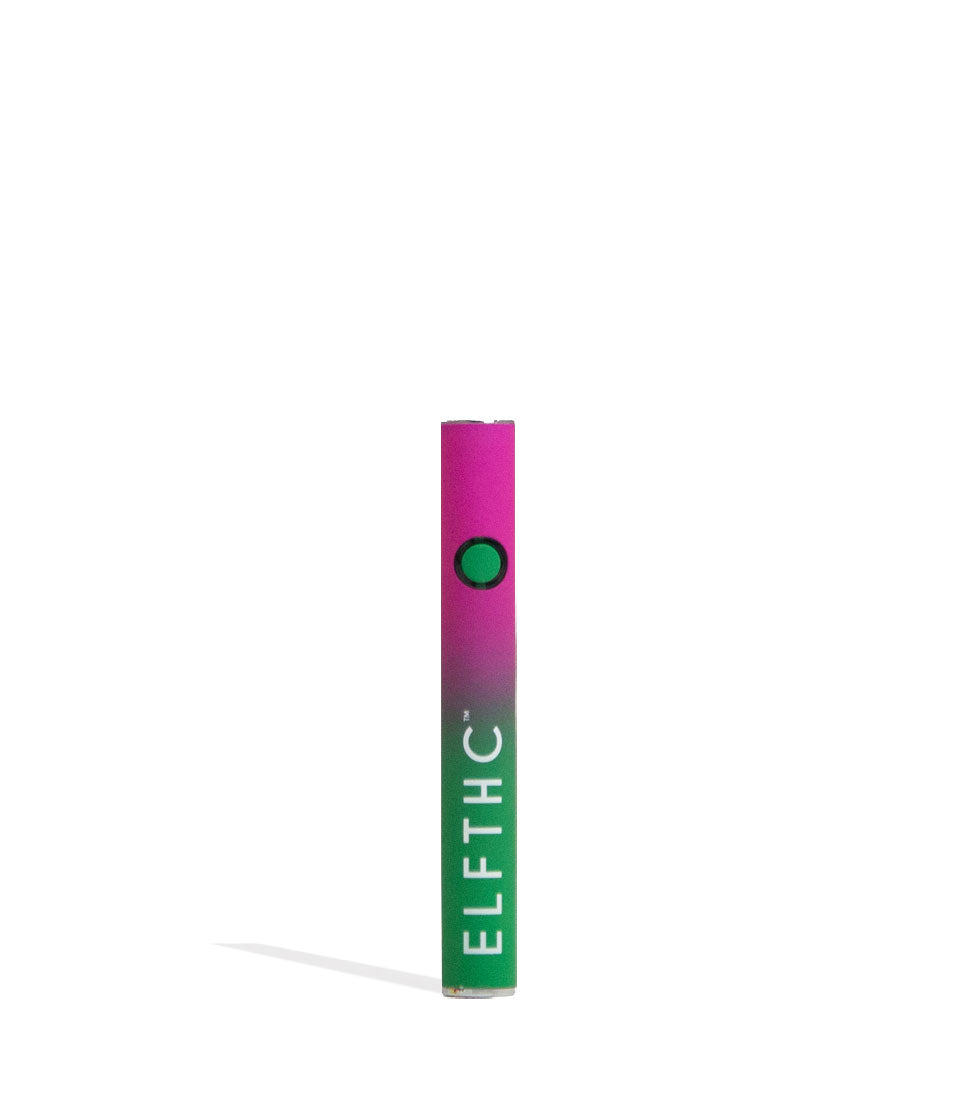
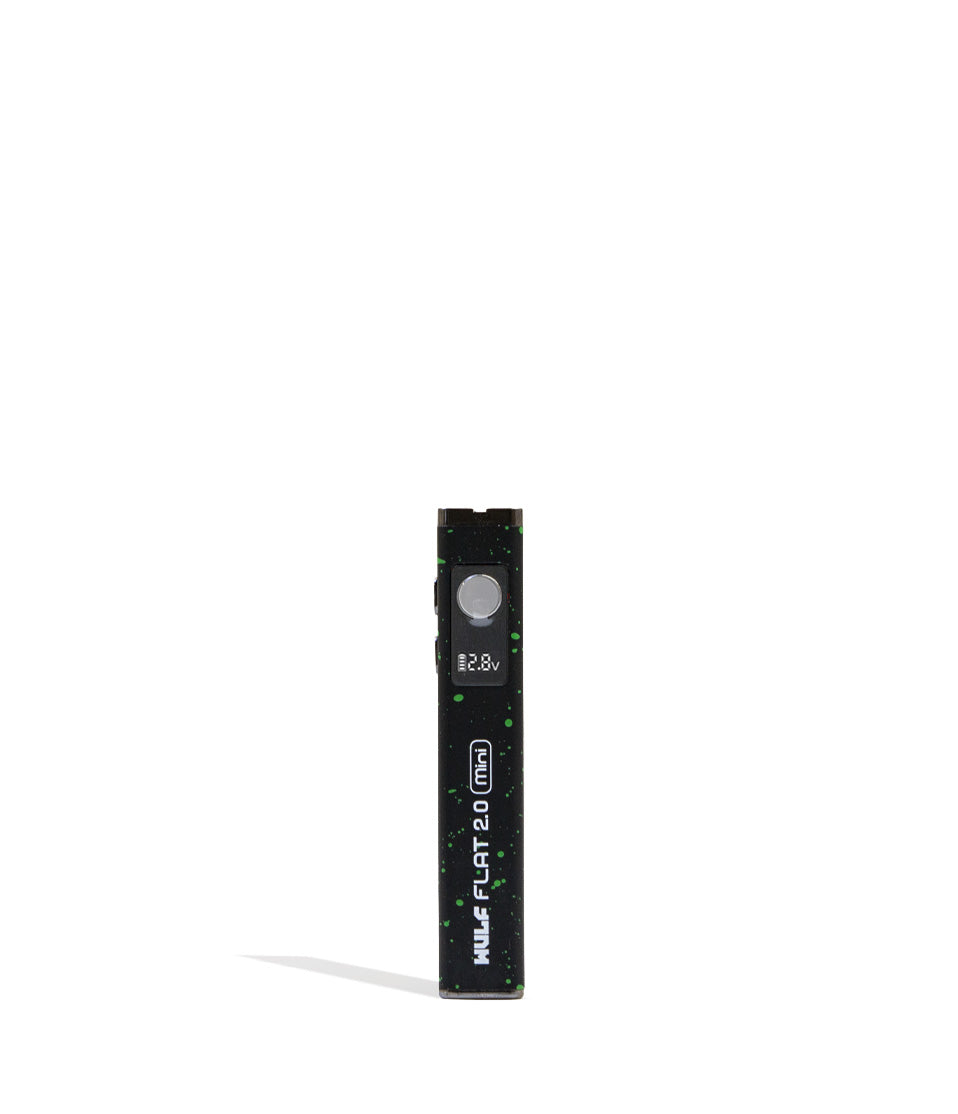
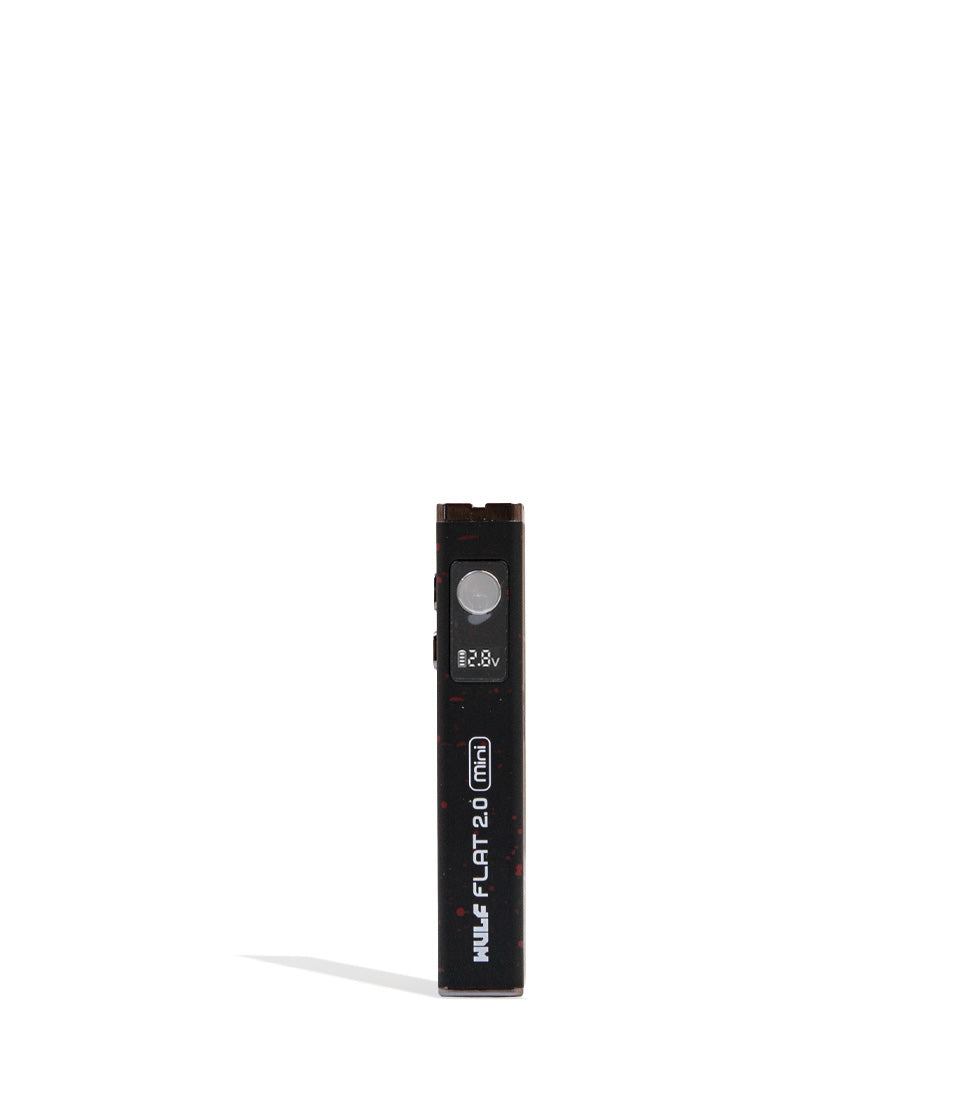
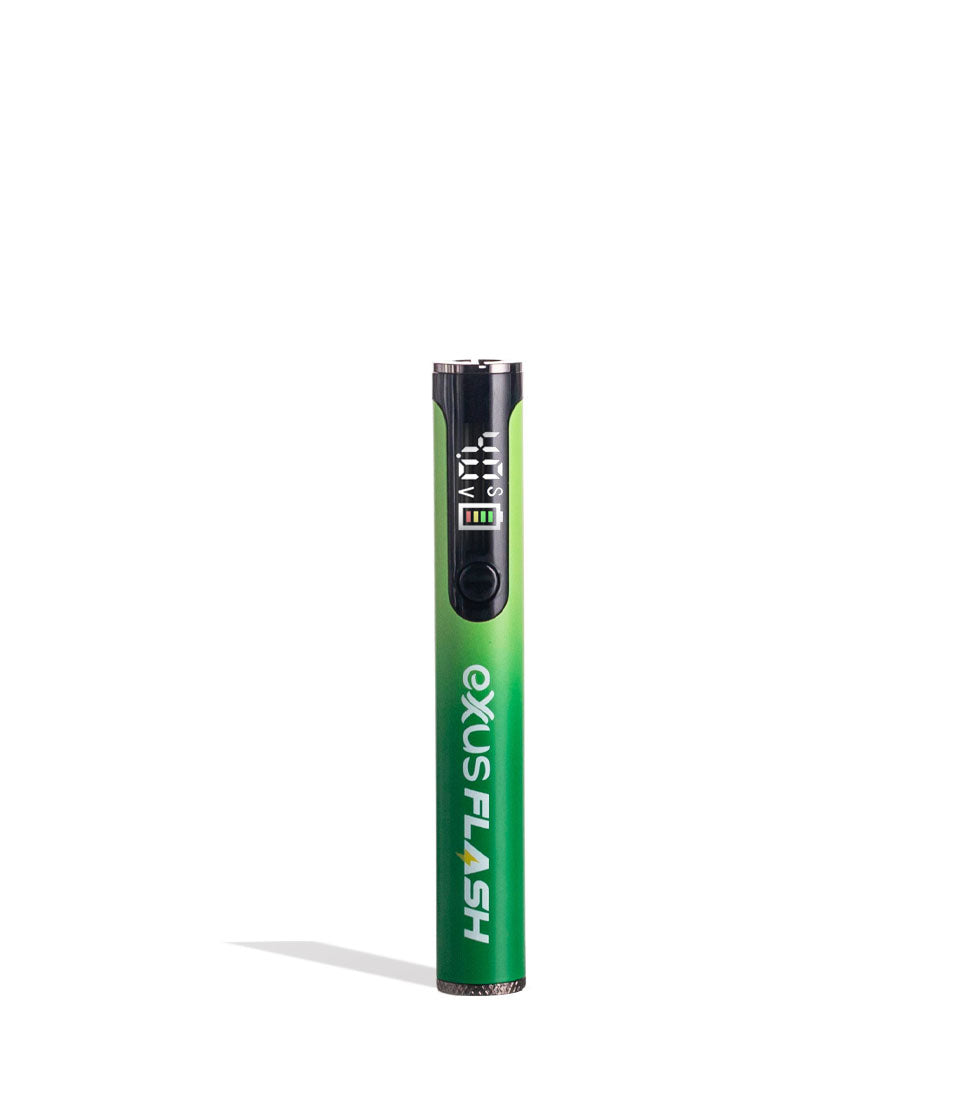
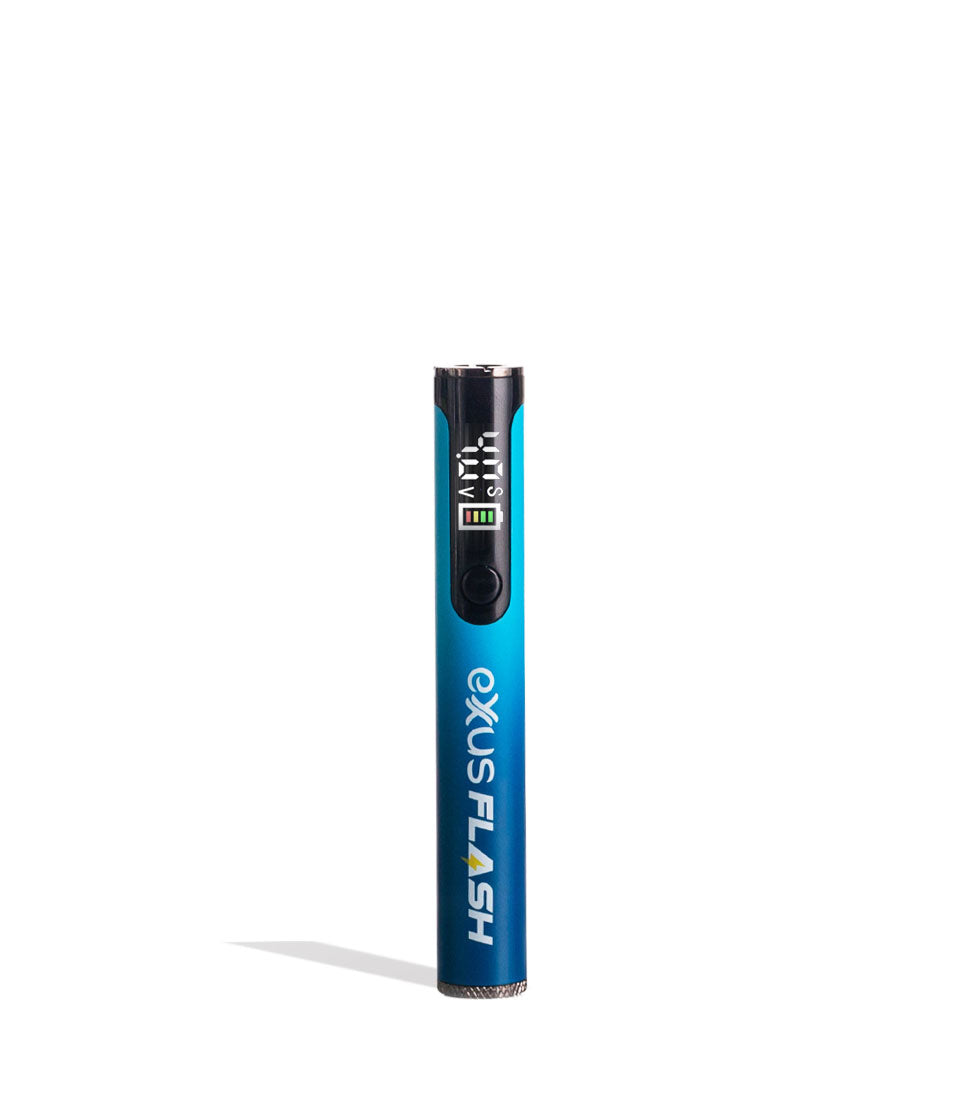
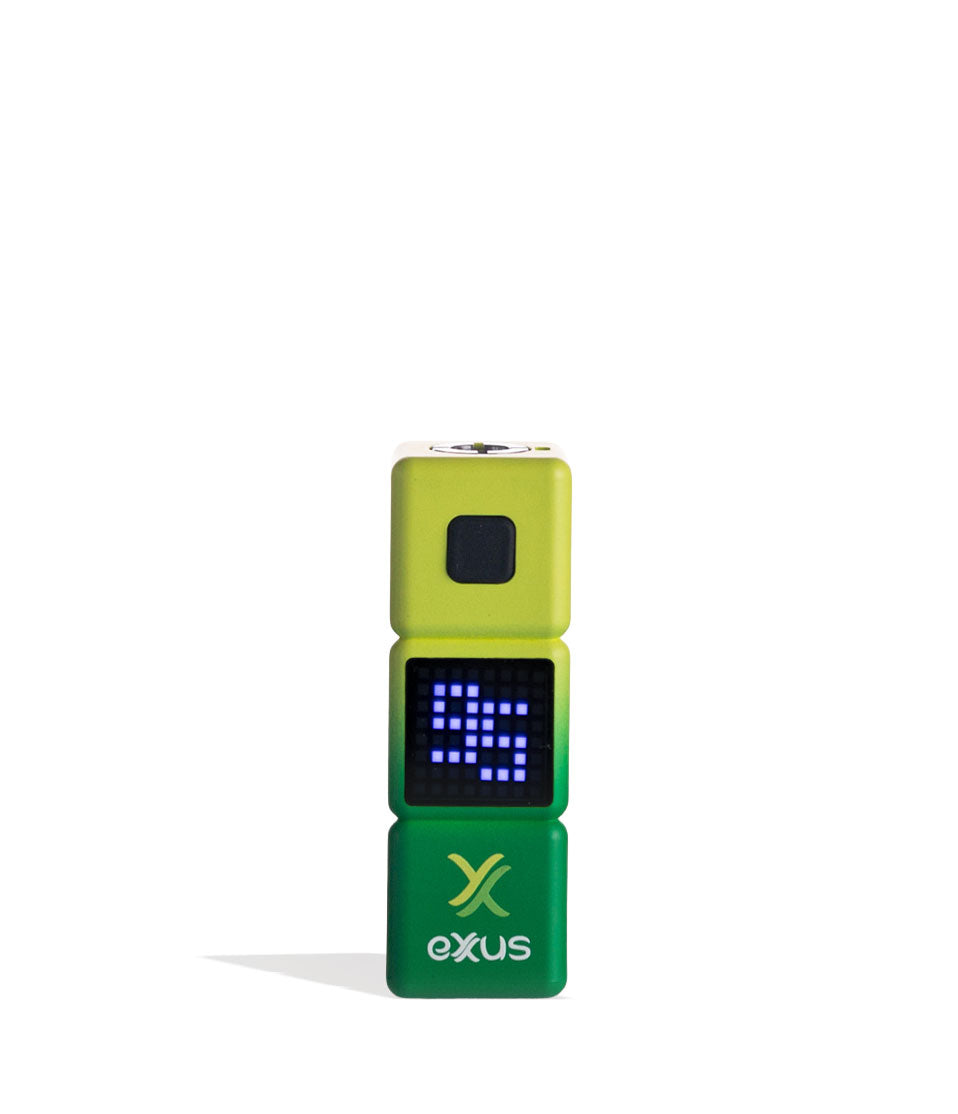
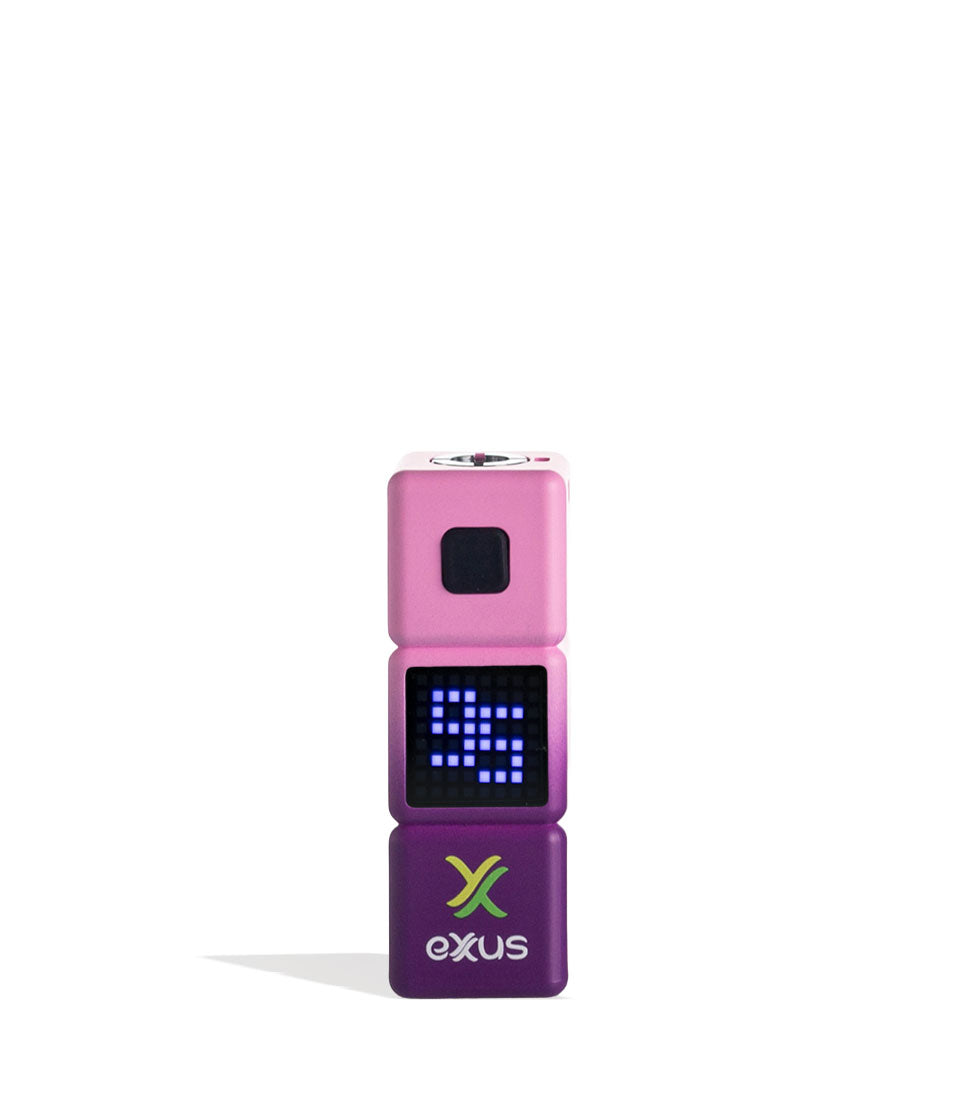
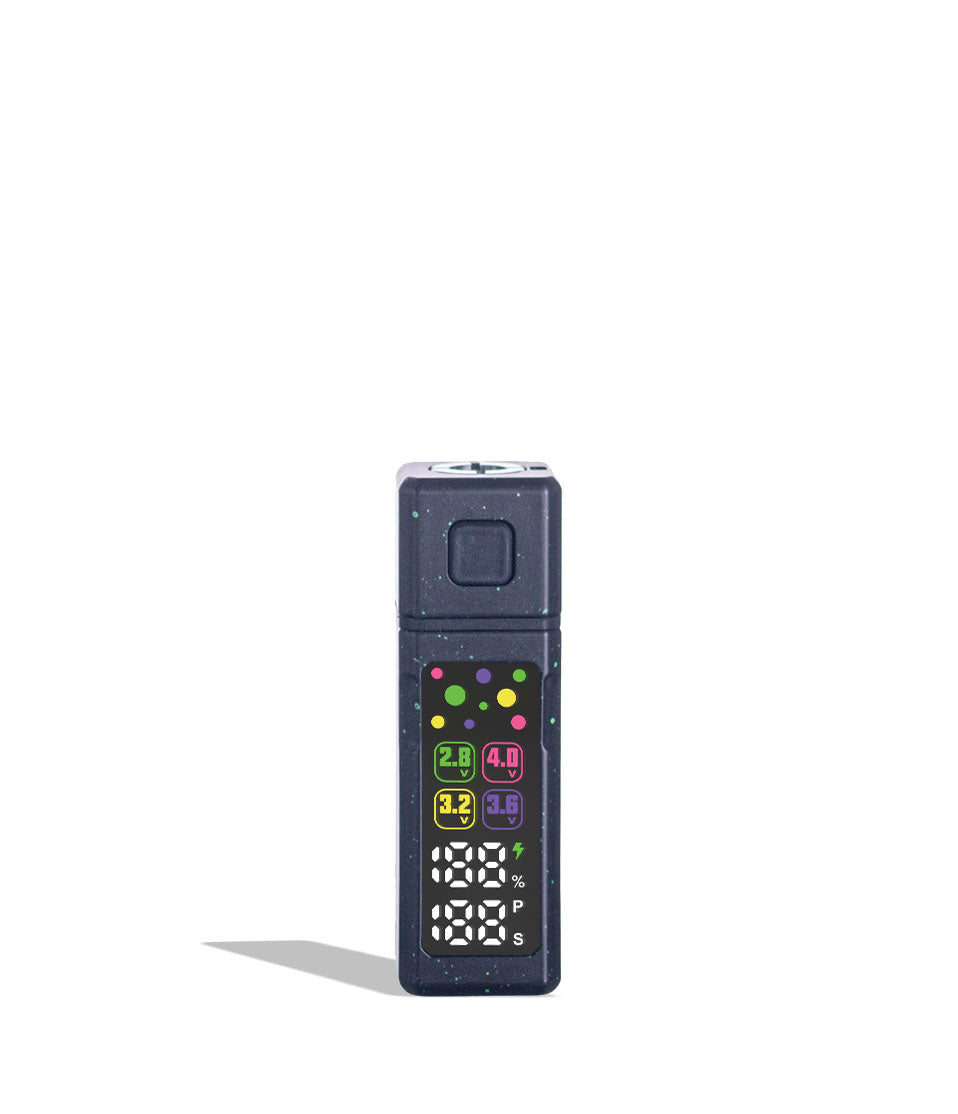
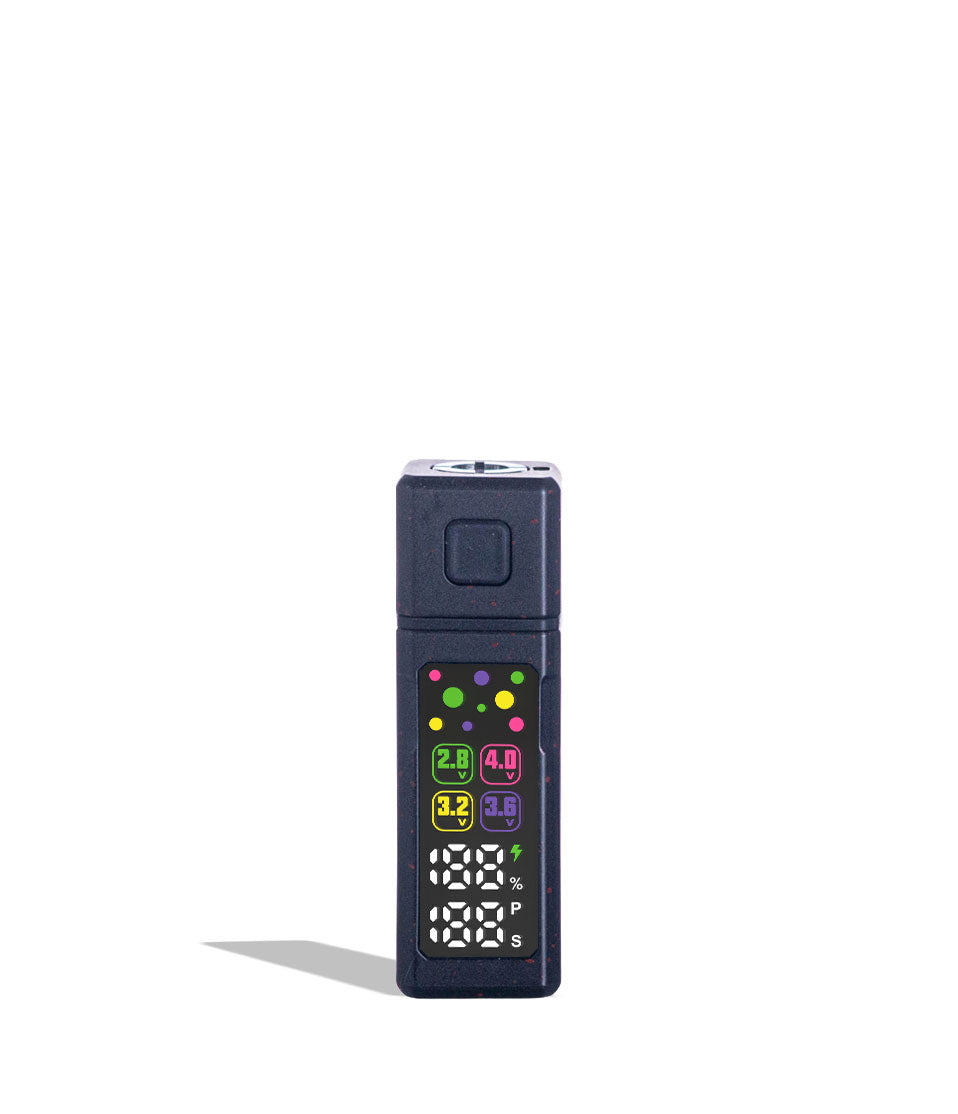
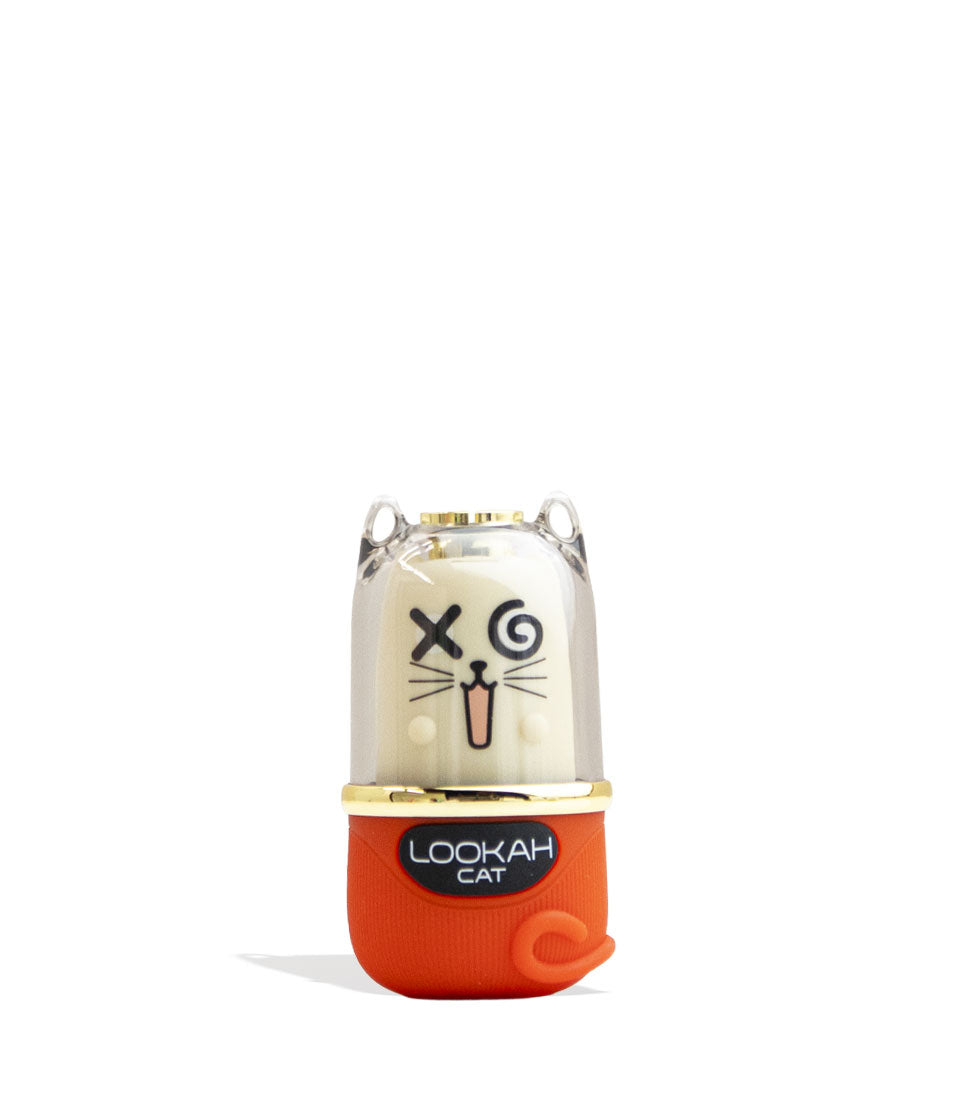
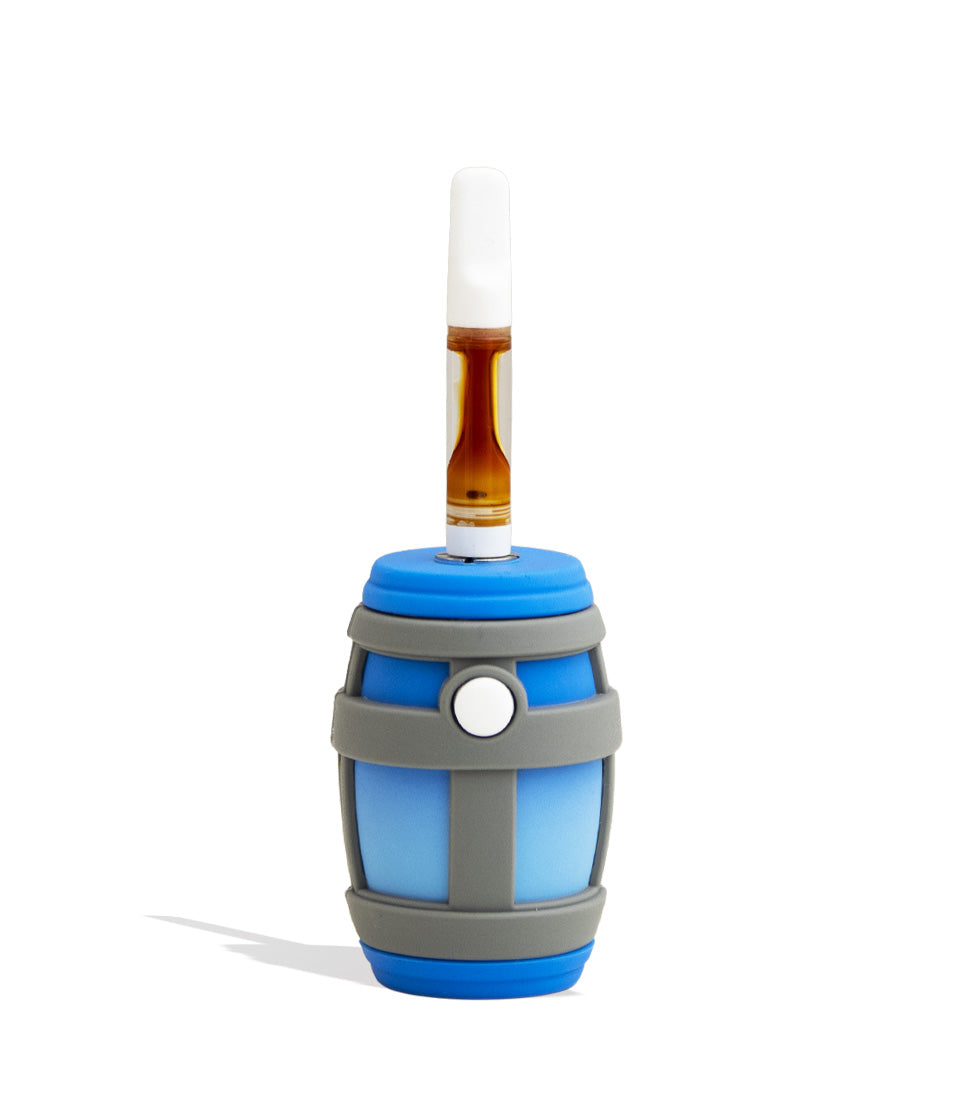
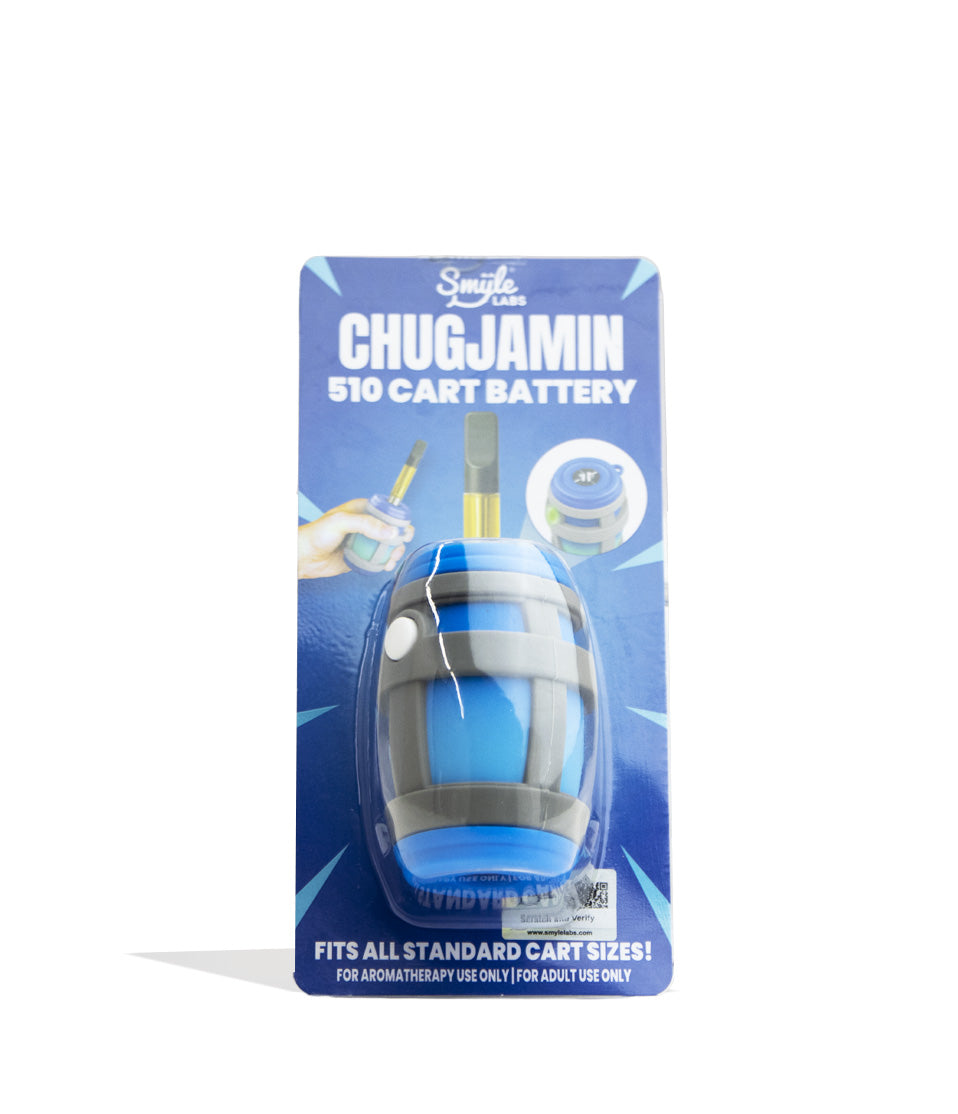
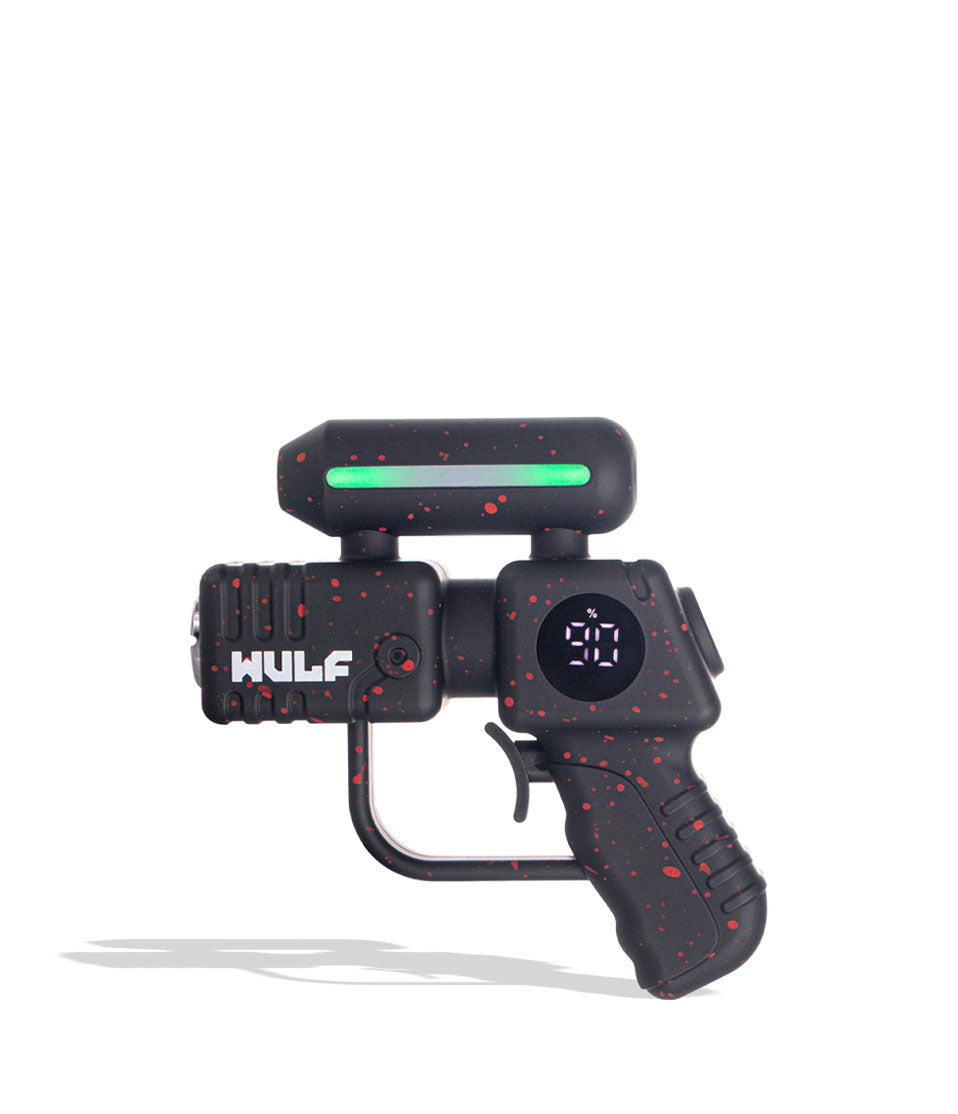
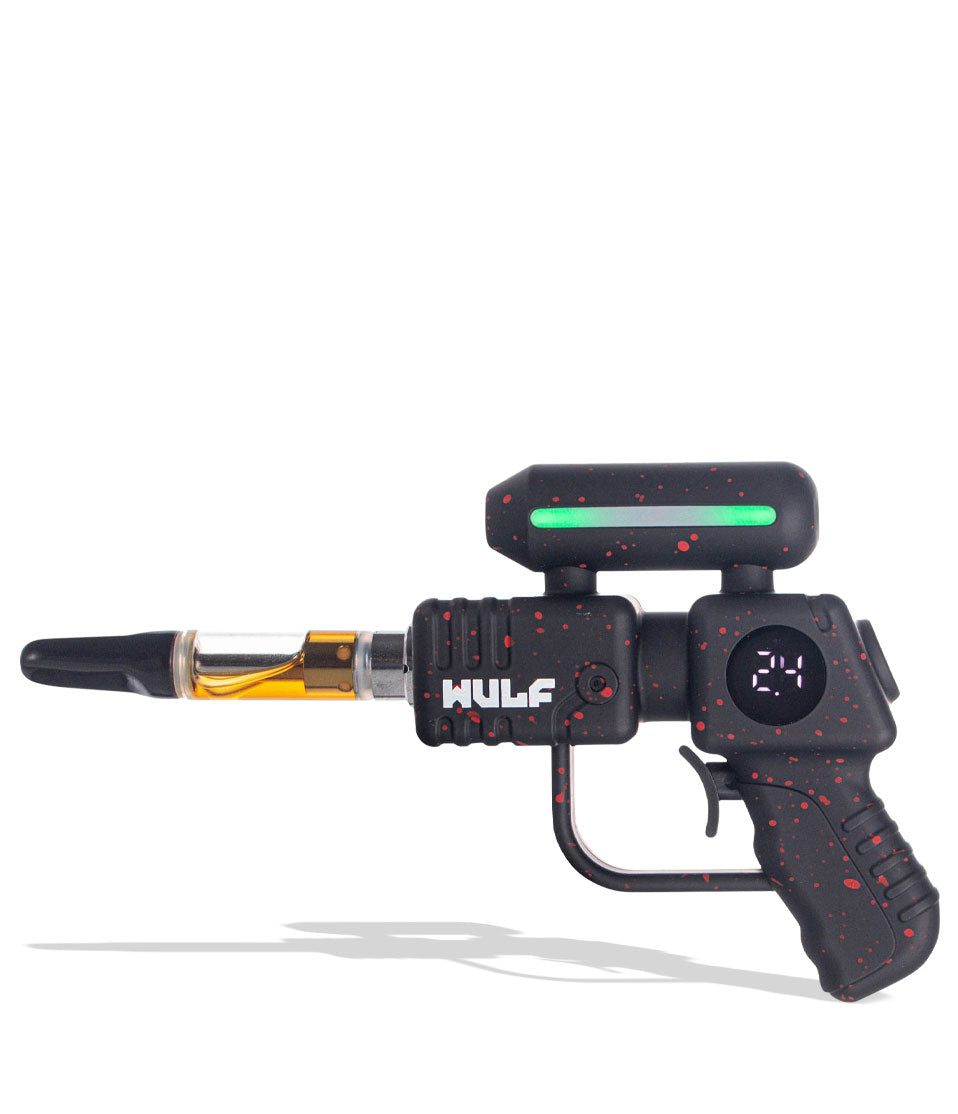
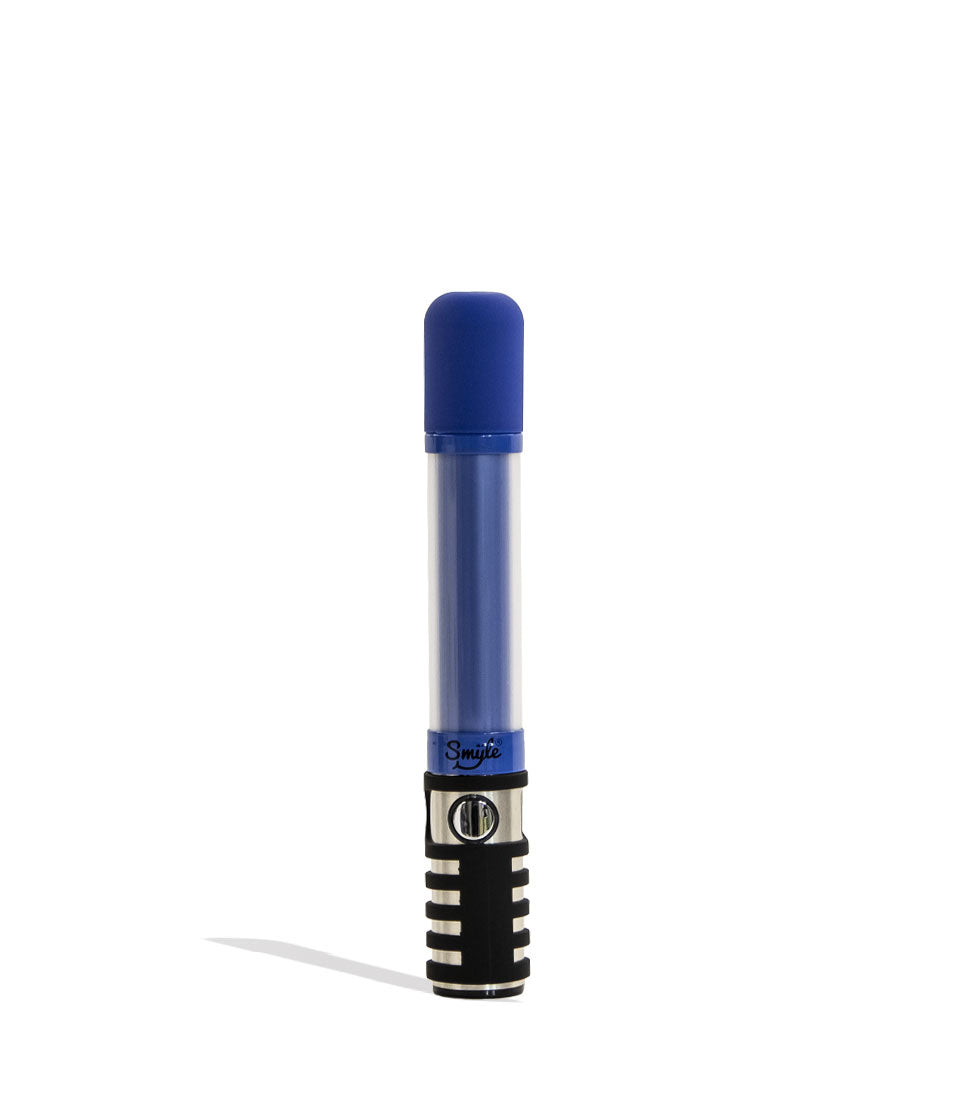
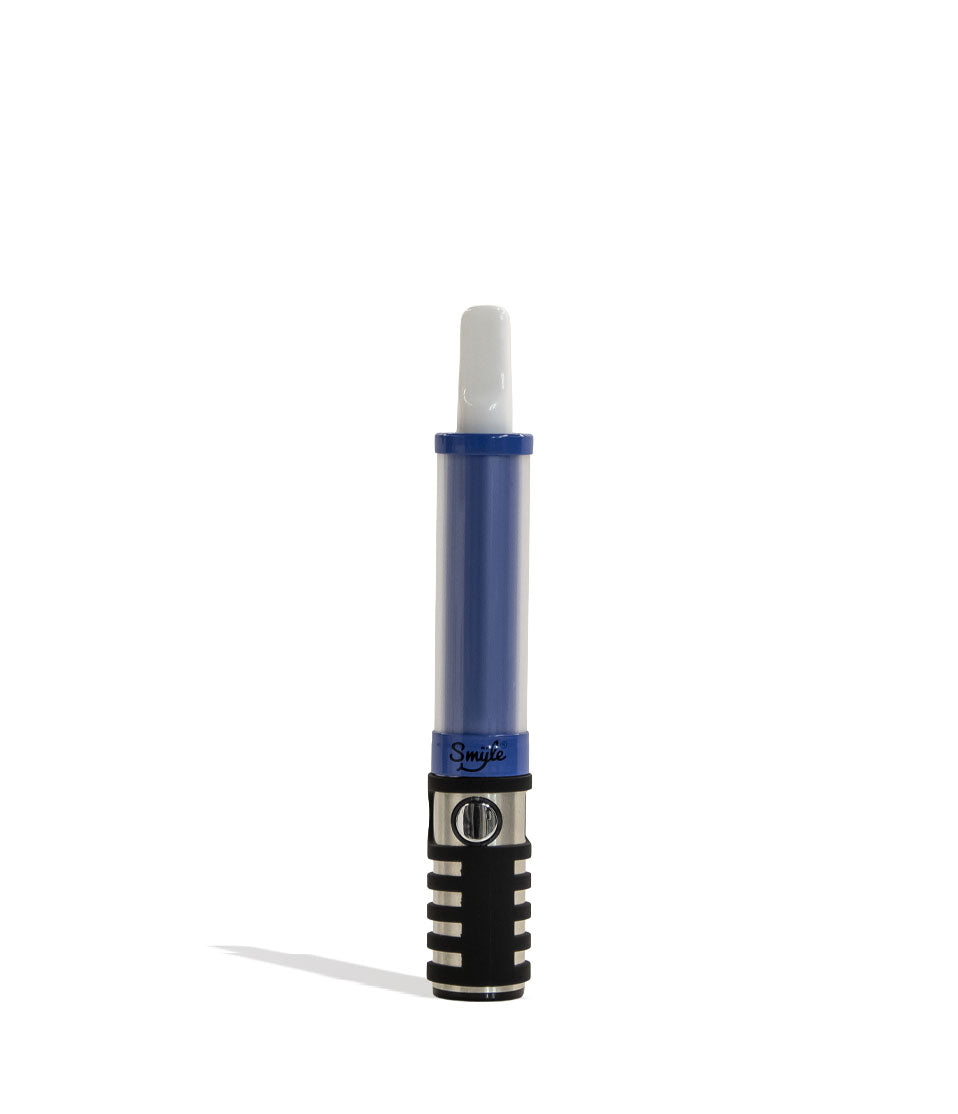
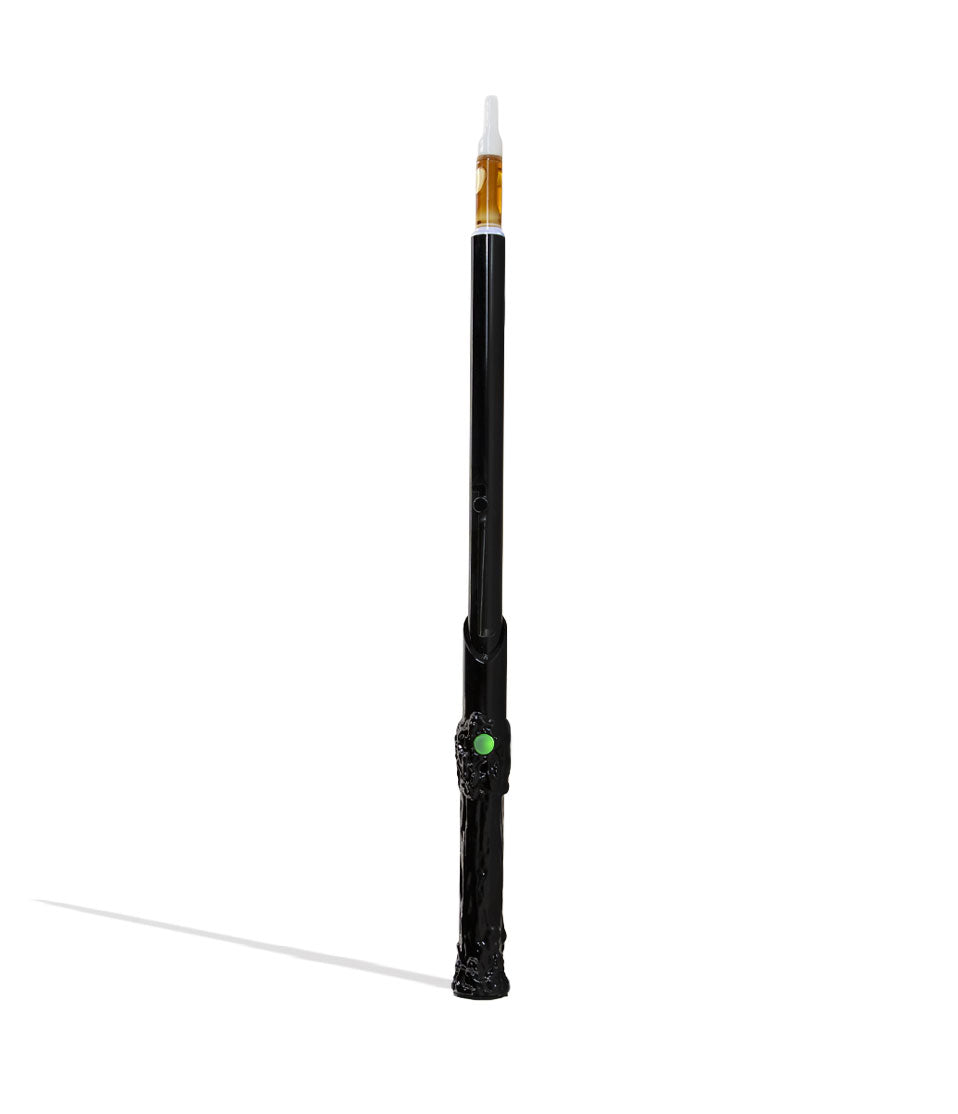
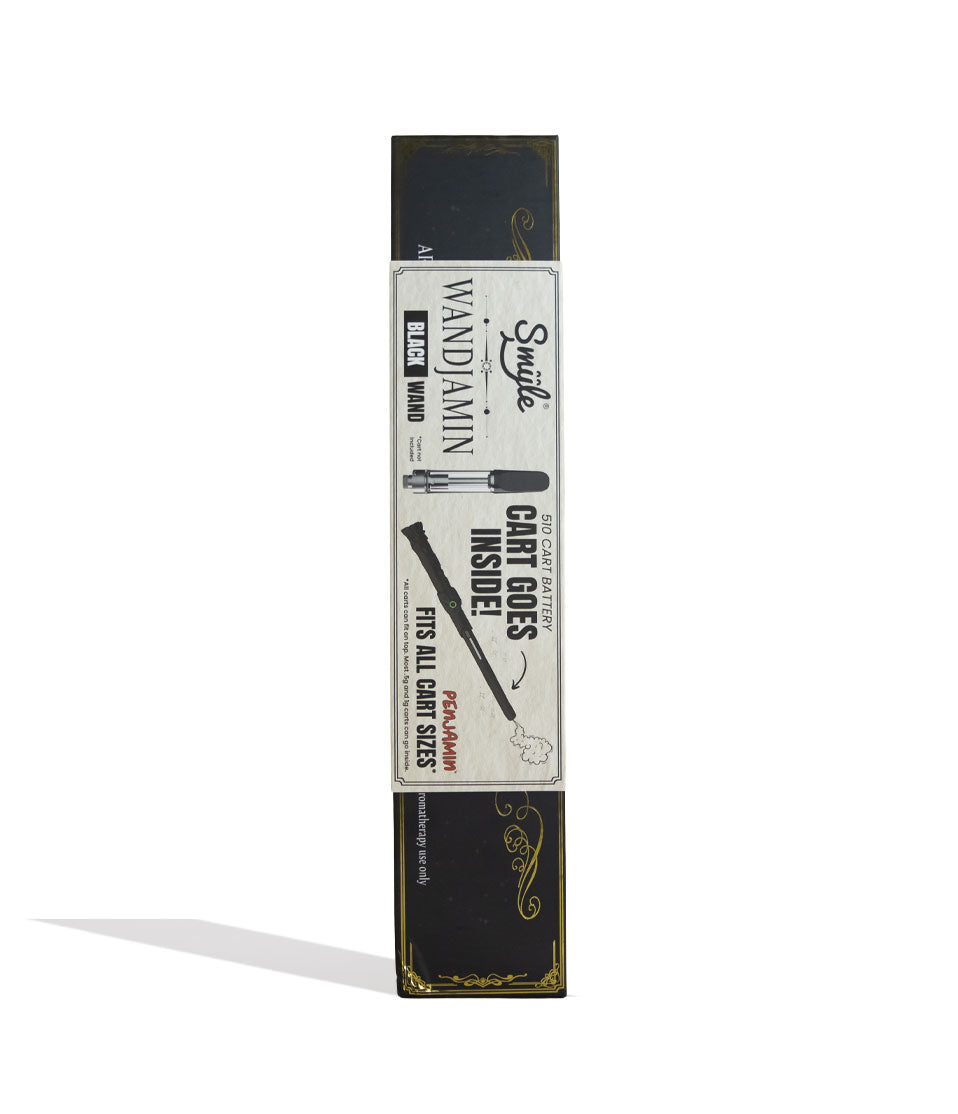
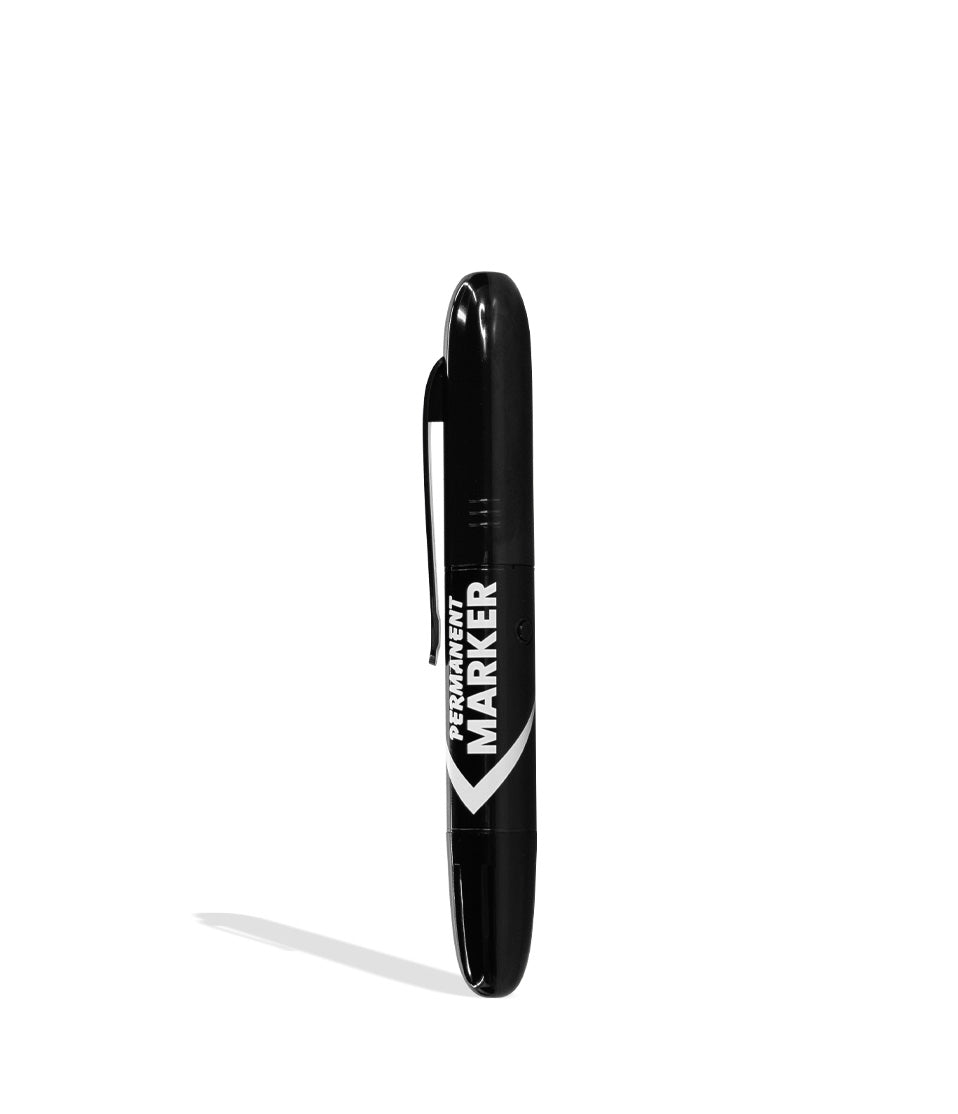
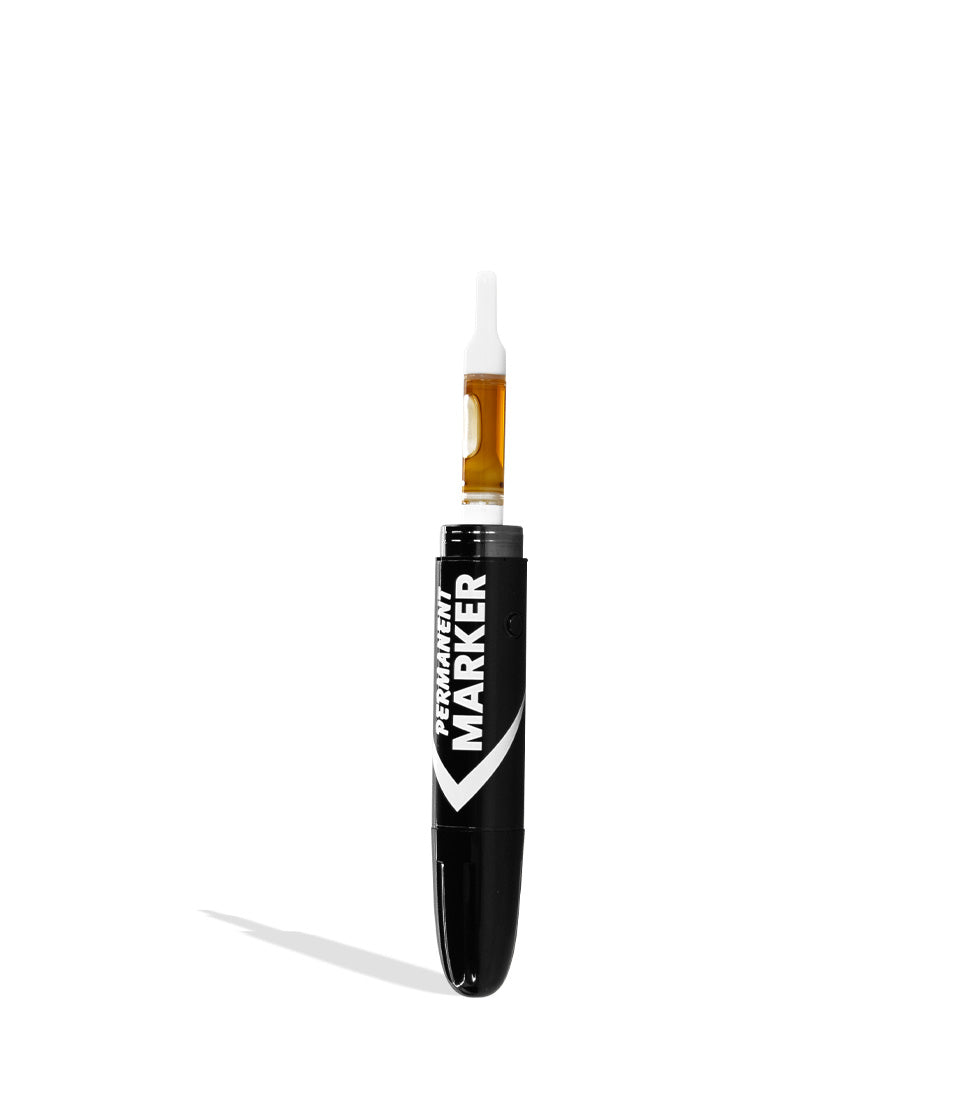
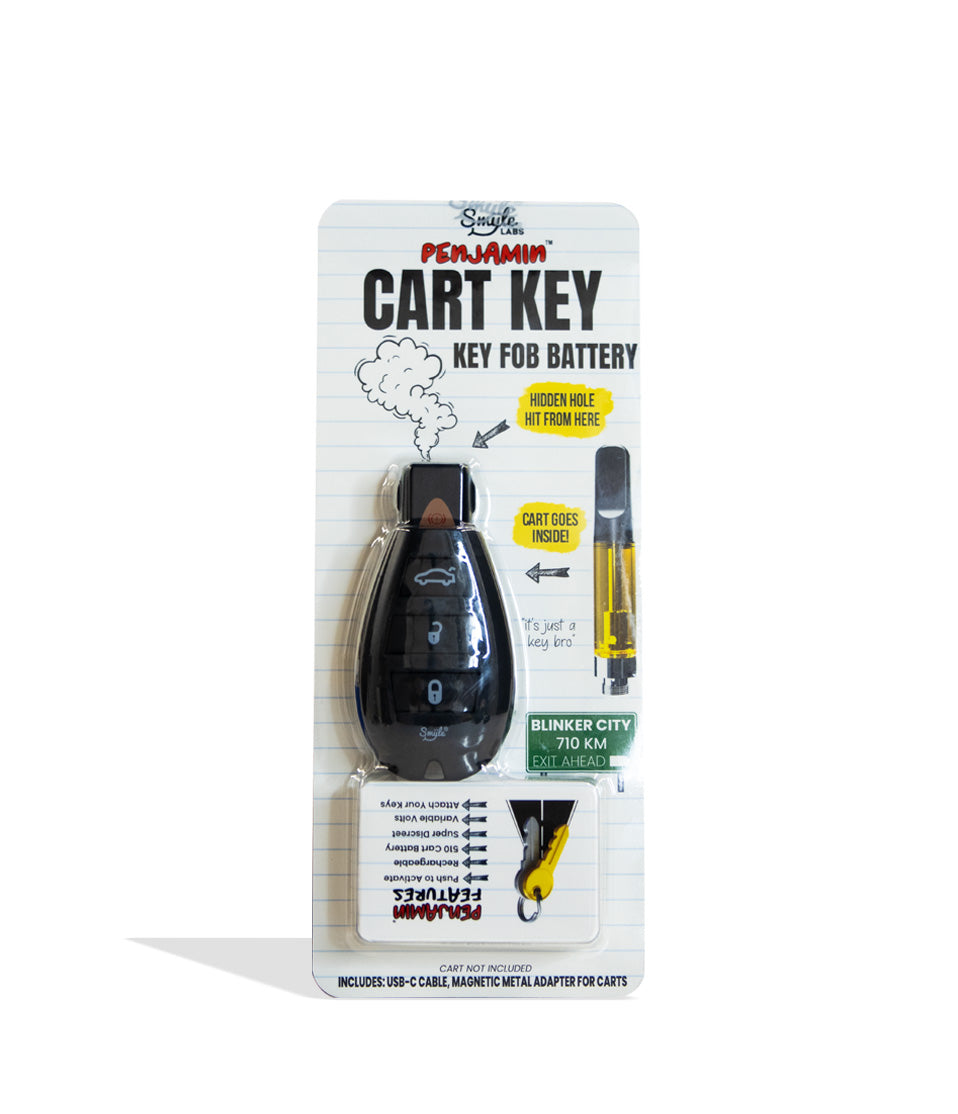
Shop 510 Thread Batteries
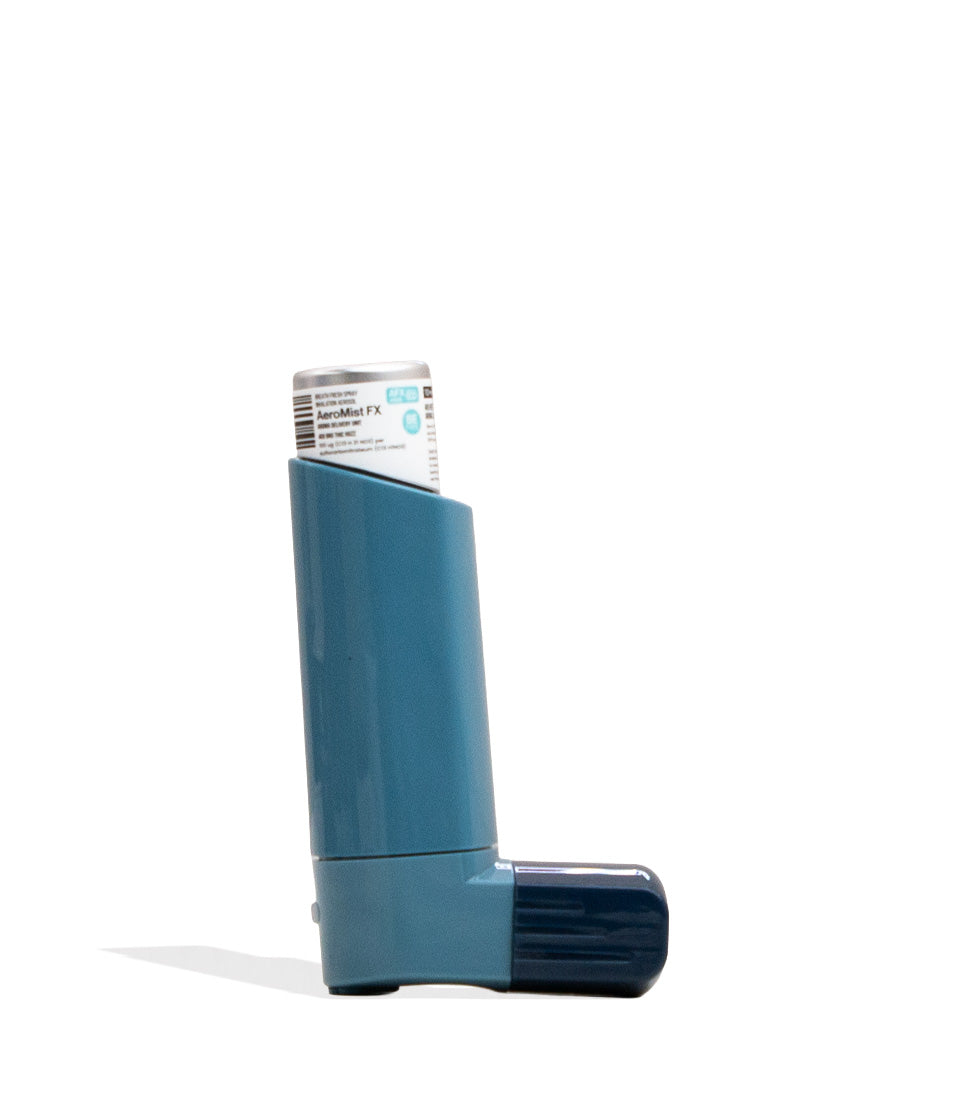
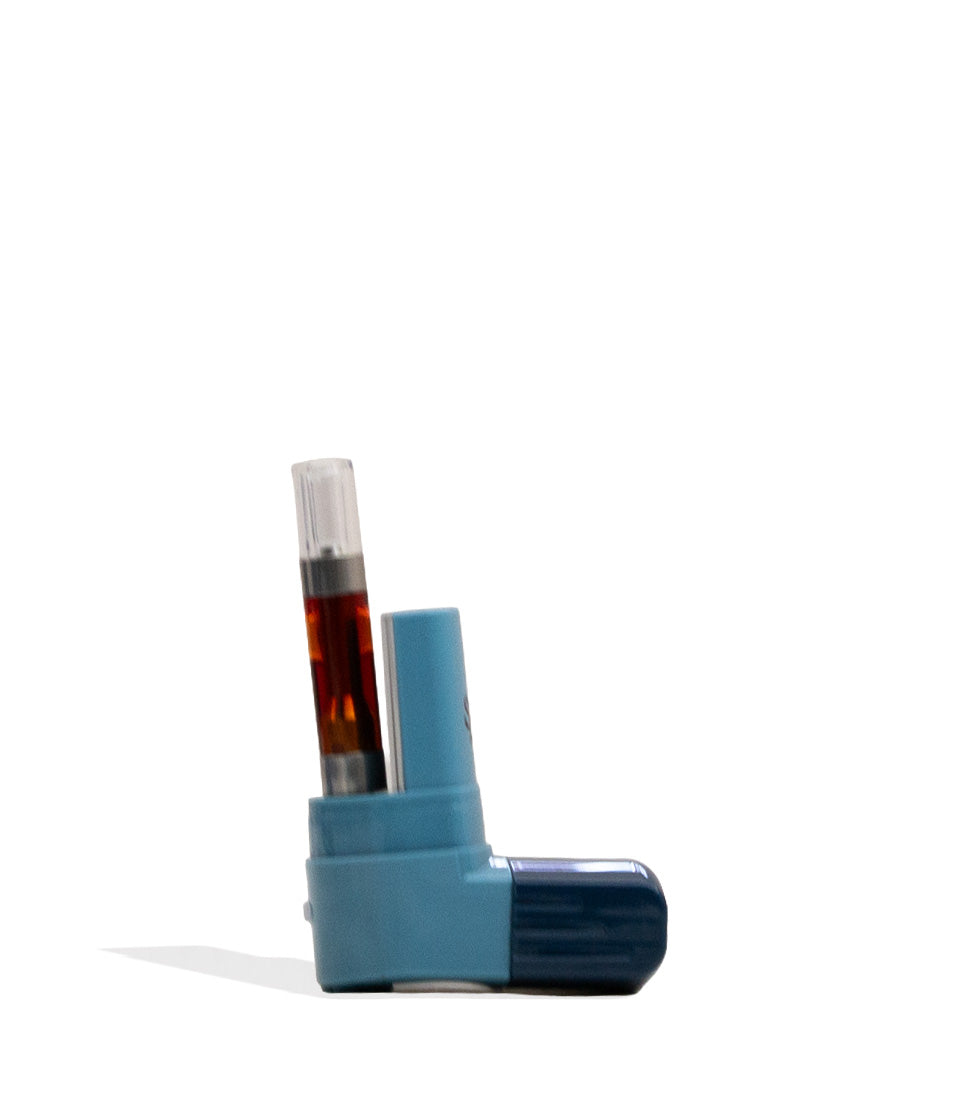
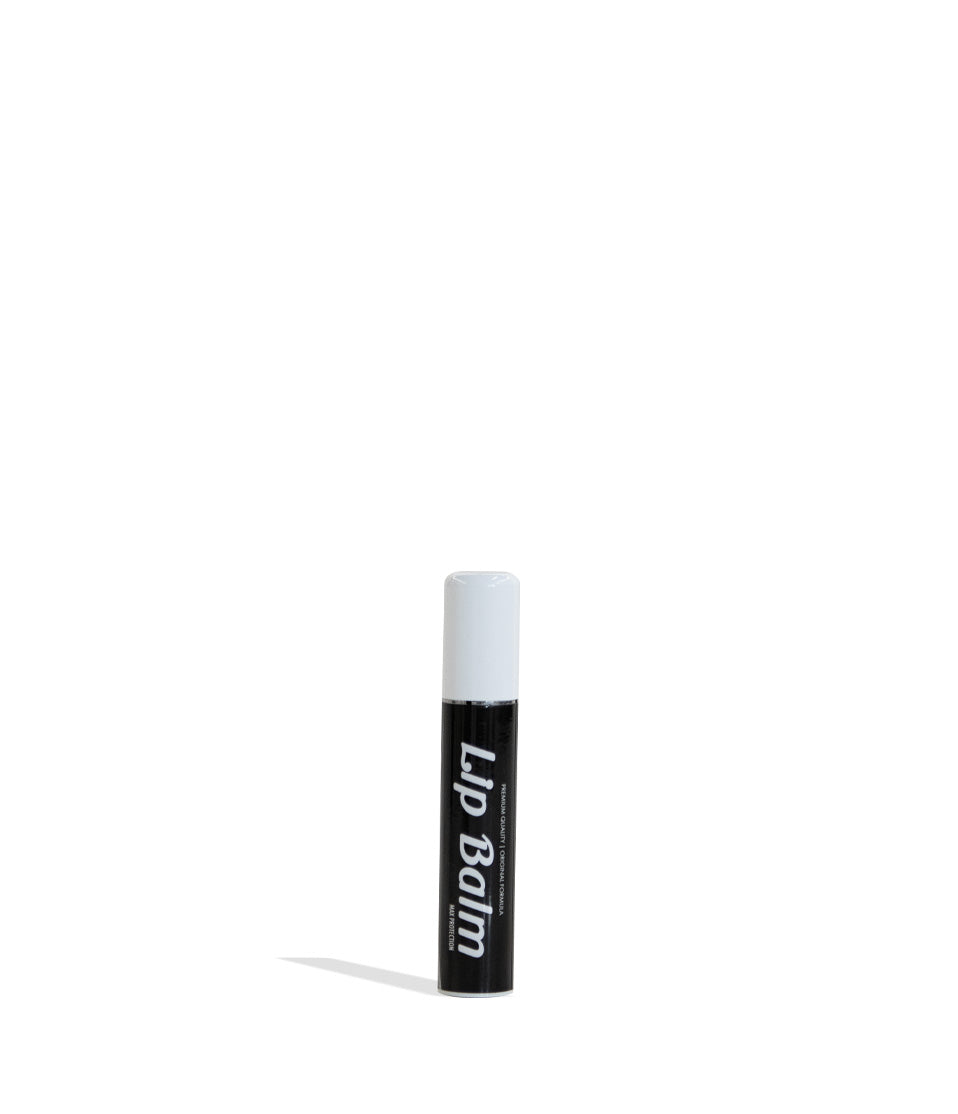
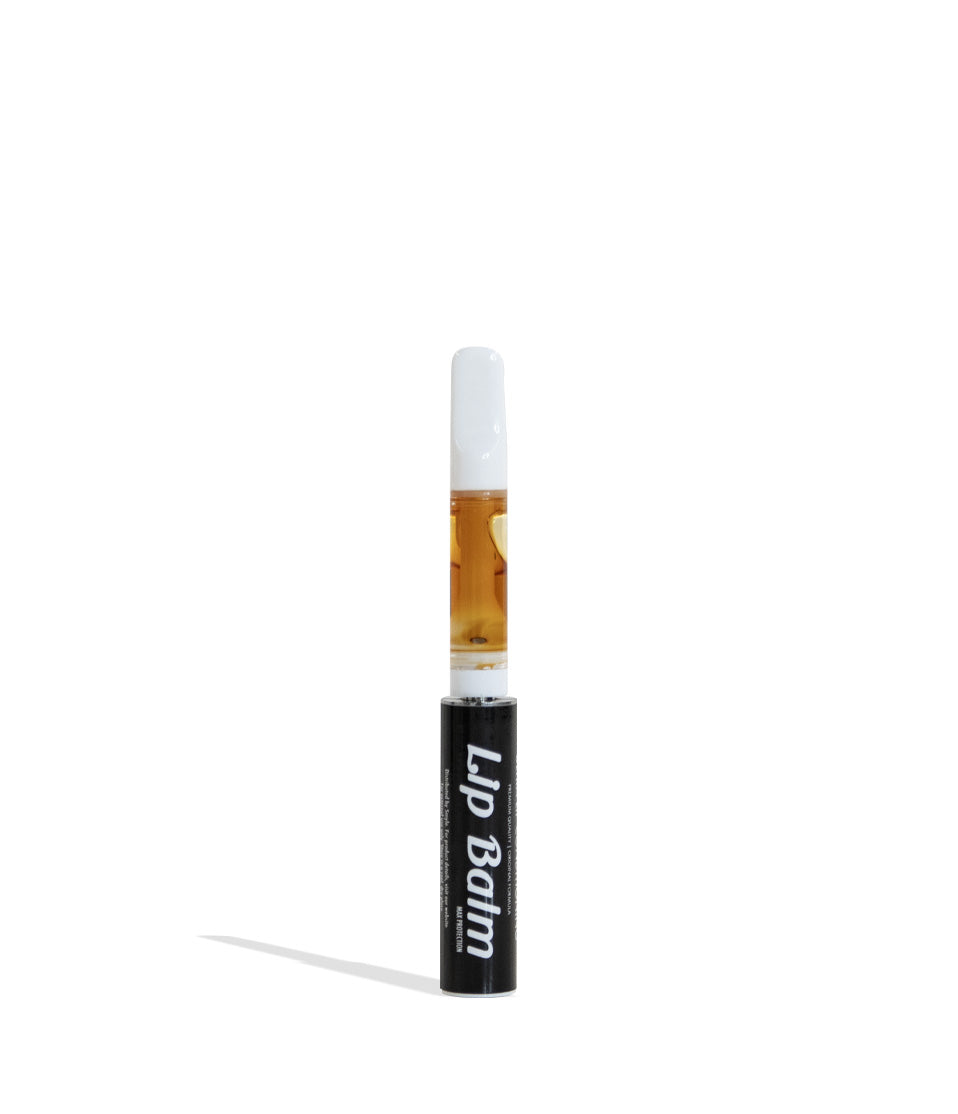
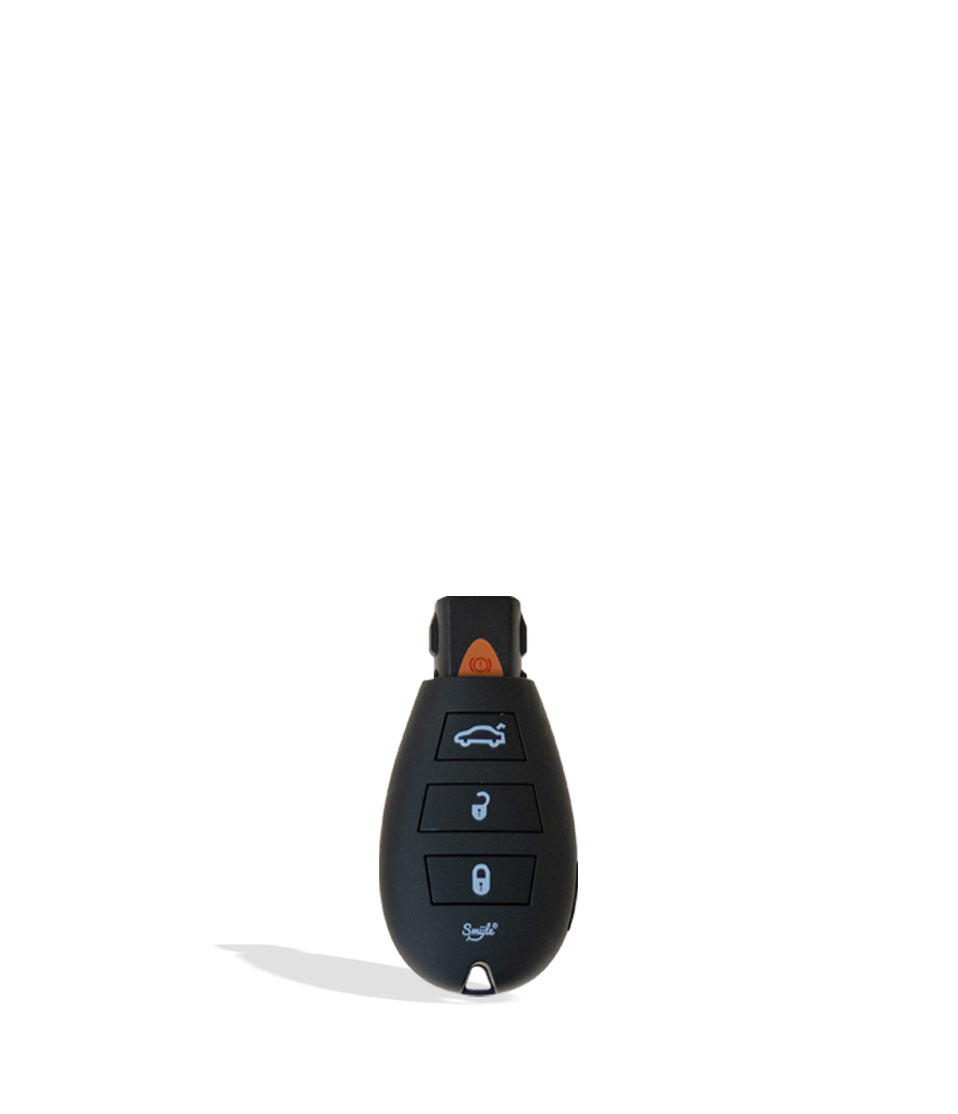
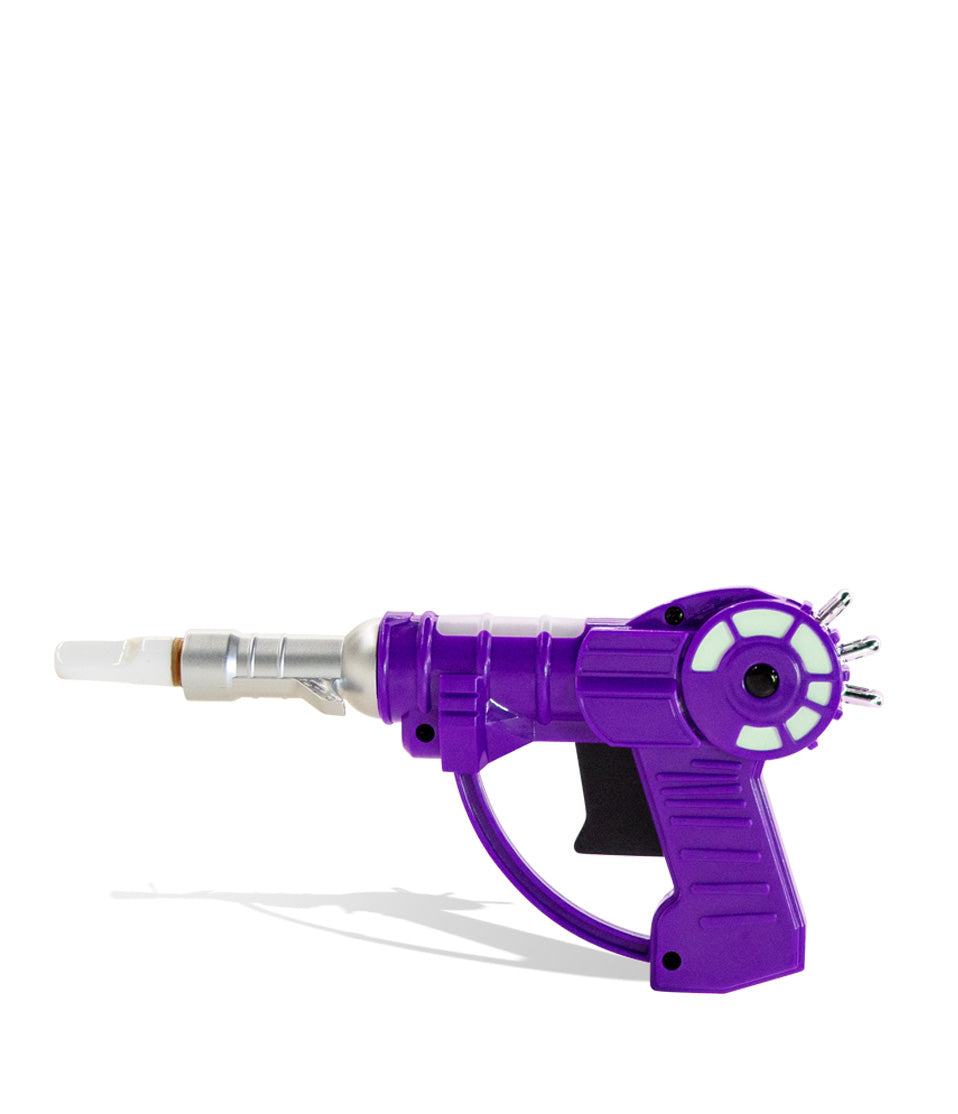
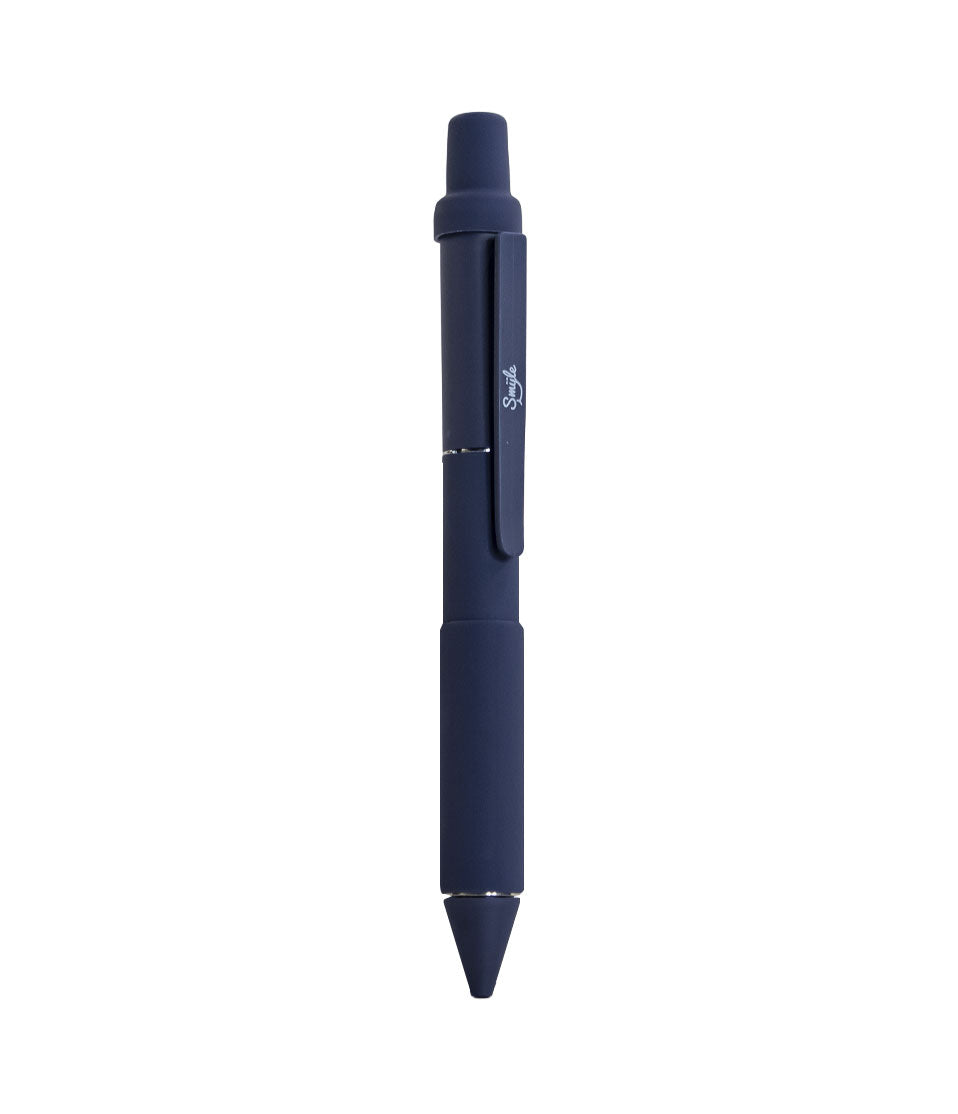
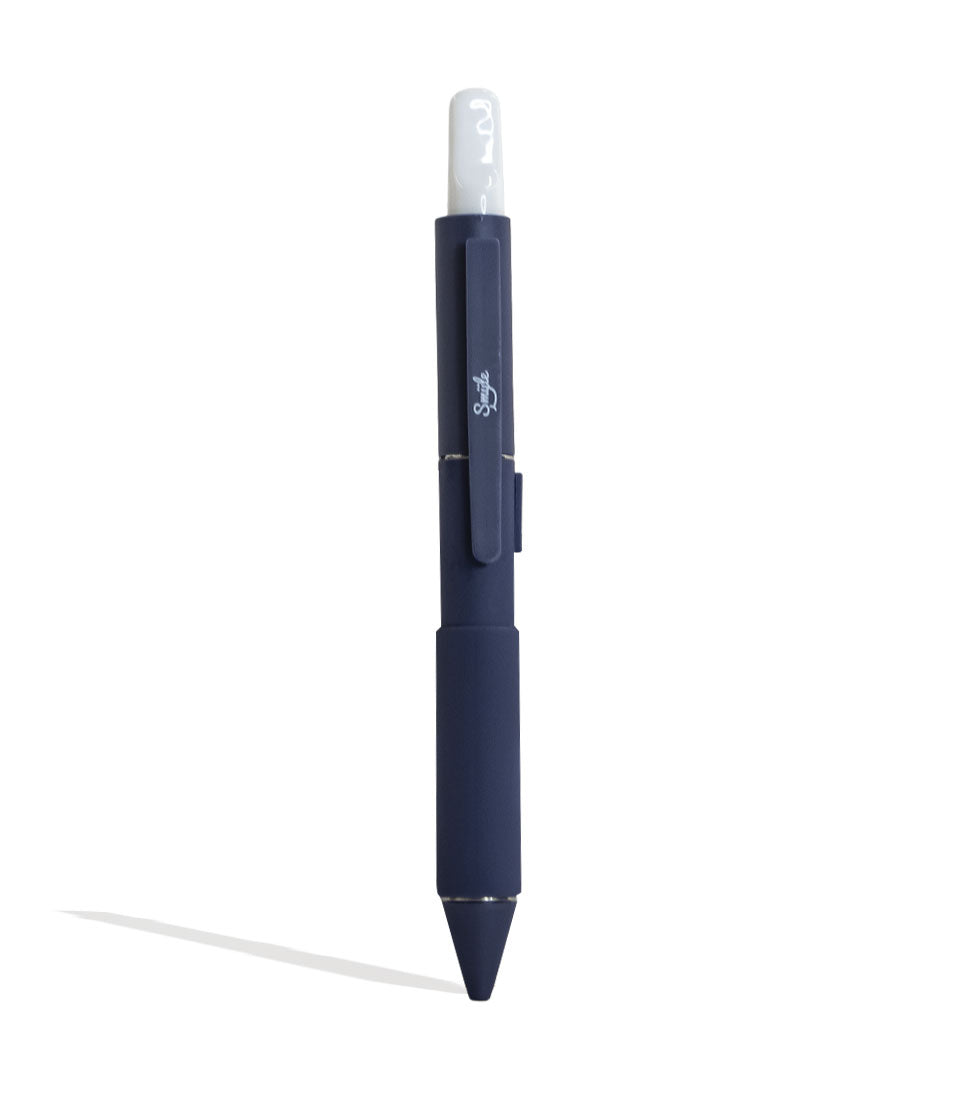
A closer look at the picks called out above.




How-To
Complete How-To
From here, the walkthrough gets specific: the product details and buying considerations that turn the summary above into an actual decision.
How to Salvage Your Oil from the Cartridge
A Quick DIY Guide on How to Save those Yummy Oils!
So, you want to save your oils from your old or broken cartridge. Well, you’ve come to the right place!
This is Got Vape’s Guide to Save them Oils!
What you’ll need:
Everything you’ll need for this little project are things you can find around the house. Making this process fast and easy! You’ll need:
Plastic Bowl
Ziplock Baggie
Microwave
Sheet of Foil
Empty Cartridge or Medium You want to Transfer the Oils onto
The Process
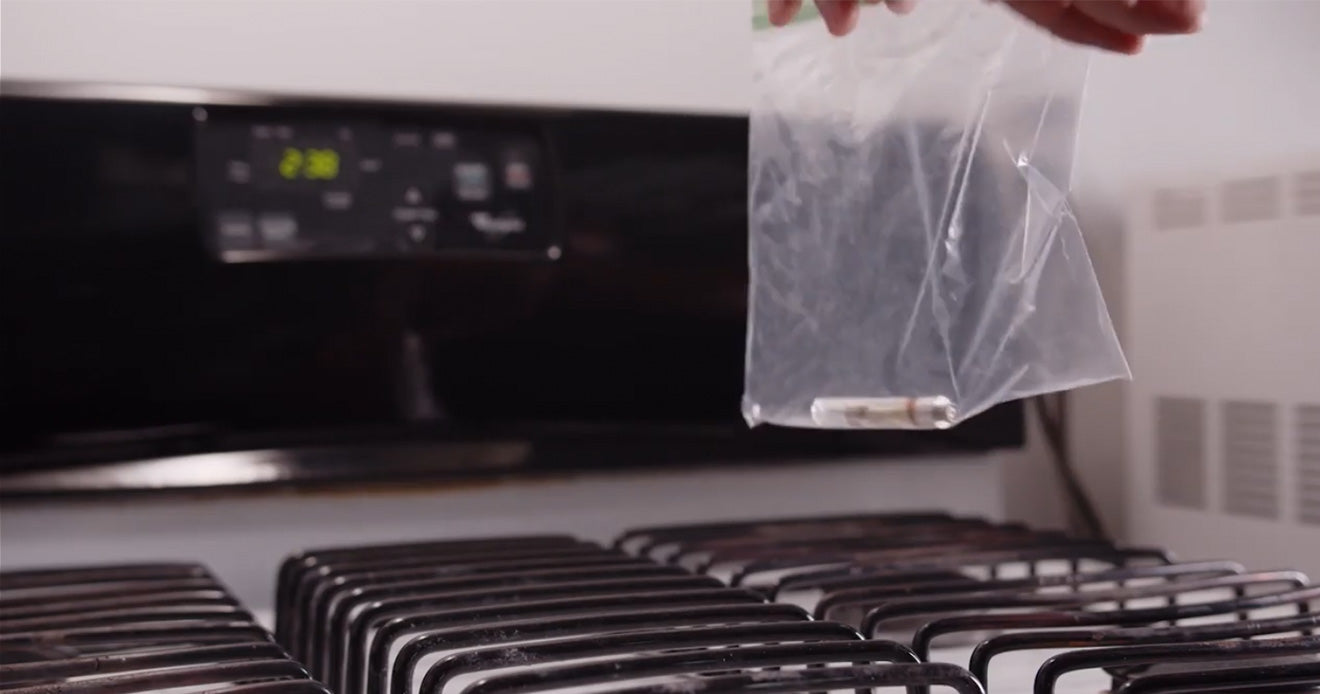
First, you are going to want to take the cartridge you want to extract your oils from and place it into a Ziplock baggie. Go ahead and put it aside for now.
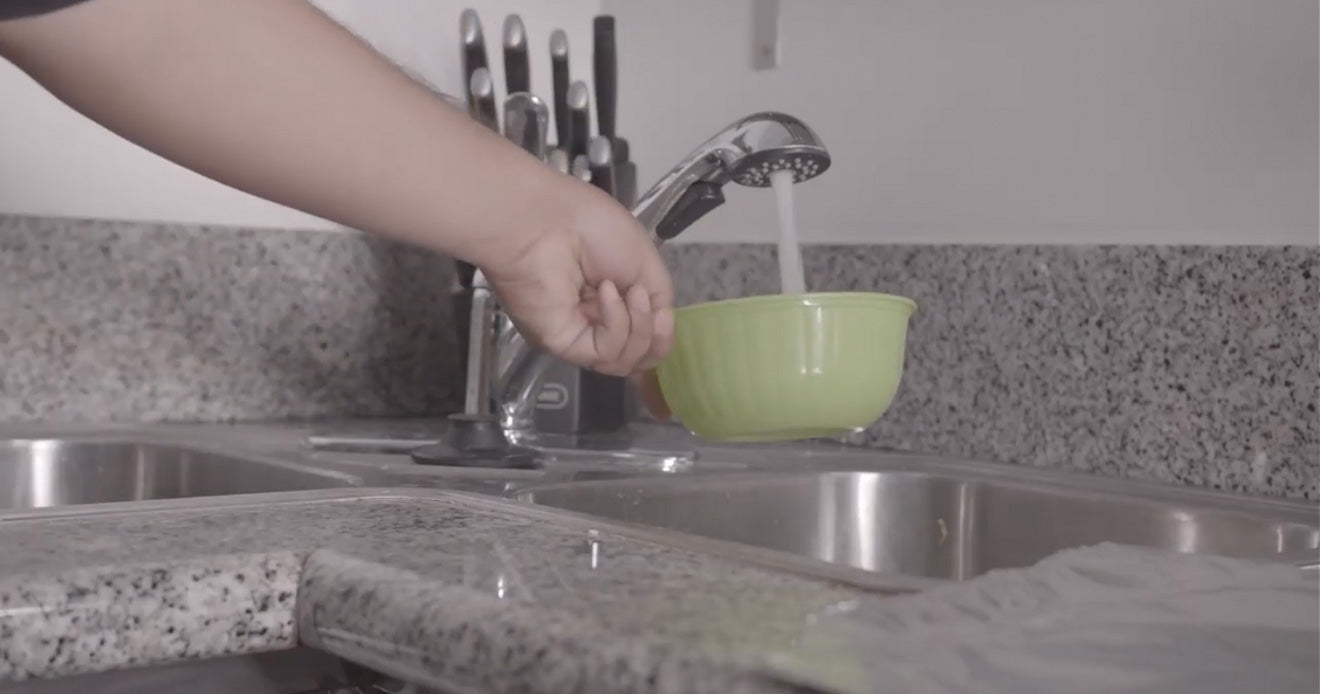
Take your plastic bowl and fill it with water. Put the bowl into the microwave and set the timer for about 2 to 3 minutes. Once the times up, take the bowl out of the microwave and place that cartridge in your Ziplock baggie into the now heated water. Tip: it is important to make sure your bag is airtight so you won’t get any water inside your cartridge.
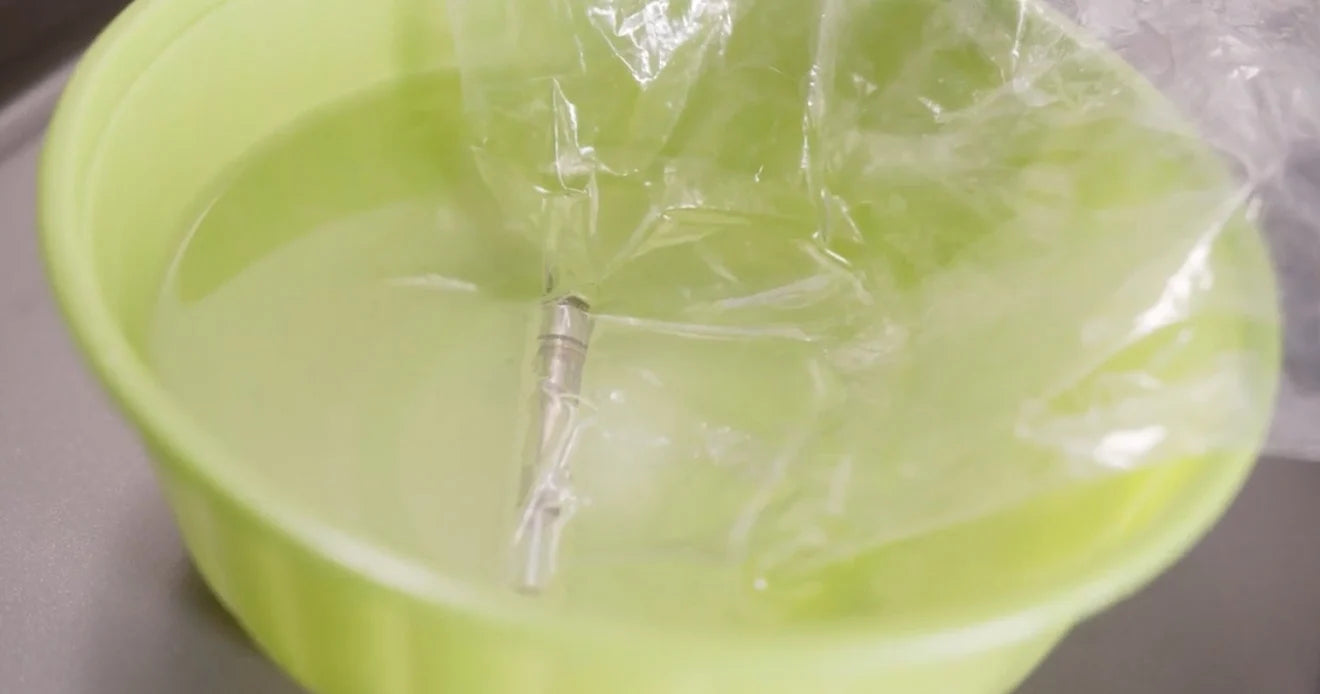
The hot water is going to heat the oil inside the cartridge, making it loose and easy to transfer. Leave that cartridge in the bowl for about 2 minutes.
Next you are going to place a large piece of foil down on a flat, even leveled surface. This will act as your work space area so things won’t get too messy.
Once your foil is down, it’s time to start transporting! Take an empty cartridge of your choosing and remove the mouthpiece so that the heating post is exposed. Now we are going to take the cartridge with the oil that you originally set aside out of the water. You are going to want to remove the mouthpiece as well from this cartridge. Tip: When removing the mouthpiece, use a towel or napkin as the cartridge could still be very hot.
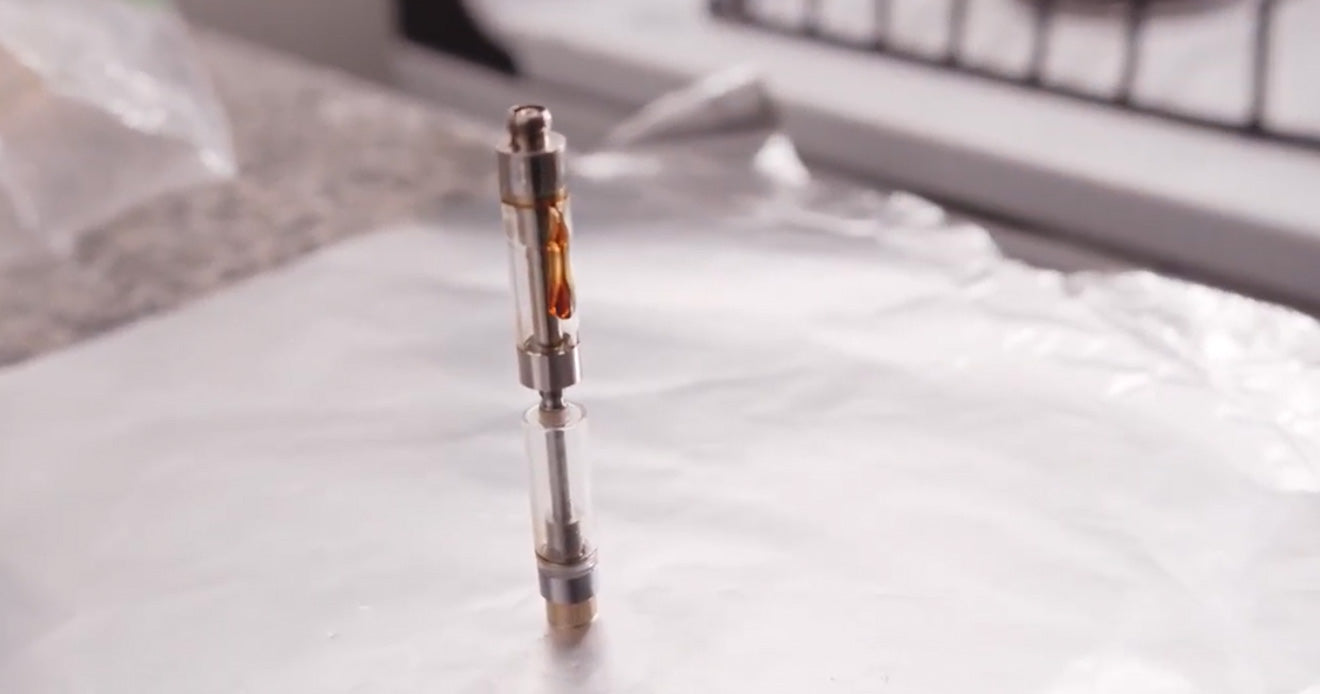
Once off, you are going to flip the cartridge and stack it directly on top of the empty cartridge. Directly mirroring the cartridge below, the oil will start to drip from one cartridge to another without any hassles. Tip: When transporting the oils from one cartridge to another avoid getting any oil into the heating post as that where your air will come out of and it could potentially ruin your cartridge.
Oils for Everyone
Say you don’t want to transfer your oils into another cartridge, then opt for something different!
Your best tool to get the job done is a syringe. Protecting both the oil and the cartridge, the syringe easily extracts the oil allowing you to use the oil for your choosing.
One way to go; place your oils on your favorite goodies! This includes food such as cake batter or cookie dough for a delicious kick, dry herb for extra elevated fun or whatever your heart desires. The options are endless!
If you don’t want to put it on anything at all, that’s fine too! You could simply extract it or poor straight on the foil, let it catch the oils and use it for later. Store it in the fridge so the oil re hardens and then taking a dab tool you can use this same oil for yummy, potent dabs later!
Learn More
For more information on how to salvage your oils, you can always head over to our Youtube channel where you can find in depth videos all about vaping!
Get Your Oil On!
We hope this guide was helpful and we’ll be back with more blogs! Happy Vaping!
Frequently Asked Questions
How-To FAQs
Quick answers to what shoppers usually ask before putting this guidance to use.
What do I need to salvage oil from a cartridge?
How does the hot water loosen the oil?
Do I have to transfer the oil into another cartridge?
How do I store leftover salvaged oil?
Got Vape Trust Center
About This Resource
Here's a look at who put this guide together, how it was fact checked, and how the Got Vape team keeps it current.
Editorial Standards
- Written for shoppers, not search engines.
- Checked for accuracy and plain, practical usefulness before it goes live.
- Grounded in the manufacturer specs and product documentation we can verify.
- Revisited whenever products, regulations, or category trends shift enough to matter.
- Shaped by years of hands-on time with this gear, not just spec sheets.
- Written to help you land on the right device without the guesswork.
Research Methodology
We built this walkthrough around the actual steps, from unboxing through everyday use, based on time spent with the device and the questions people ask most.
- Hands-on product experience
- Step-by-step setup and use
- Cleaning, care, and troubleshooting
- Common questions answered
- Safe and responsible use
- Real-world use considerations
- Editorial review for clarity and accuracy
Article Information
Intended Audience
- Everyday customers
- First-time buyers
- Experienced enthusiasts
- Dry herb users
- Concentrate users
- Anyone upgrading their setup
Editorial Policy
We revisit Got Vape guides on a regular basis rather than publishing them once and walking away. If a product spec, regulation, or category trend changes enough to matter, the article gets updated and the review date moves with it.
Keep Exploring
Related Resources
A few more Got Vape guides worth a look if you want to get even more out of your setup.
How-To
Learn how to fix troubleshooting for your sessions. Understand the proper temperature to store your vape and avoid troubleshoot...
Read Resource →
Product Comparison
Explore the significant distinctions between auto draw and manual cartridge vaporizers, ranging from control features to conven...
Read Resource →
Best Of List