

Resource Center
Puffco Accessory Troubleshooting Guide: How to Fix Common Errors

Continue With This Resource
Got Vape Quick Brief
What You Should Know
Skim this first for the short version: the main points, the questions people ask, and what to consider before you buy.
Overview
Key Takeaways
- Seating the front lip of the glass attachment first ensures the lower inlet hole aligns directly over the base vapor slot for effortless airflow.
- Warming the base with a brief heat cycle softens sticky reclaim so you can safely remove stuck glass attachments without tearing silicone seals.
- Removing the glass before adding water to roughly half an inch above the percolators prevents disastrous water leaks into the electronic battery well.
- Soaking glass tops in a warm bath of 99% isopropyl alcohol cleans intricate recycler tubes and percolator slits without trapping abrasive salt crystals inside delicate glasswork.
- Upgrading to a borosilicate dry top preserves volatile terpene profiles while completely eliminating the risk of water leaks during travel.
Questions This Resource Answers
- Why does a Puffco glass attachment feel completely blocked or have zero suction during a draw?
- How do you safely remove a Puffco glass top that is glued to the base by sticky concentrate reclaim?
- What is the proper procedure for filling a Puffco glass bubbler without flooding the electronic base?
- How do you dissolve stubborn reclaim clogs inside intricate percolator slits and recycler tubes?
- How can you test an aftermarket or stock Puffco glass top for hairline cracks and vacuum leaks?
Recommended Products
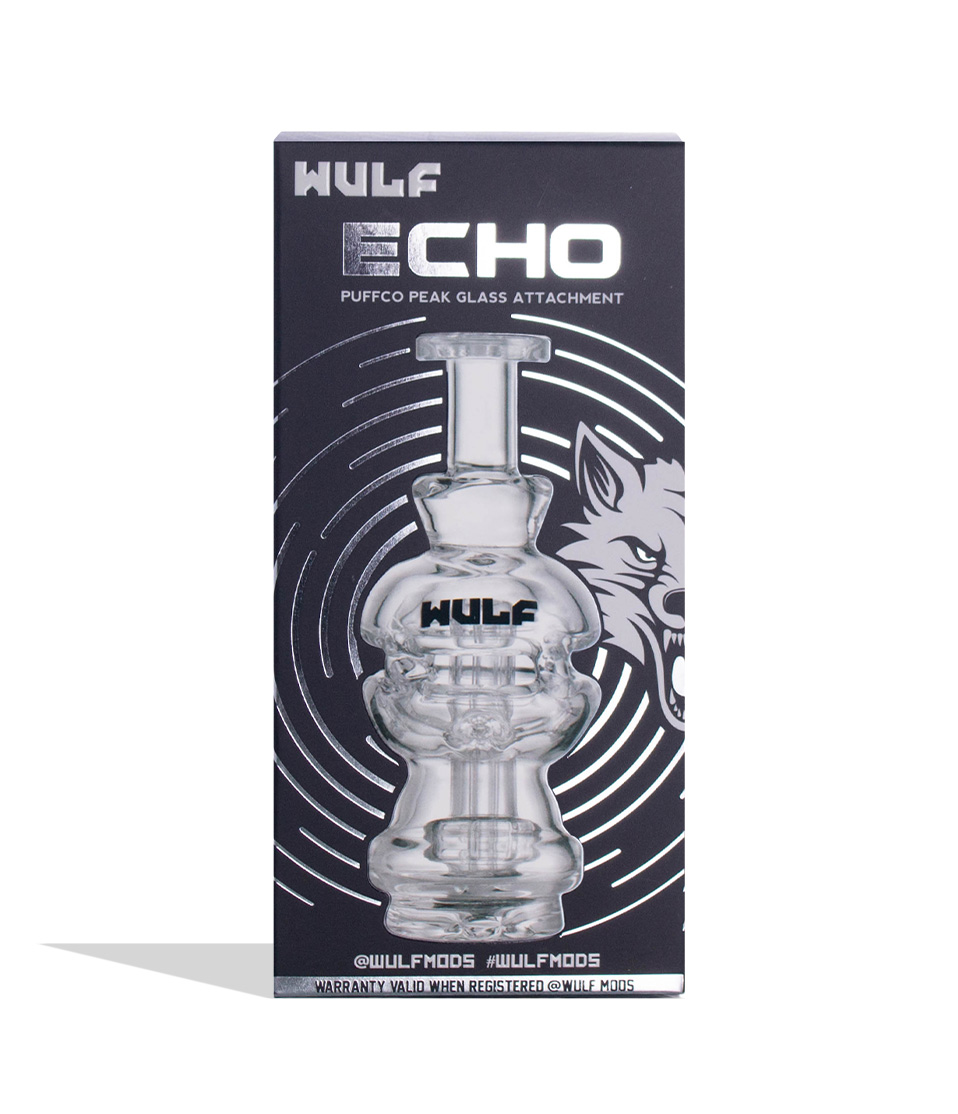
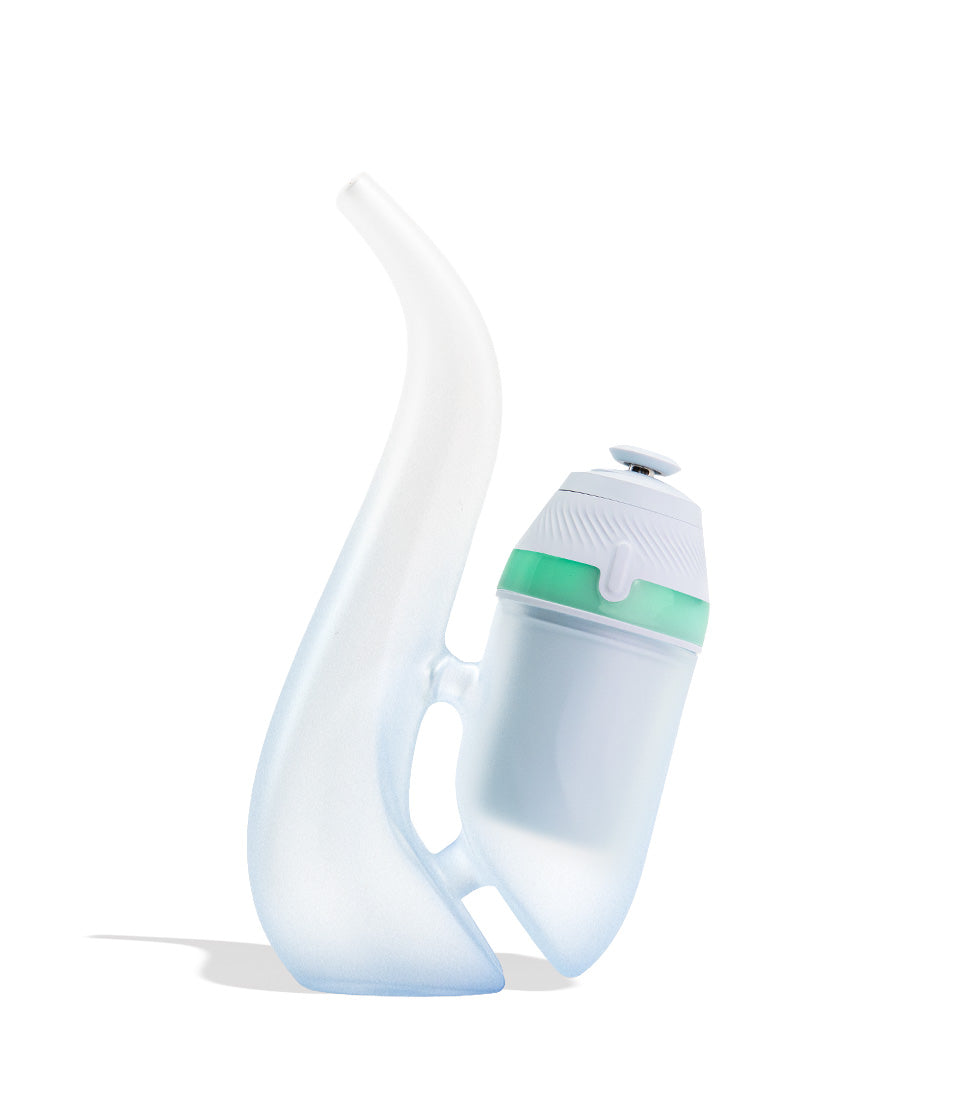
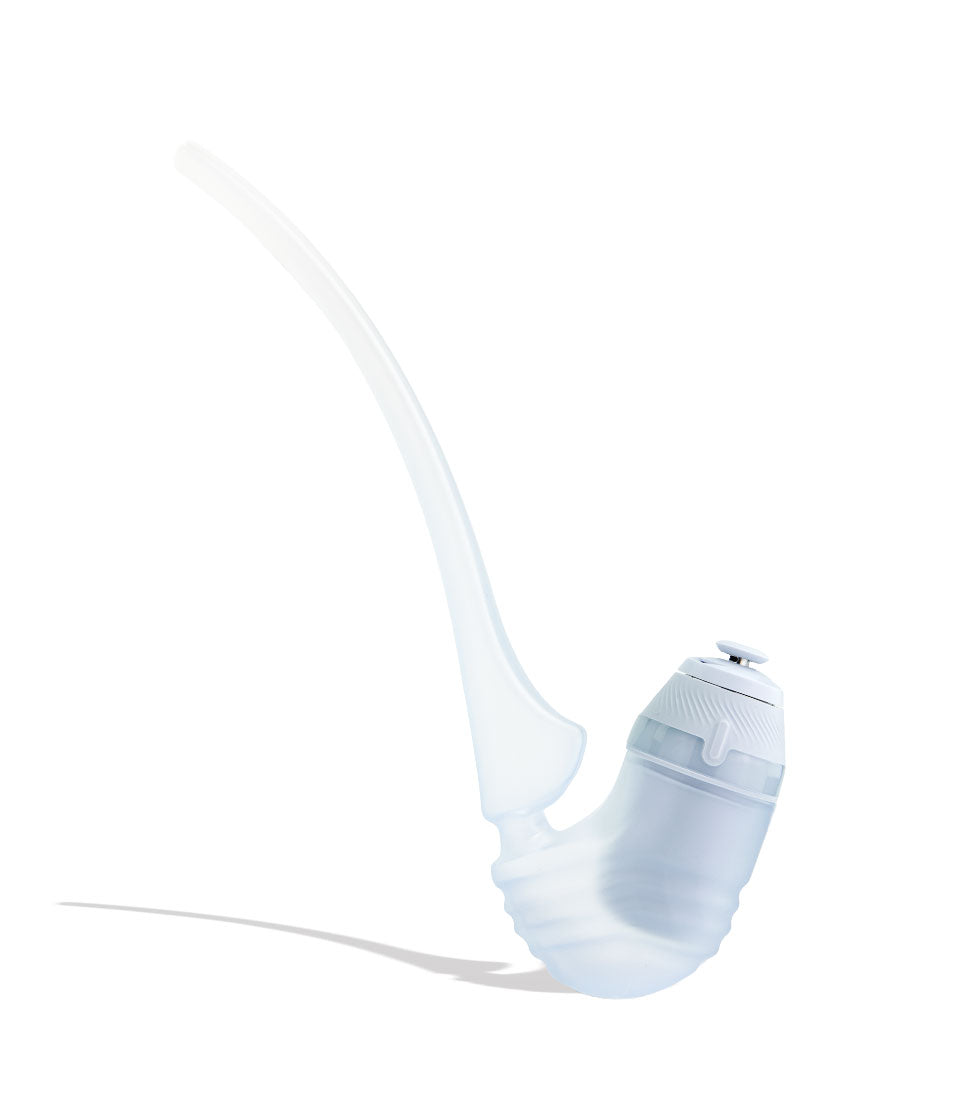
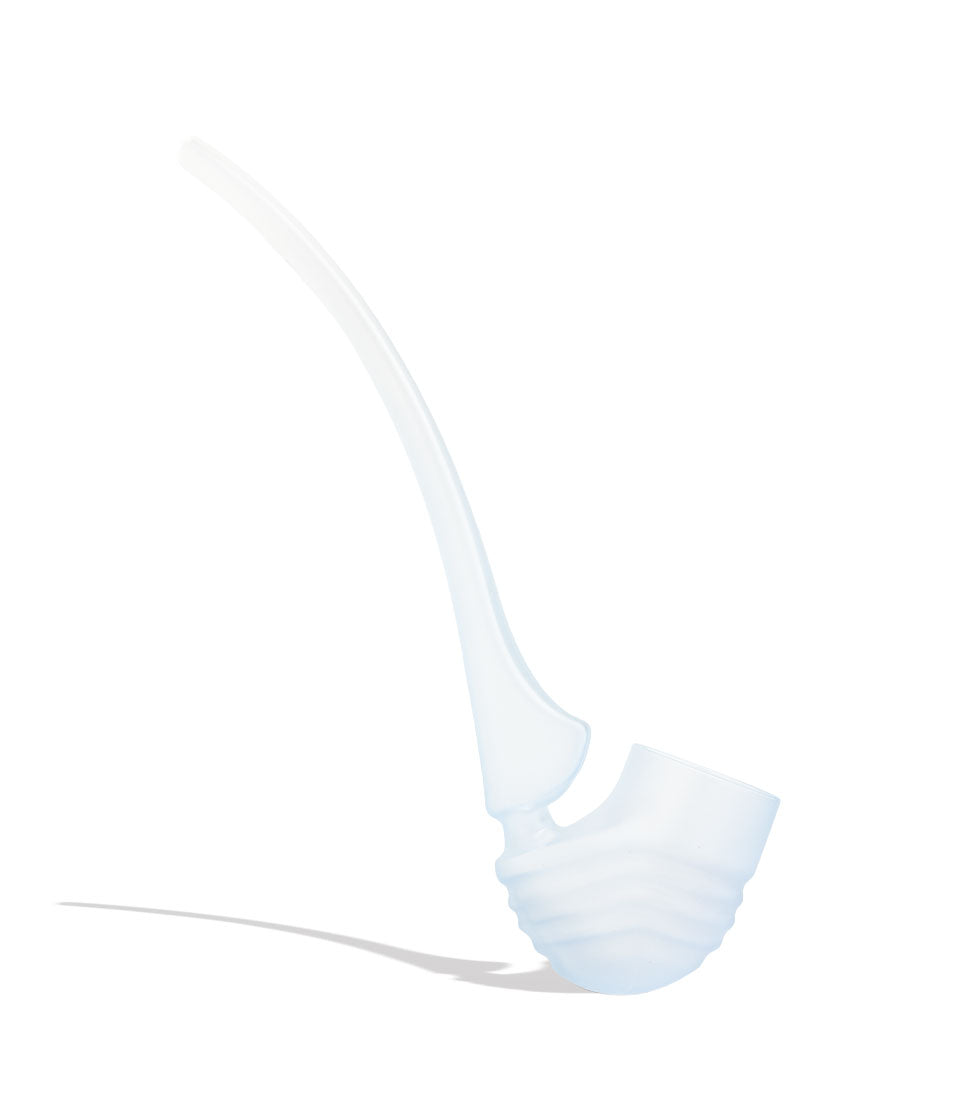
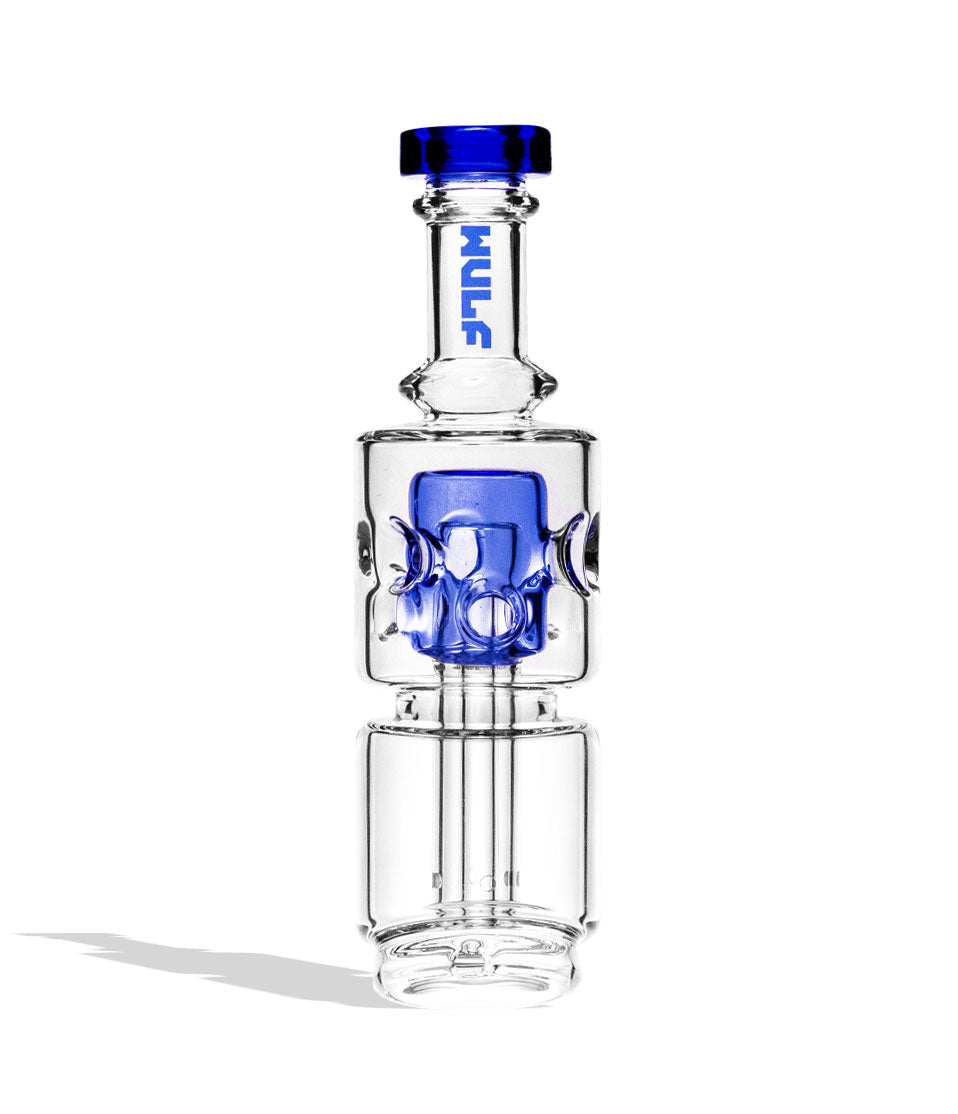
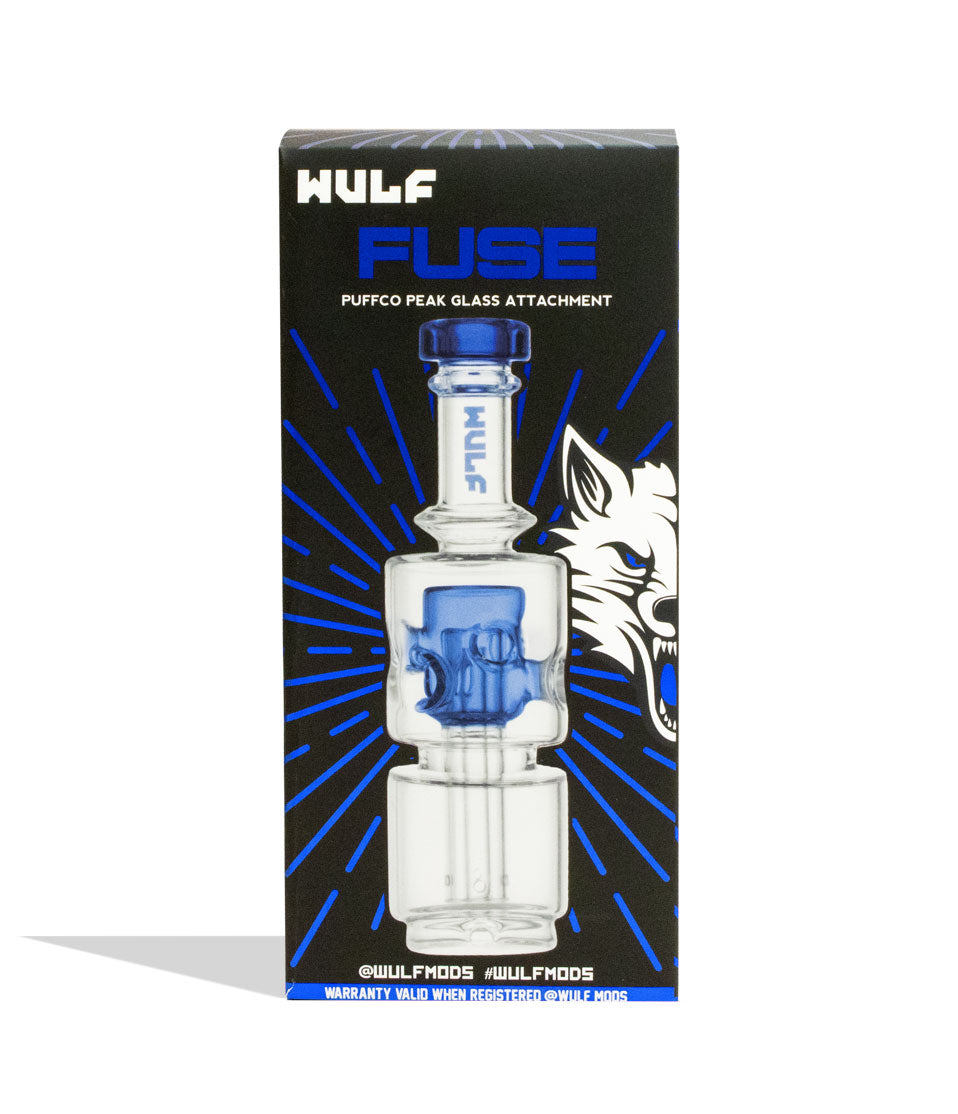
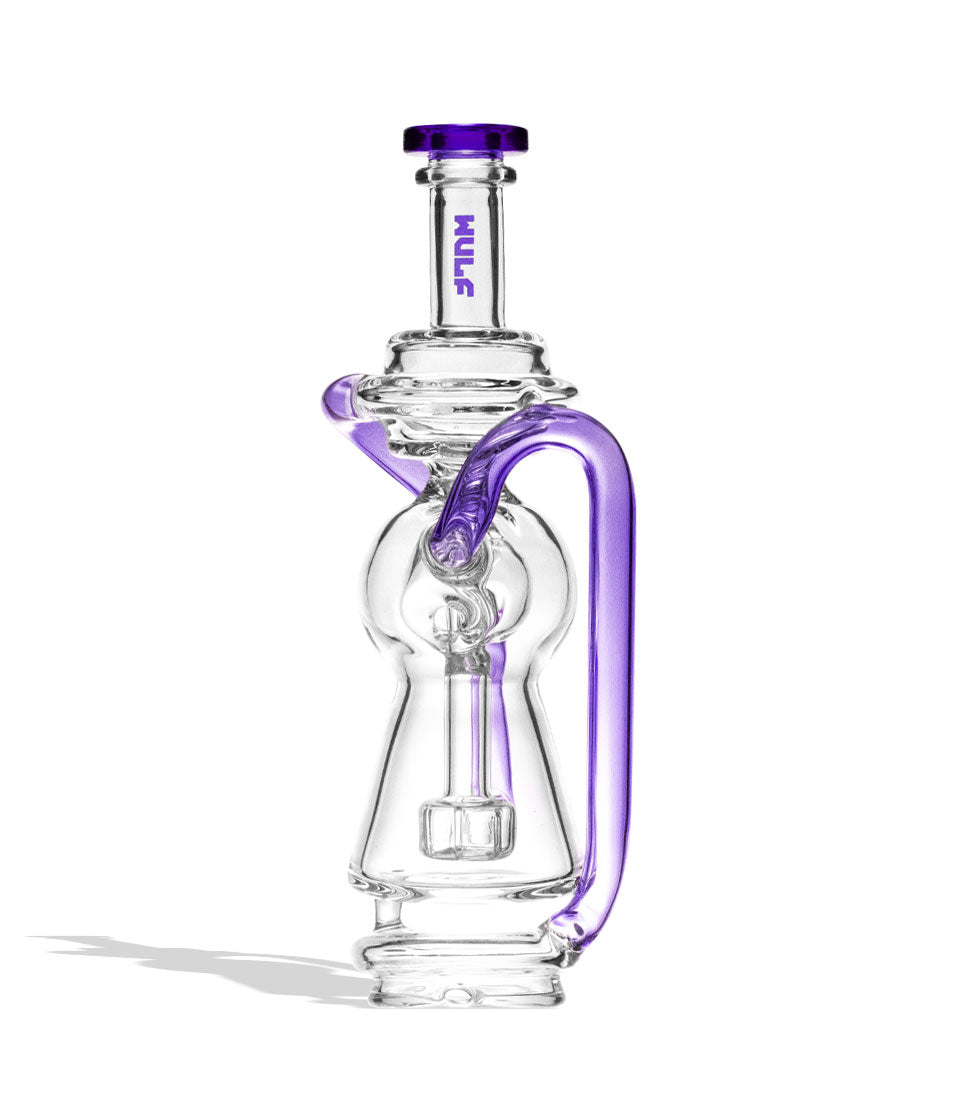
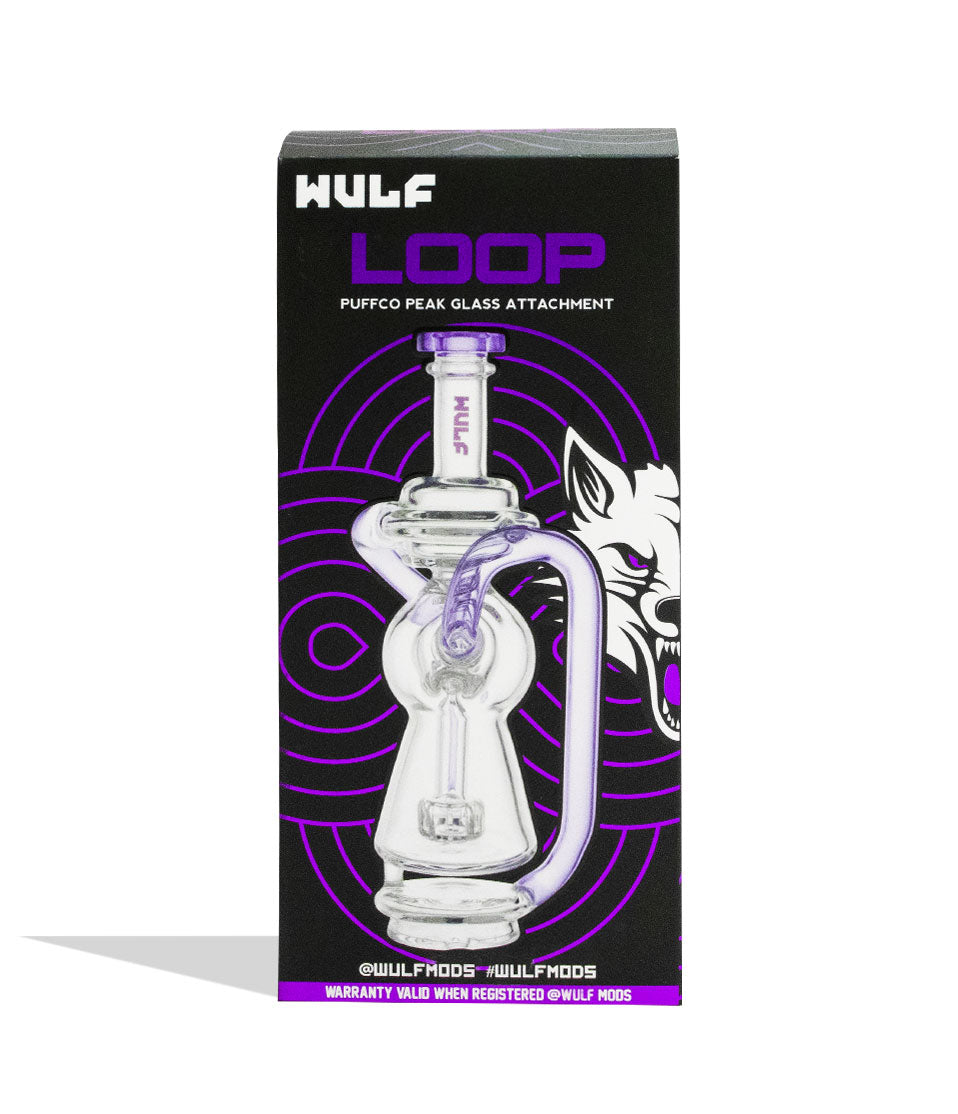
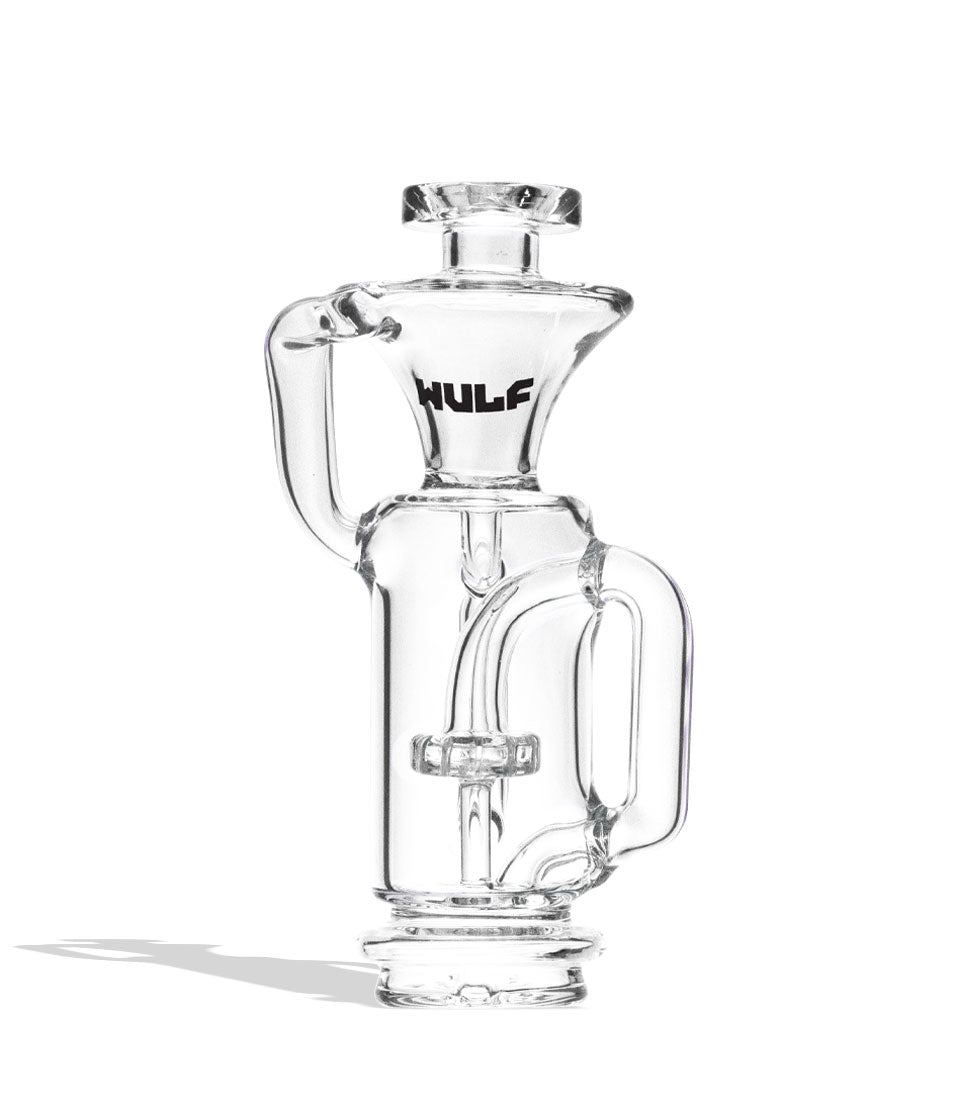
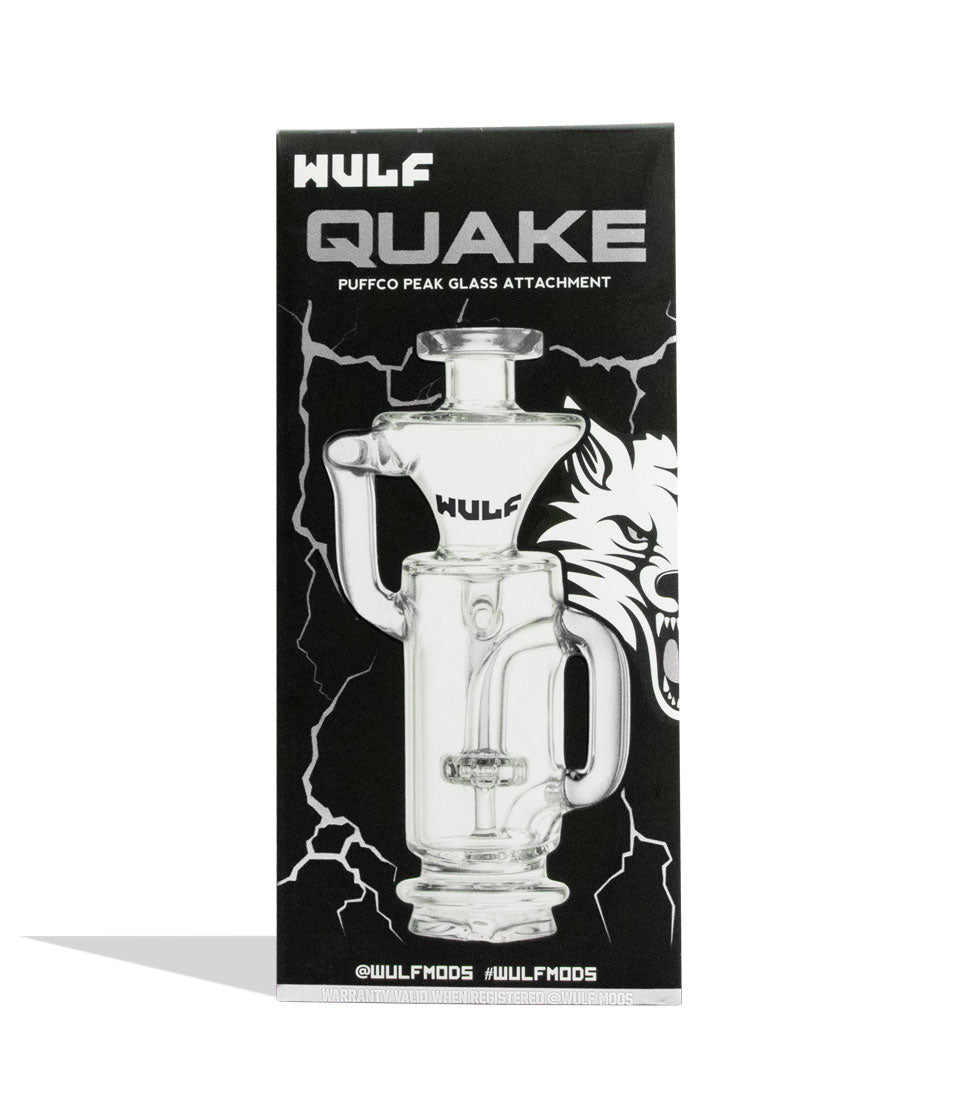
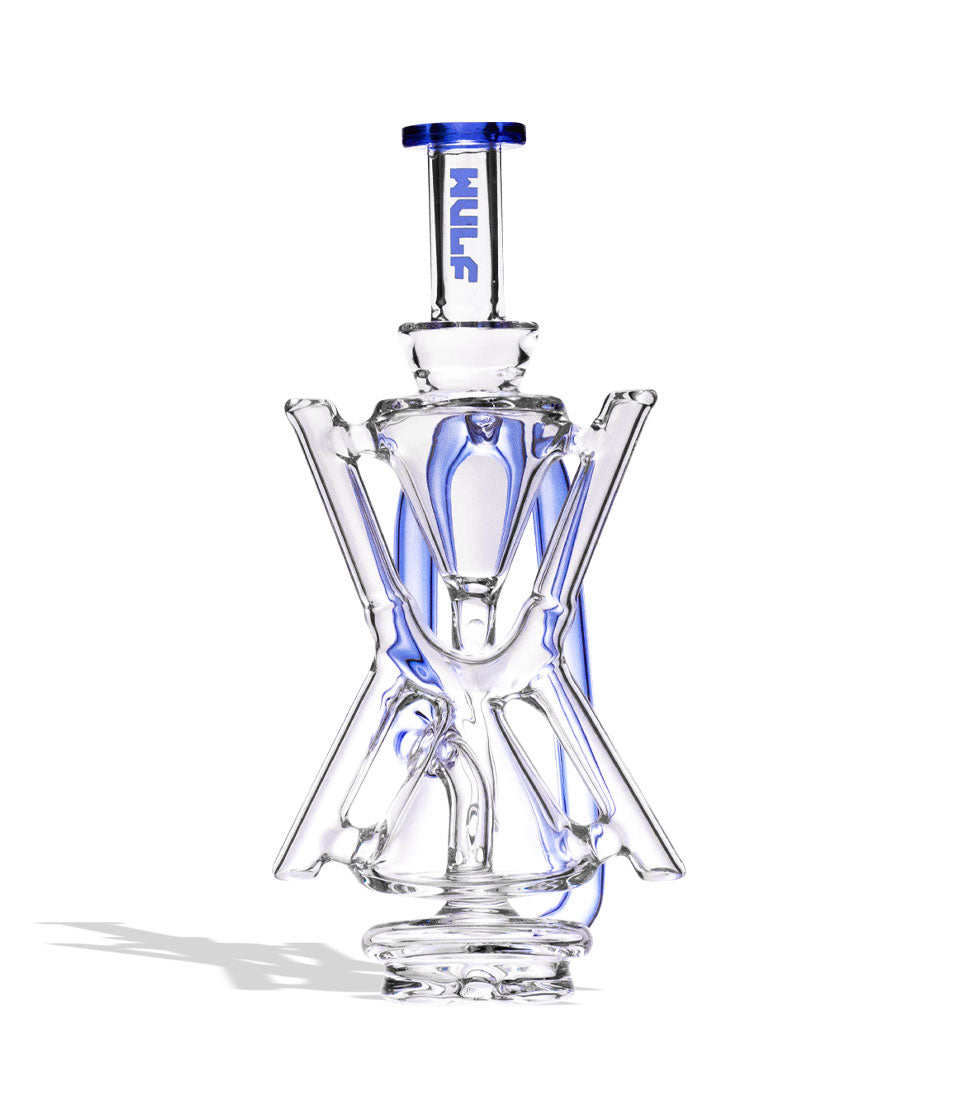
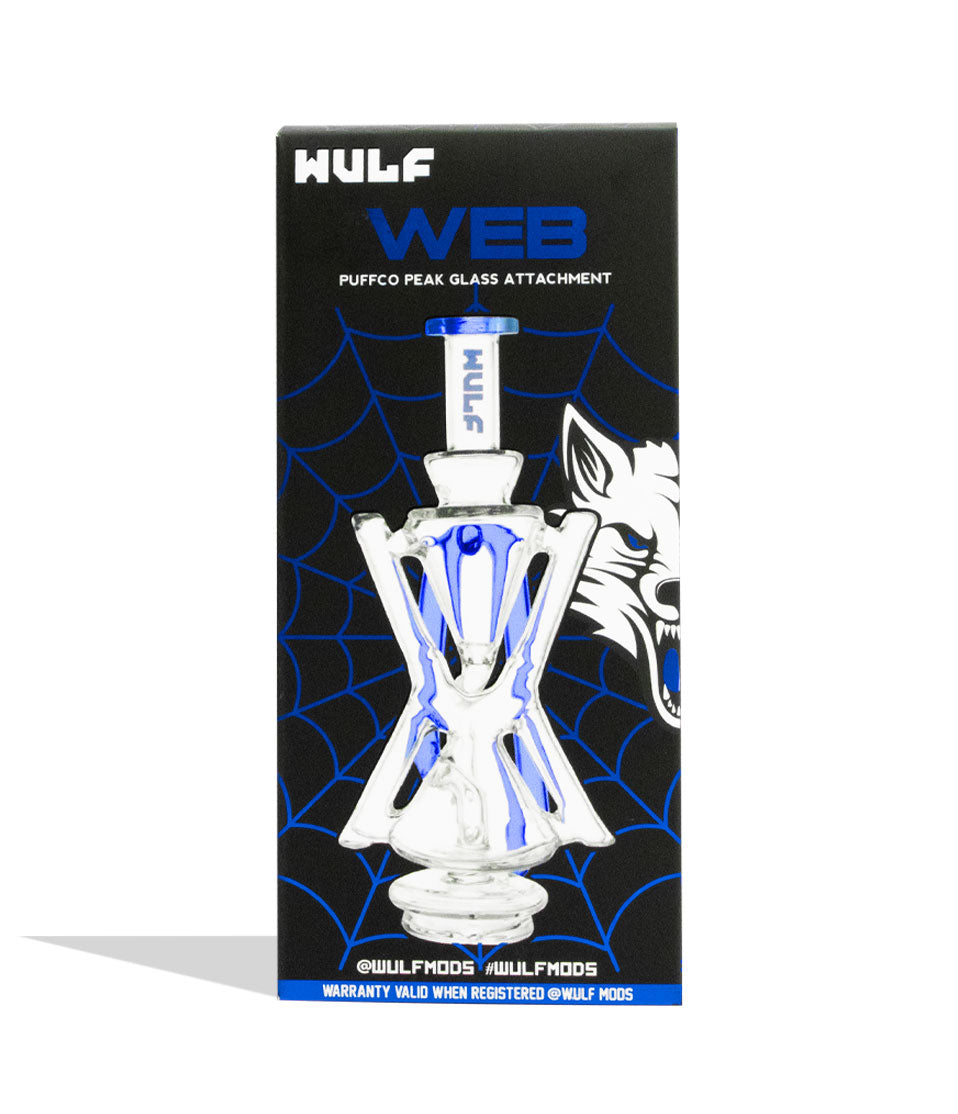
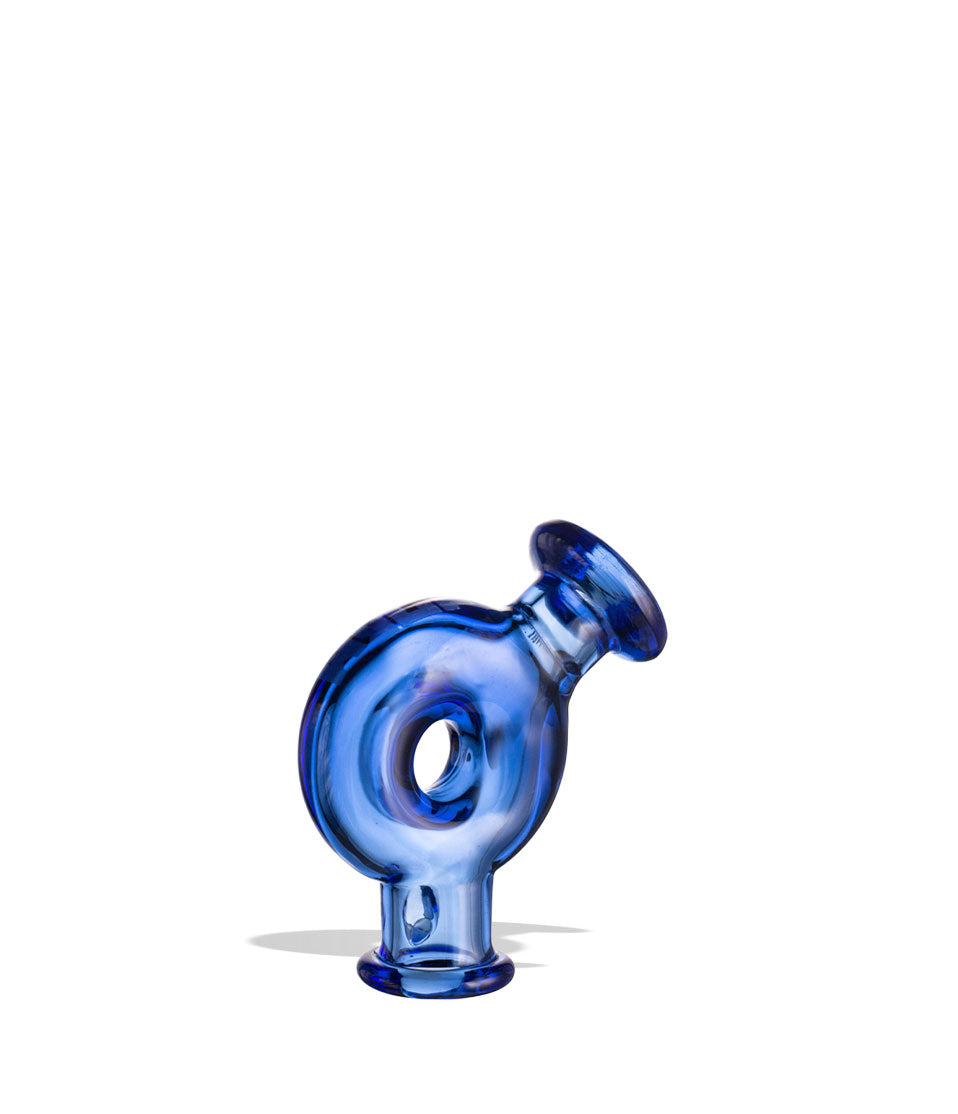
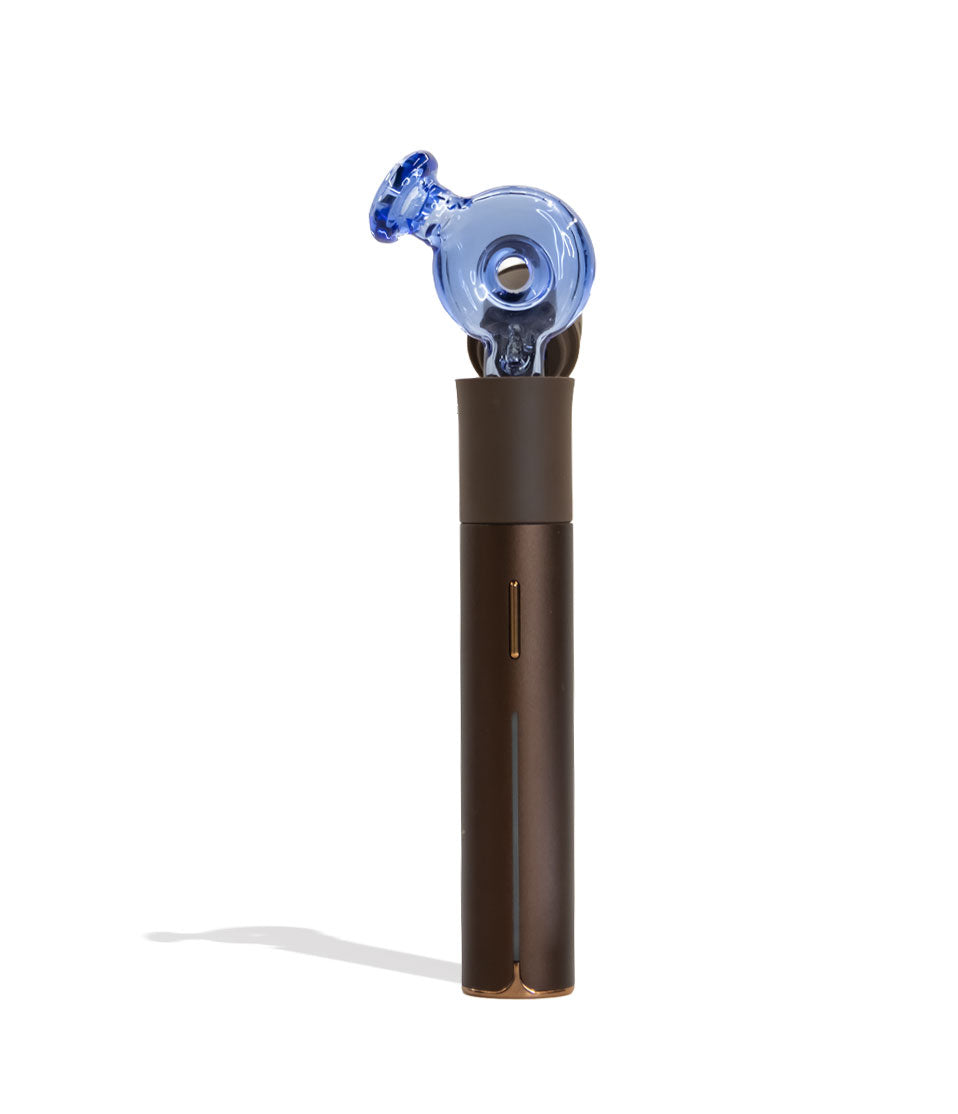
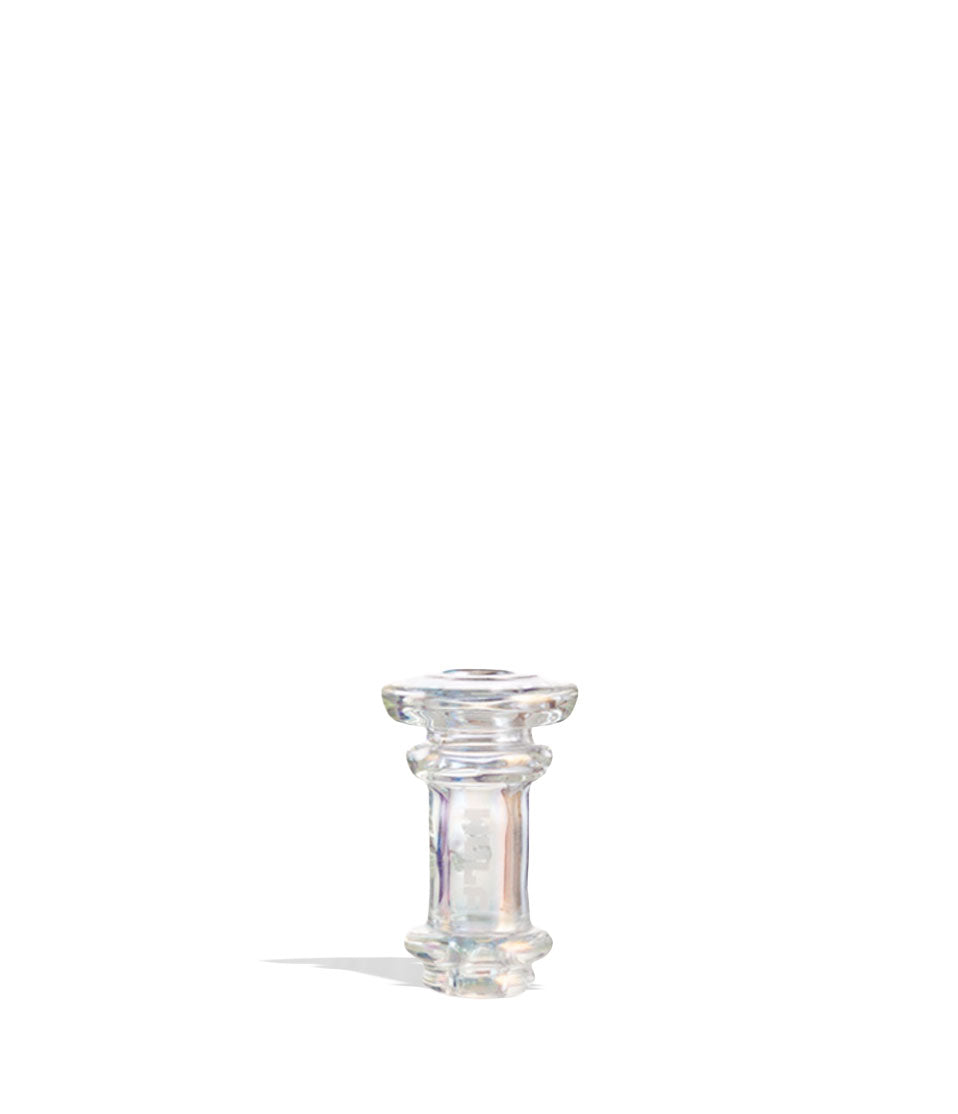
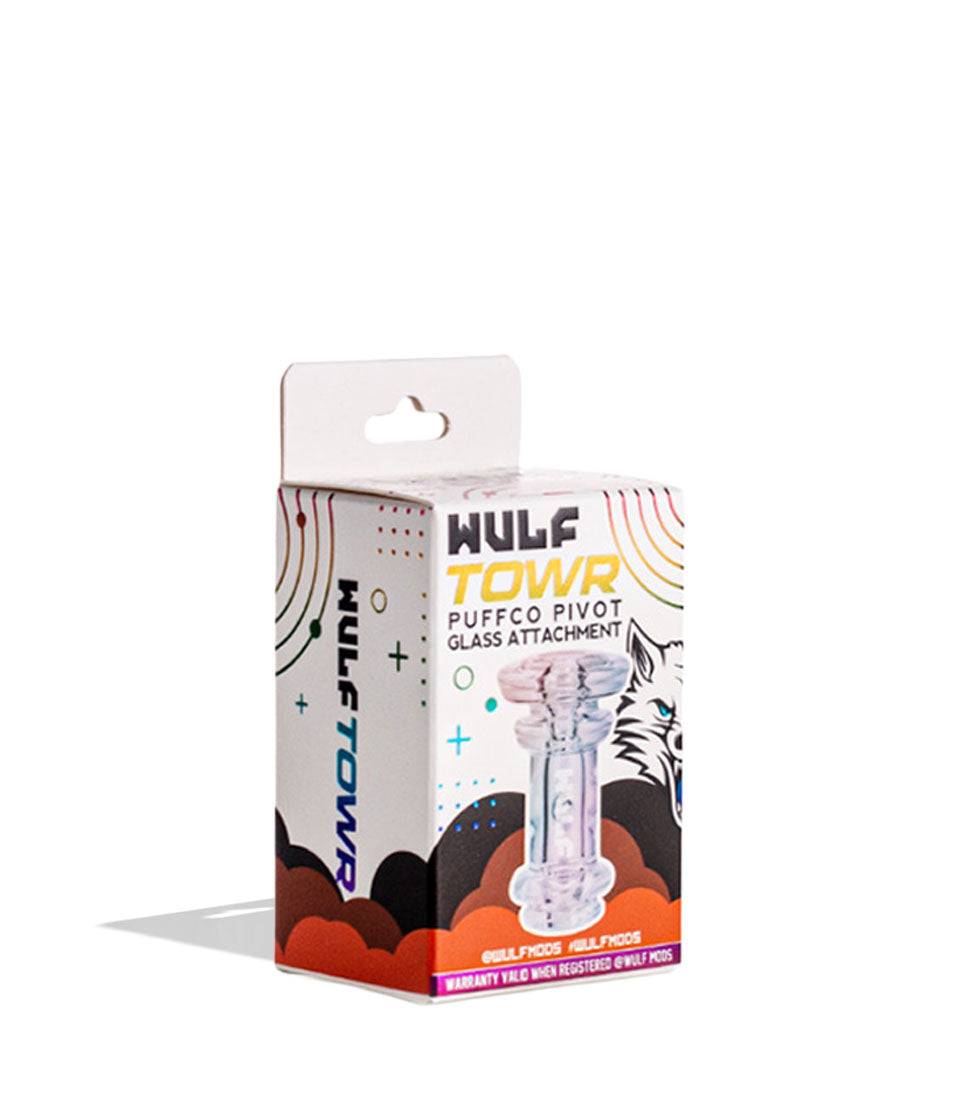
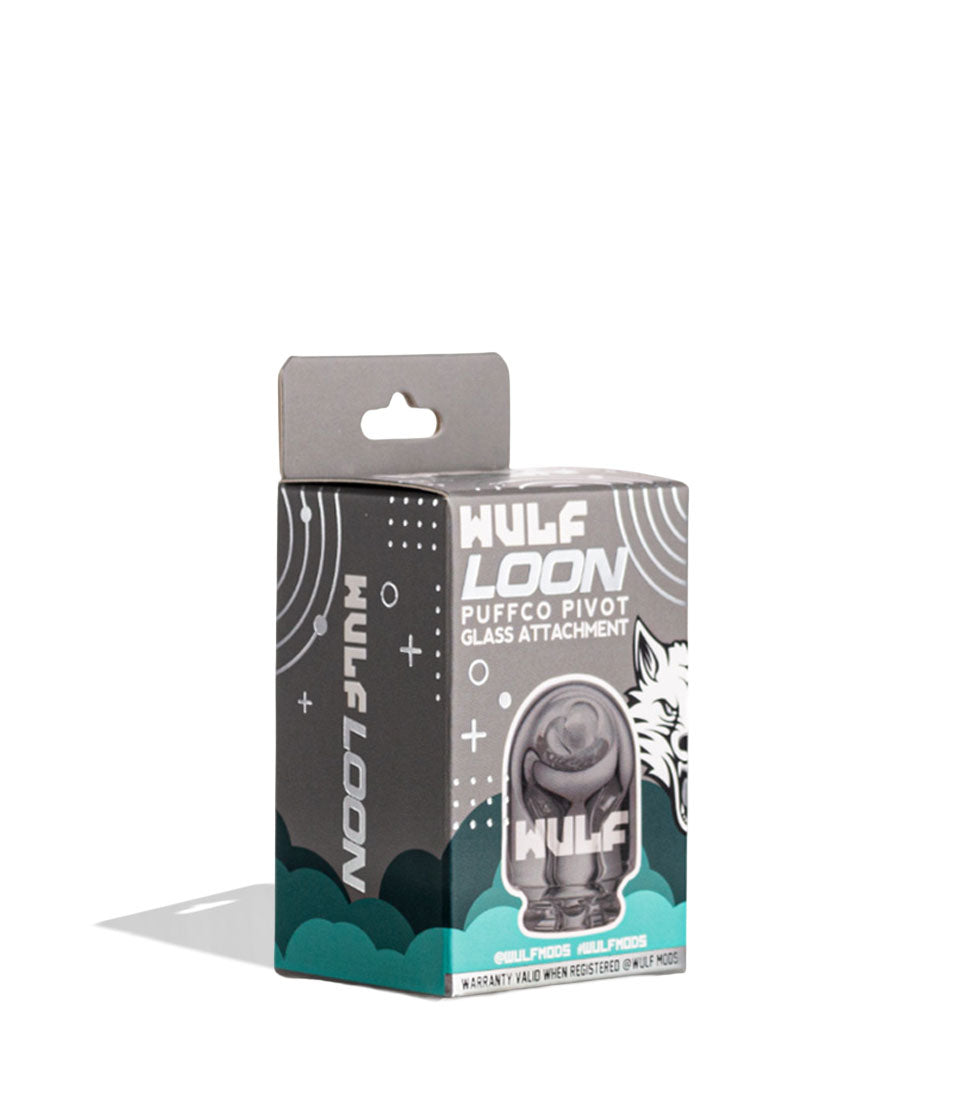
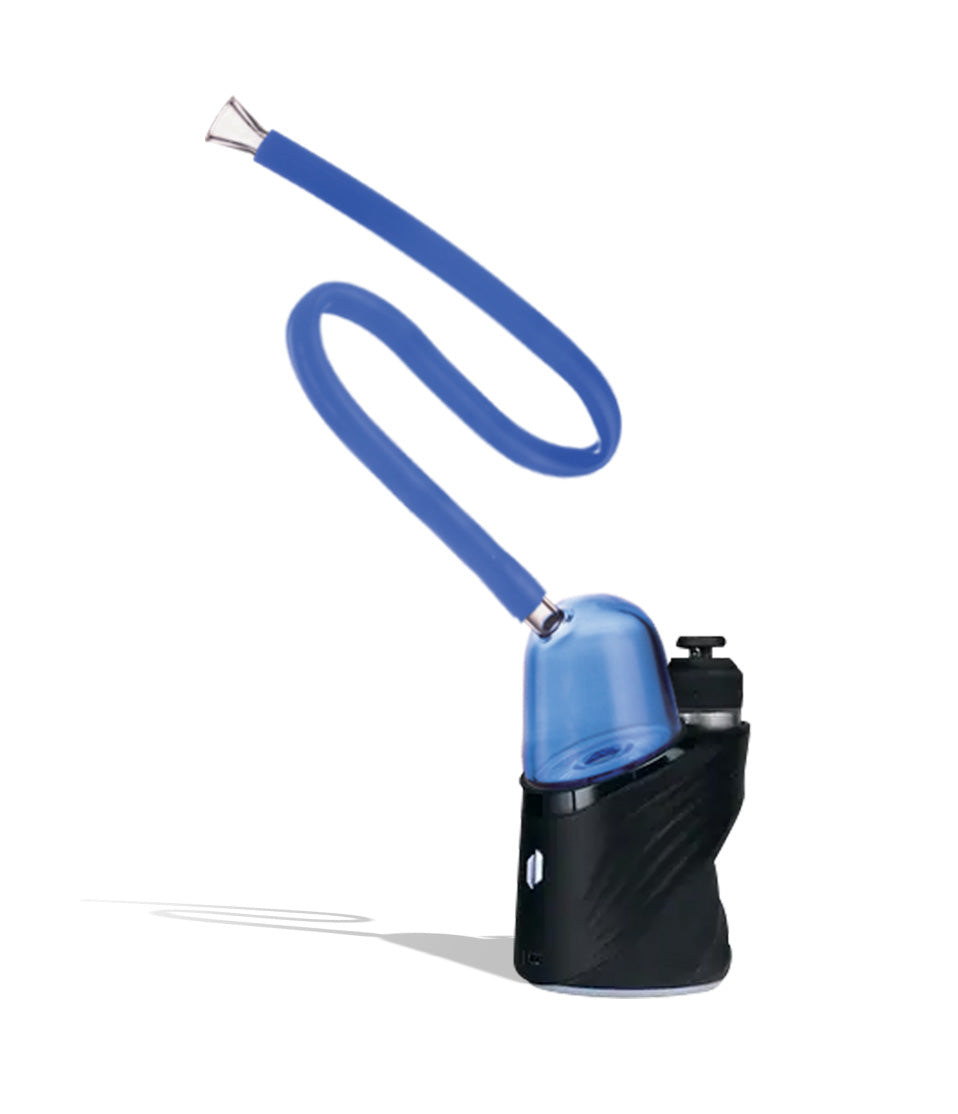
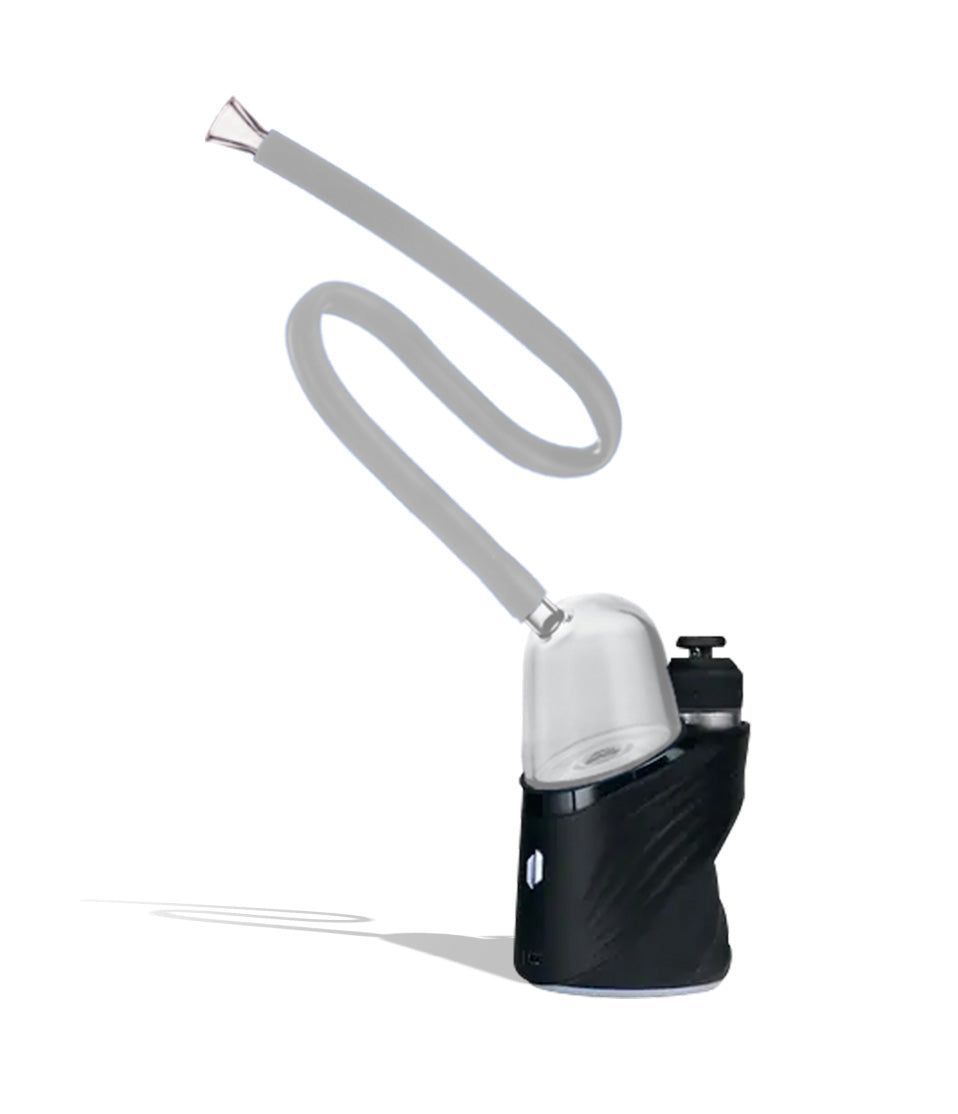
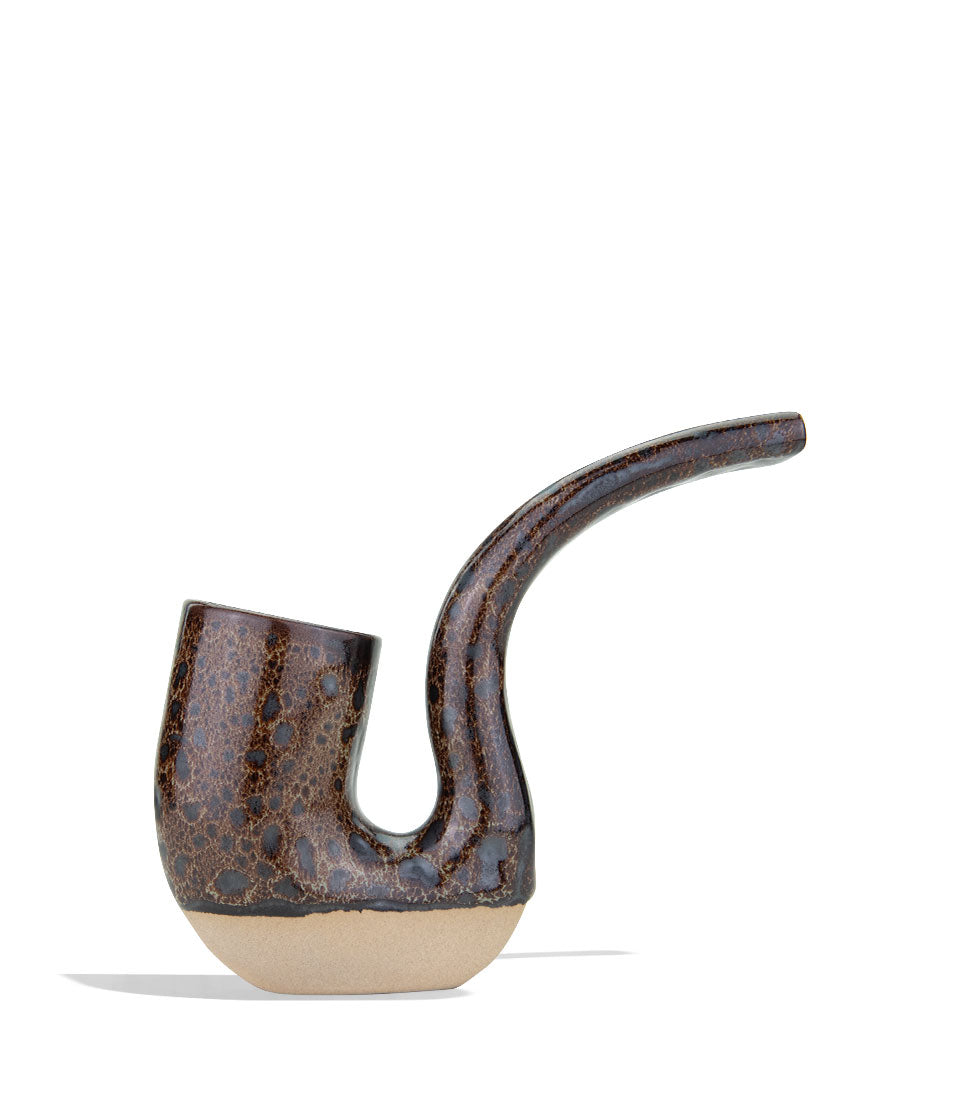
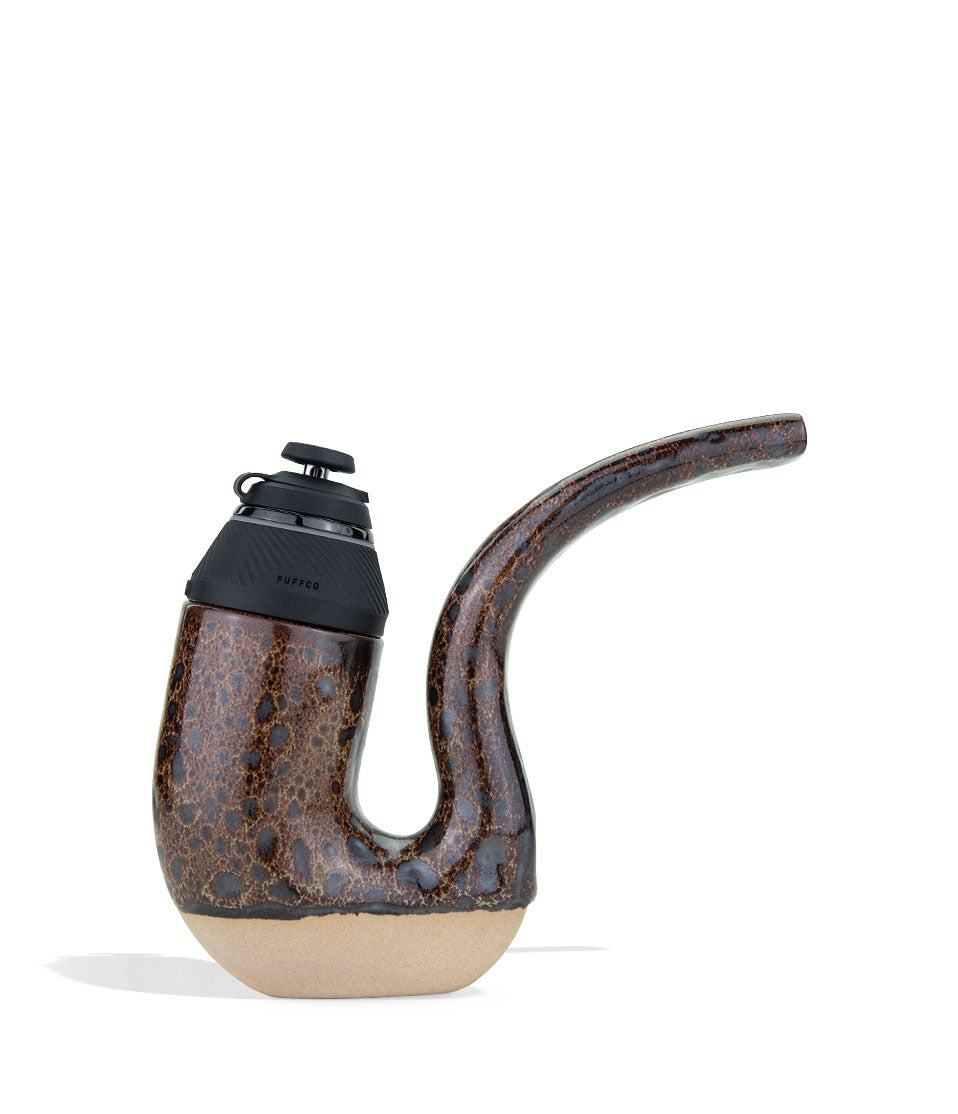
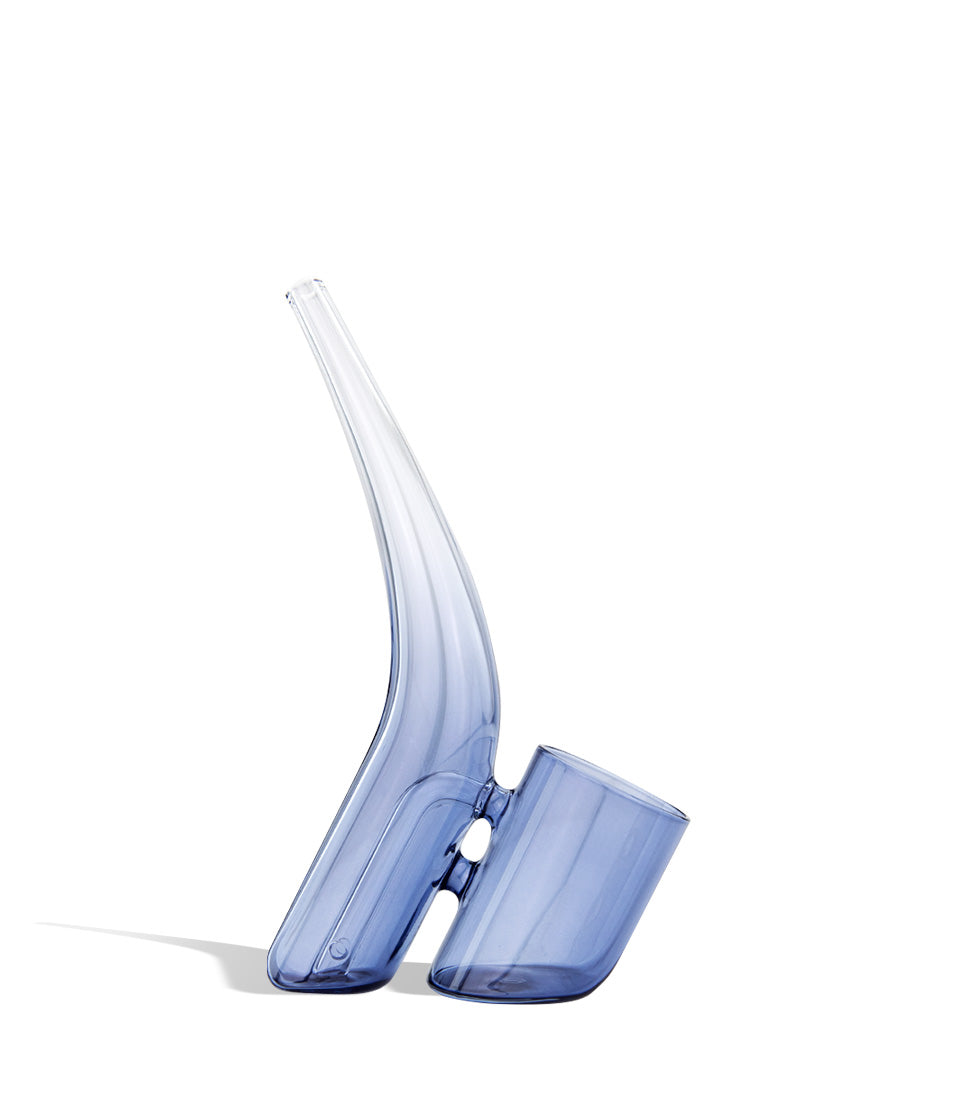
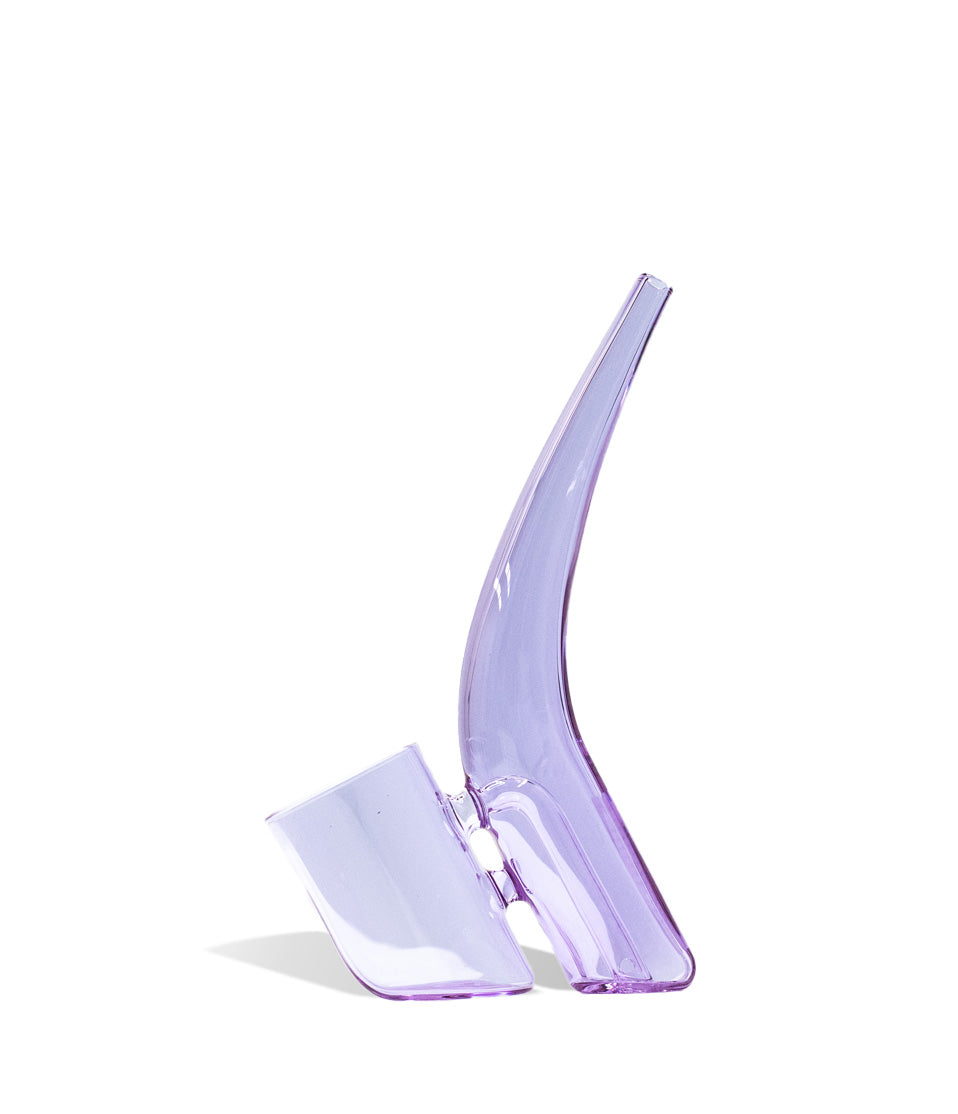
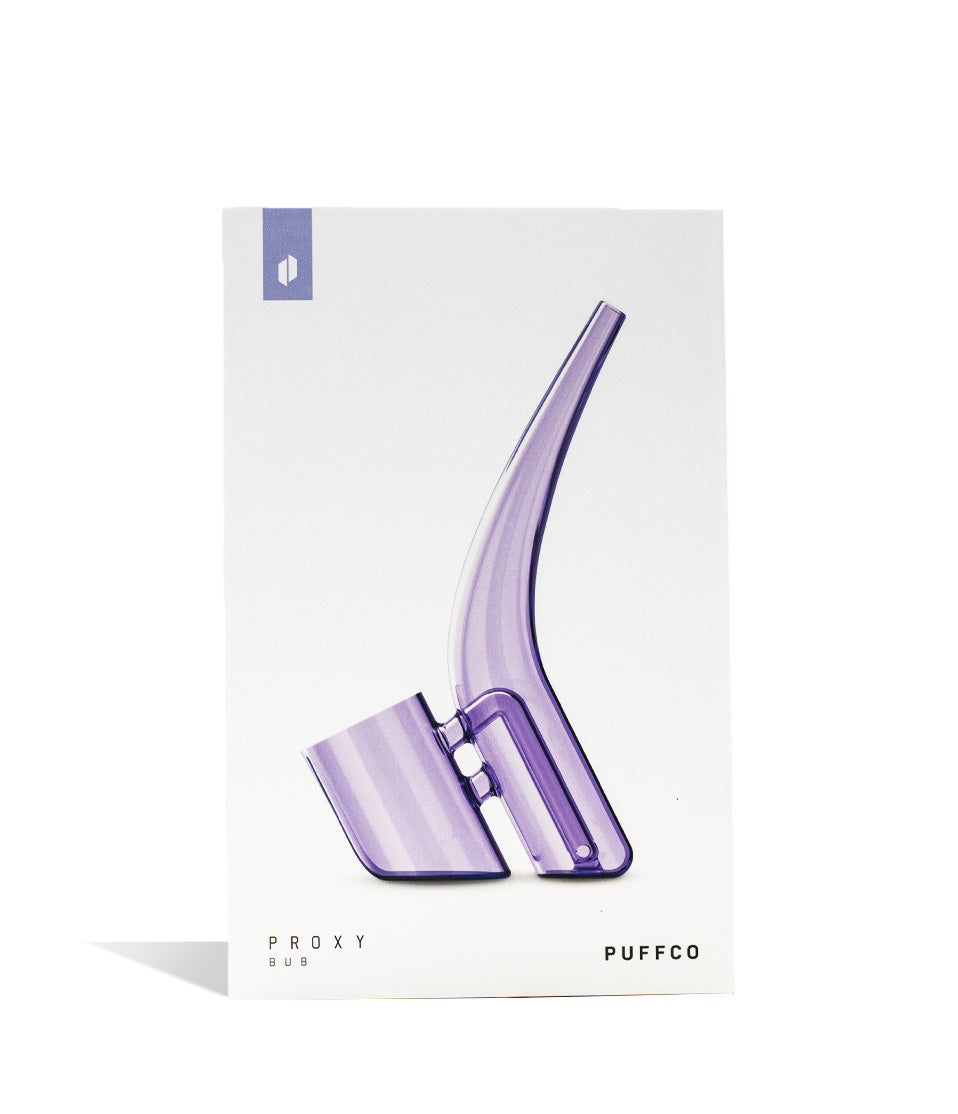
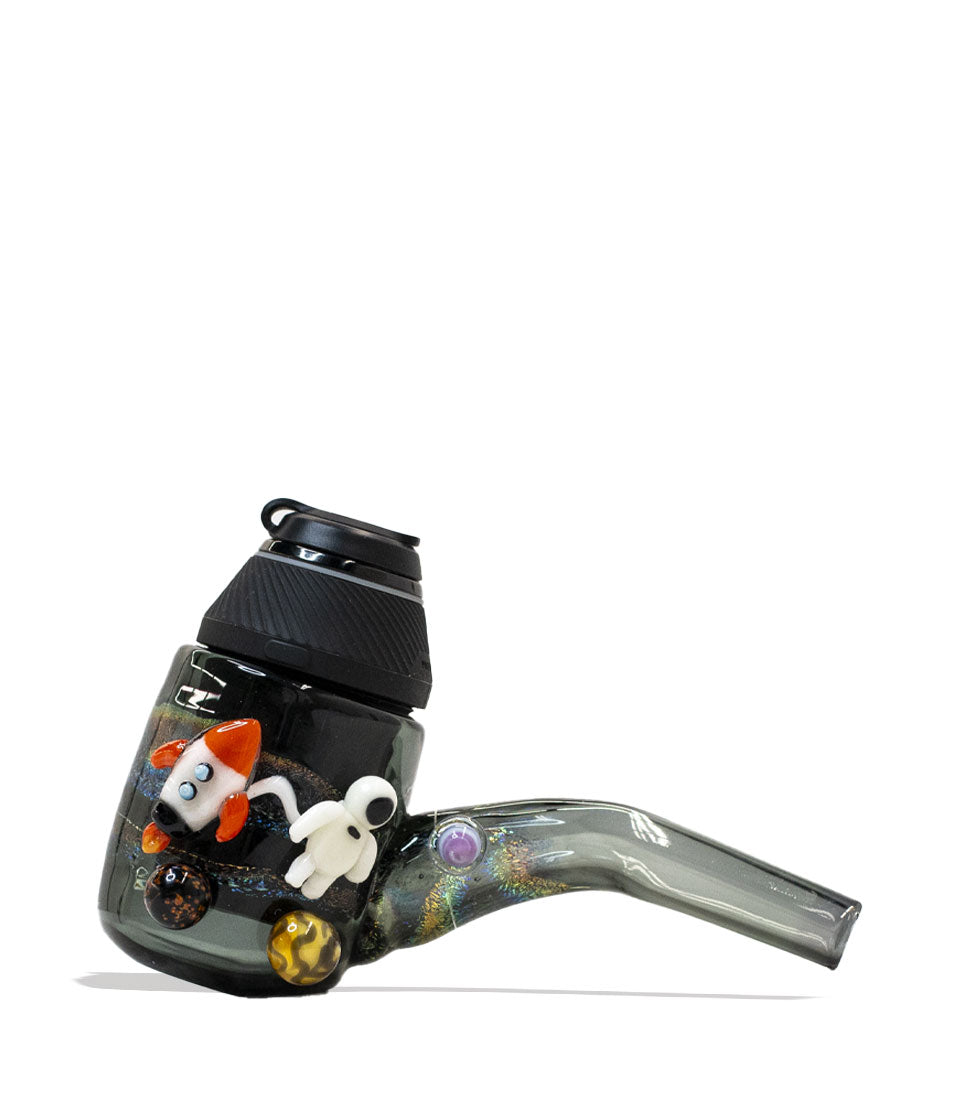
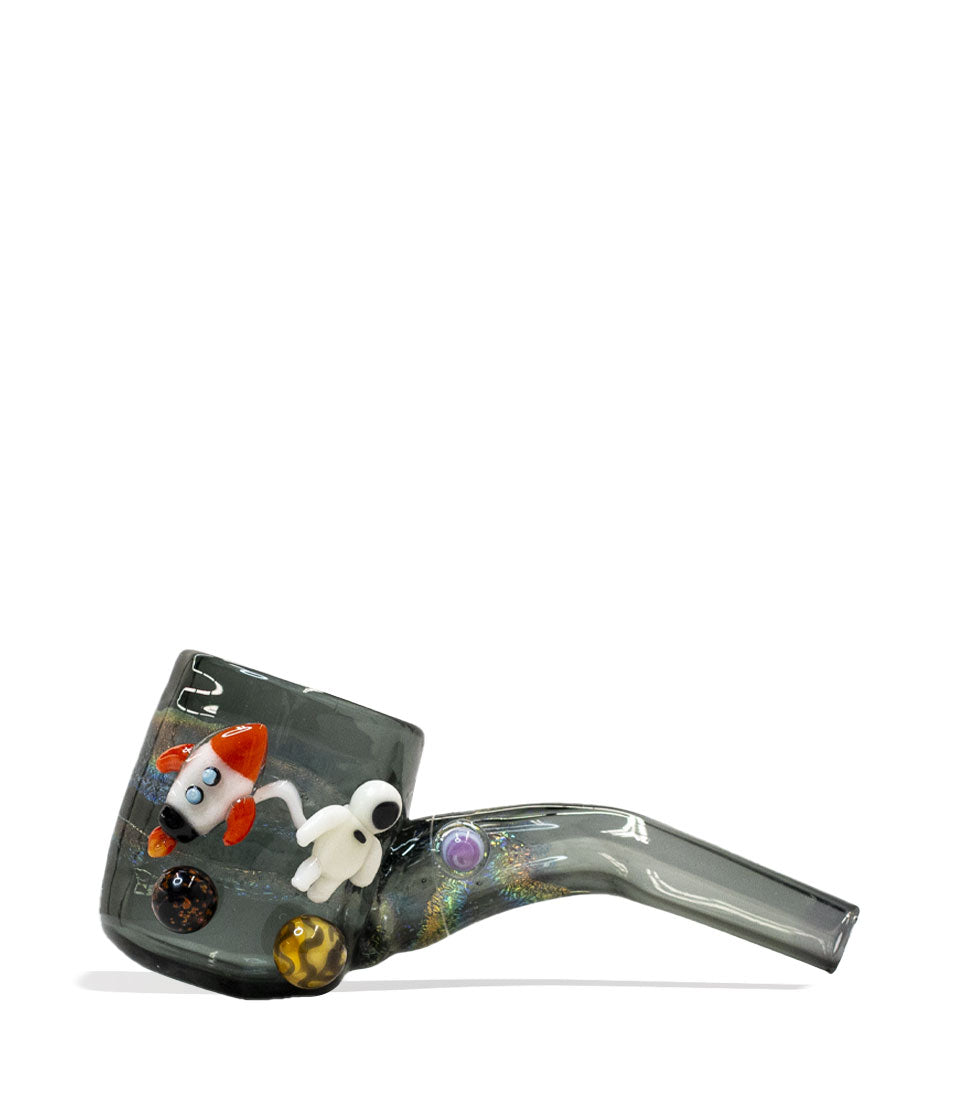
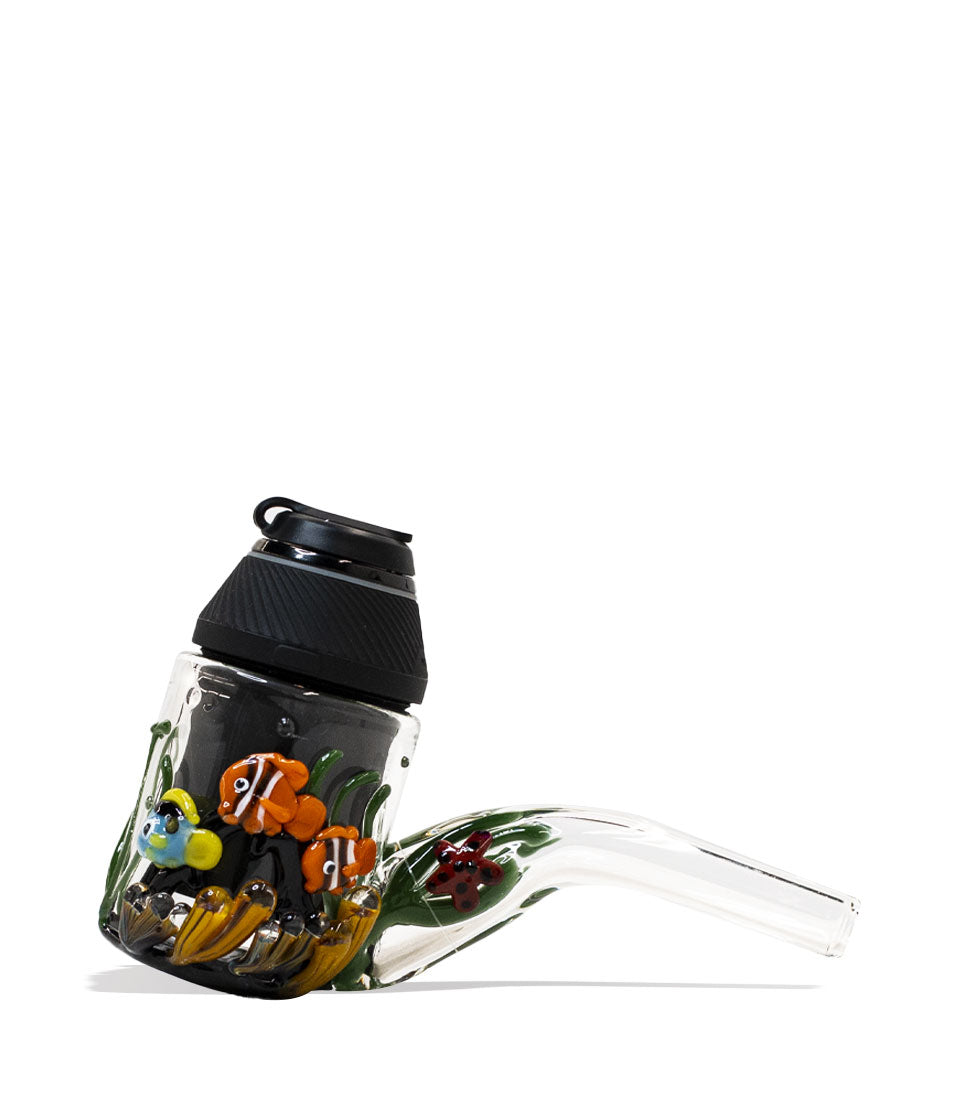
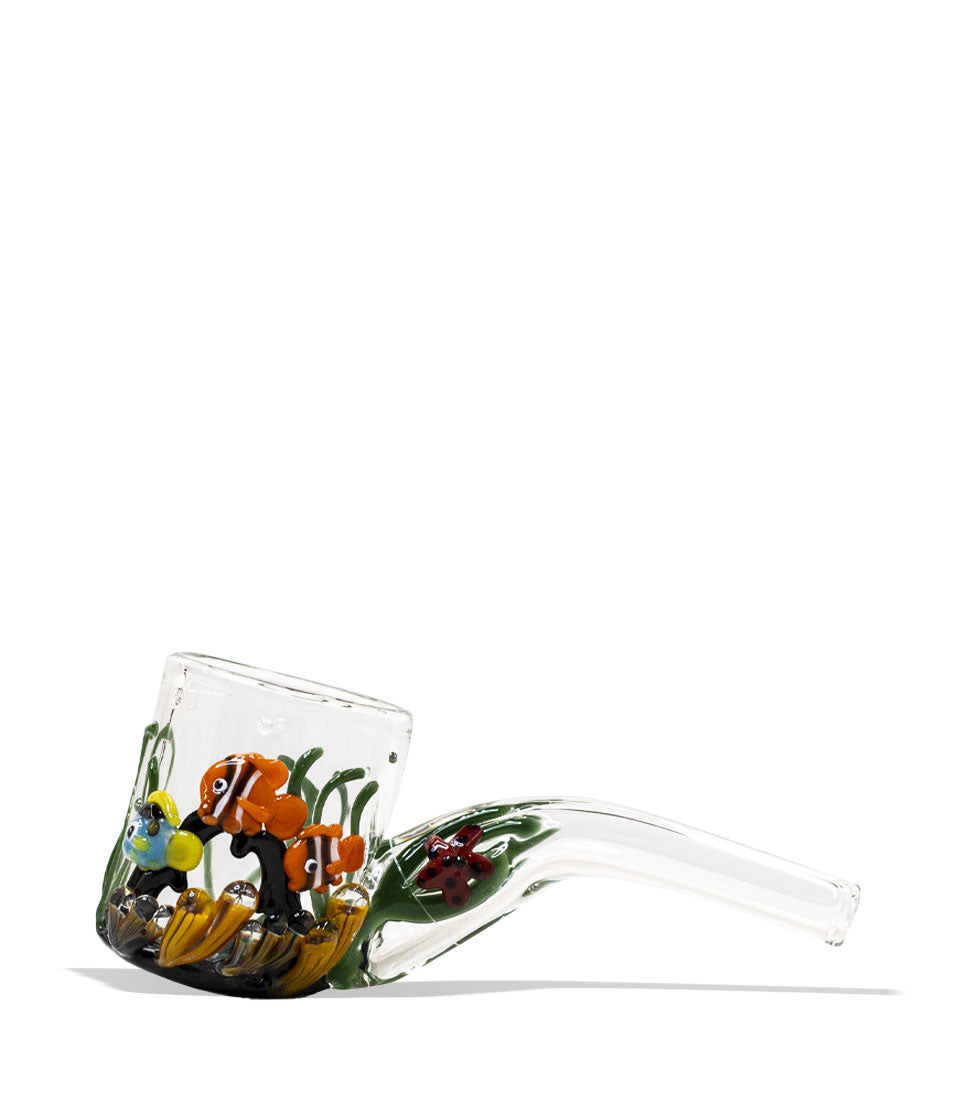
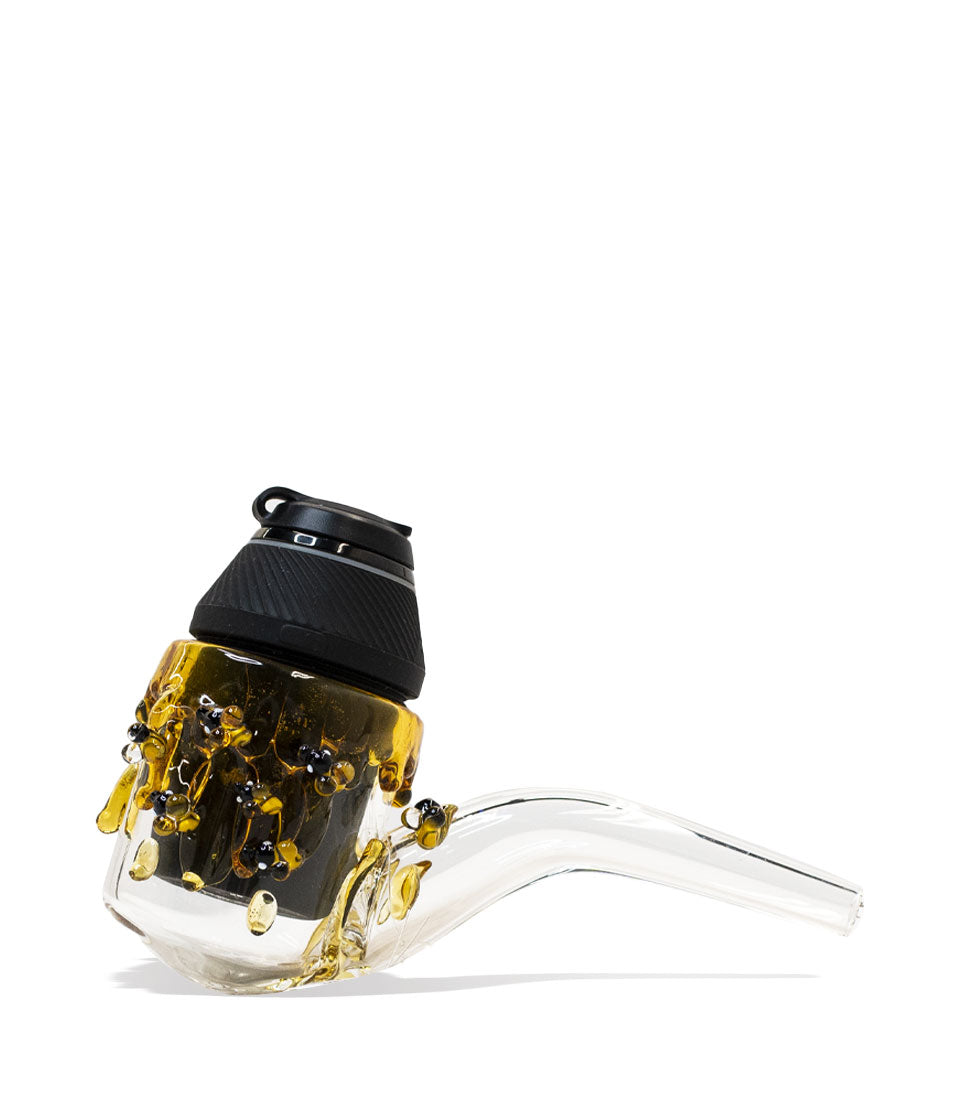
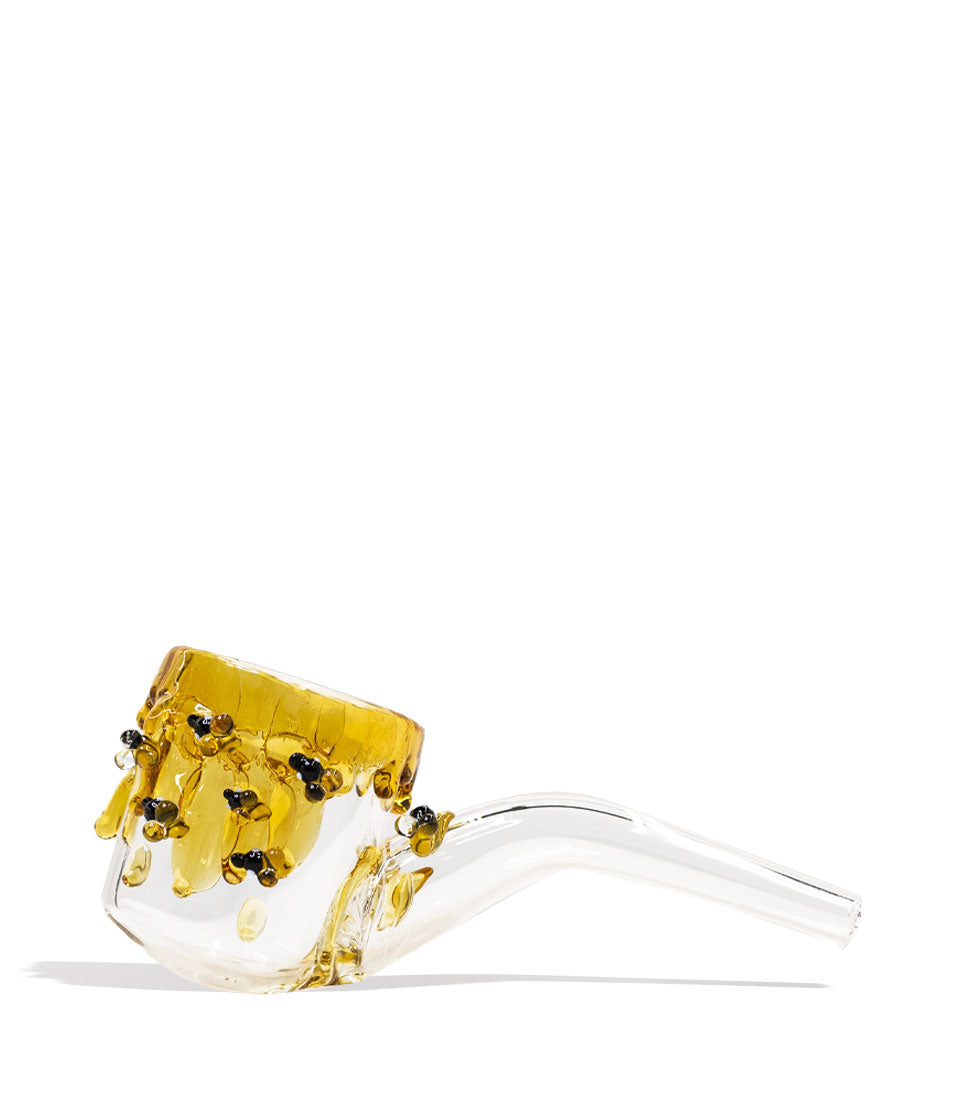
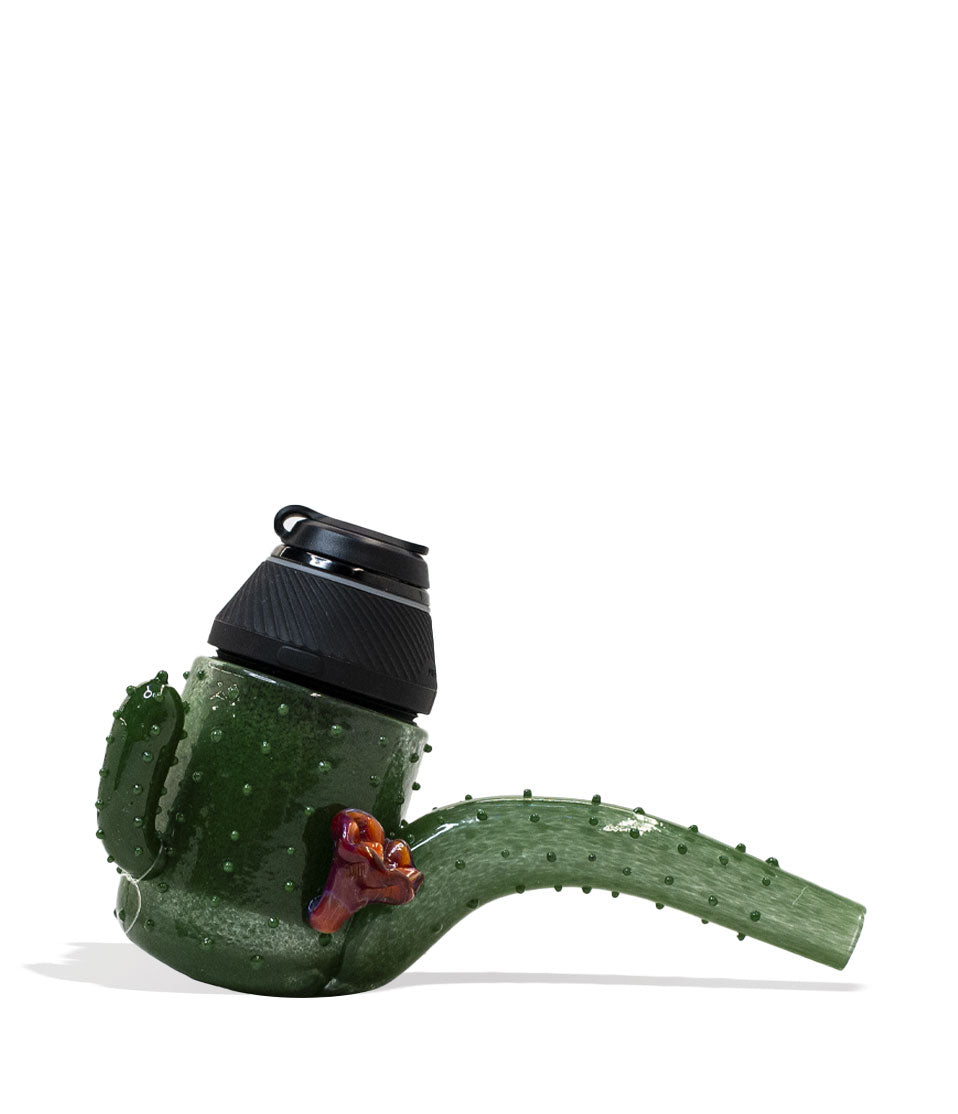
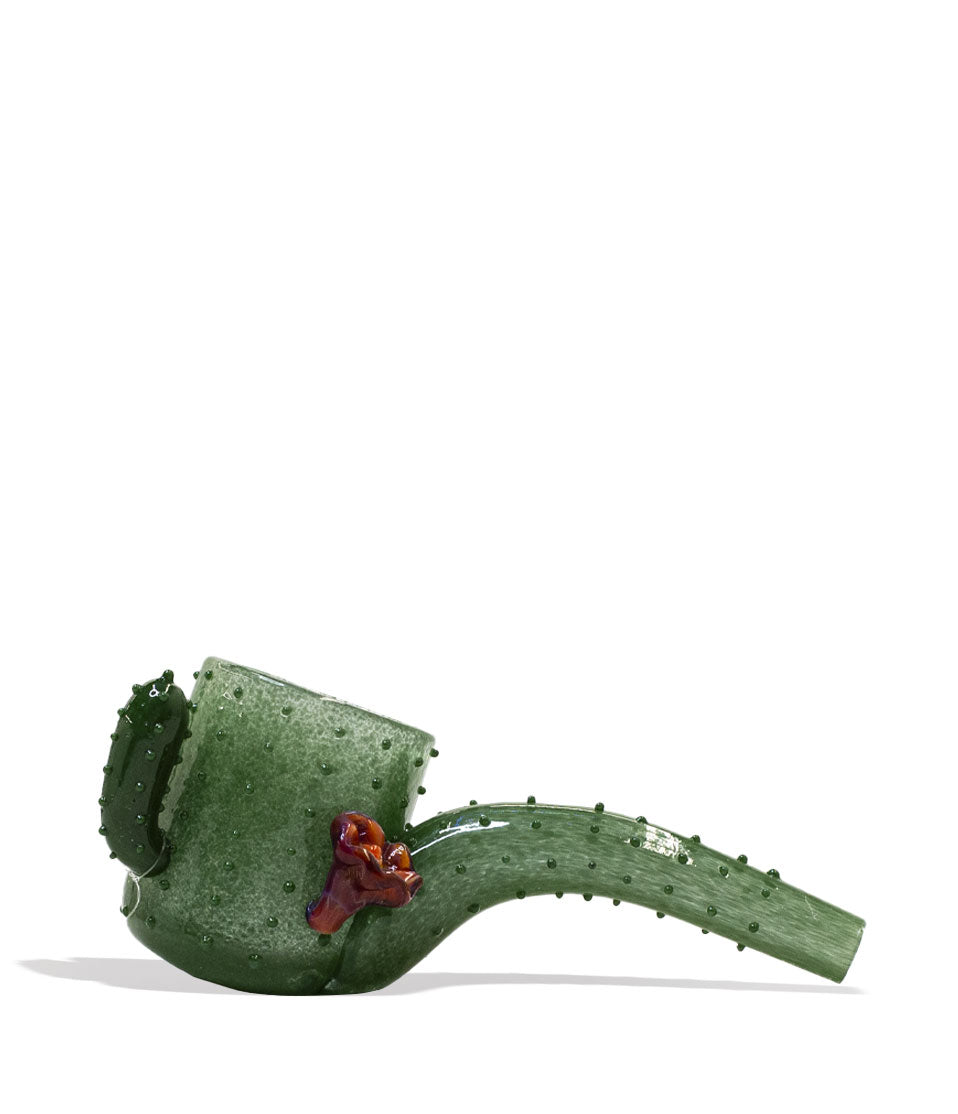
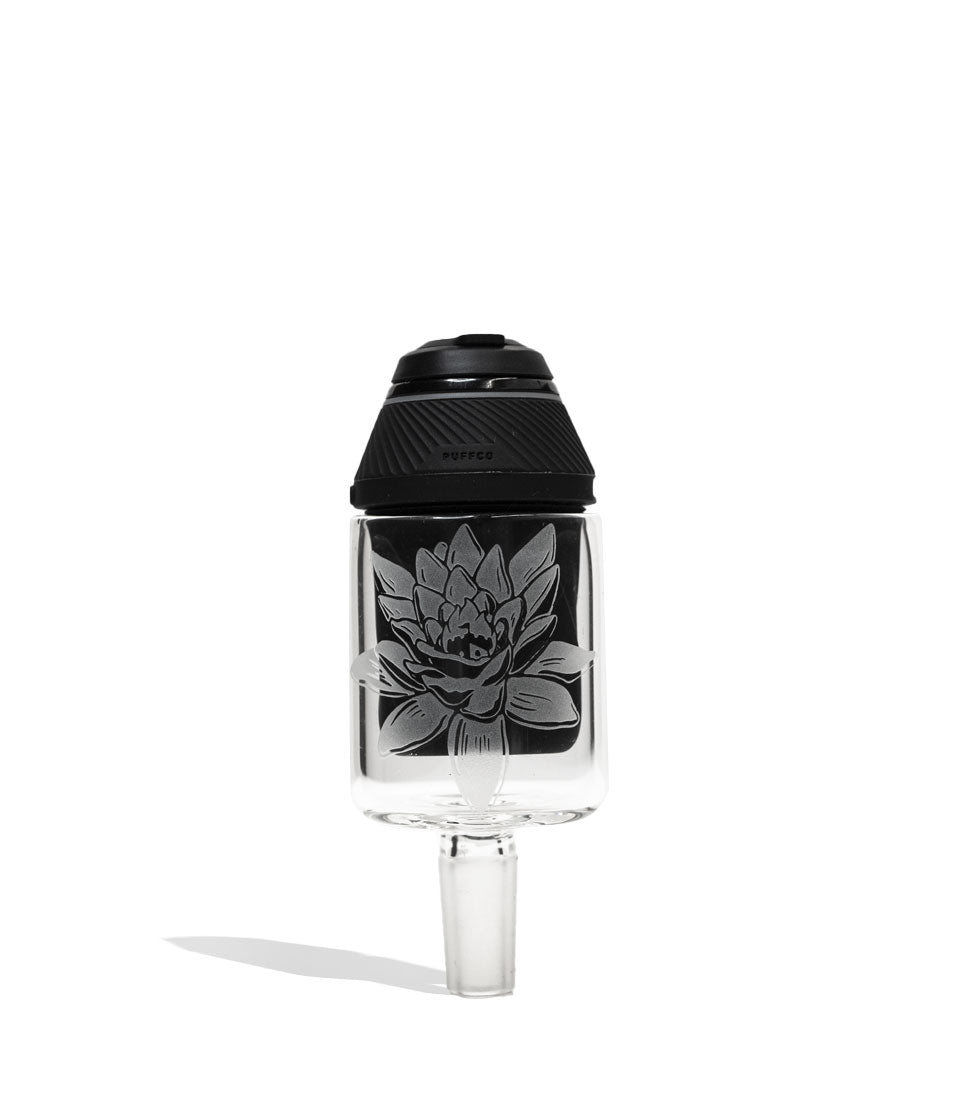
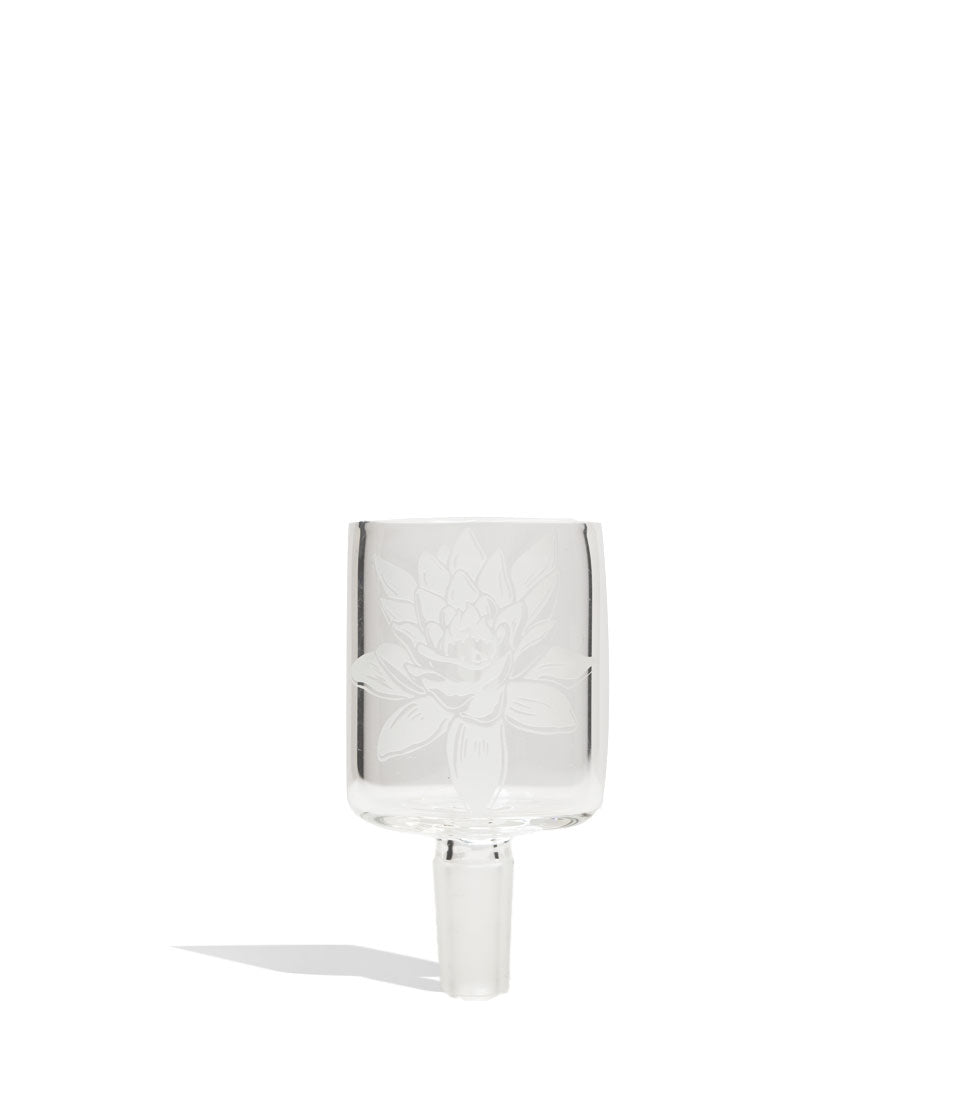
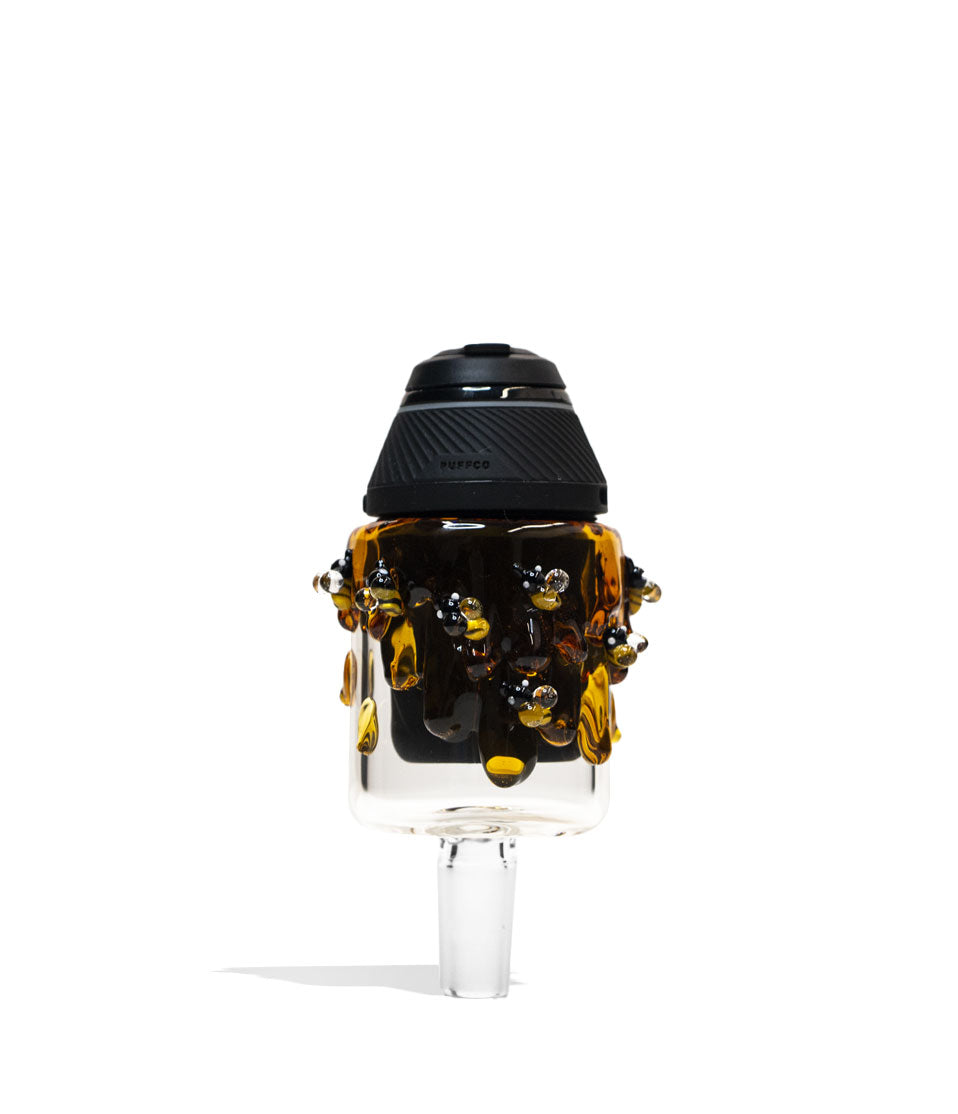
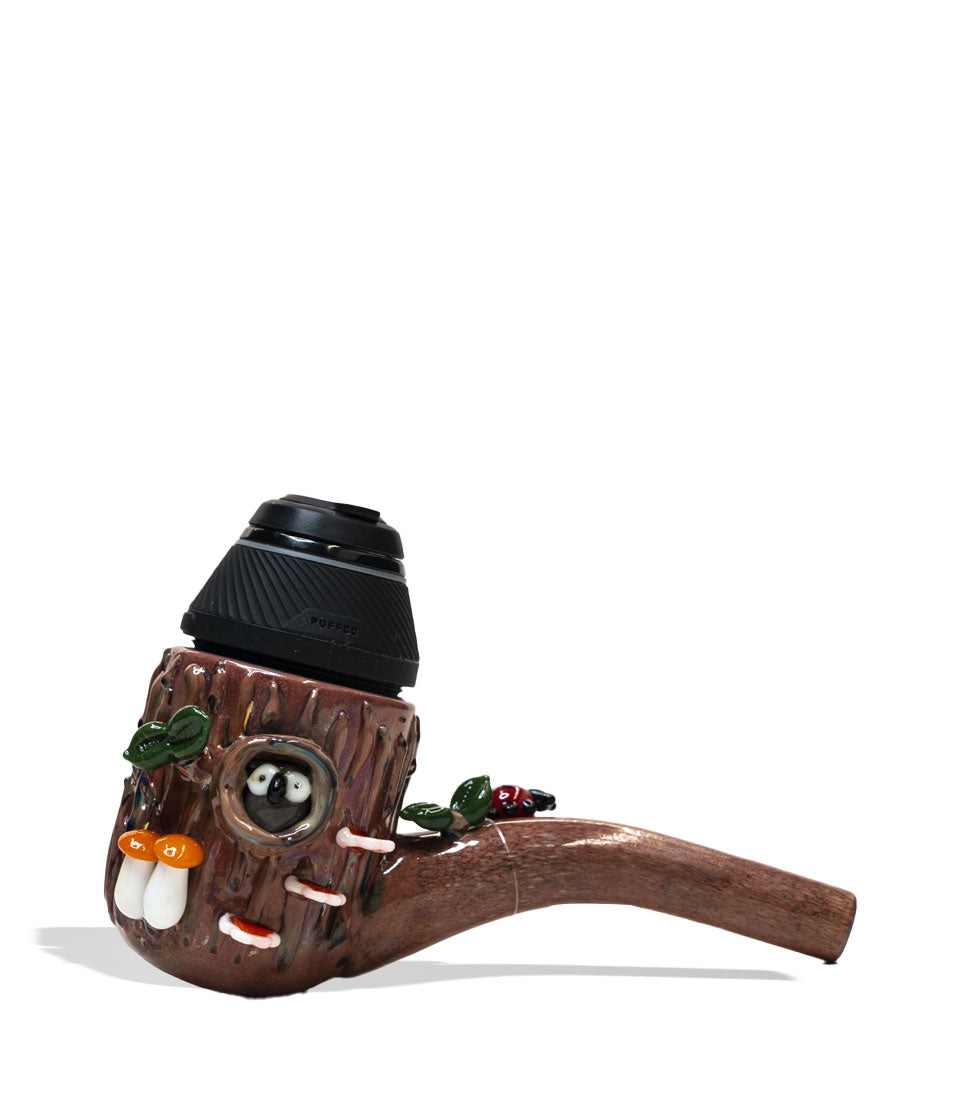
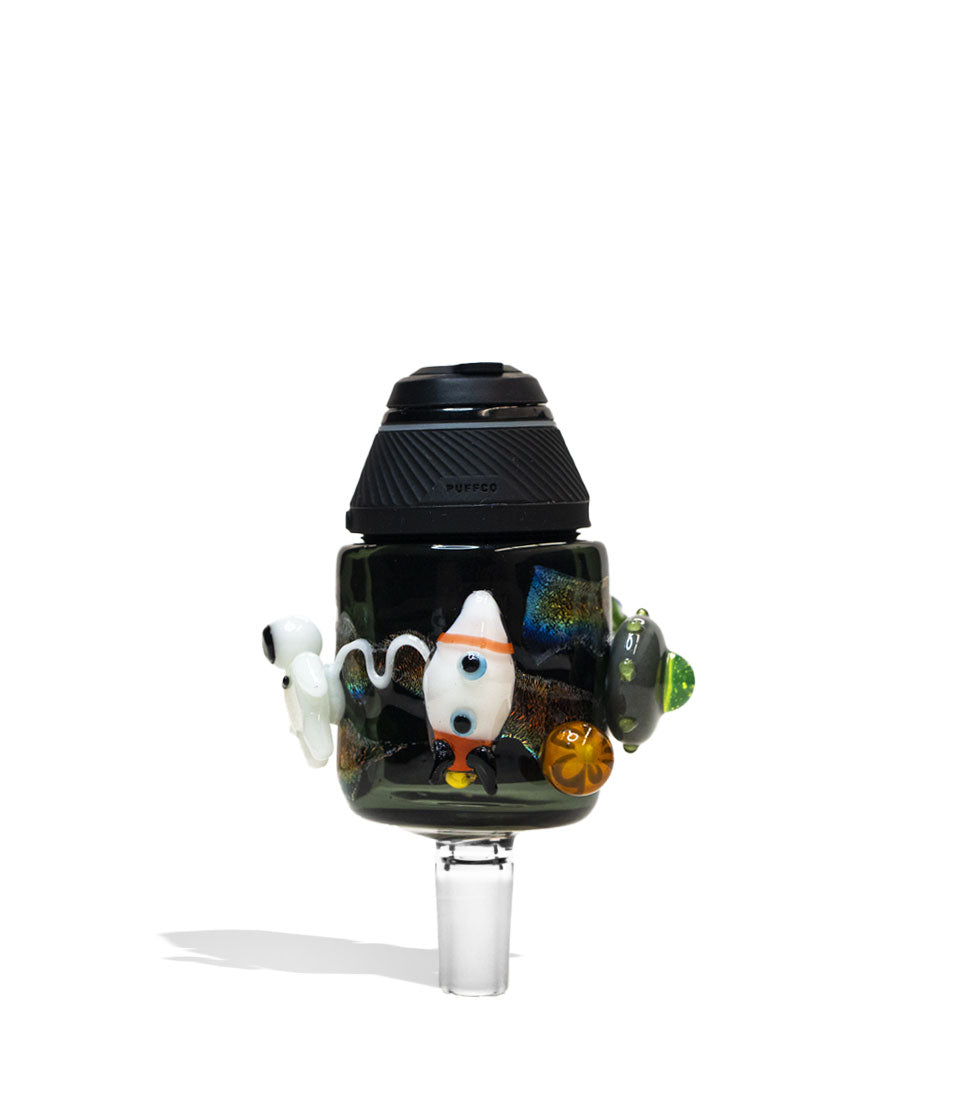
Shop Puffco Accessories
A closer look at the picks called out above.

How-To
Complete How-To
From here, the walkthrough gets specific: the product details and buying considerations that turn the summary above into an actual decision.
When Puffco Accessories work well, the result can be absolutely mind blowing. However on the other side of the coin, when things start to go wrong it can be incredibly disheartening and frustrating. After all, when you go from hero to zero with your dabs, it’s never a fun experience.
That’s why Got Vape Crew is here to explain the most common fixes and get your setup firing on all cylinders quickly with our definitive breakdown on Puffco accessory troubleshooting.
This means if you’re having trouble getting dense, flavorful vapor from your favorite smart rig or are seeing flashing warning lights, dealing with restricted airflow, and wondering why your glass isn’t seating right – you’ve come to the right place.
With over 20+ years of testing vaporizers and accessories ourselves, Got Vape knows at the end of the day, most Puffco performance issues don’t stem from defective units, but from simple accessory bottlenecks: sticky reclaim coating the gold connection pins, improper water levels flooding the base airway, clogged carb caps, or a chamber that has reached the end of its lifespan.
The trick is identifying where the breakdown is happening and addressing it directly without damaging your delicate hardware. Keep reading this step-by-step Puffco accessory troubleshooting guide to walk through the entire diagnosis and repair process, turning frustrating flashing lights and weak hits back into seamless, milky clouds in no time.
Table of Contents:
Puffco Glass Troubleshooting Quick Guide
1. Aligning the Lower Glass Air Inlet Hole (Fix Zero Suction & Tight Draws)
2. Cleaning the Glass Bottom Joint & Base Silicone Airpath Interface
3. Proper Water Levels
4. Deep Cleaning Percolator Slits & Recycler Tubes (Dissolving Reclaim Clogs)
5. Inspecting Glass Attachments for Hairline Cracks & Vacuum Leaks
6. Knowing When to Replace Your Glass or Upgrade (Recyclers vs. Dry Tops)
Trouble Free Puffco Glass Sessions
Puffco Glass Troubleshooting Quick Guide
In a rush to fix your draw and get back to your dabs? Here is a fast breakdown covering the essential steps to diagnosing and fixing common Puffco glass attachment problems:
| ISSUE | LIKELY CULPRIT | HOW TO FIX |
|---|---|---|
| Zero Suction / Can’t Inhale | Lower glass inlet hole is twisted away from the base airpath. | Reseat glass front-first; align bottom glass hole directly over the chamber output slit. |
| Glass Glued to the Base | Reclaim seeped under the bottom glass rim, acting like cement. | Warm base gently or run a heat cycle; gently rock glass forward and wipe silicone with 99% ISO. |
| Water Leaking Into Base Well | Glass filled while mounted, blown into backward, or tilted. | Remove glass immediately, dry base well; fill glass detached to just above perc holes. |
| Sluggish Chug / Gurgling | Excess water in chamber or hardened reclaim plugging perc slits. | Pour out excess water to ~1/2″ above perc; soak glass top in warm 99% ISO to clear clogs. |
| Water in Mouth (Splashback) | Water level too high or pulling with aggressive inhale pressure. | Lower water level slightly; take slow, steady sips rather than hard bong-style rips. |
| Wispy Vapor / Air Bleed | Glass bottom not seated flush in silicone ring, or hairline crack in glass. | Push front in first, then pop back into groove; inspect welds under a bright light for cracks. |
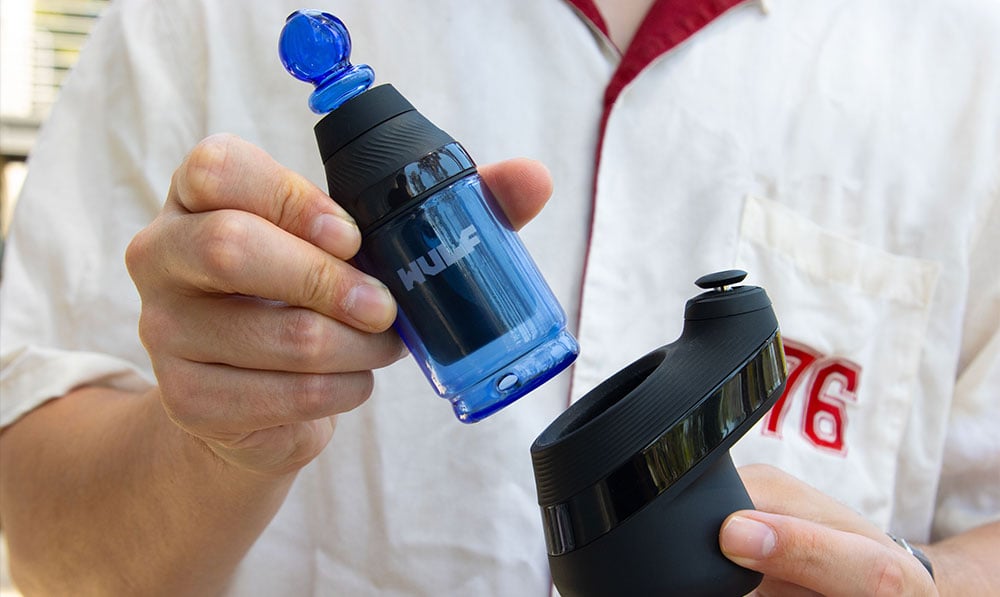
1. Aligning the Lower Glass Air Inlet Hole (Fix Zero Suction & Tight Draws)
If you fire up your Puffco vaporizer, pull from the mouthpiece, and feel like you are trying to suck a golf ball through a garden hose, this could mean that your glass attachment is almost certainly misaligned.
Puffco Glass Attachments need to be properly aligned with the airflow holes on vaporizers like the Puffco Peak and Peak Pro in order to allow vapor to flow correctly. If things become misaligned, you can end up blocking the vital vapor air pathways and lead to the aforementioned concrete draws.
If the glass is twisted even a few millimeters off center, the solid glass wall completely chokes off the base airpath, blocking vapor from ever entering the water chamber. Thus having things set up juuuuust right is going to be essential to allowing your Puffco Accessory to be it’s best self.
Got Vape Crew Alignment Steps:
- Locate the Inlet Hole: Hold your glass top up to the light and locate the single small airflow hole drilled on the lower exterior perimeter of the glass base.
- Locate the Base Conduit: Look at the silicone well on your vaporizer base right behind the chamber. You will see a small rectangular vapor outlet slot.
- Seat Front First: Tilt the glass attachment forward. Seat the front lip of the glass, with the air inlet hole pointing directly forward toward the chamber, into the front silicone groove first.
- Push Down and Back: Once the front inlet is aligned directly over the base slot, gently press down and push the back edge of the glass into the rear silicone lip until you feel it pop flush into place.
- Take a Dry Test Pull: Always take a test inhale through the mouthpiece before starting a heat cycle. If you hear an easy, open water bubbling sound, your alignment is spot on!
While this is mostly important for the Puffco Peak Pro and Peak Concentrate Vaporizers, depending on your glass attachment for the Pivot and Proxy it can come into play as well. That’s why we always recommend double checking that your Puffco Accessory is properly seated / attached in order to allow for the best results.
If the bottom of your Puffco Accessory is even a little bit lose, this kills your suction and let’s precious vapor spill out the sides. Not only that, but it causes your chamber to struggle to reach heat and completely knee caps your dabs. Thus you MUST ensure that everything is properly connected before starting.
2. Cleaning the Glass Bottom Joint & Base Silicone Airpath Interface
One of the most common troubleshooting issues that happens with Puffco Accessories is that the bottom attachment and air pathway can get clogged up with sticky half vaporized concentrates. This makes removing them a sticky mess and can eventually lead to airflow being blocked completely.
While you can reduce the amount of build-up by taking more reasonably sized dabs, eventually overtime you’ll need to remove all of the gunk. In order to do so, you’ve got a couple of highly effective tools to use all revolving around good old fashioned isopropyl alcohol.
Got Vape Crew Fix:
- Loosen a Glued Glass Top: If your glass feels stuck, never force it! Turn your rig on and run a quick warm cycle, or hold a warm hair dryer near the base for 15 seconds to liquefy the reclaim glue. Gently rock the glass forward toward the chamber and lift it free.
- Clean the Silicone Base Well: Dip a cotton swab into isopropyl alcohol . Thoroughly swab the silicone seating track where the glass sits, clearing away sticky yellow oil.
- Clean the Airpath Tunnel: Push an ISO-dampened swab straight through the lower horizontal airpath tunnel that runs between the chamber well and the glass seating slot. Clear any sticky reclaim plugs.
- Deep Soak In ISO: For 100% glass attachments you can actually soak the entire component in a container of isopropyl alcohol, allowing for the ultimate deep clean that ensures all of the inner workings get scrubbed.
- Buff the Glass Bottom: Take an alcohol wipe and clean the entire bottom ground perimeter of your glass attachment until the frosted glass is dry.
- Air-Dry Completely: Let the silicone base air dry for 5 minutes before reseating the glass. Keeping this interface spotless prevents joint lock permanently and ensures an airtight vacuum seal.
The best way to prevent larger issues is to simply perform a quick isopropyl wipe down on the bottom of your Puffco Accessory anytime you notice even a little bit of stickiness. By getting rid of it immediately, you prevent things for building up into a larger problem and keep your Puffco Accessory ready to go for the next session.
Simply wait until your glass attachment has cooled, then use an isopropyl swab or wipe to clean off the bottom connective area on both your accessory and main Puffco device. Trust us when we say this makes a massive difference in the long run and helps you avoid having to break out the full on isopropyl bath for as long as possible.
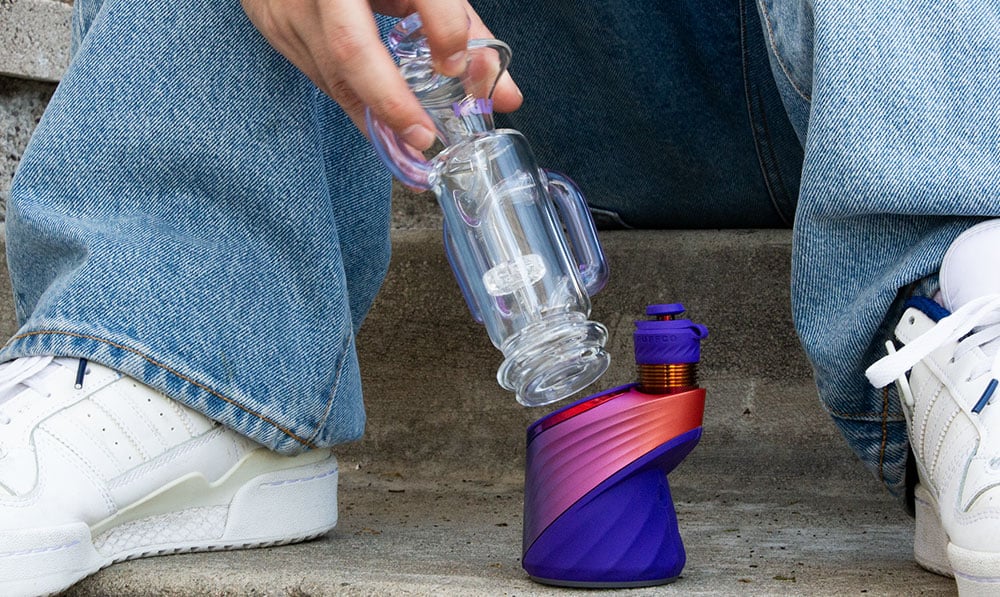
3. Proper Water Levels
If your Puffco Accessory uses water filtration, then you’ll need to ensure you have the proper levels to maximize filtration and avoid any splash back in the process. Too little water defeats the purpose, while too much water will flood your chamber and lead to much greater issues.
Thus having just enough water to cover the percolators is the goal here. Now as a general note, we recommend that you always load your Puffco Accessory with water while it’s unattached. This ensures you don’t soak your Puffco vape in the process and risk moisture leaking into the battery.
Instead always fill your accessory somewhere safe and away from your vape. It’ll make loading far easier and prevent all of the aforementioned splash risks.
Got Vape Crew Water Rules:
- Fill Only While Detached: Always pull the glass top completely off the vaporizer base before adding water through the top mouthpiece over a sink.
- Fill to the Goldilocks Zone: Add water until it sits roughly 1/2 inch above the percolator slits (or just above the inner cone holes on stock glass). Too little water produces harsh, uncooled hits; too much water causes spitback and leaks into the lower air chamber.
- The Shake & Test Pull: While the glass is still in your hand (off the base), take a few firm test pulls. Check that no water droplets reach your lips. Invert the glass slightly and tap it on a towel to ensure zero water trickles out of the bottom inlet hole.
- Change Water Daily: Concentrates leave behind organic residues that breed bacteria and stale biofilm in stagnant water. Empty and refresh your glass with fresh, clean water every single morning for crisp terpene flavor.
- Never Blow Inward: Never blow air into the mouthpiece! Exhaling into the glass acts as a water siphon, forcing the entire water chamber down the downstem and directly into your red-hot heating bucket.
- Wipe Down After Filling: It’s important to always wipe down the exterior of your glass accessory after filling, this way you don’t accidentally let water seep into your chamber and destroy your dabs.
So if your Puffco Accessory uses water filtration and you’re having issues, don’t give up, instead take a closer look to see if you are breaking any of these rules. With a little bit of course correction you’ll be able to enjoy the fruits of your water filtration, keeping your sessions smooth and without issue.
4. Deep Cleaning Percolator Slits & Recycler Tubes (Dissolving Reclaim Clogs)
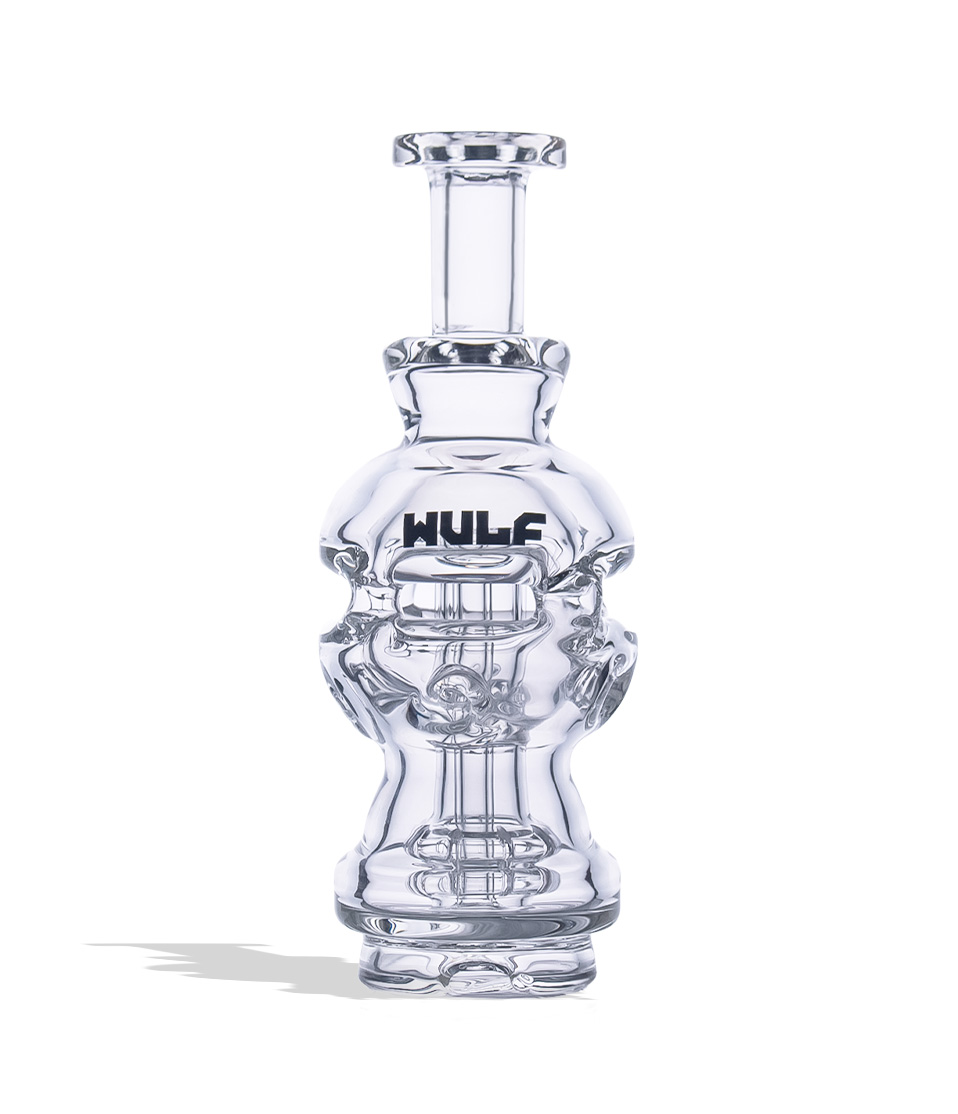
When it comes to the interior of your Puffco Accessory, there’s quite a bit that can end up going wrong. Unlike simple bongs, Puffco glass attachments (especially multi-stage recyclers, Wulf and Ryan Fitt tops, and high-diffusion aftermarket pieces) feature intricate internal percolator slits, return drains, and narrow vapor stems.
Over time, thick concentrate reclaim gathers right inside these micro slits, severely restricting your draw and causing uneven bubbling (or loud, erratic gurgling). This means without proper maintince, your Puffco Accessory can end up clogged up worse than the toilets after chili night at the rodeo.
Now because hot water rinses won’t dissolve hardened cannabis oils, and shaking glass with abrasive rock salt can lodge salt crystals permanently inside narrow recycler tubes, you’ll want to stick with a good old fashioned pure isopropyl bath / deep soak to get your accessory back in action.
Got Vape Crew Deep Cleaning Routine:
- Empty All Water: Shake all standing water out of the glass top through the bottom inlet hole.
- Submerge in 99% Isopropyl Alcohol: Place your glass attachment into a tall glass jar or heavy duty sealable zip-top bag. Pour in enough 91%+ or 99% isopropyl alcohol to submerge all percolators and internal channels.
- Warm Soak for Stubborn Reclaim: To break down dense reclaim fast, place the sealed bag of ISO into a bowl of warm (not boiling) tap water. The ambient warmth activates the alcohol, dissolving thick oil plugs within 20 to 30 minutes without vigorous shaking.
- Flush with Warm Water: Remove the glass from the ISO bath. Run warm tap water through the top mouthpiece, allowing it to flush out through the bottom intake hole for 60 seconds to wash away all dissolved resin and alcohol taste.
- Dry the Lower Air Chamber: Blow through the mouthpiece over a towel to expel any water trapped in the lower inlet chamber. Allow the glass to dry completely before remounting it to your base!
This is one of the easier fixes, as all you have to do is ensure you have a container that can fully house your Puffco Accessory and then allow it to soak for a long enough time. The Got Vape Crew will typically soak our accessories over night, as this allows for plenty of time for the solvent to work, all while you’re catching up on some z’s.
Once you’ve finished the soak, washing everything out with water and allowing it to dry is essential. You don’t want any leftover isopropyl alcohol messing with your flavors, so make sure to leave your Puffco Accessory on a soft cloth / paper towel to air dry completely.
5. Inspecting Glass Attachments for Hairline Cracks & Vacuum Leaks
If your base is firing properly, your inlet hole is aligned, and your percs are spotless, but your hits are still thin, wispy, and airy, your glass attachment may have developed a hidden micro-fracture that is bleeding outside air into the vacuum stream.
Borosilicate glass attachments endure constant thermal expansion and mechanical stress from being pressed into silicone bases or traveling in backpacks. Even worse, rinsing a warm glass piece with freezing cold tap water triggers thermal shock, causing invisible hairline cracks along percolator welds and bottom joint stems.
This is where giving your Puffco Accessory an optical pat down comes into play, as you want to examine every last facet of your glassware to check if anything is damaged or cracking on you.
How to Inspect for Glass Damage:
- Clean the Piece First: Dark amber reclaim masks glass fractures. Deep clean the glass in ISO so you are inspecting crystal-clear borosilicate.
- The Flashlight Weld Inspection: Hold the dry glass up to a bright flashlight. Carefully examine the internal weld where the percolator attaches to the inner wall, as well as the outer rim of the bottom intake hole. Look for spiderweb fracture lines or milky stress clouds.
- The Cotton Swab Snag Test: Run a dry cotton swab around the bottom inlet hole and base rim. If cotton fibers catch or snag, you have found a hairline crack or chipped edge.
- The Vacuum Finger Test: Place your thumb firmly over the bottom air inlet hole and draw from the top mouthpiece. If you can pull air through easily without resistance, outside air is leaking through an unsealed crack.
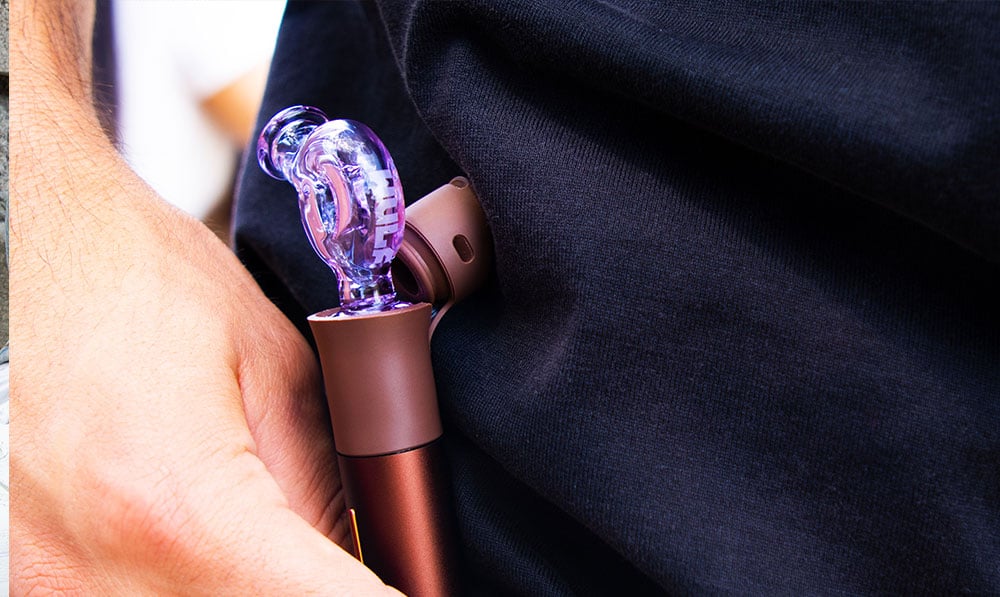
- Retire Damaged Glass: Cracked glass attachments cannot be safely glued or repaired. Inhaling near cracked glass risks pulling glass micro-shards into the airpath, and heat stress can cause the piece to shatter unexpectedly. Replace cracked glass immediately.
While it can be a bummer, if you’re Puffco Accessory is cracking then we highly recommend retiring it. You don’t want anything to end up breaking mid session and dealing with glass leaking into your vapor. Instead say a couple of words of remembrance for your fallen friend and move onto finding a replacement (more on this below).
6. Knowing When to Replace Your Glass or Upgrade (Recyclers vs. Dry Tops)
As mentioned before, knowing when to retire a worn out stock piece or upgrade to an aftermarket attachment is essential to ensuring your Puffco Accessory is a net positive on your sessions and not accidentally holding back your Puffco device with sub-par performance.
Signs It’s Time to Replace Your Glass Top:
- The bottom rim is chipped or cracked, allowing outside air to break the vacuum seal with the silicone base.
- Internal percolator arms have snapped inside the water chamber from an accidental drop.
- Hard water calcium stains have permanently etched the inner glass walls, clouding the aesthetic and trapping odors.
Upgrade Options to Transform Your Sessions:
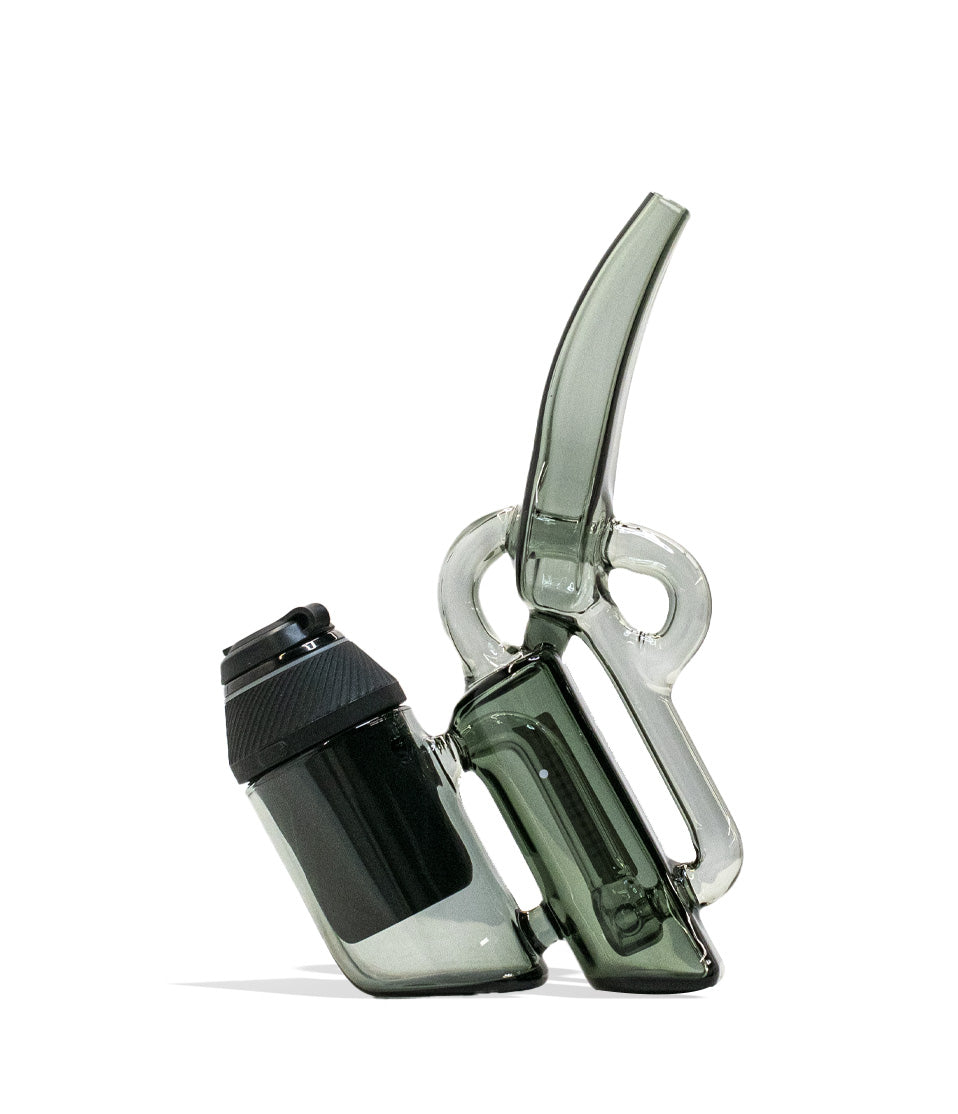
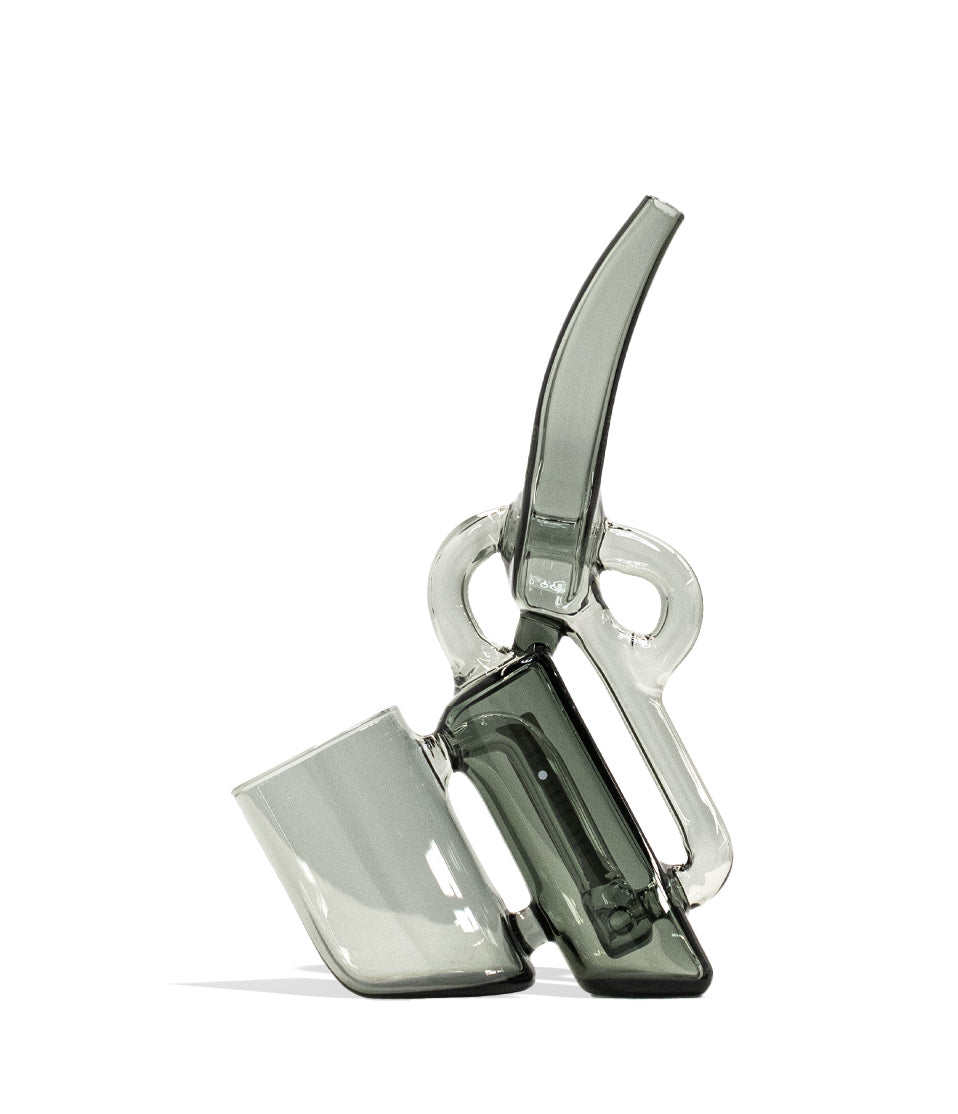
- Recycler Glass Attachments: Multi-chamber recyclers continually cycle water and vapor through external tubes. This creates continuous cooling, zero splashback, and much smoother hits on high-temperature dabs.
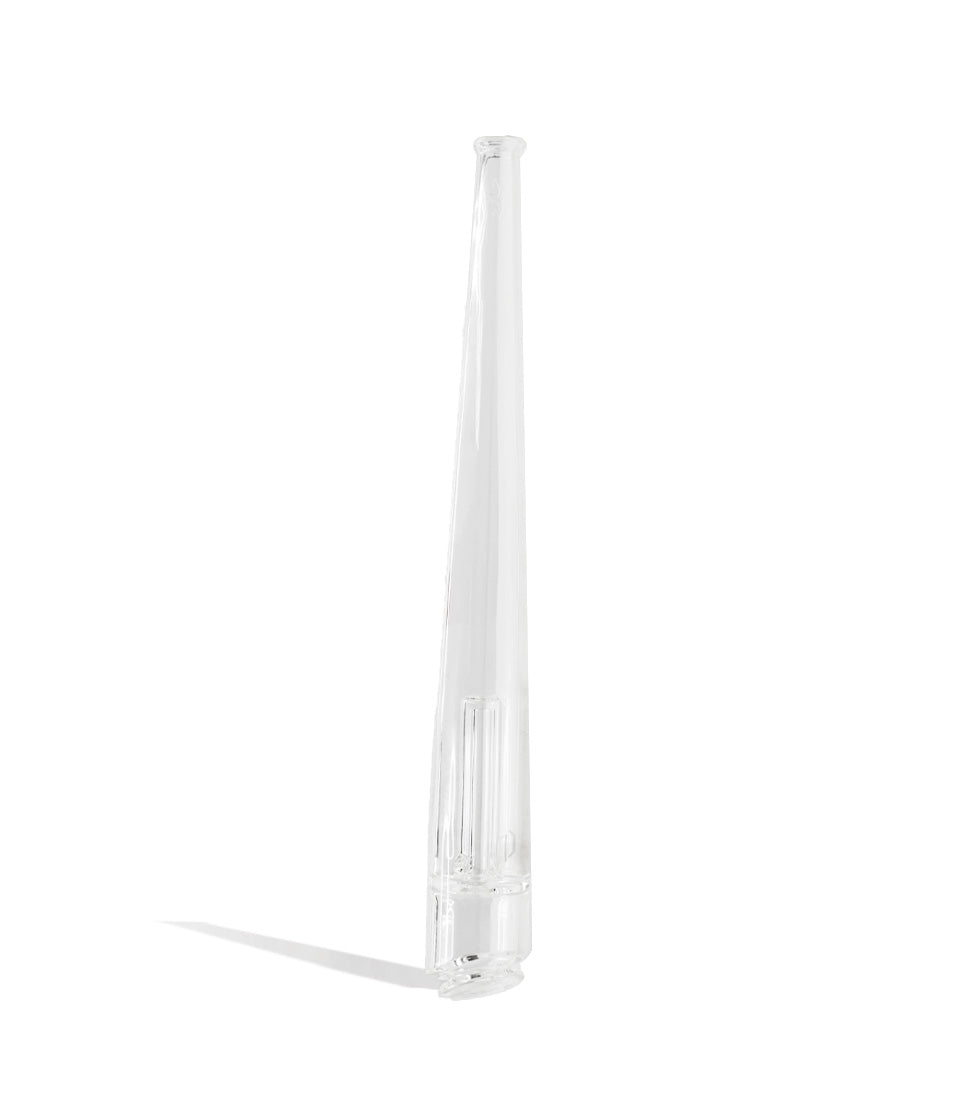
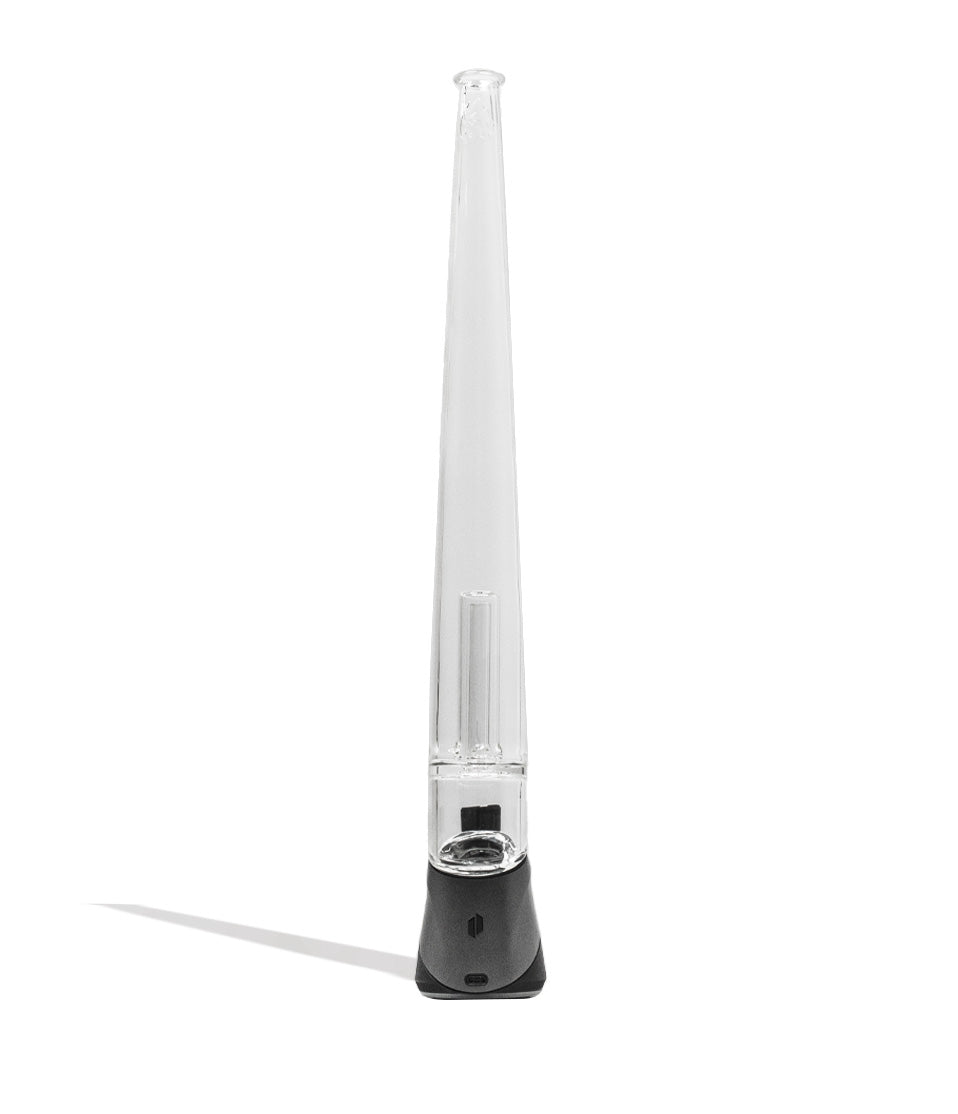
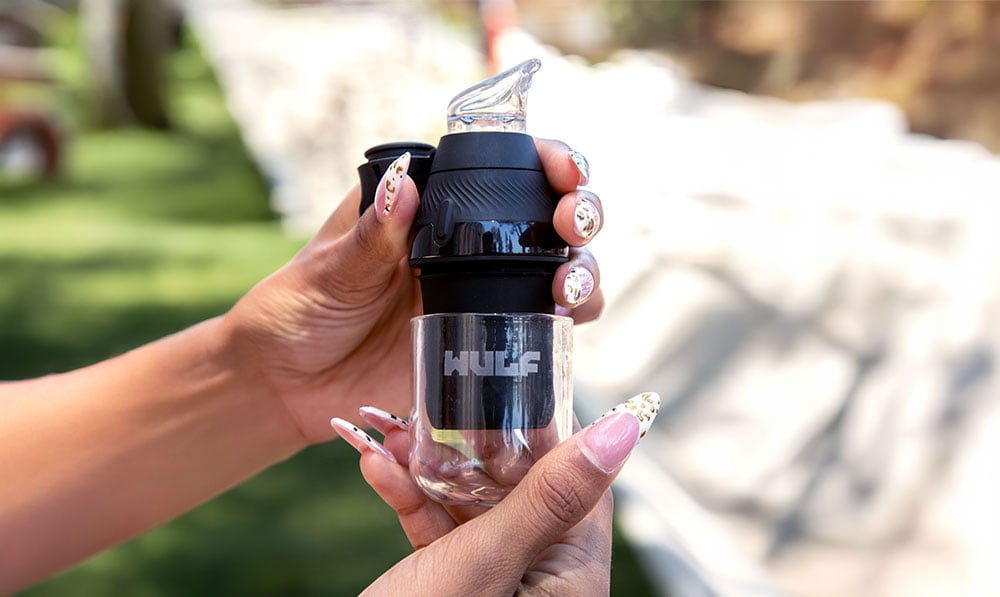
- Borosilicate Dry Tops: Aftermarket dry tops (such as custom glass attachments from Wulf) eliminate water entirely! By removing water filtration, dry tops preserve 100% of delicate concentrate terpenes and eliminate all risk of water leaks or base flooding when traveling outdoors.
- Chugger & Showerhead Tops: Upgraded percolators provide thicker, milkier cloud stacking for those of us who prioritize large, dense vapor volume over lightweight draws.
With so many brand new Puffco Accessories releasing and upping the ante, looking for a brand new one can be an exciting process. So don’t get too down if your old glass piece is nearing the end of it’s useful lifespan and instead look forward to all of the upgraded power you can dig into next.
Trouble Free Puffco Glass Sessions
Getting flawless, mind blowing performance out of your Puffco Accessories require advanced technical wizardry. Instead as you’ve just seen with a few simple glassware habits like aligning the lower intake hole directly over the base conduit, wiping down the silicone base seat, filling and testing water levels only while detached, and soaking percolators in ISO, you can eliminate virtually every glass troubleshooting roadblock you encounter.
Keep your glass connections clean, treat your borosilicate with care, and your setup will continue delivering silky smooth, terpene rich clouds for hundreds of sessions to come.
Have any more questions about smart rigs, custom recycler attachments, or dry tops? Make sure to check out the Got Vape Resource Center for more expert breakdowns, buyer guides, and step-by-step glassware tutorials. Until next time, stay cloudy out there!
Frequently Asked Questions
How-To FAQs
Quick answers to what shoppers usually ask before putting this guidance to use.
How Do I Make Sure My Puffco Glass Top Is Aligned Correctly In The Base?
Can Water Leak Out Of The Glass Attachment And Ruin My Puffco Base?
Why Should I Avoid Using Coarse Salt When Cleaning Intricate Puffco Recyclers?
Why Are Dry Tops Becoming So Popular Compared To Traditional Water Bubblers?
How Do I Fix Splashback And Gurgling On My Puffco Glass Attachment?
Got Vape Trust Center
About This Resource
Here's a look at who put this guide together, how it was fact checked, and how the Got Vape team keeps it current.
Editorial Standards
- Written for shoppers, not search engines.
- Checked for accuracy and plain, practical usefulness before it goes live.
- Grounded in the manufacturer specs and product documentation we can verify.
- Revisited whenever products, regulations, or category trends shift enough to matter.
- Shaped by years of hands-on time with this gear, not just spec sheets.
- Written to help you land on the right device without the guesswork.
Research Methodology
We built this walkthrough around the actual steps, from unboxing through everyday use, based on time spent with the device and the questions people ask most.
- Hands-on product experience
- Step-by-step setup and use
- Cleaning, care, and troubleshooting
- Common questions answered
- Safe and responsible use
- Real-world use considerations
- Editorial review for clarity and accuracy
Supporting Sources
Below are the references this guide draws on, listed so you can check them yourself.
Article Information
Intended Audience
- Everyday customers
- First-time buyers
- Experienced enthusiasts
- Dry herb users
- Concentrate users
- Anyone upgrading their setup
Editorial Policy
We revisit Got Vape guides on a regular basis rather than publishing them once and walking away. If a product spec, regulation, or category trend changes enough to matter, the article gets updated and the review date moves with it.
Keep Exploring
Related Resources
A few more Got Vape guides worth a look if you want to get even more out of your setup.
How-To
Learn how to use your Puffco Accessories with expert tips from the Got Vape Crew. Find out how to use Puffco Accessories with t...
Read Resource →
How-To
Learn how to clean Puffco Accessories for the Peak, Peak Pro, Proxy, Proxy Core, and Pivot right here. Keep your Puffco Accesso...
Read Resource →
Brand Guide
Show your Puffco some love and hook it up with some of today's best Puffco Accessories! Made to work exclusively with the Puffc...
Read Resource →
How-To
Looking to customize your Puffco Proxy Core? You're in luck because the Wulf Nest Proxy Core Accessory Kit allows you to add a ...
Read Resource →