

Resource Center
How To Clean A Grinder Properly (Step-By-Step Guide)

Continue With This Resource
Got Vape Quick Brief
What You Should Know
Skim this first for the short version: the main points, the questions people ask, and what to consider before you buy.
Overview
Key Takeaways
- Metal grinders thrive in isopropyl alcohol baths, acrylic/plastic grinders melt in alcohol and wooden grinders warp in water.
- Freezing a dirty grinder for 30 to 45 minutes makes sticky plant resin brittle, allowing trapped kief and dry herbs to flake off effortlessly before soaking.
- Always remove the thin plastic/Teflon friction ring on the top lid before soaking a metal grinder.
- Scrubbing outer threads and fine mesh screens with an alcohol dampened toothbrush fixes squeaky, jamming lids and unclogs pollen collectors.
- Air drying all metal components completely before reassembly prevents internal rust formation and protects stored herbs from moisture damage.
Questions This Resource Answers
- What is the proper step by step procedure for deep cleaning a metal grinder using isopropyl alcohol?
- How does the "freezer trick" help dislodge stubborn, frozen dry herbs and recover trapped kief?
- What are the specific cleaning material rules for metal, acrylic/plastic, and wooden grinders?
- How do you clean and unclog the fine mesh screen to restore kief collecting in your grinder?
- What critical mistakes should you avoid while cleaning a grinder?
Recommended Products
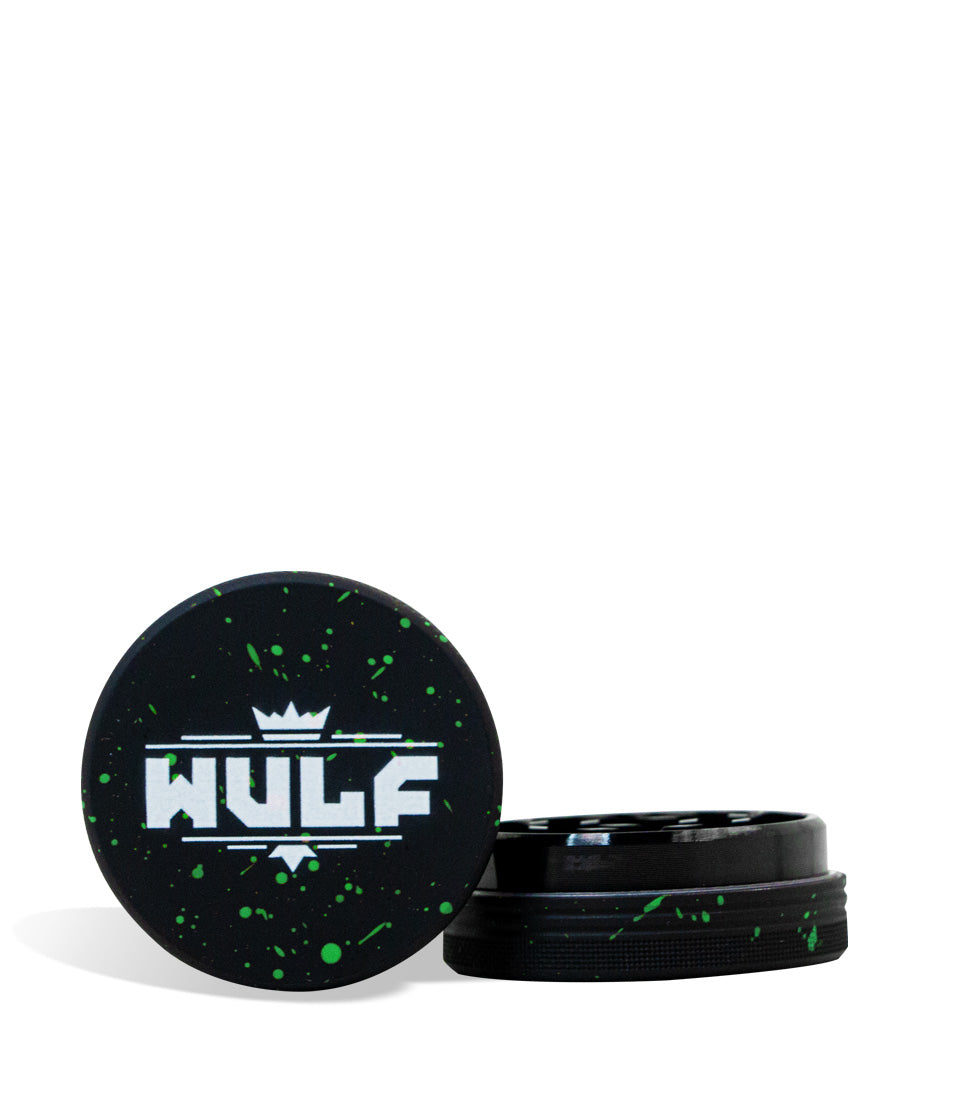
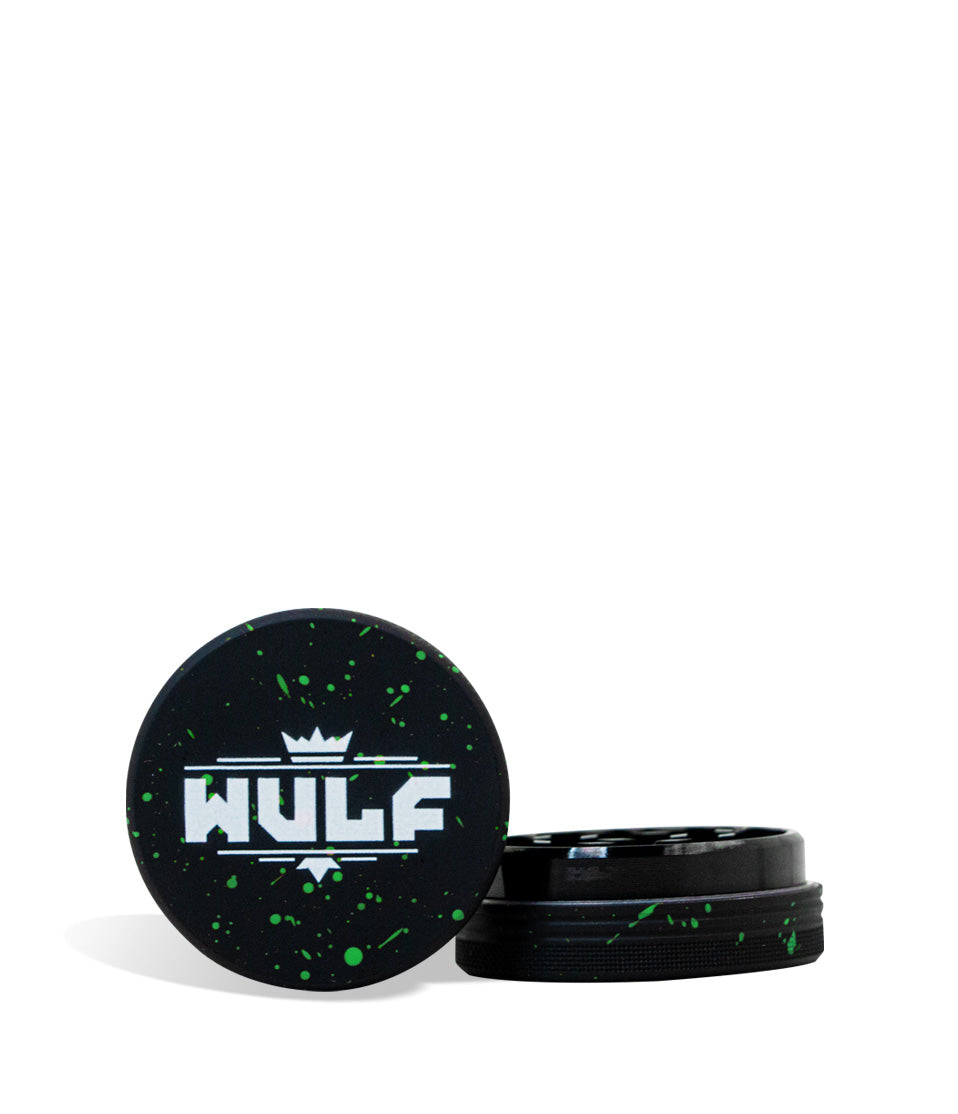
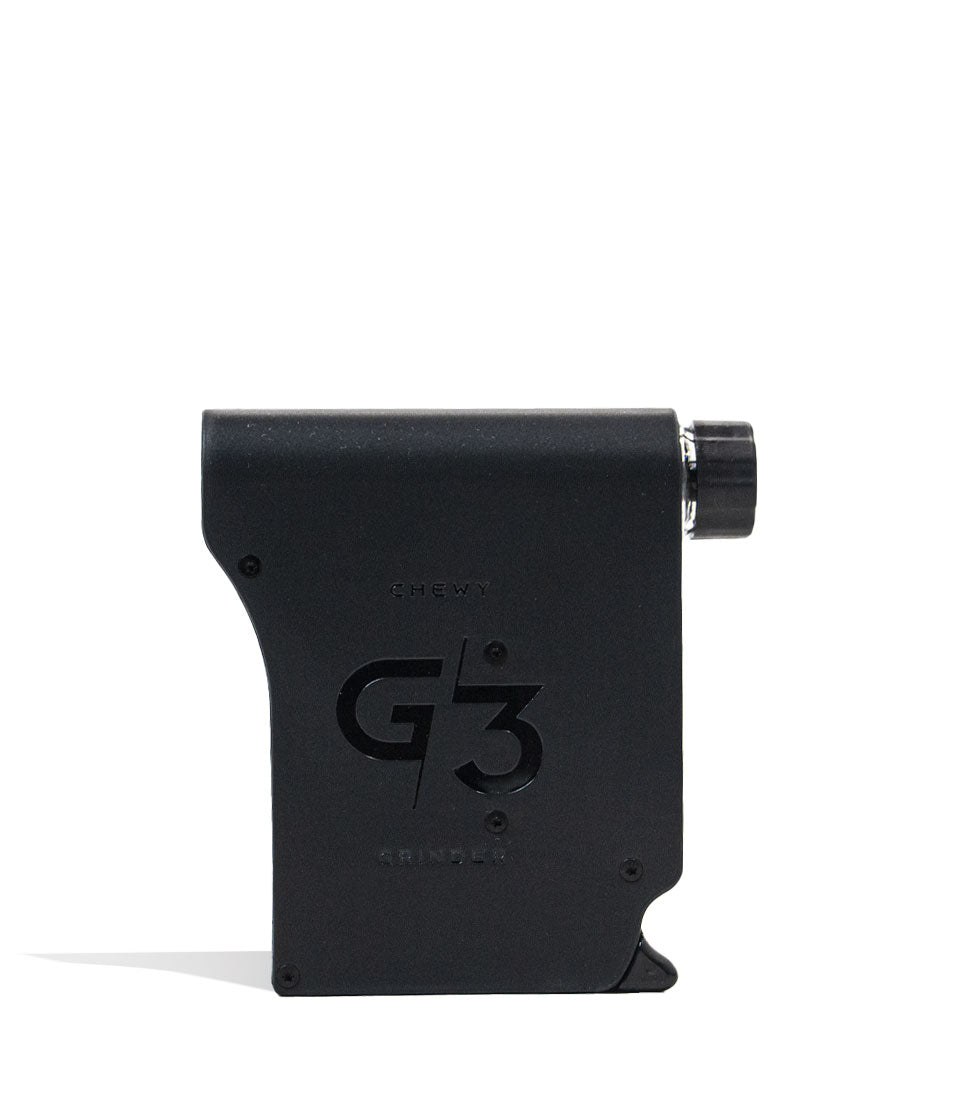
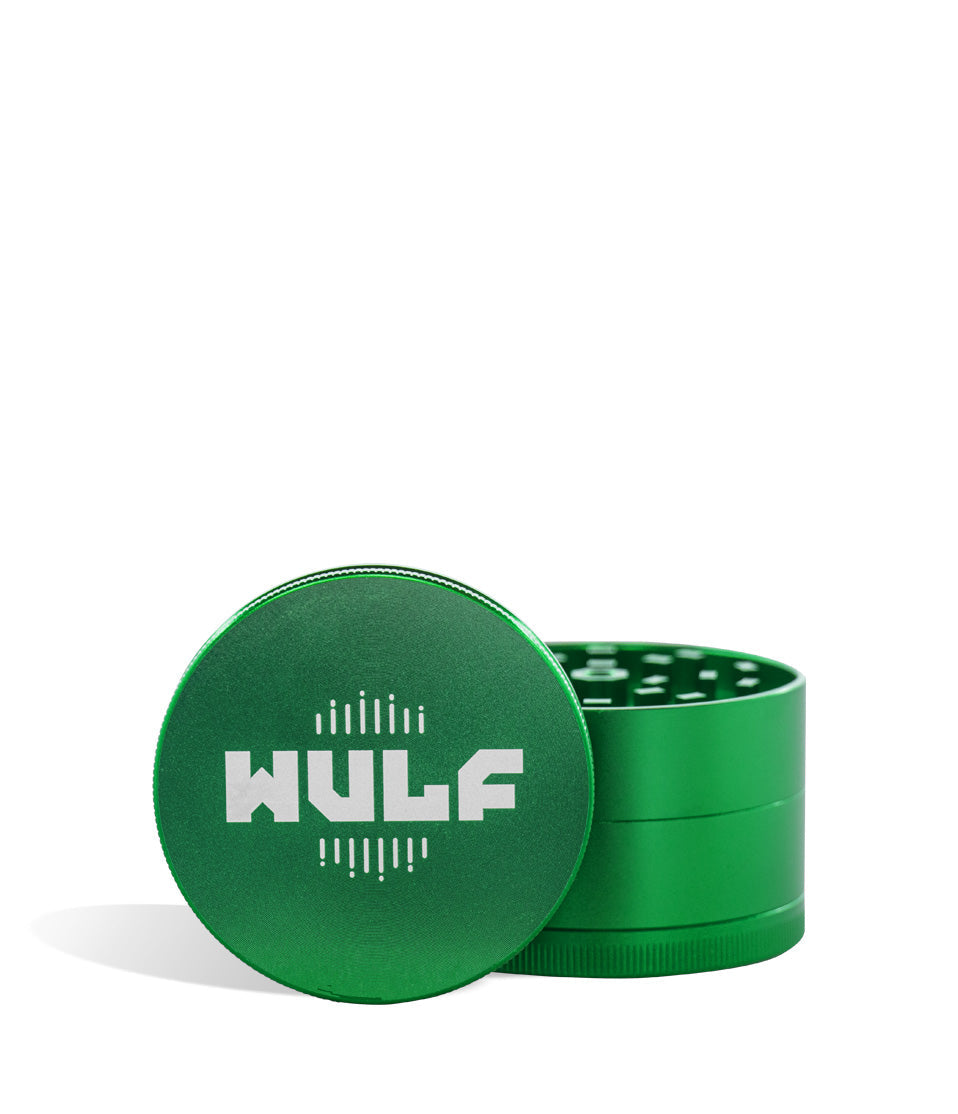
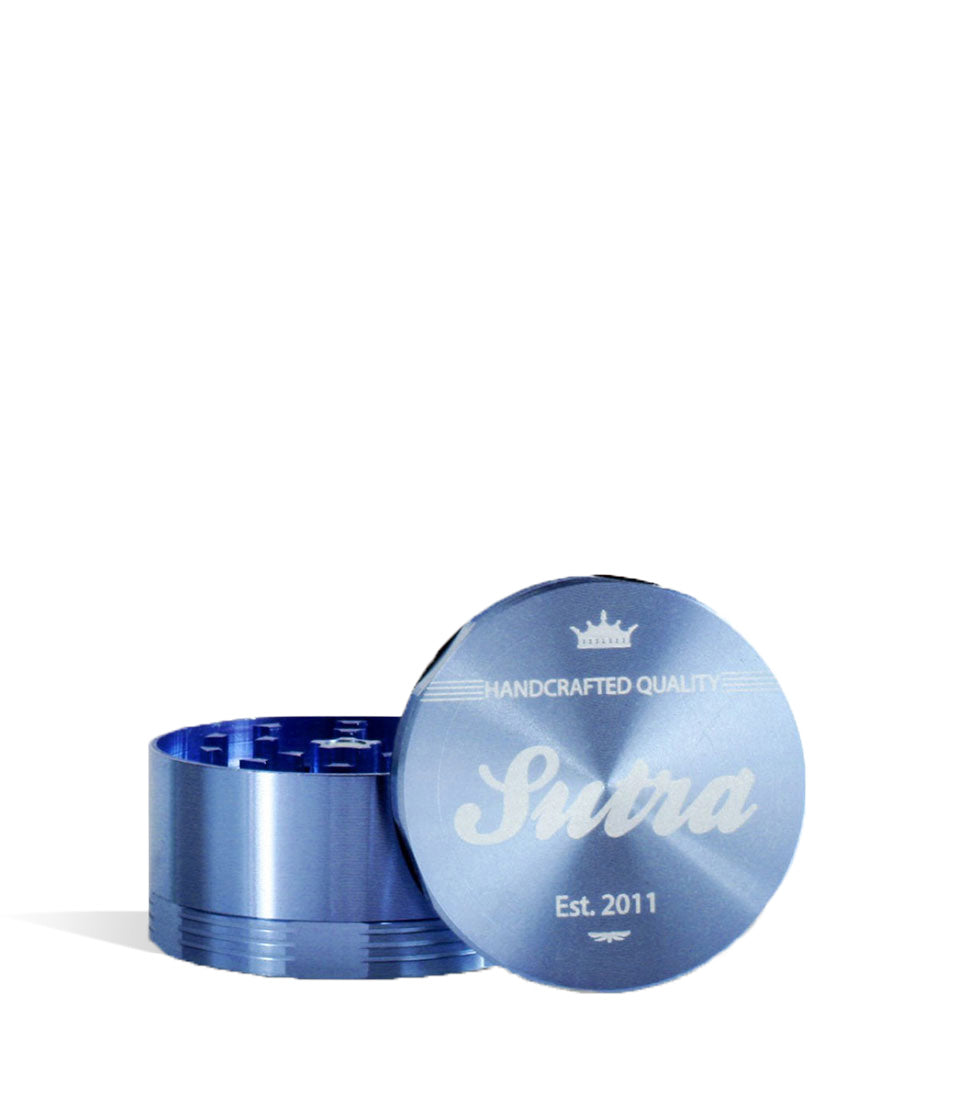
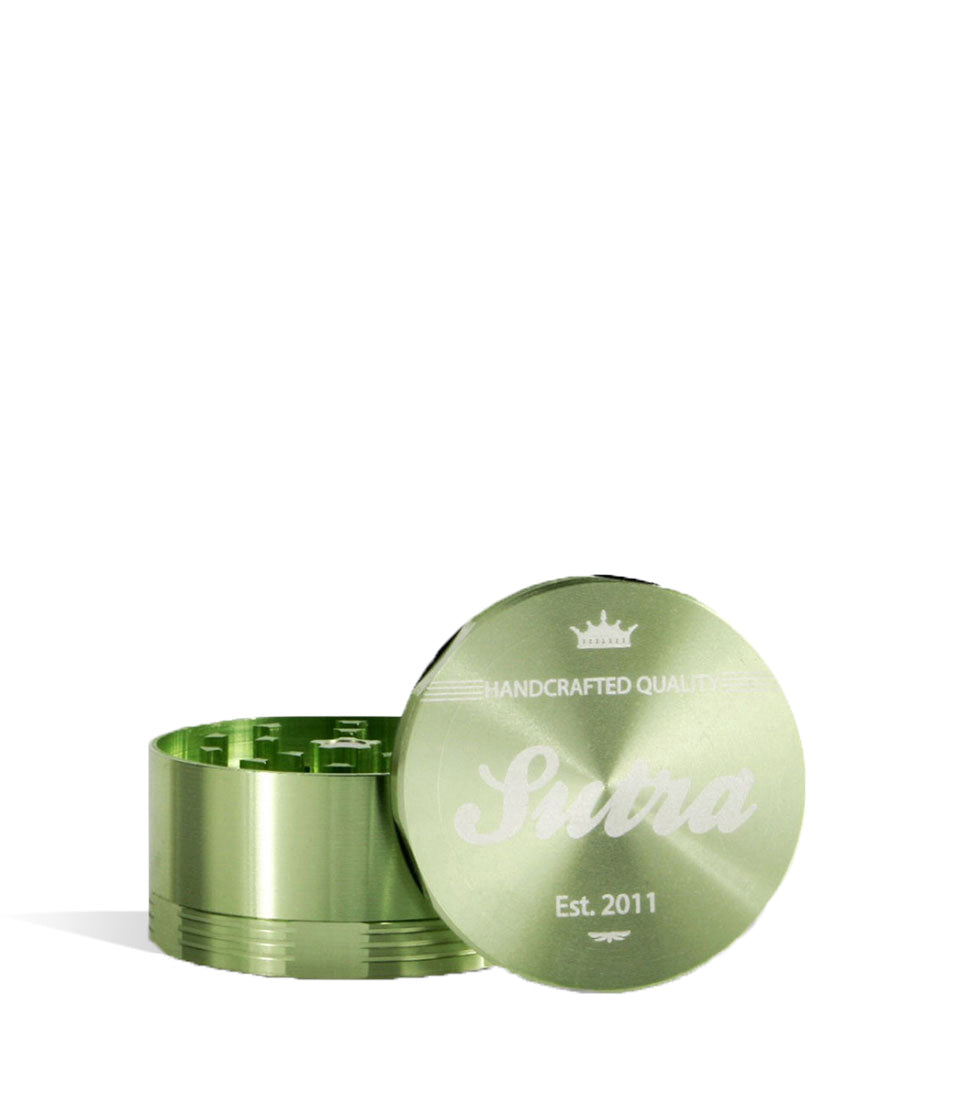
Shop Grinders
A closer look at the picks called out above.
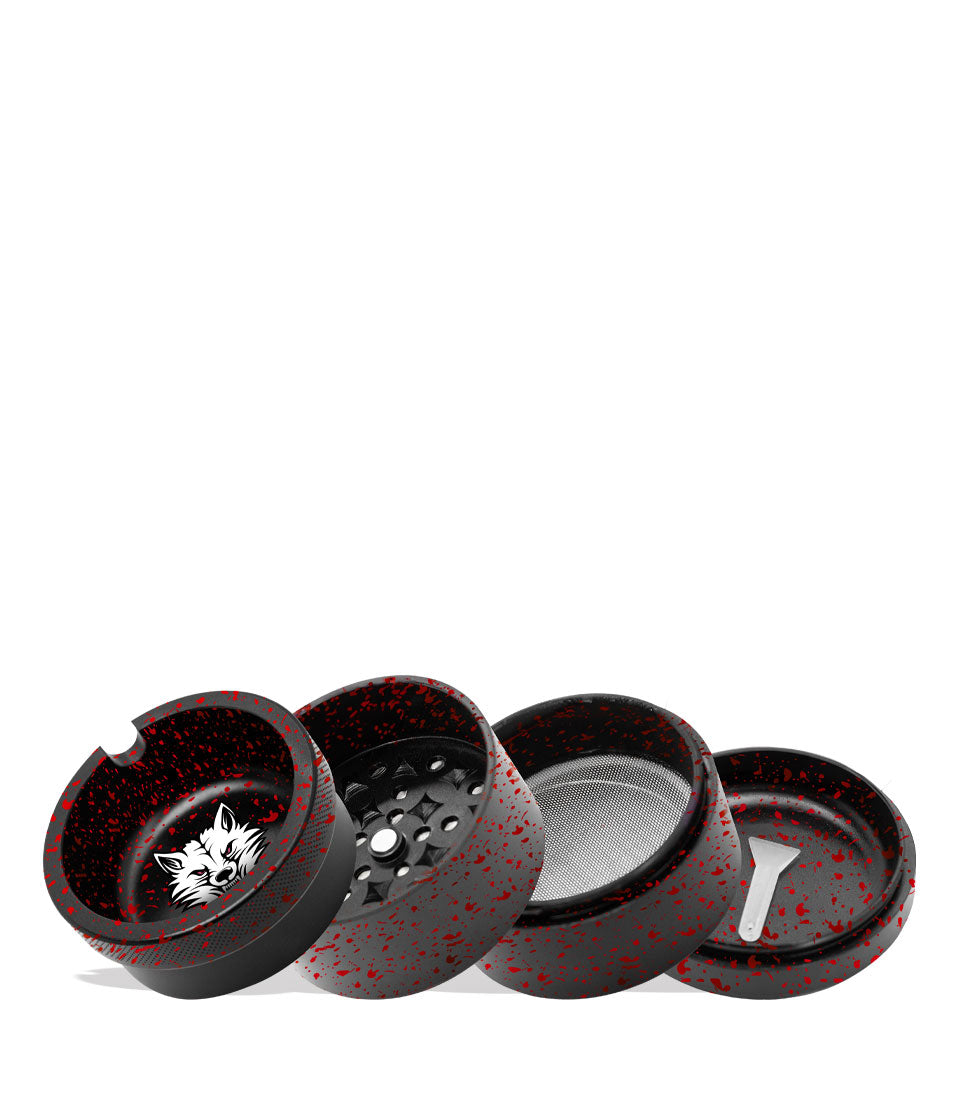
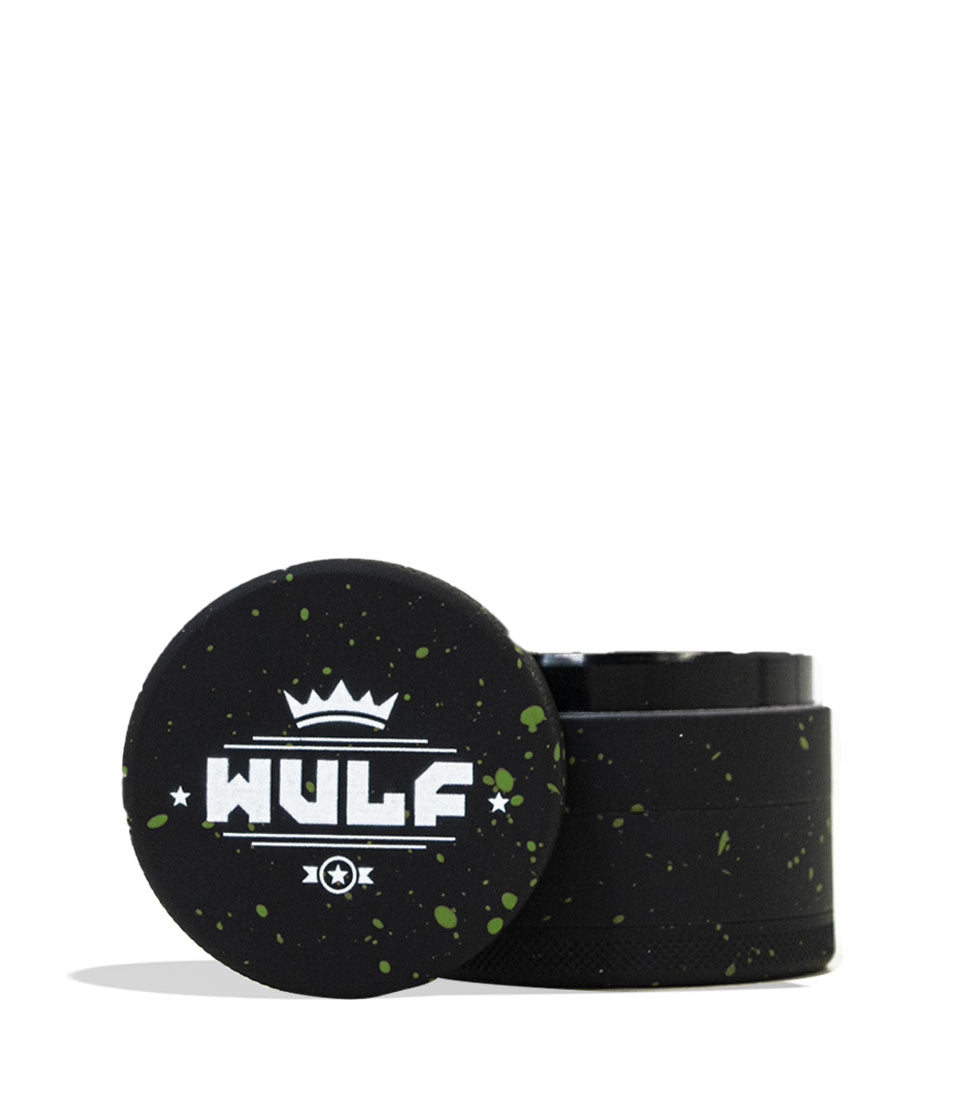
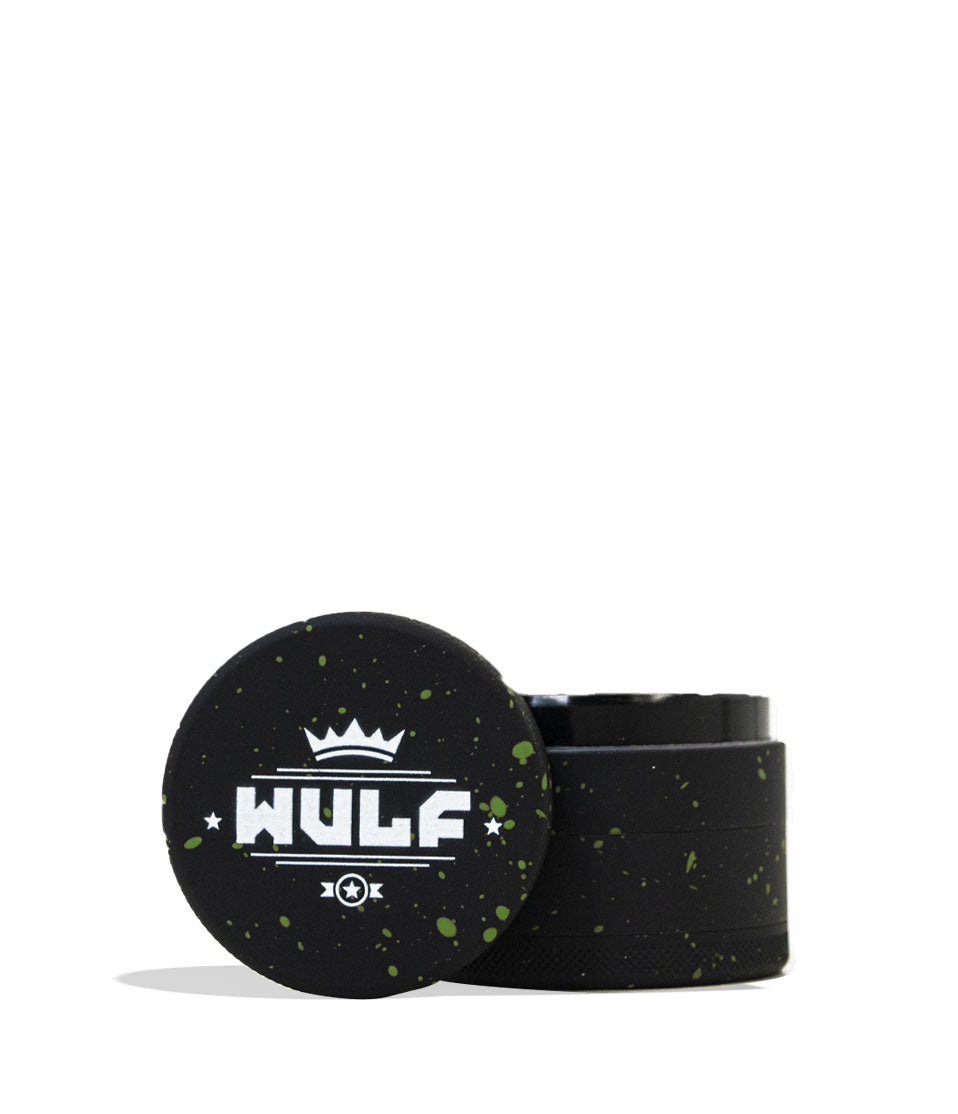




How-To
Complete How-To
From here, the walkthrough gets specific: the product details and buying considerations that turn the summary above into an actual decision.
Grinders. One of the most essential and often overlooked aspects of smoking, vaping, cooking, and otherwise enjoying your dry herbs to their fullest. With how much we rely on them, the question bears to be asked “how do I clean my grinder?”.
Well to help you find out the answer and make cleaning your grinder as easy as possible, Got Vape has created this maintince guide to keeping your shredding teeth ready to rip and working at maximum capacity.
Not only will you enjoy far smoother grinding, but you’ll be able to enjoy better prepared dry herbs from your grinder and actually enjoy more flavor, better burns, and an overall elevated experience.
That’s why today the Got Vape Crew isn’t just asking “where’s the grinder” but going on step further by asking “how is the grinder” and giving you the pointers on how to give them the maintince they need to operate at 100%.
If you need any help on how to use your grinder, check out our in depth guide right here for a step by step walkthrough on loading your herbs, properly grinding them, and enjoying the best results.
This guide walks you through the exact process using simple household supplies that deliver serious results. In just a few minutes, you’ll clear out that sticky plant matter, rescue trapped pollen, and ensure every twist of your grinder feels effortless.
Table of Contents:
Grinder Cleaning Quick Start Guide
Why Keeping Your Grinder Clean Matters
Metal vs. Acrylic vs. Wood: Material Differences
Cleaning Tools for a Grinder
Step 1: The Freezer Trick
Step 2: Disassemble and Brush Out Kief
Step 3: The Isopropyl Bath
Step 4: Scrub the Screen and Threads
Step 5: Rinse Thoroughly With Warm Water
Step 6: Air Dry Completely
Common Mistakes & Quick Maintenance
Keep Your Grinder Fresh in 2026
Grinder Cleaning Quick Start Guide
In a rush to get back to shredding your dry herbs or are just tired of having to read so much? Here is a fast breakdown covering the essential steps to revive your grinder like a pro:
| STEP | ACTION | HOW TO | PRO TIP |
|---|---|---|---|
| 1 | Freeze It | Place the fully assembled grinder in the freezer for 30 minutes. | Freezing makes sticky, glued-on trichomes brittle so they flake right off! |
| 2 | Harvest Kief | Take it apart and use a stiff brush to sweep out loose kief onto parchment paper. | Remove the plastic/Teflon O-ring from the lid before moving to the soaking step. |
| 3 | Bag It | Place metal grinder parts inside a heavy-duty sealable plastic bag. | Separate the pieces so the sharp teeth don’t scratch the exterior finish. |
| 4 | Soak (Metal Only) | Cover the pieces with 91%+ ISO alcohol and soak for 30 minutes. | Never soak acrylic or plastic grinders in ISO; it will melt and cloud the material. |
| 5 | Toothbrush Scrub | Use an old toothbrush to scrub the fine mesh screen, teeth, and outer threads. | Scrubbing the threading is the secret to fixing a squeaky, hard-to-turn grinder. |
| 6 | Flush Warm | Rinse all pieces thoroughly under warm running tap water. | Rinsing washes away the alcohol solvent and any remaining sticky plant matter. |
| 7 | Dry 100% | Set the pieces apart on a clean towel and let them air-dry completely. | Putting a metal grinder together while wet can cause rust and ruin your herb! |
Why Keeping Your Grinder Clean Matters
Every time you twist a fresh nug, sticky resin and plant matter get pressed into the metal teeth, the outer threading, and the fine pollen screen. Over time, this buildup turns into a cement like paste that can make it tought to grind or even seal things shut.
Without regular maintenance, even premium aerospace-grade aluminum grinders start to perform poorly. A gunked up grinder tears your herb instead of cutting it, making your bowls burn unevenly and lead to less effectively vaporization.
Worse, once things are suffiecently clogged you’ll stop collecting kief in the bottom chamber, depriving you of one of the funnest, most clutch benefits of using a grinder in the first place.
A dirty grinder inevitably leads to:
- Extremely tight, squeaky, and frustrating twisting resistance
- Crushed or mashed herb instead of a fluffy, even grind
- A completely blocked mesh screen that stops catching pollen
- The risk of metal shavings or plastic flakes breaking off if forced
- Stuck chambers that are impossible to unscrew
Taking care of your grinder keeps your sessions smooth, your herb fluffy, and your kief catcher full.
Metal vs. Acrylic vs. Wood: Material Differences
Before introducing any liquids, you must know what your grinder is made of so that you don’t accidentally use the wrong solution. Using an incorrect cleaning method can permanently ruin your favorite grinder, so always make sure to proceed with caution.
Metal Grinders (Aluminum, Titanium, Stainless Steel):
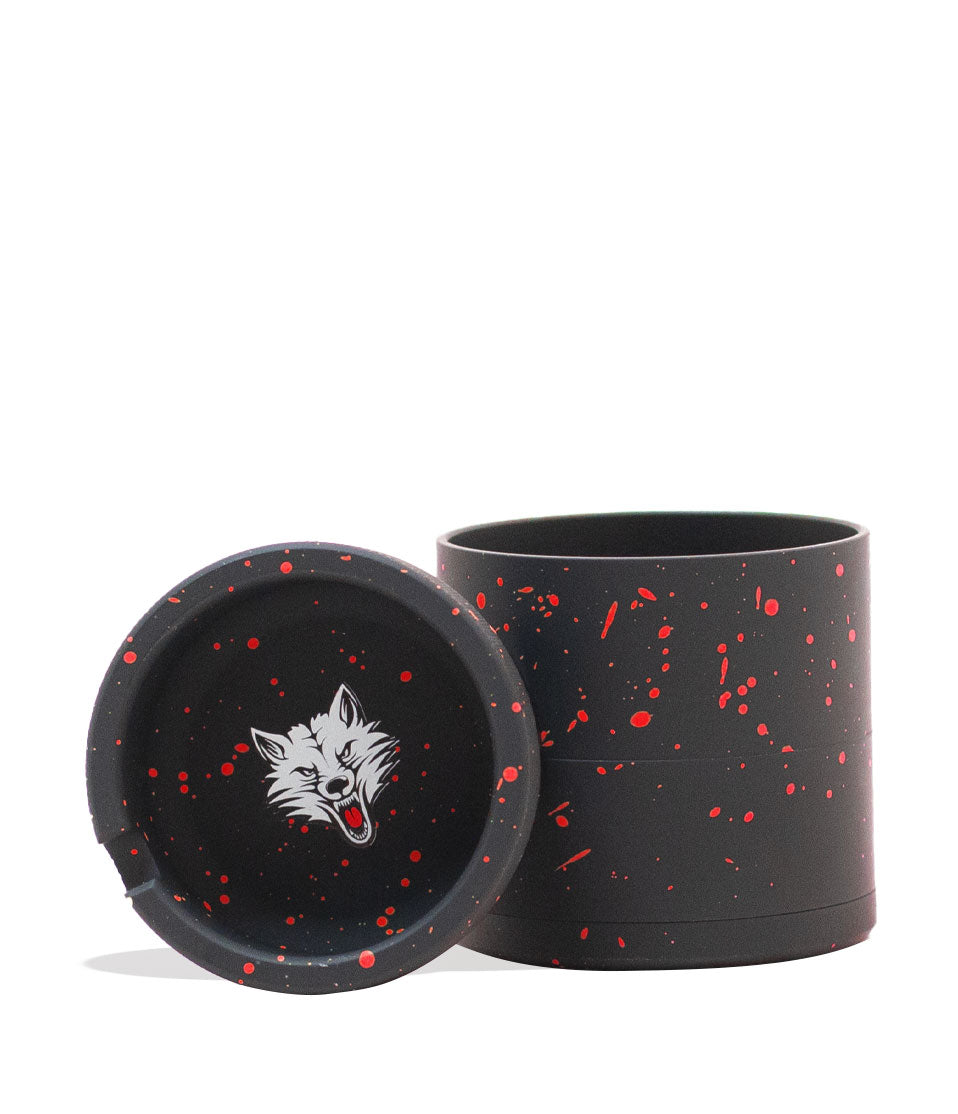
These grinders thrive with isopropyl alcohol and can be easily cleaned with prolonged soaking,. They are durable, non porous, and can handle deep chemical soaking without degrading. This guide is primarily tailored for metal grinders, as they are by far the most common and in our opinion, most dependable choice.
Acrylic / Plastic Grinders:
NEVER soak an acrylic or plastic grinder in isopropyl alcohol! ISO will eat away at the plastic, causing it to crack, cloud, and leave toxic plastic flakes in your herb. For plastic, use the freezer trick, then wash it with warm water and mild dish soap only.
Wooden Grinders:
While the most rare type of grinder, you’ll sometimes see novelty pieces made out of bamboo or other types of wood. It’s imperative that you NEVER soak your wood grinder in alcohol or submerge it in water, as this will destroy the materials and cause them to potentially swell, warp, and rot. Stick to dry brushing and using a metal pick to carefully scrape the teeth.
Cleaning Tools for a Grinder
You don’t need expensive equipment to bring a dull grinder back to life, instead just some commonly found items. Gather these simple household supplies to get the job done right.
Essential tools for grinder maintenance:
- Isopropyl alcohol
- A clean, stiff-bristled brush
- An old toothbrush
- A wooden toothpick or plastic dab tool
- Sealable plastic bags or containers
- Paper towels or cloth
Having all of these prepared before you start cleaning is super important, as you don’t want to get half way through the process only to realize that you’ve forgotten to actually get a bag / container to house your grinder for cleaning.
Step 1: The Freezer Trick
Before you introduce any liquids, put your fully assembled grinder into the freezer for 30 to 45 minutes. While this may seem a bit whacky, it’s actually a common secret step that people use to not just clean their grinder, but also get out stubborn kief.
Why? The sticky trichomes gluing your grinder together will freeze and become brittle while in the freezer. Thus when you pull it out, removing any stuck materials or trapped kief becomes a million times easier.
So move your popsicles and ice cube trays out of the way, toss your grinder into the freezer for a little bit, and let the big chill prepare you for a more effective and overall easier maintince session.
Step 2: Disassemble and Brush Out Kief
Take your chilled grinder out of the freezer and disassemble all pieces over a clean sheet of parchment paper or a rolling tray.
Using a stiff bristled brush, sweep all the loose, frozen kief out of the teeth, the threads, and the screen. You’d be surprised how much premium pollen you can harvest just from this step, so make sure to dump it out into your bottom level.
Try to work away at any stuck dry herbs or build up, using this as an initial pass to remove large chunks before continuing. This will pay off in dividends later, letting you streamline the entire process and prepare for the most intensive follow up steps.
Step 3: The Isopropyl Bath
Splish splash, it’s time to give your grinder an isopropyl bath! Remember that this is only advisable for metal grinders, as they are the only material type that works well with isopropyl cleaning.
To get started take a thick, sealable plastic freezer bag or container and slip each of your metal individual grinder pieces inside. You always want to clean disassembled, as if you just drop your grinder in put together it’s just not going to work right.
Crucial Step: Look at the lid of your grinder. If there is a thin plastic or Teflon friction ring (O-ring) sitting around the edge, remove it carefully with a toothpick and set it aside. You do not want to soak this ring in alcohol.
Now carefully pour in enough isopropyl alcohol to fully submerge all of the grinder pieces. You can add a pinch of coarse salt if the grinder is exceptionally dirty, but usually, the alcohol alone is enough to break down the resin.
Seal the bag tightly, pressing out excess air, and gently shake it for 1 to 2 minutes. Let the bag sit undisturbed for 30 minutes to an hour (can leave over night for the dirtiest of grinders).
The liquid will quickly turn a murky golden brown as the resin dissolves, this means that everything is working accordingly to plan.
Step 4: Scrub the Screen and Threads
After you’ve completed your soak, place your bag / container into the sink and remove all of the grinder pieces. Place each on a paper towel / cloth, so that they can dry and won’t accidentally slip away.
Now very carefully pour the dirty isopropyl water out and into the sink. You never want to spill this mixture, as it’s essentially turbo charged bong water and will stain virtually anything it touches with dank smells. So take your time and dump with caution.
Now examine your grinder pieces and then take a toothbrush, dip it in a little fresh ISO, and scrub the grinder aggressively. This will help remove any lingering pieces of dry herbs and get rid of even the toughest of resin stains.
Focus on three main areas:
-
The Outer Threads: Scrubbing the screw threads removes the sticky friction that makes the grinder squeak or jam up while twisting.
- The Teeth: Just like our own teeth, you need to keep your grinder’s clean in order to get the best results. So make sure to scrub away until the teeth are 100% clean.
- The Mesh Screen: Gently scrub both sides of the kief screen to unclog the microscopic holes. Hold it up to the light, if you can see through it clearly, it’s clean!
Make sure to go slow, put a little bit of elbow grease into it, and you’ll have your grinder squeaky clean in no time.
Step 5: Rinse Thoroughly With Warm Water
Once the resin is scrubbed away, make sure flush all the pieces under a faucet running warm tap water. This is to wash away all traces of leftover isopropyl alcohol and loosened plant matter.
While a simple step, it’s absolutely crucial to give your grinder this wash out as you don’t want your lush dry herbs getting tainted by any left over cleaning materials on accident.
Step 6: Air Dry Completely
Set your freshly washed grinder pieces spaced apart on a cloth or paper towel in a well ventilated area.Allow the pieces to air dry completely. Do not assemble the grinder while it is wet!
Trapping water inside a closed metal grinder can cause it to rust, squeak, and ruin your next batch of dry herb. Wait until zero moisture remains before putting the O-ring back on and screwing it together.
We usually leave our grinders drying over night, as this ensures that we’re not stuck waiting to use it again and can simply sleep through the downtime with ease.
Common Mistakes & Quick Maintenance
The fact of the matter is you do not need to clean your grinder very often, instead you want to use deep cleanings sparingly and instead focus on keeping your teeth clean with regular maintince.
If you notice some left over buds or particularly stick materials stuck, don’t just ignore them and let the problem build. Instead just use a pick tool to remove the stuck herbs and prevent yourself from having to break out the isopropyl.
Remember that not every jam requires a full isopropyl alcohol bath. You can keep your grinder spinning smoothly by simply using a small brush to sweep out the teeth and threads once a week.
Avoid these common pitfalls to keep your grinder safe and functional:
-
Using ISO on Acrylic: We can’t say it enough, alcohol melts plastic. Only soak metal or glass.
-
Scraping with metal tools: Using a steel screwdriver or knife to scrape sticky resin can gouge the aluminum, leaving tiny, dangerous metal shavings in your herb.
-
Losing the O-ring: That thin plastic ring on the lid is what makes the grinder turn smoothly. If you lose it or melt it in ISO, you will have metal on metal grinding forever.
- Skipping the dry time: Wet grinders lead to rusty screens and moldy herb.
Keep Your Grinder Fresh in 2026
Mastering how to clean a grinder isn’t just about basic routine maintenance, it’s about respecting your flower and ensuring every bowl you pack is fluffy, even, and potent.
With over two decades of grinding herbs and reveling in the good times with friends, the Got Vape Crew knows one truth above all: a clean grinder transforms a frustrating chore into a satisfying ritual.
Stick to these simple steps, keep your ISO and toothbrush handy, and enjoy flawless twists every single time. For more expert breakdowns, accessory guides, and session tips, check out the rest of our postings at the Got Vape Resource Center! Stay cloudy, y’all!
Frequently Asked Questions
How-To FAQs
Quick answers to what shoppers usually ask before putting this guidance to use.
How Often Should I Clean My Grinders?
Can I Use Rubbing Alcohol To Clean A Plastic Or Acrylic Grinder?
How Do I Get Trapped Kief Out Of My Fine Mesh Screen?
Why Is My Metal Grinder Still Squeaky And Hard To Twist After Cleaning?
Is It Safe To Clean My Grinder Using Metal Scraping Tools?
Got Vape Trust Center
About This Resource
Here's a look at who put this guide together, how it was fact checked, and how the Got Vape team keeps it current.
Editorial Standards
- Written for shoppers, not search engines.
- Checked for accuracy and plain, practical usefulness before it goes live.
- Grounded in the manufacturer specs and product documentation we can verify.
- Revisited whenever products, regulations, or category trends shift enough to matter.
- Shaped by years of hands-on time with this gear, not just spec sheets.
- Written to help you land on the right device without the guesswork.
Research Methodology
We built this walkthrough around the actual steps, from unboxing through everyday use, based on time spent with the device and the questions people ask most.
- Hands-on product experience
- Step-by-step setup and use
- Cleaning, care, and troubleshooting
- Common questions answered
- Safe and responsible use
- Real-world use considerations
- Editorial review for clarity and accuracy
Article Information
Intended Audience
- Everyday customers
- First-time buyers
- Experienced enthusiasts
- Dry herb users
- Concentrate users
- Anyone upgrading their setup
Editorial Policy
We revisit Got Vape guides on a regular basis rather than publishing them once and walking away. If a product spec, regulation, or category trend changes enough to matter, the article gets updated and the review date moves with it.
Keep Exploring
Related Resources
A few more Got Vape guides worth a look if you want to get even more out of your setup.
Category Guide
The age old saying is there's more than one way to grind an herb, which is why we are here today at Got Vape to provide you wit...
Read Resource →
How-To
Find out how to clean your dry herb vaporizer with the help of the Got Vape Crew! In just a few minutes you'll now how to keep ...
Read Resource →
How-To
Learn how to clean your bubbler quickly and effectively with the help of the Got Vape Crew. Follow along with our step by step ...
Read Resource →
How-To
Follow along with the Got Vape Crew as we breakdown how to clean a one hitter or chillum. Ensure your airflows well and smoke i...
Read Resource →
How-To
Learn how to clean your hand pipe and enjoy more from your dry herbs. Follow along with the Got Vape Crew as we breakdown easil...
Read Resource →