


Product Education & How-To Guides
How To Use An Atomizer (Got Vape Crew Tips)

Continue With This Resource
Got Vape Quick Brief
What You Should Know
Skim this first for the short version: the main points, the questions people ask, and what to consider before you buy.
Overview
Key Takeaways
- Twisting your atomizer clockwise only until finger-tight protects internal silicone insulator rings and prevents "No Atomizer" or short-circuit warnings.
- Loading a grain-of-rice portion for concentrates or packing ground dry herb loosely ensures hot air circulates evenly without suffocating airflow.
- Matching your heat setting to your material, from low voltages for 510 oil cartridges to higher temperatures for solid waxes, preserves delicate terpenes while maximizing vapor density.
- Taking slow five- to eight-second sipping draws and clearing residual oil or vaped herb while the chamber is still warm prevents clogs and baked-on carbon crust.
- Swapping in a fresh replacement atomizer when you notice hairline cracks, weak heating, or a lingering burnt taste after a 99% isopropyl alcohol clean restores peak flavor and cloud output.
Questions This Resource Answers
- How do you properly attach an atomizer without triggering connection warnings?
- How much material should you load into concentrate and dry herb atomizers for optimal airflow?
- What voltage or temperature settings work best for oil cartridges, dry herbs, and concentrates?
- Why should you take slow draws and clear your atomizer immediately after a session?
- How do you know when an atomizer is worn out and needs to be replaced?
Recommended Products
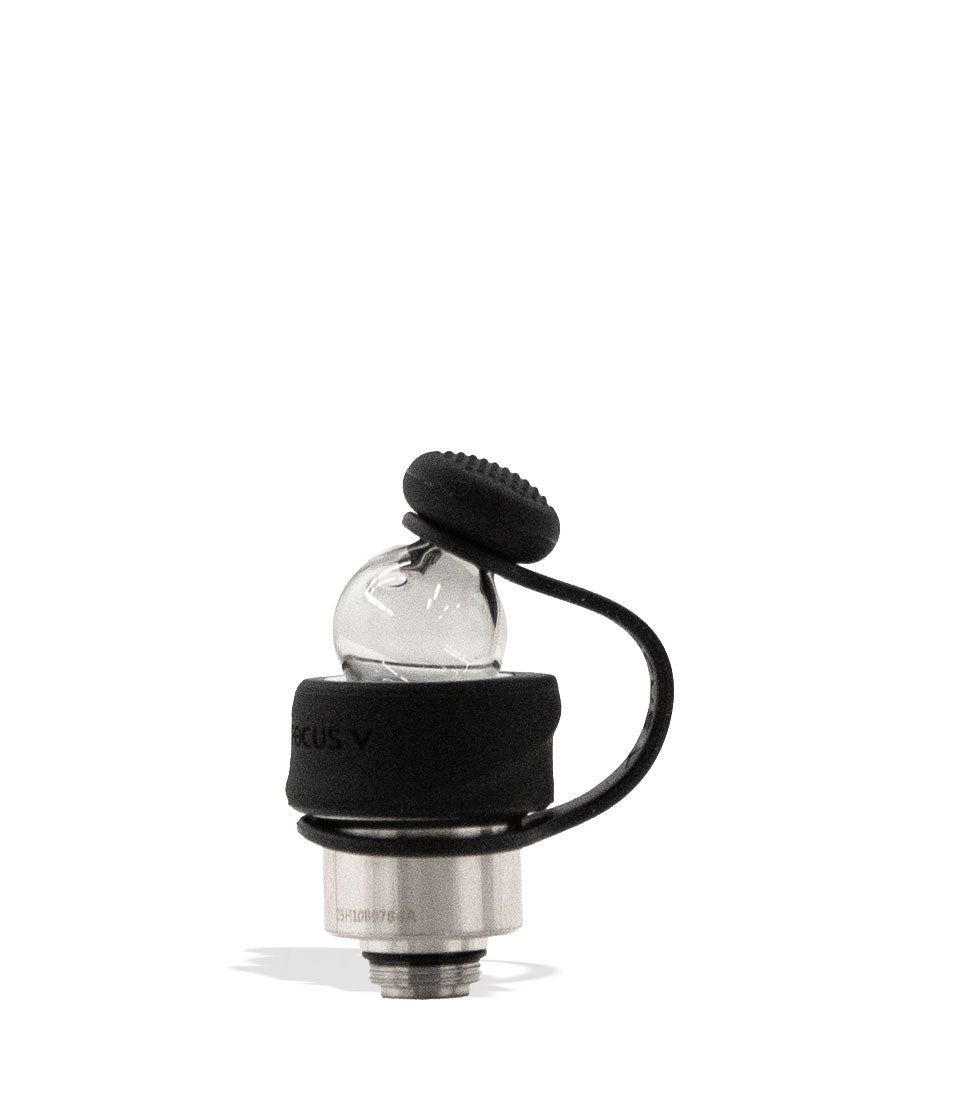
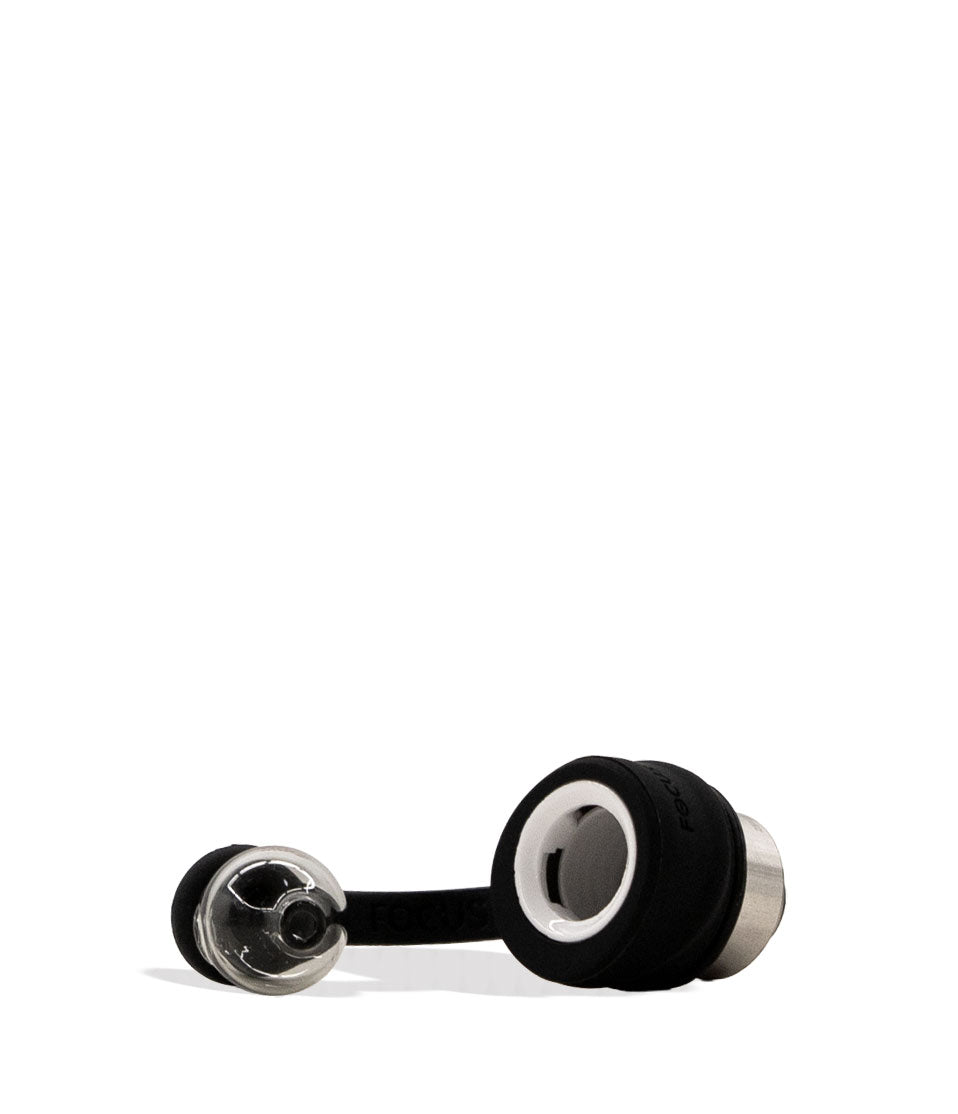
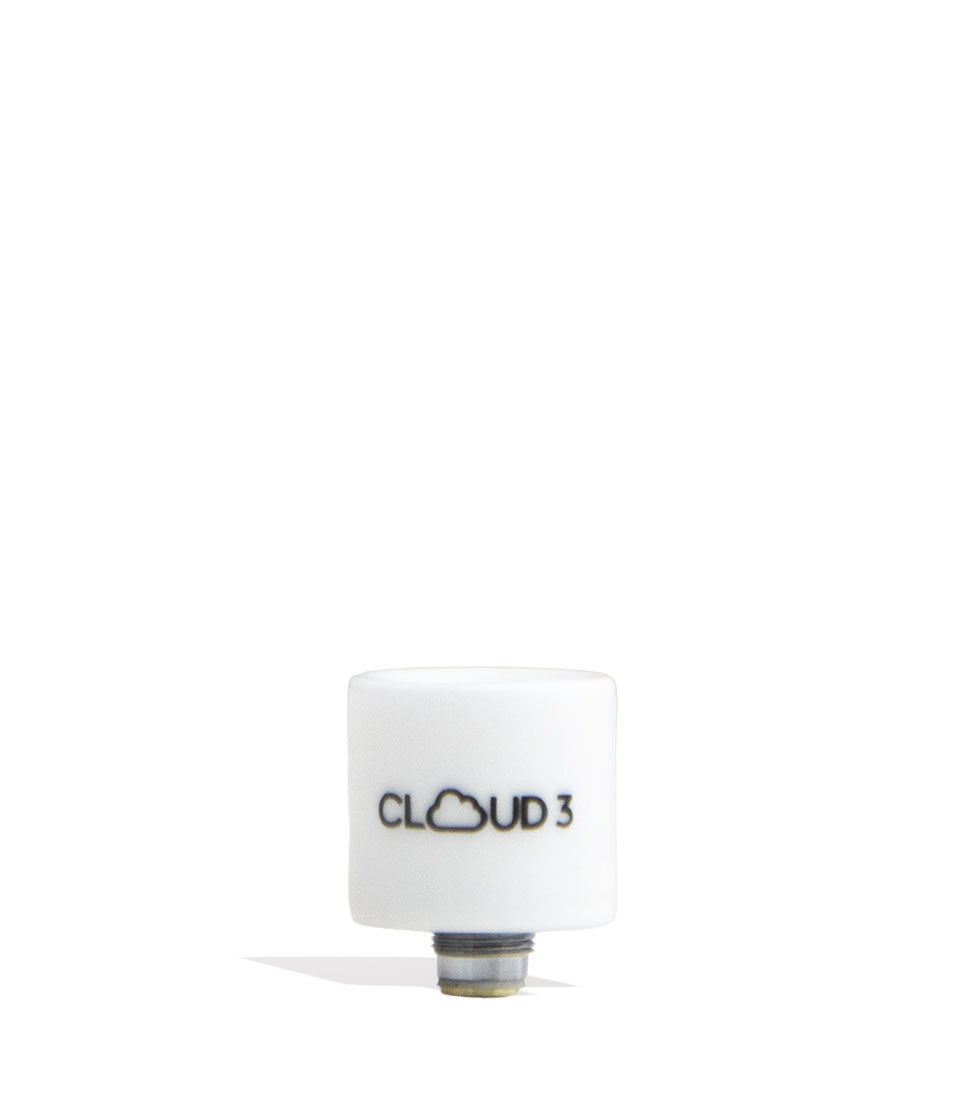
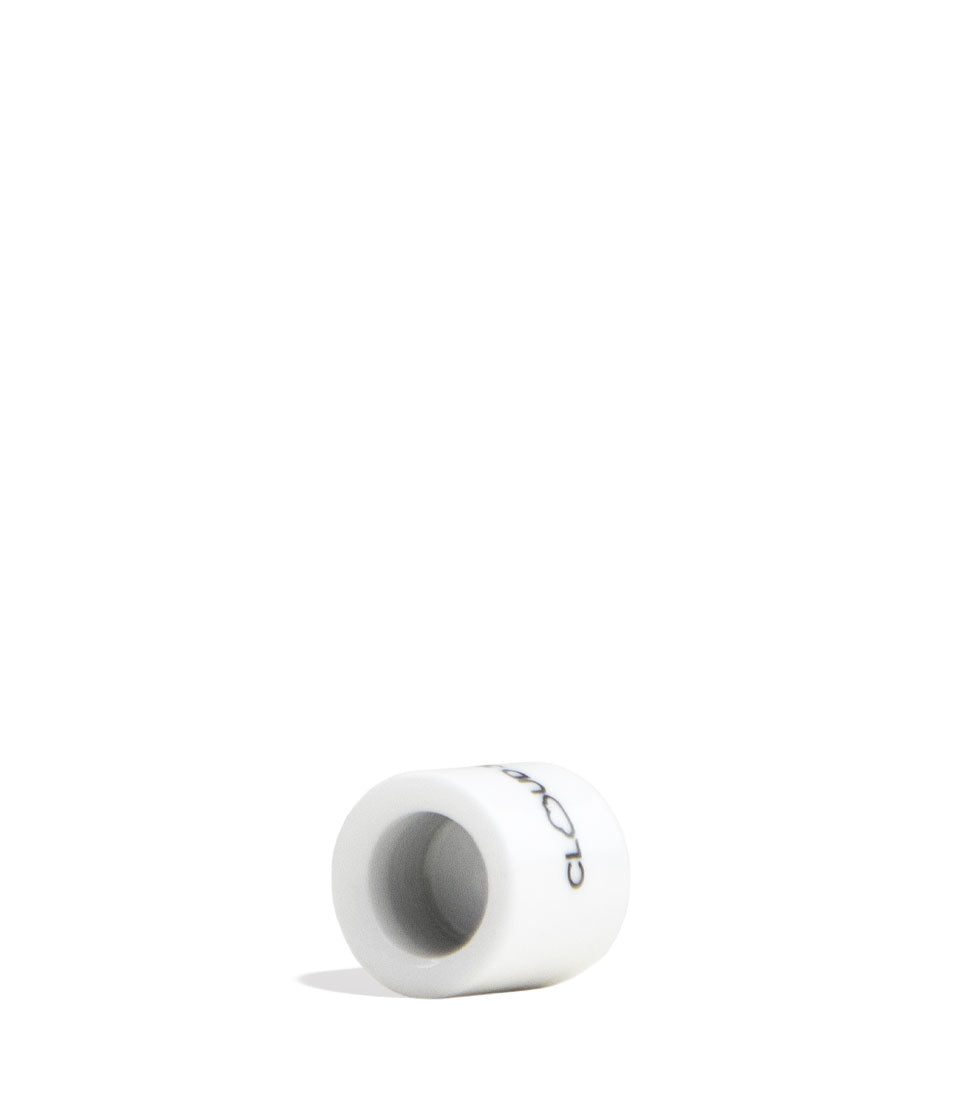
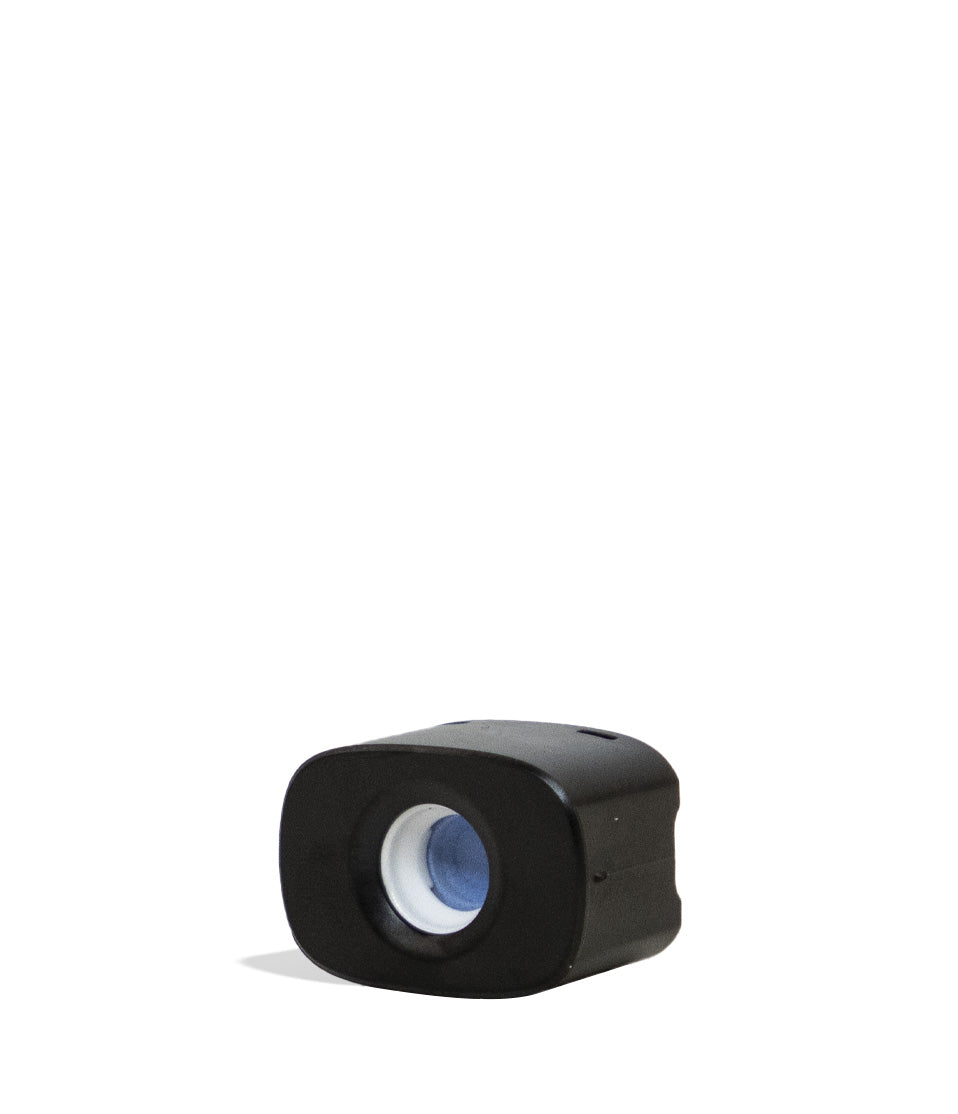
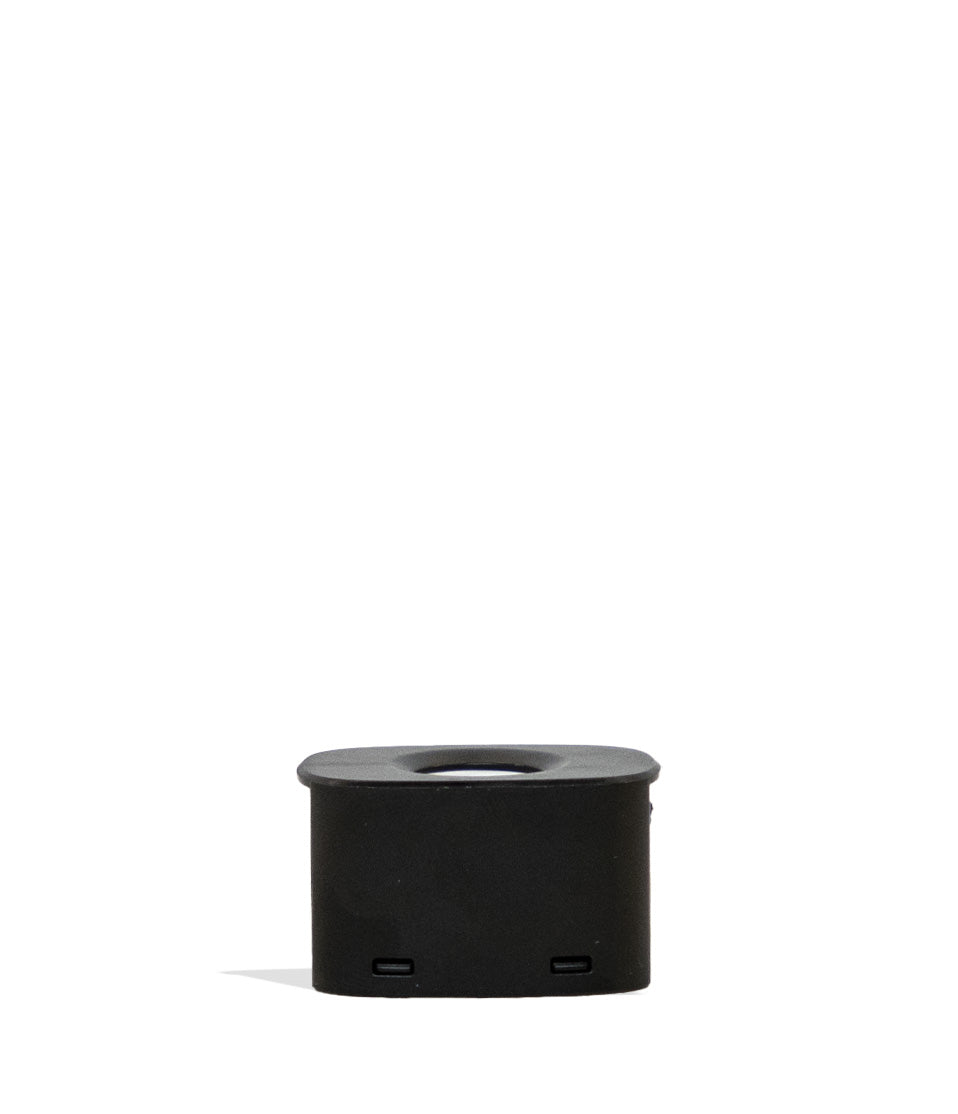
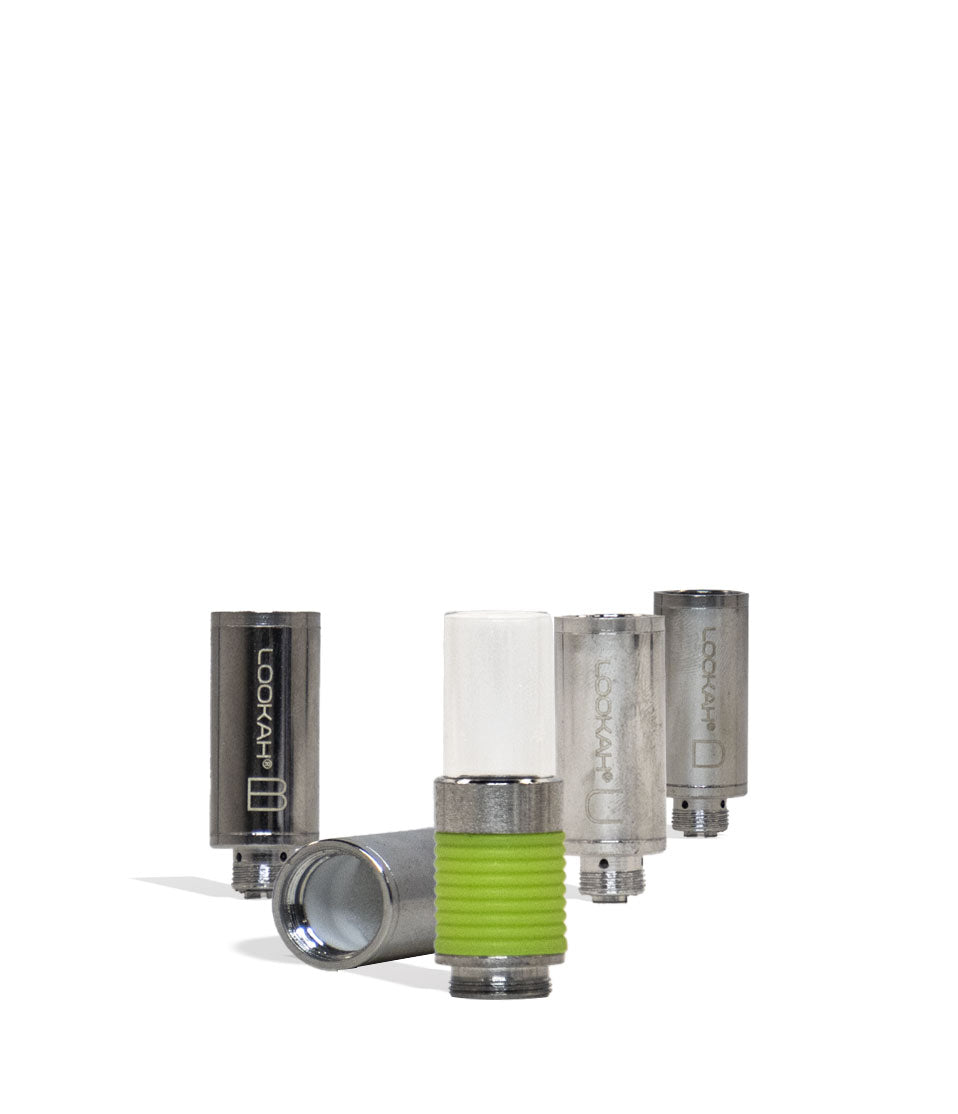
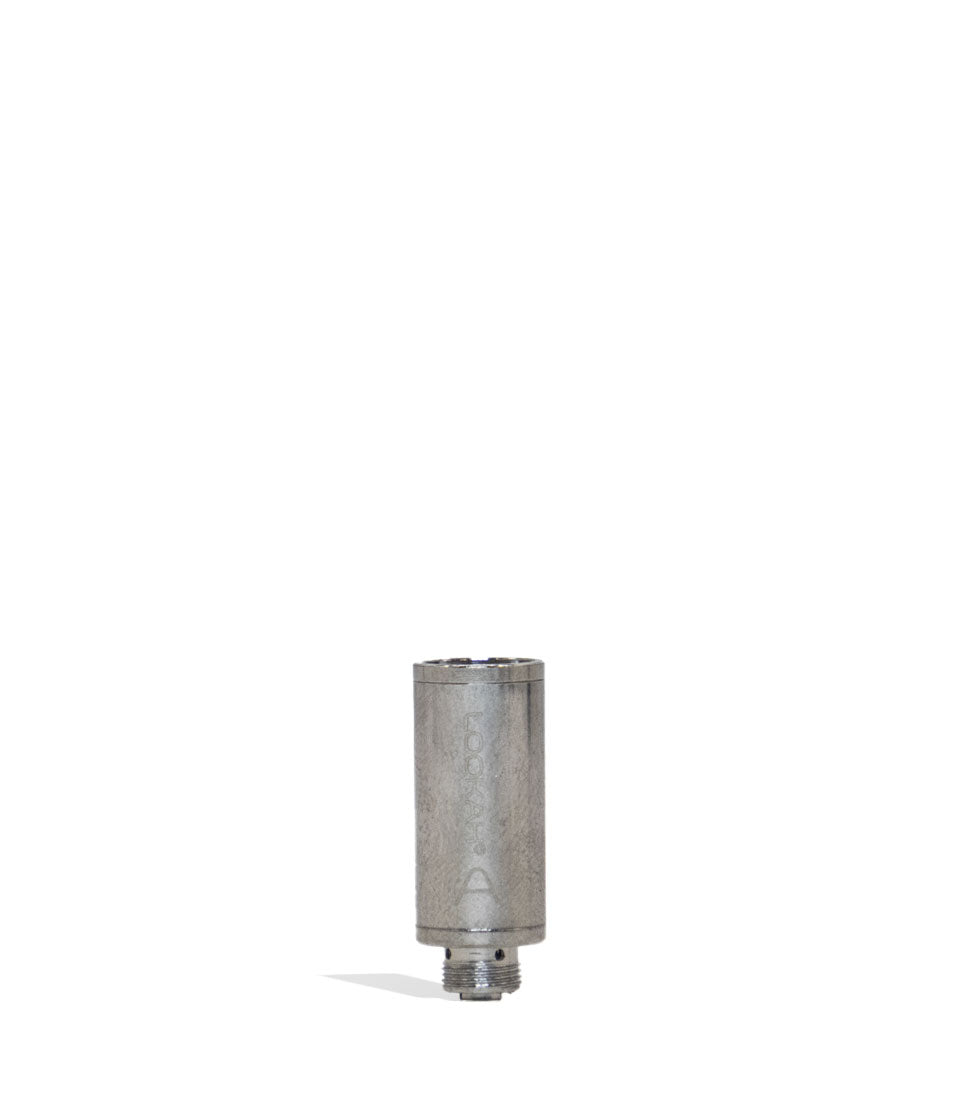
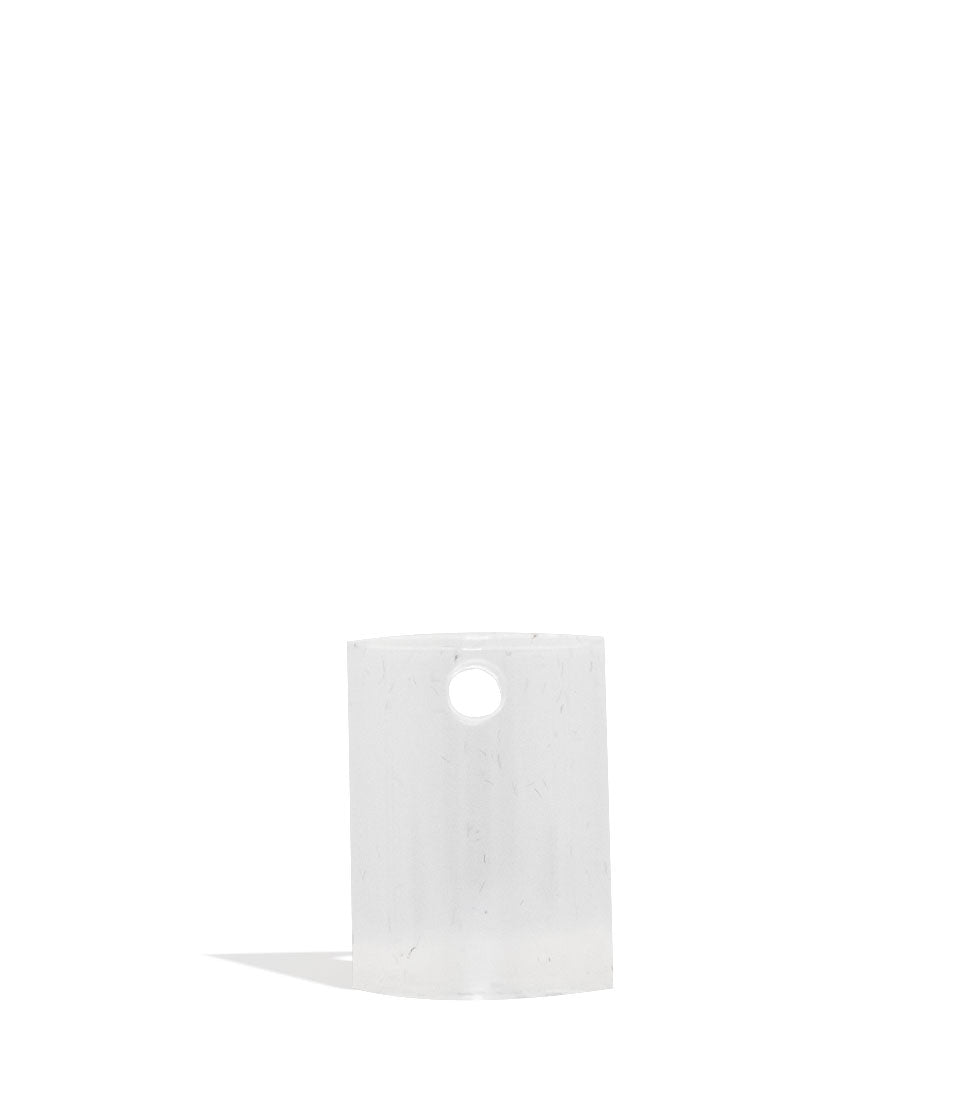
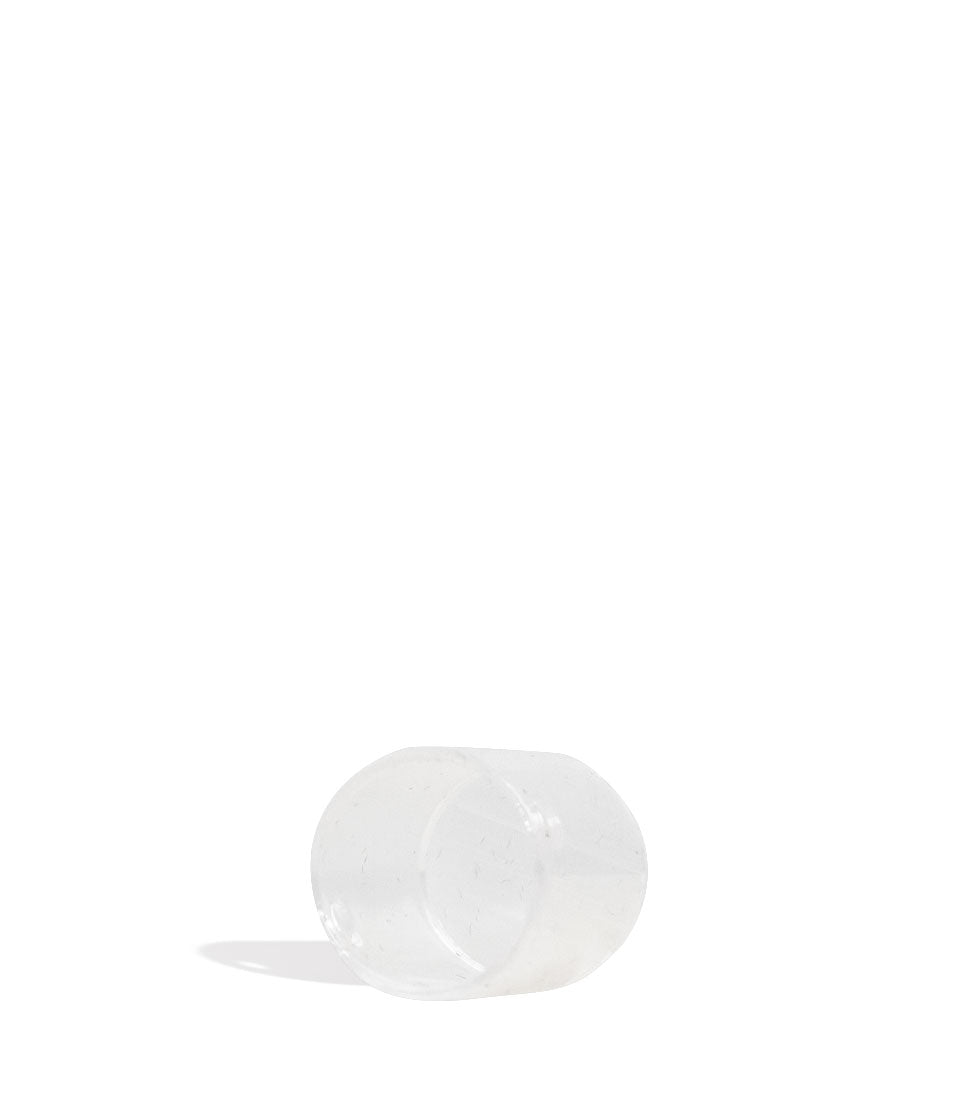
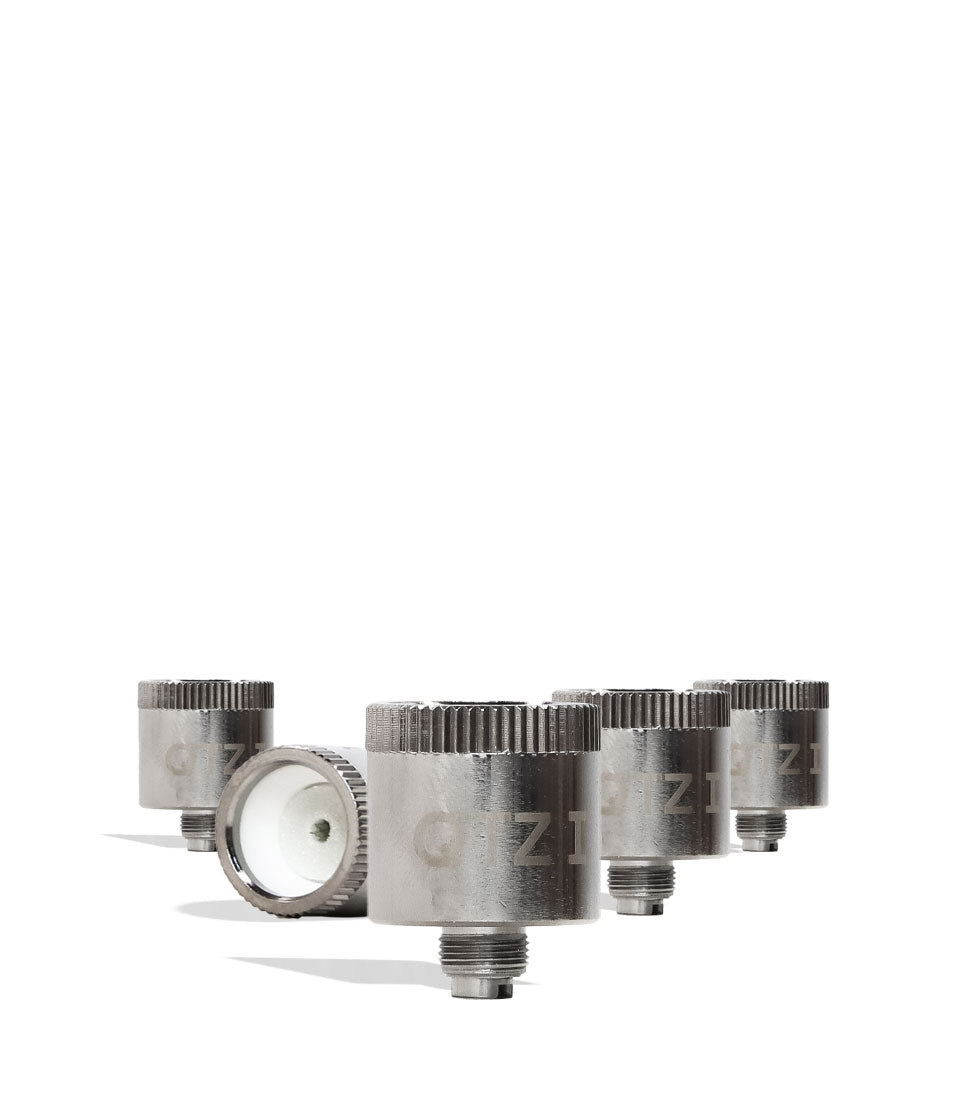
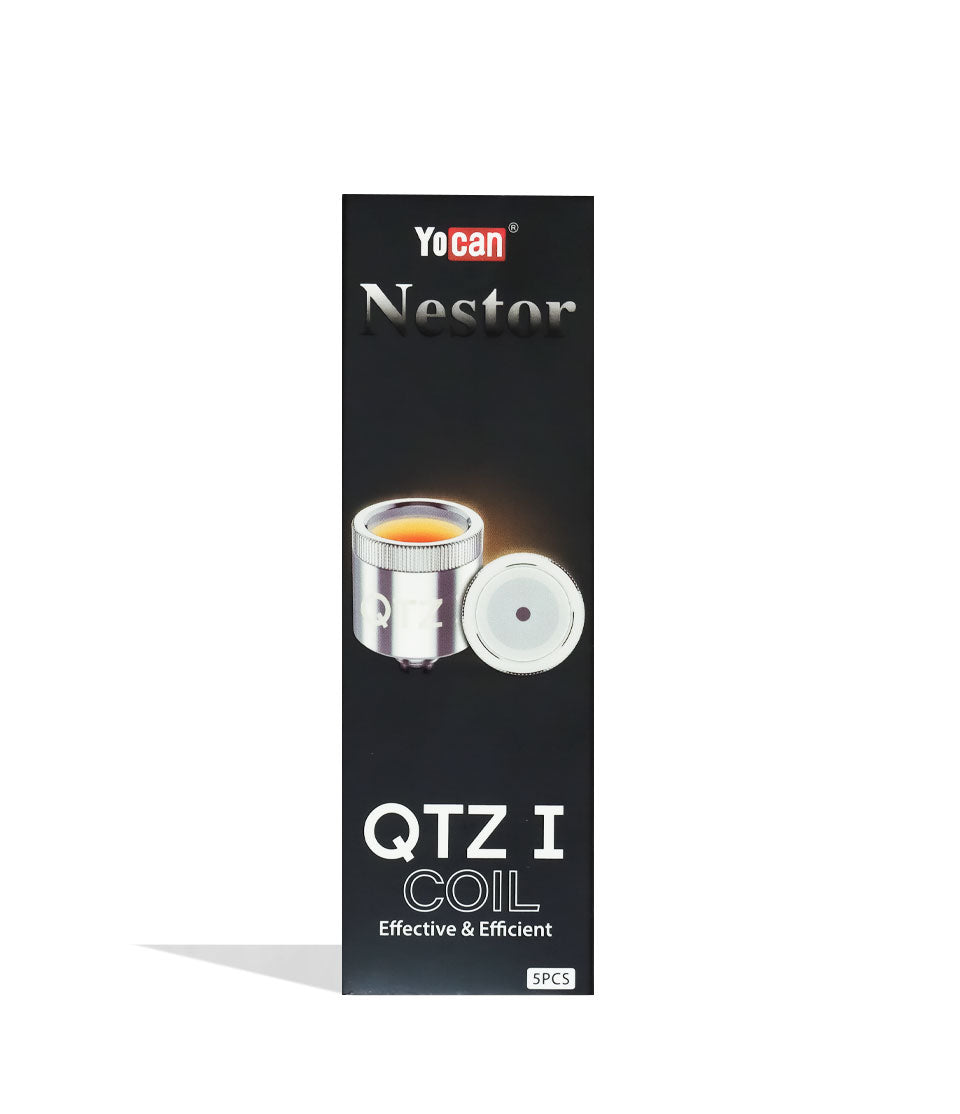
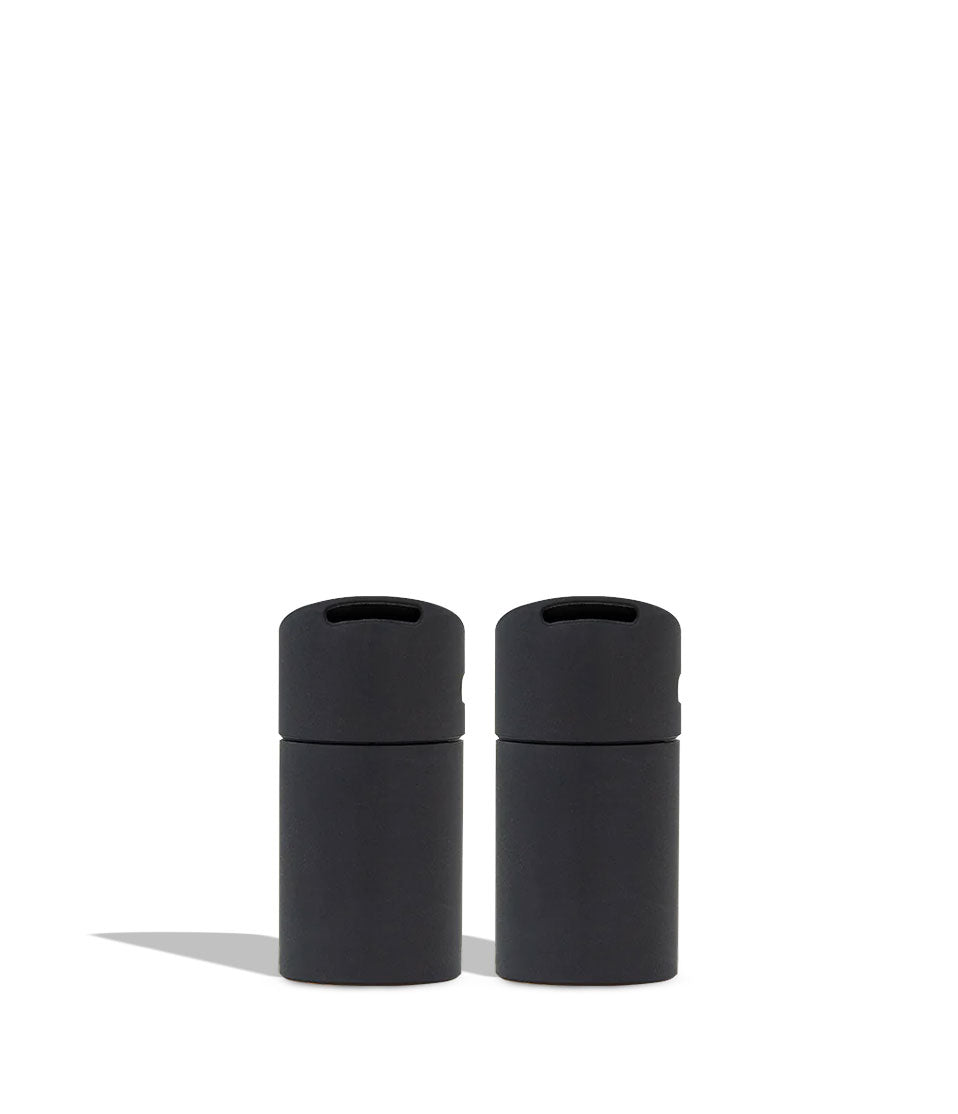
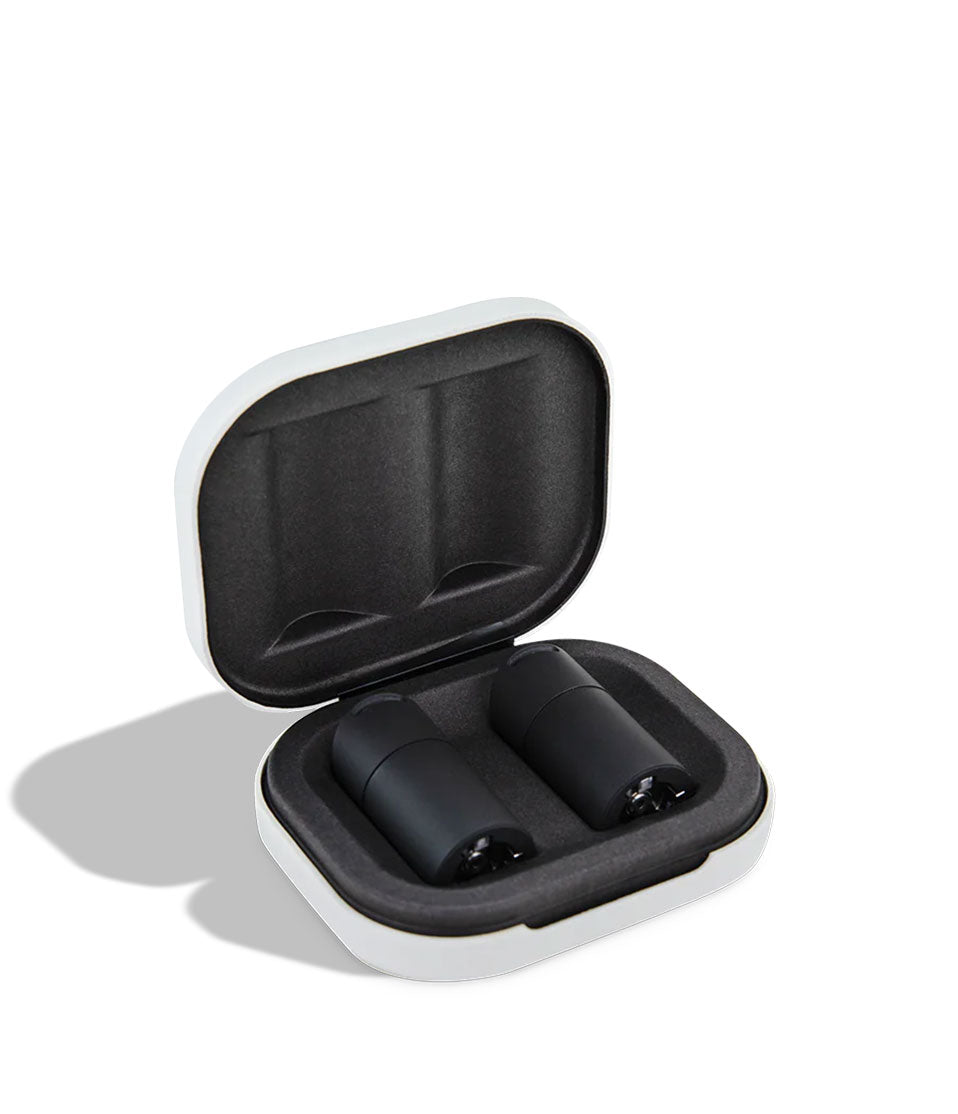
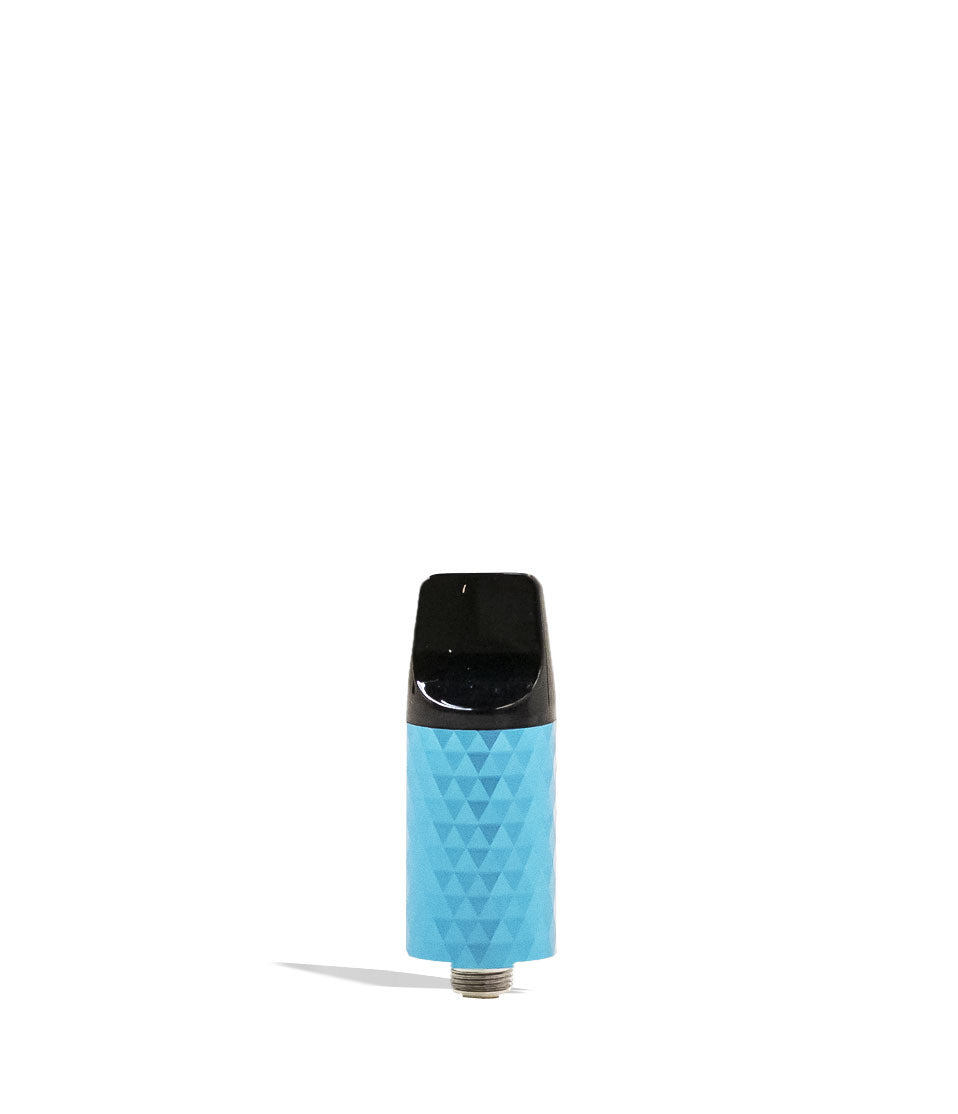
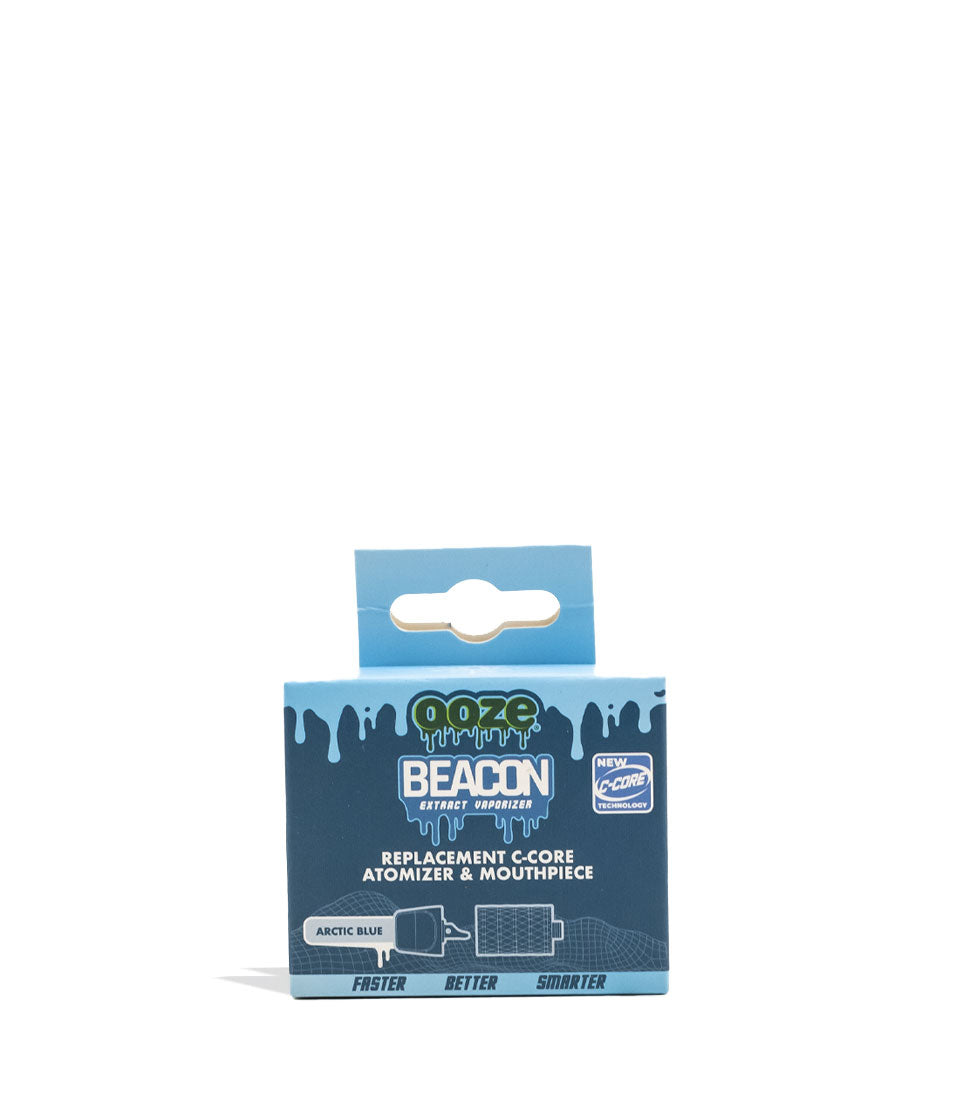
Shop Replacement Coils & Atomizers
A closer look at the picks called out above.
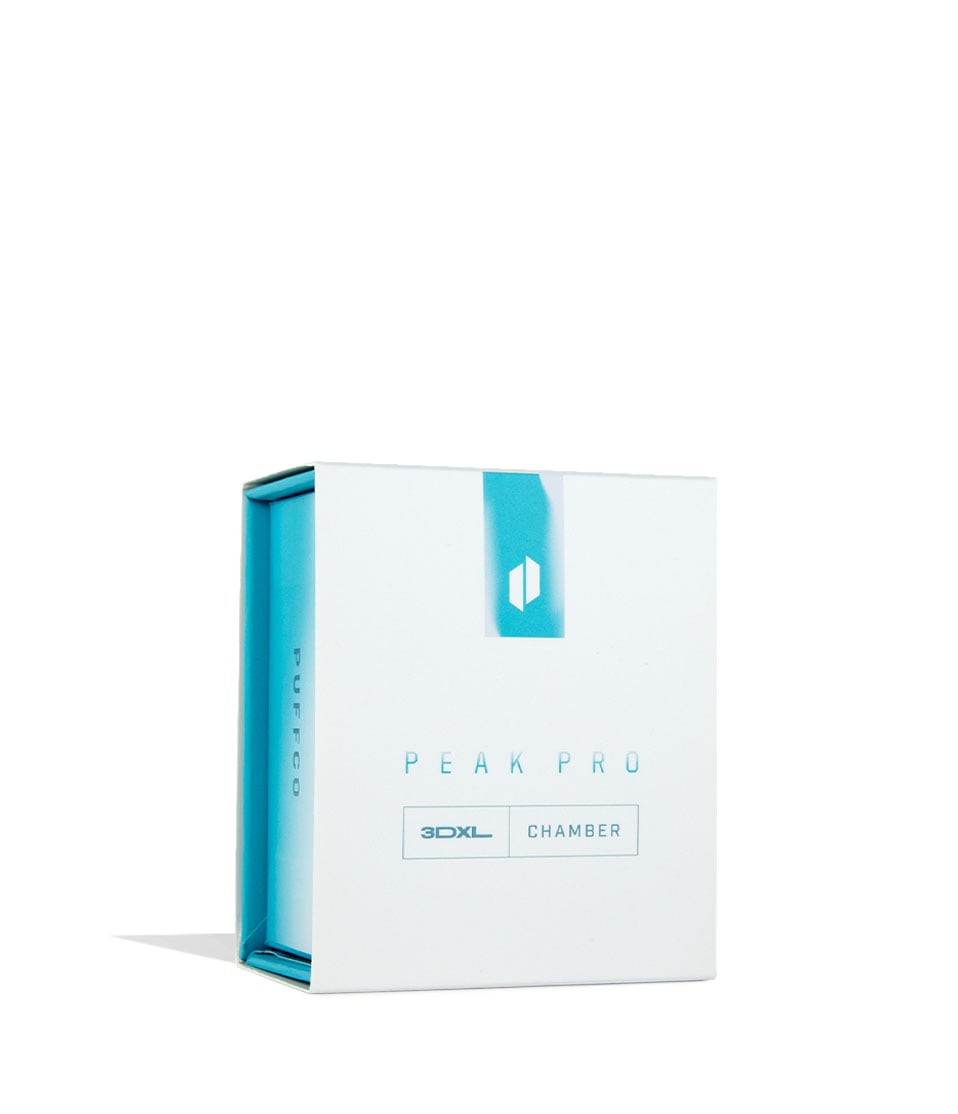
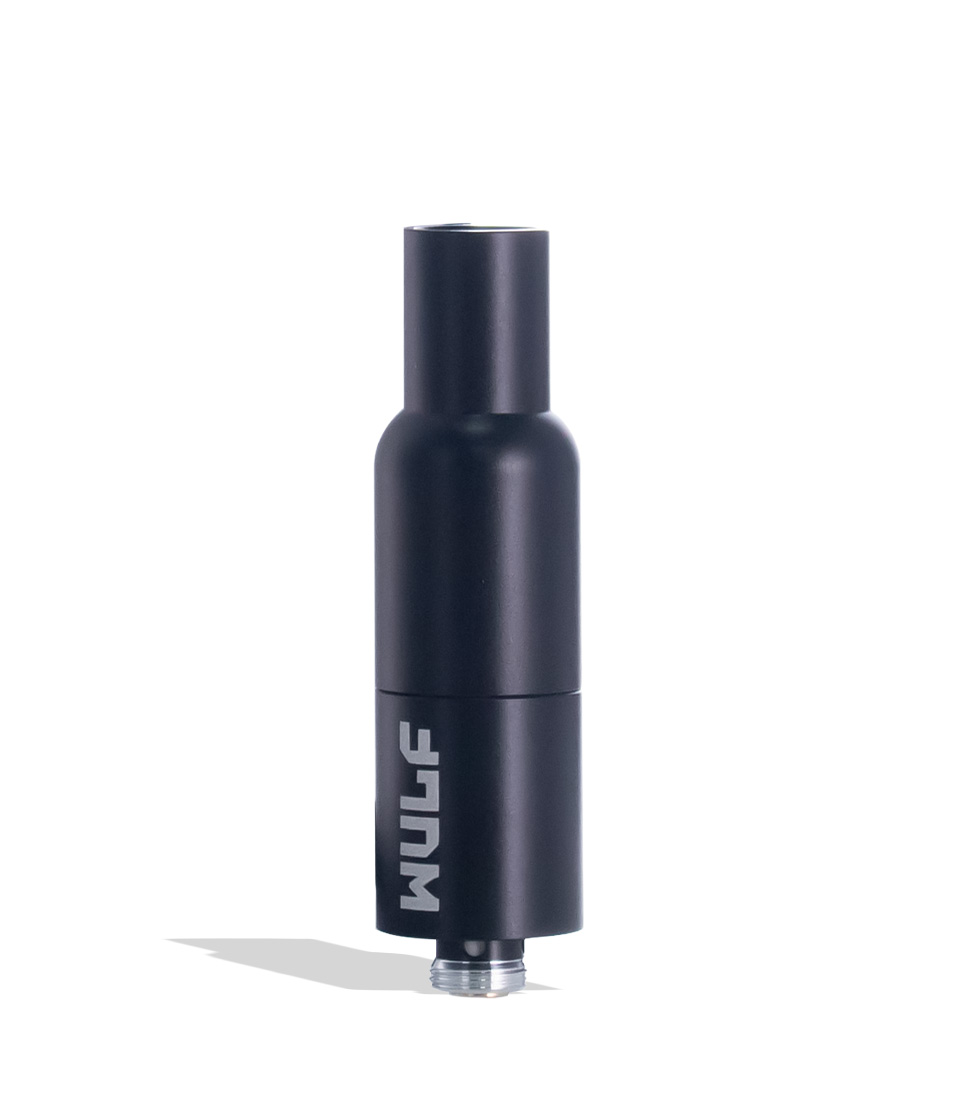
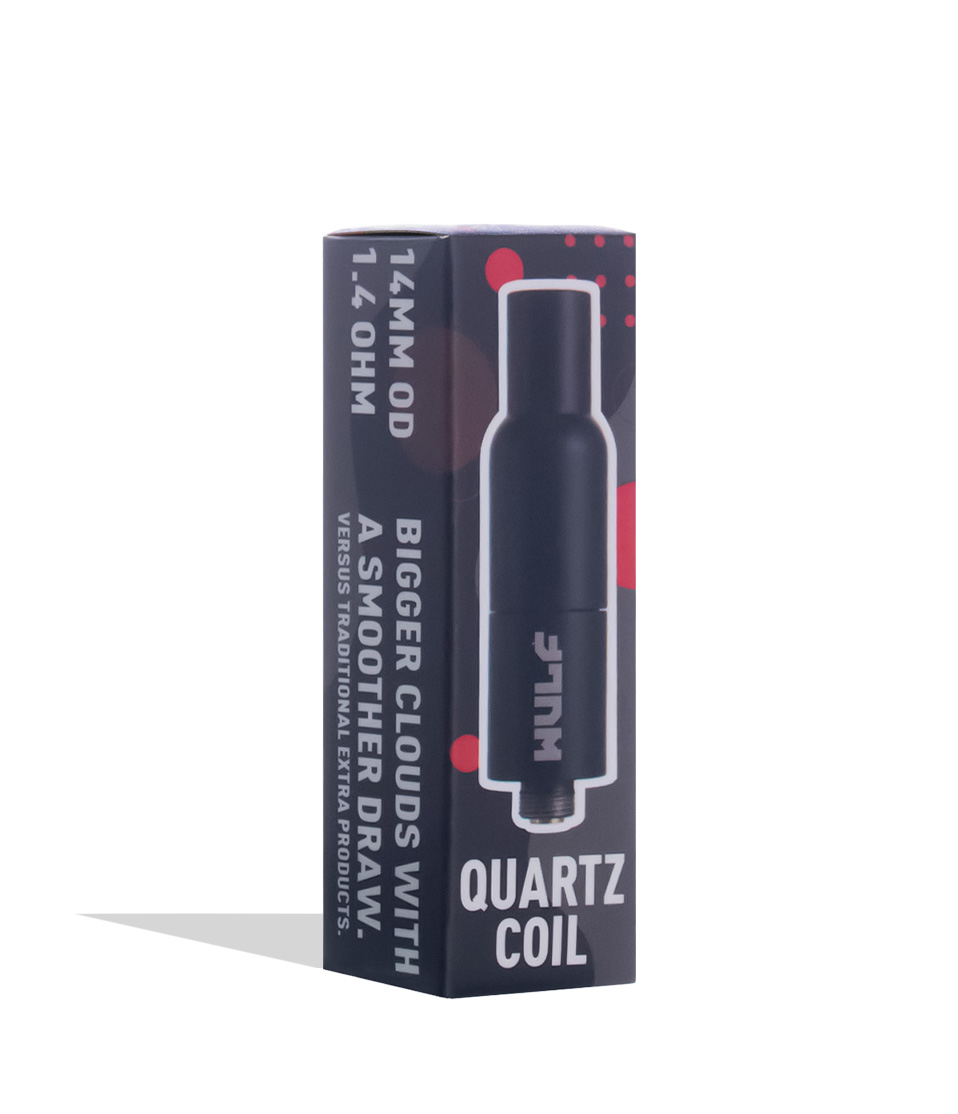
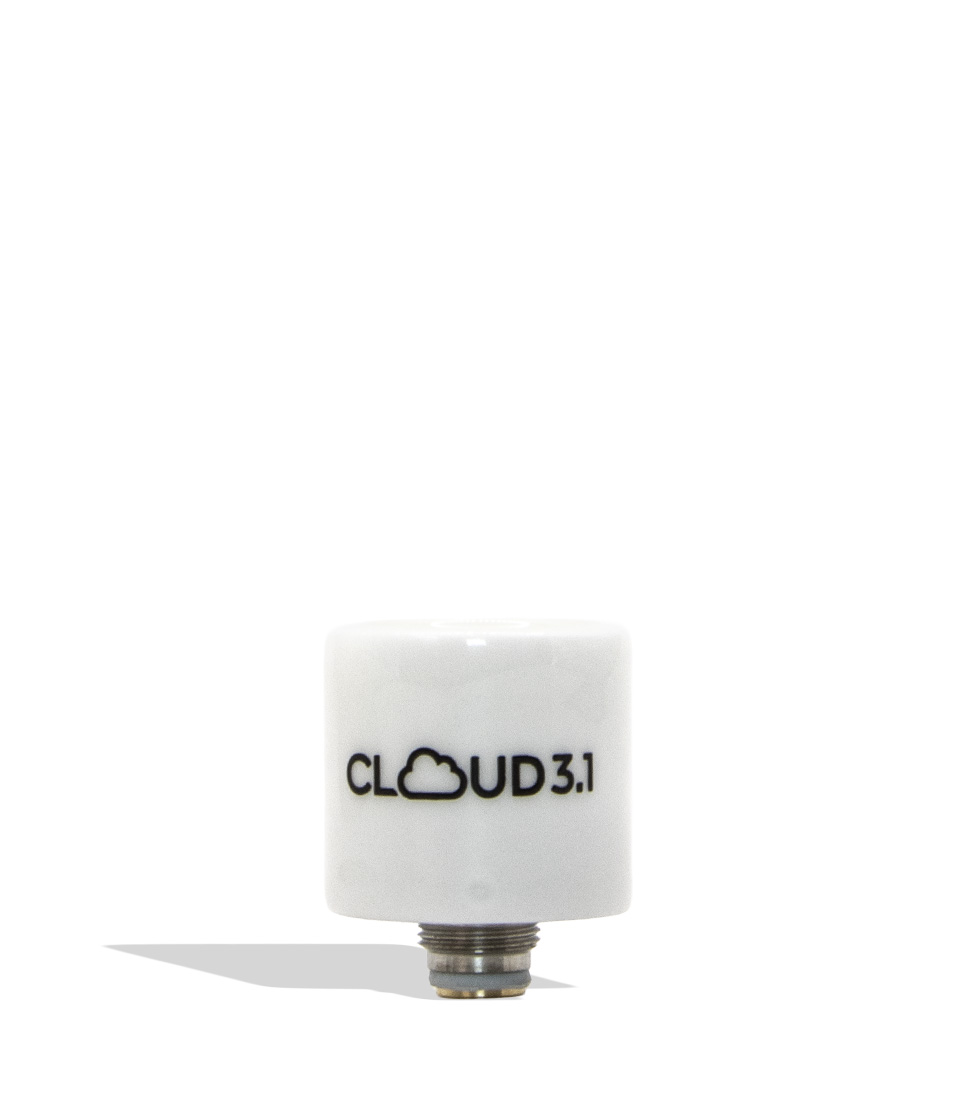
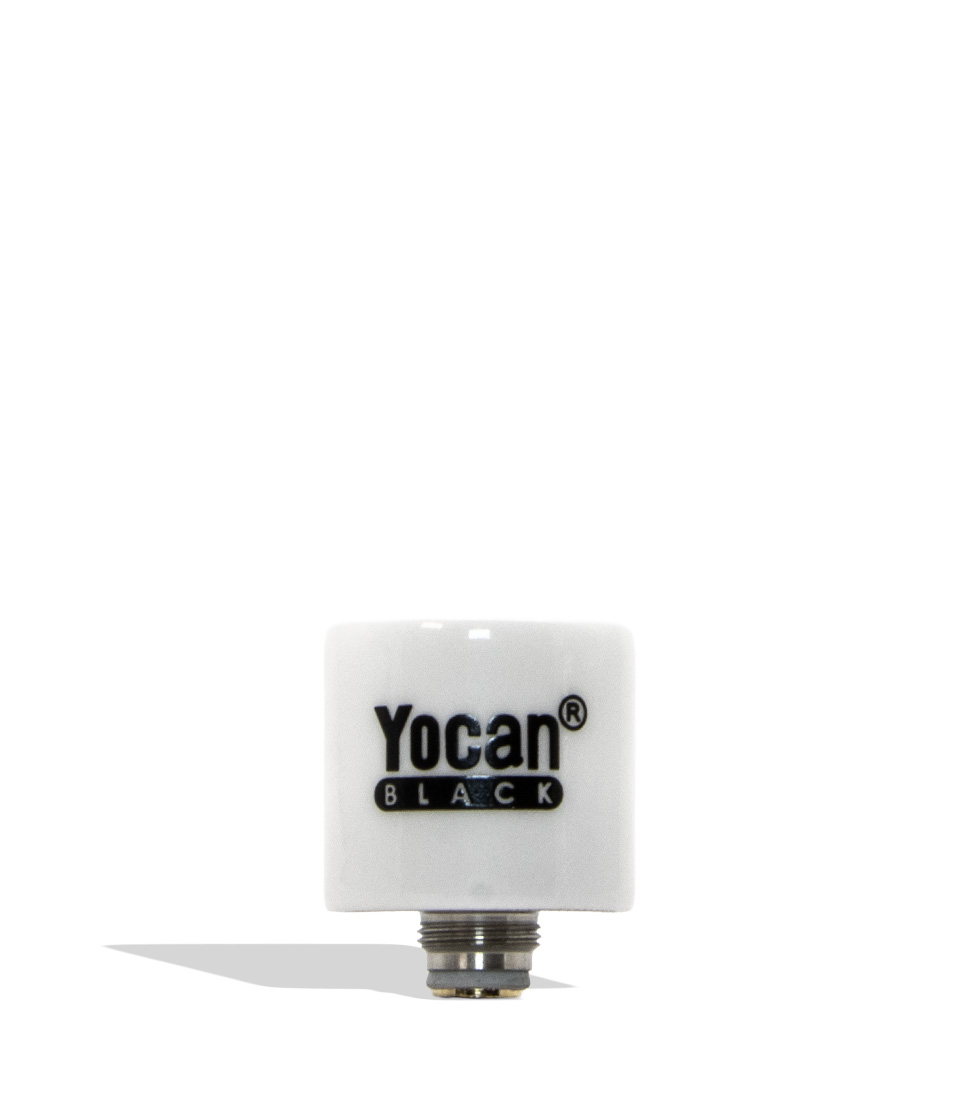
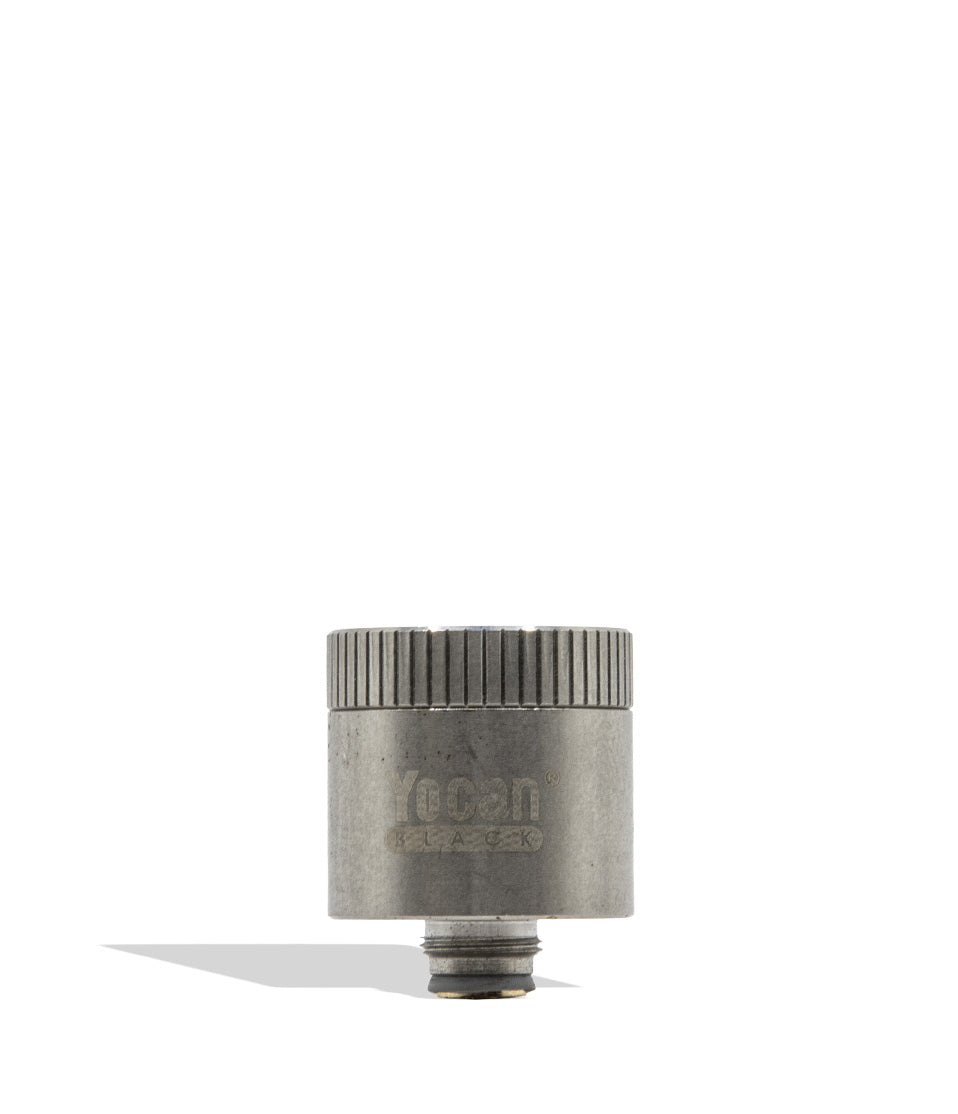
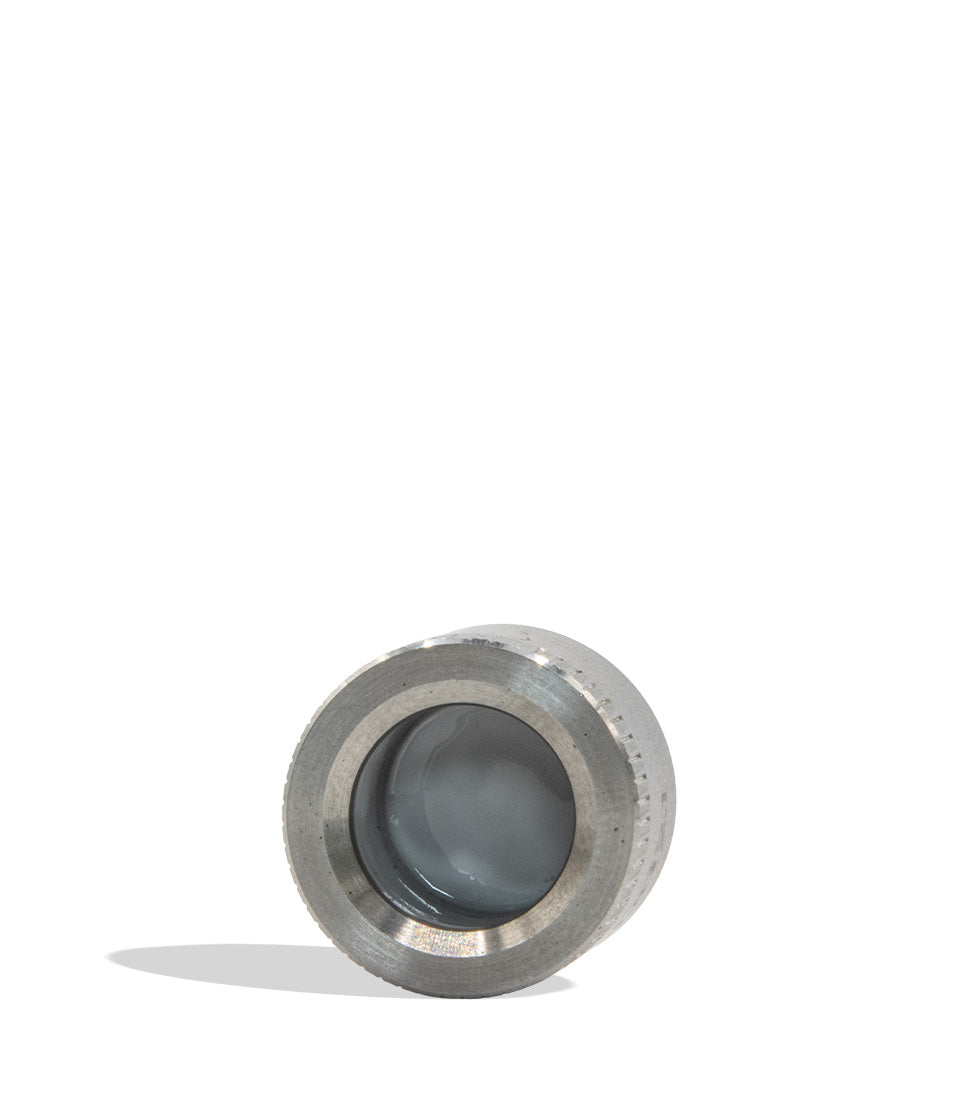
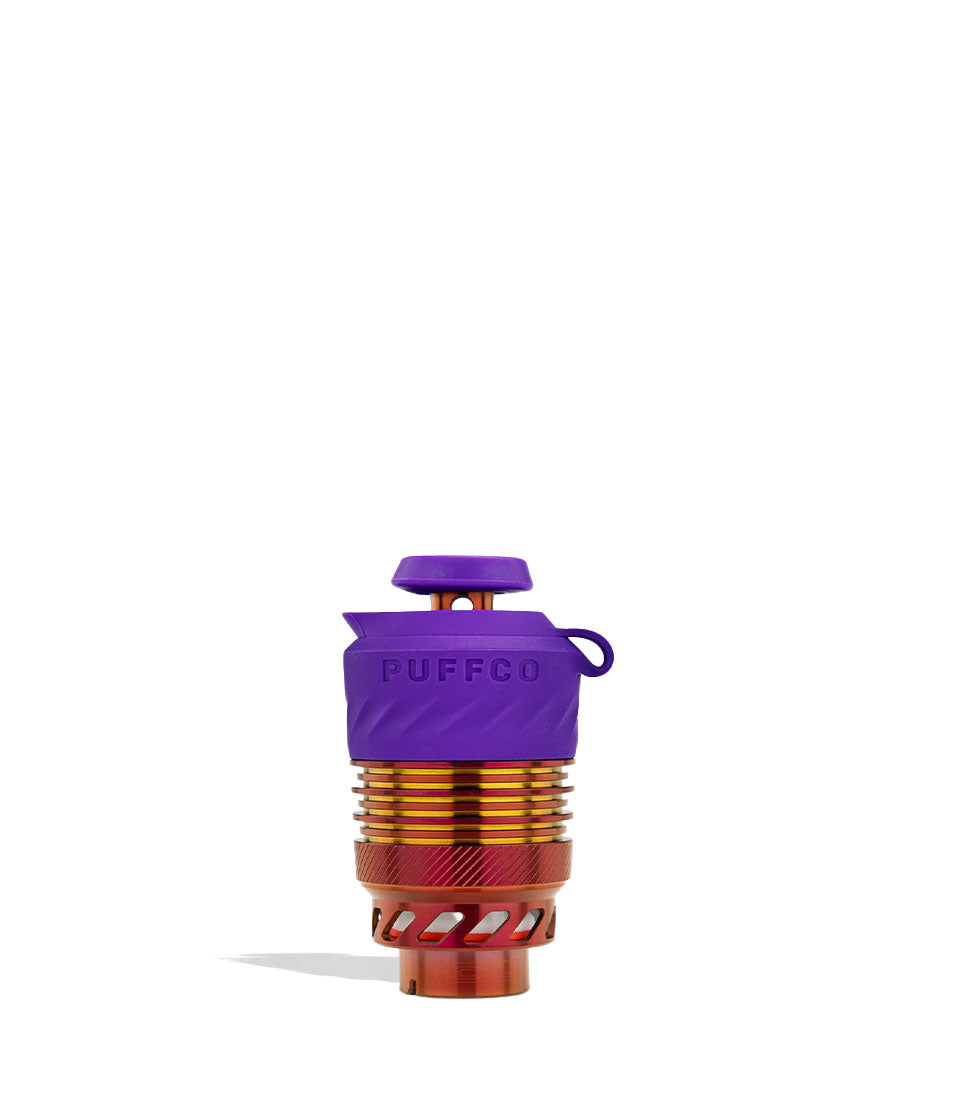



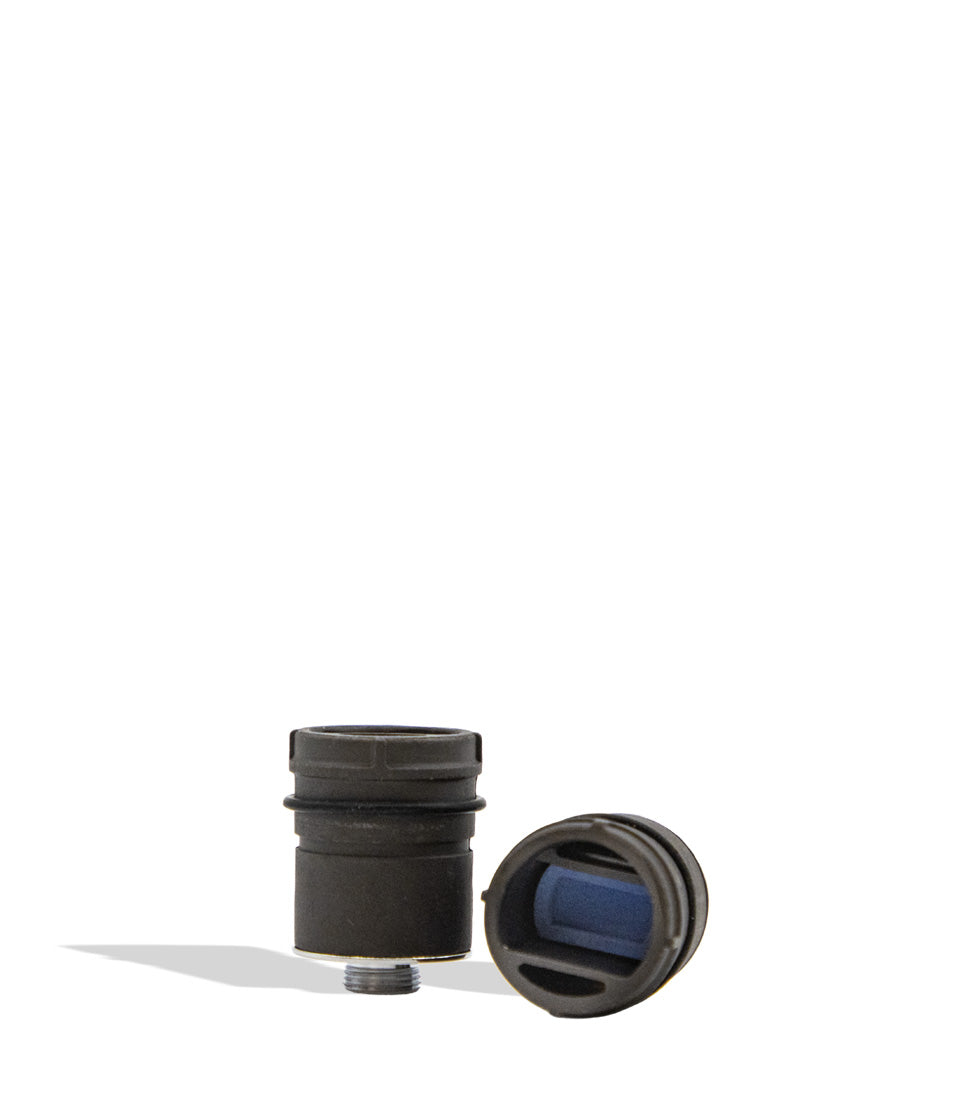
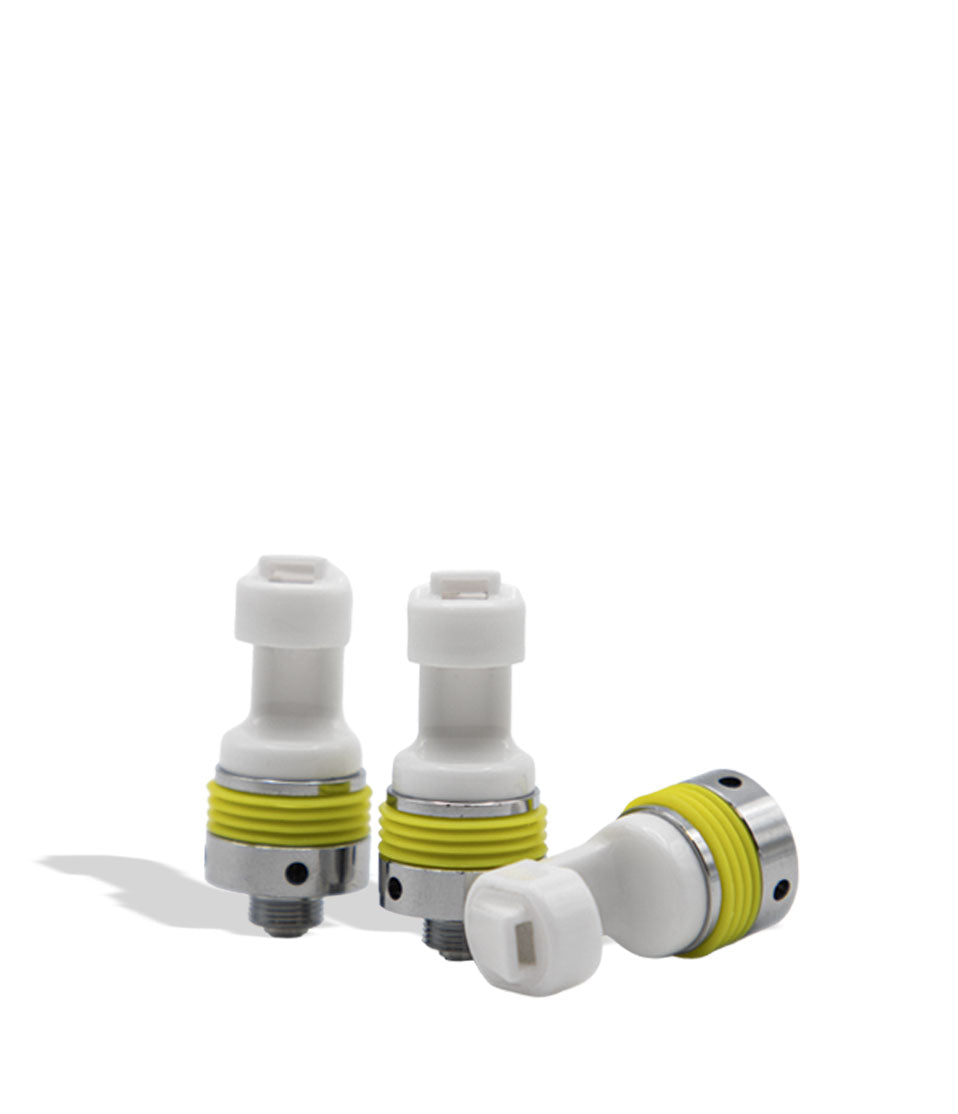
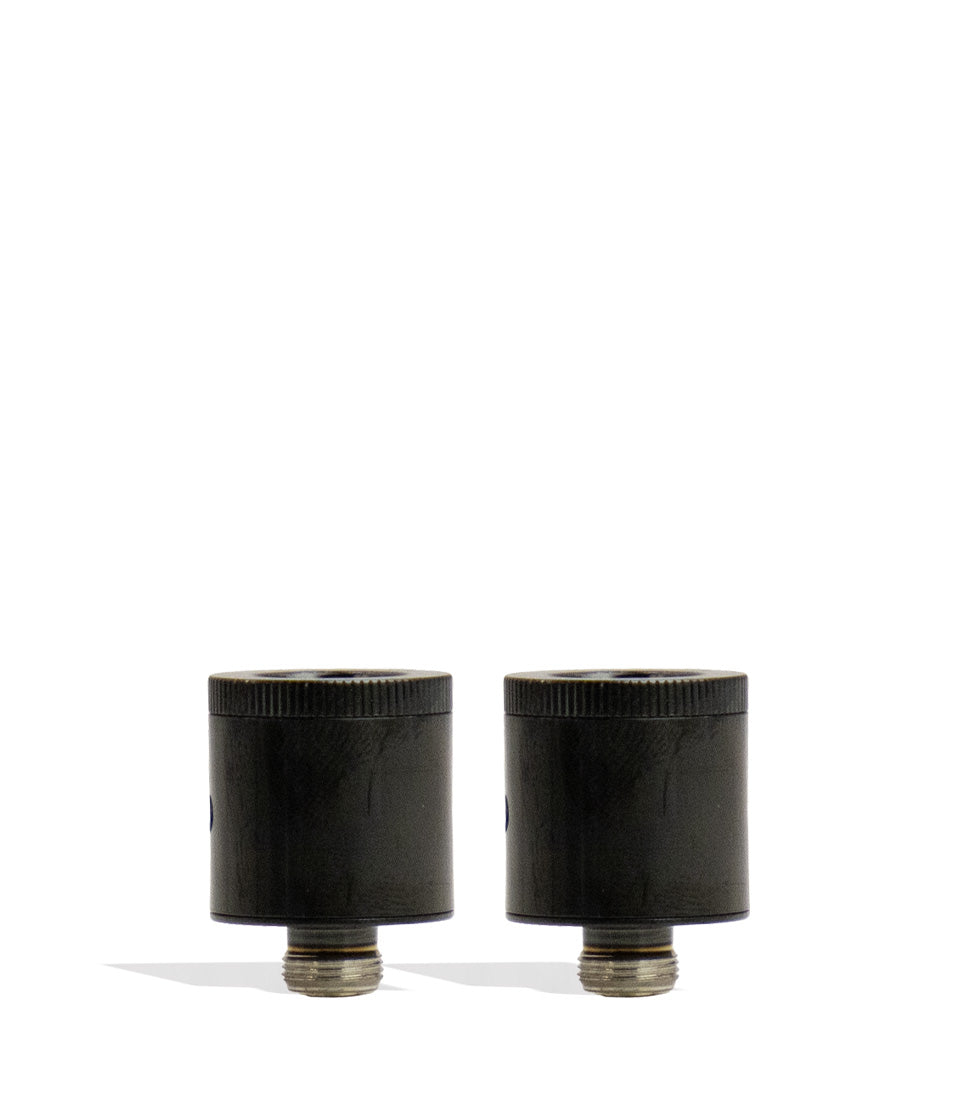
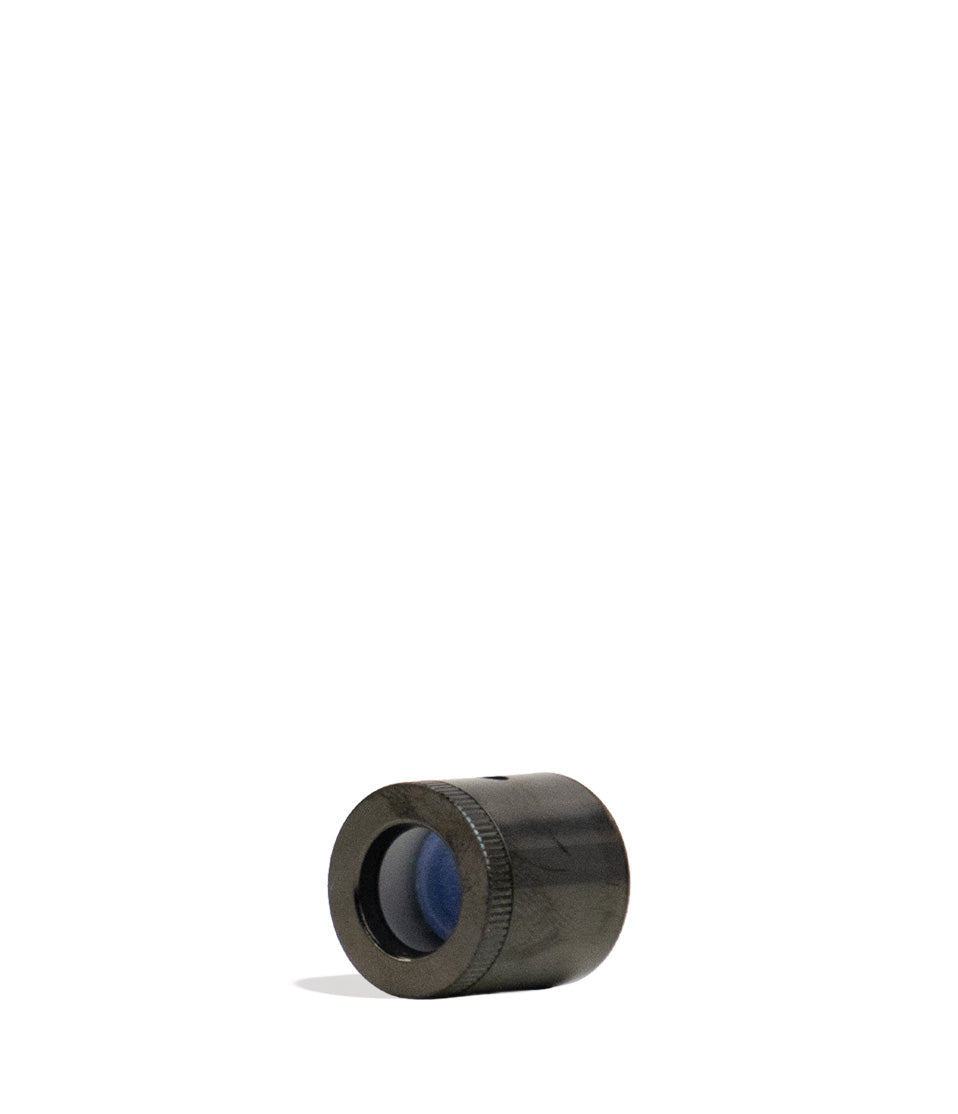
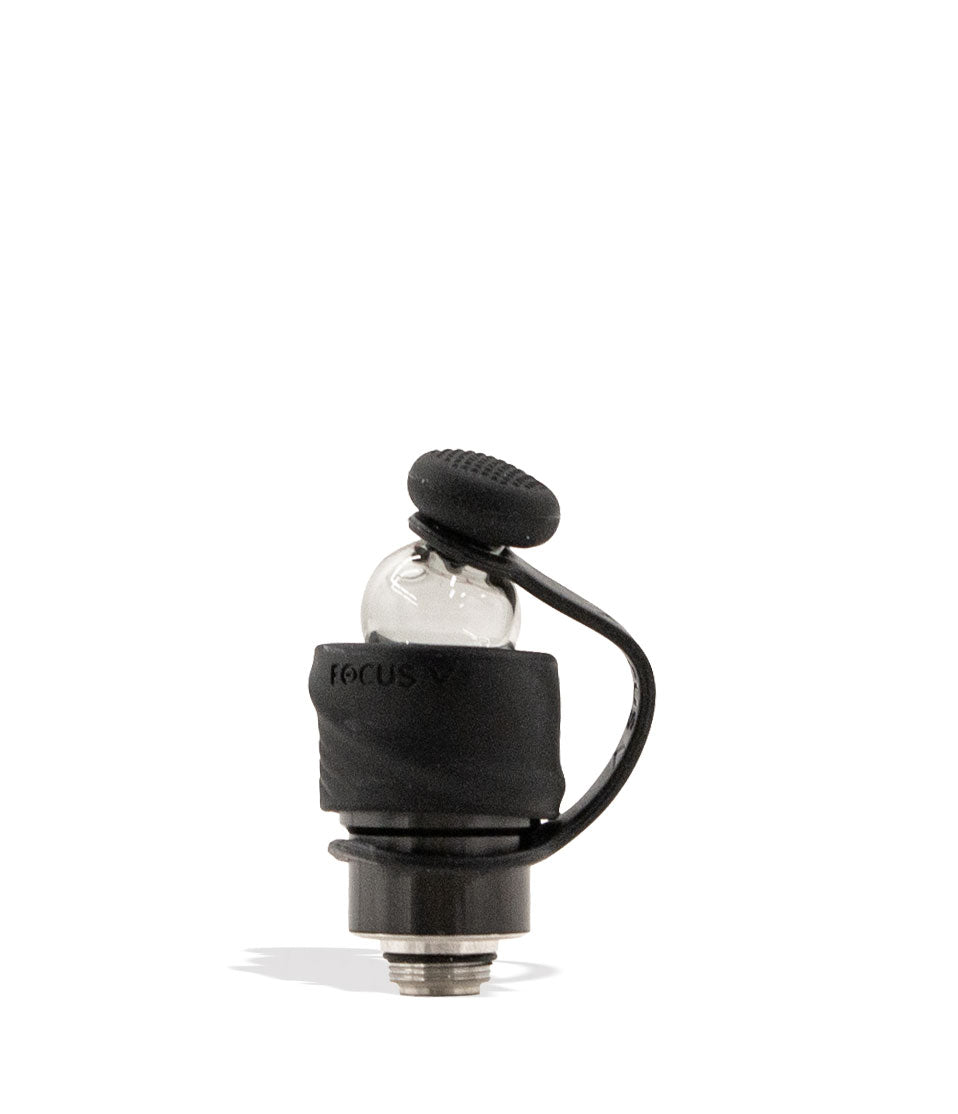
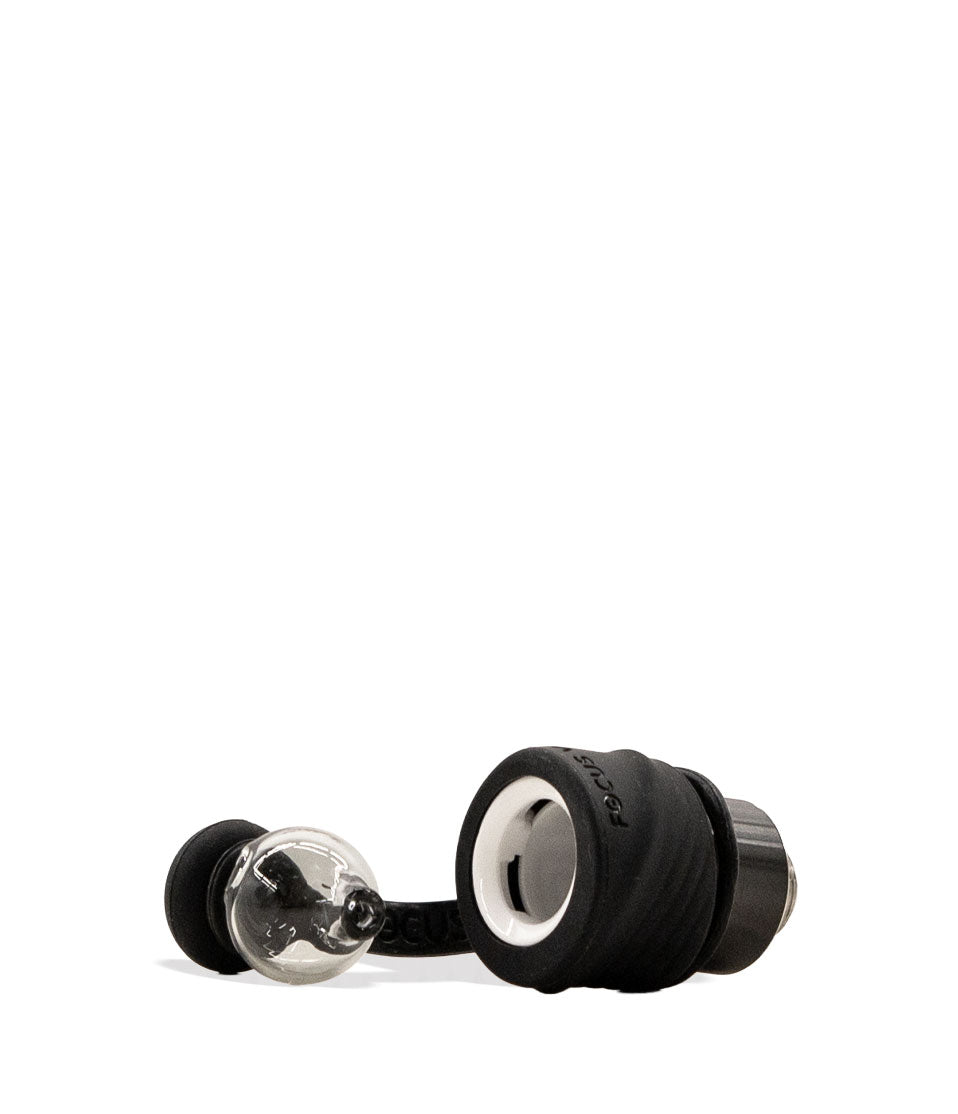
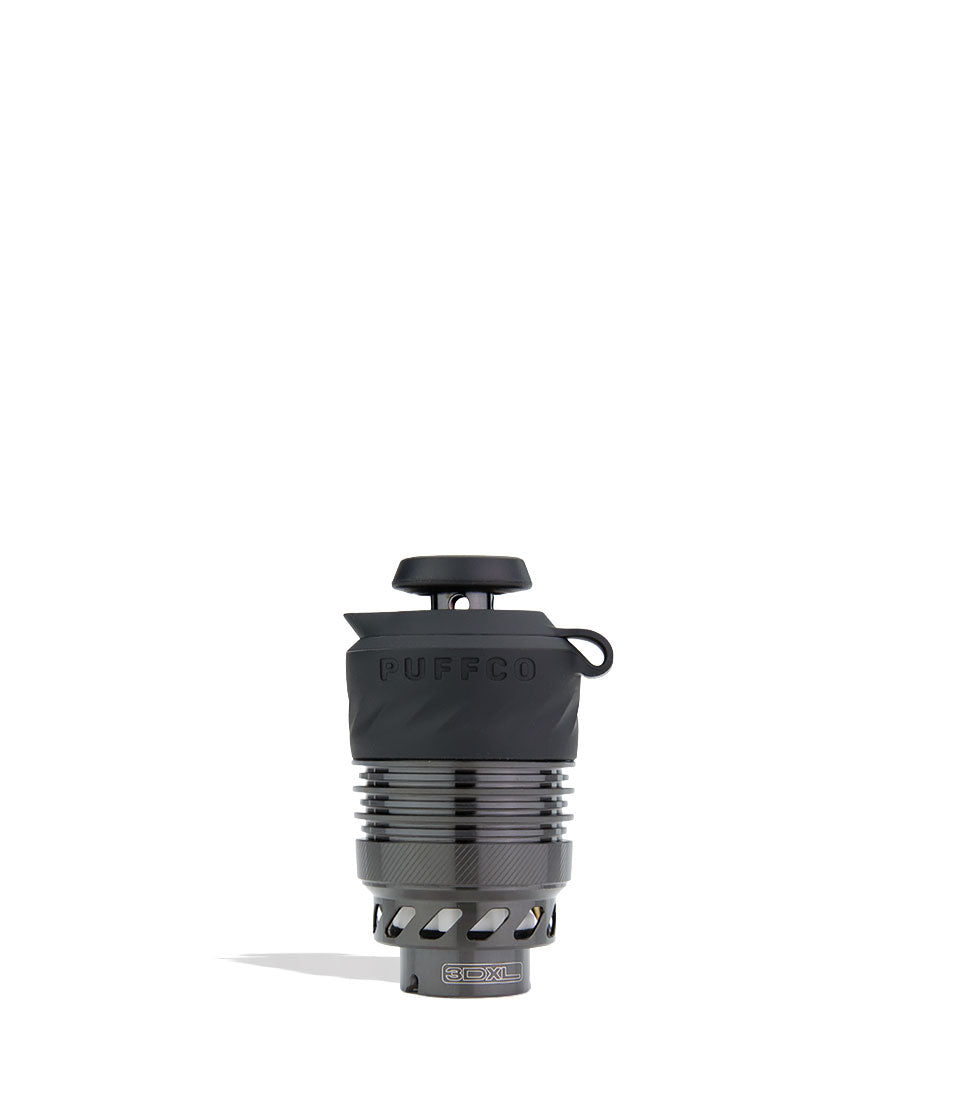
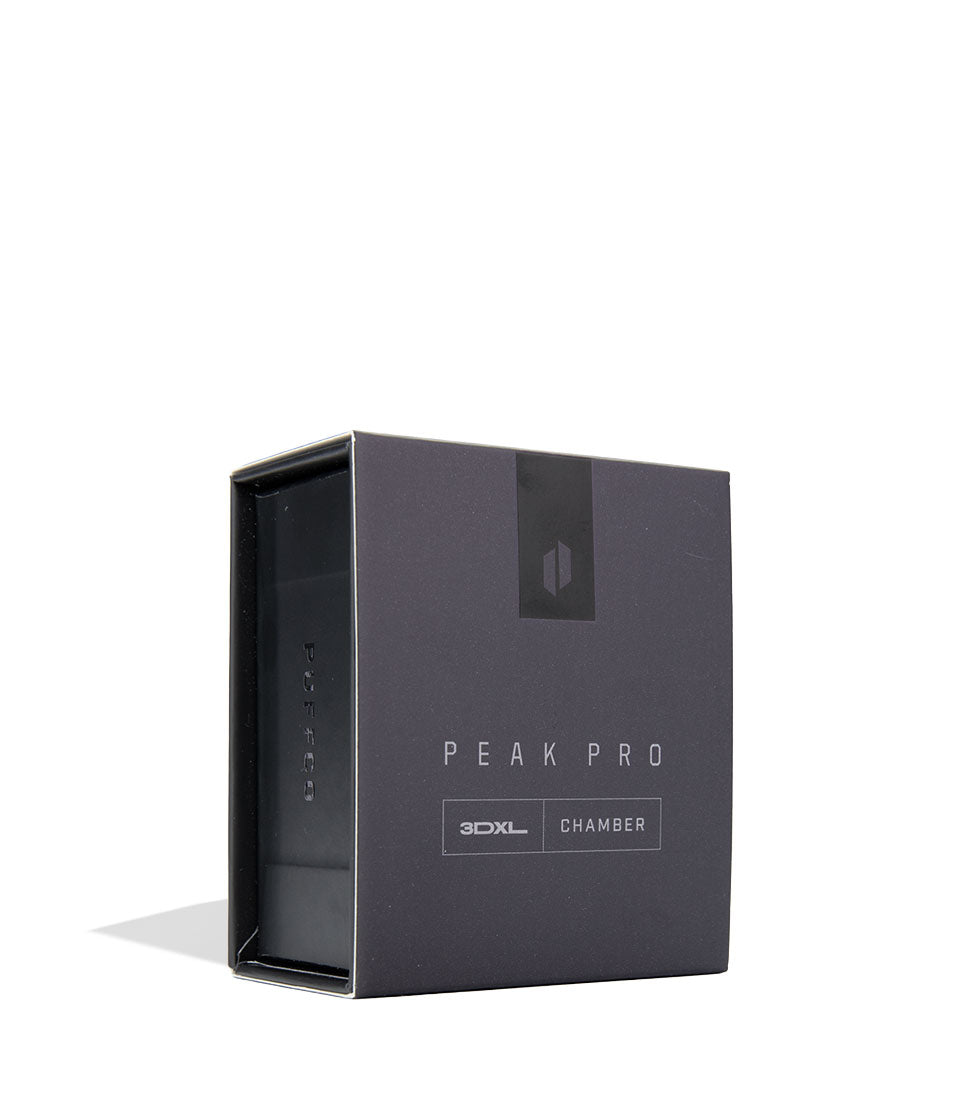
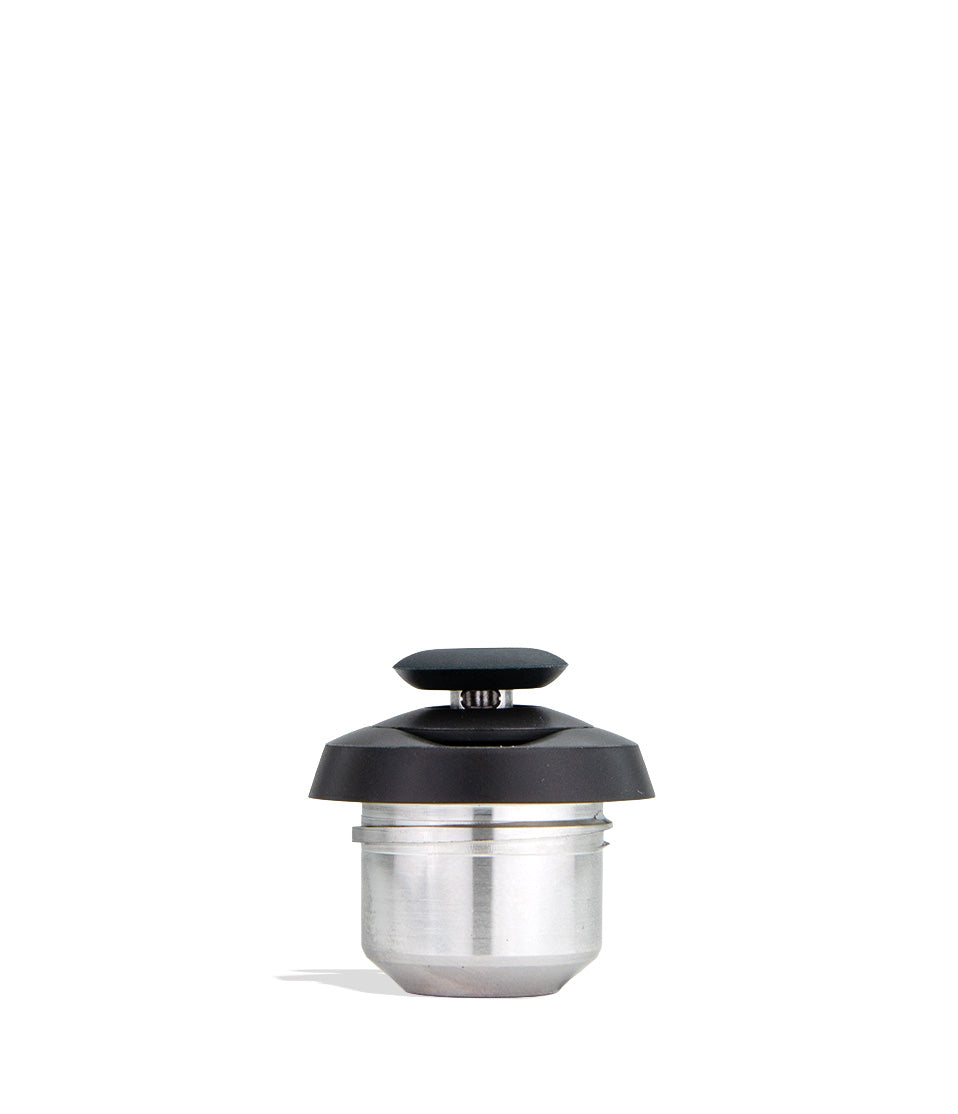
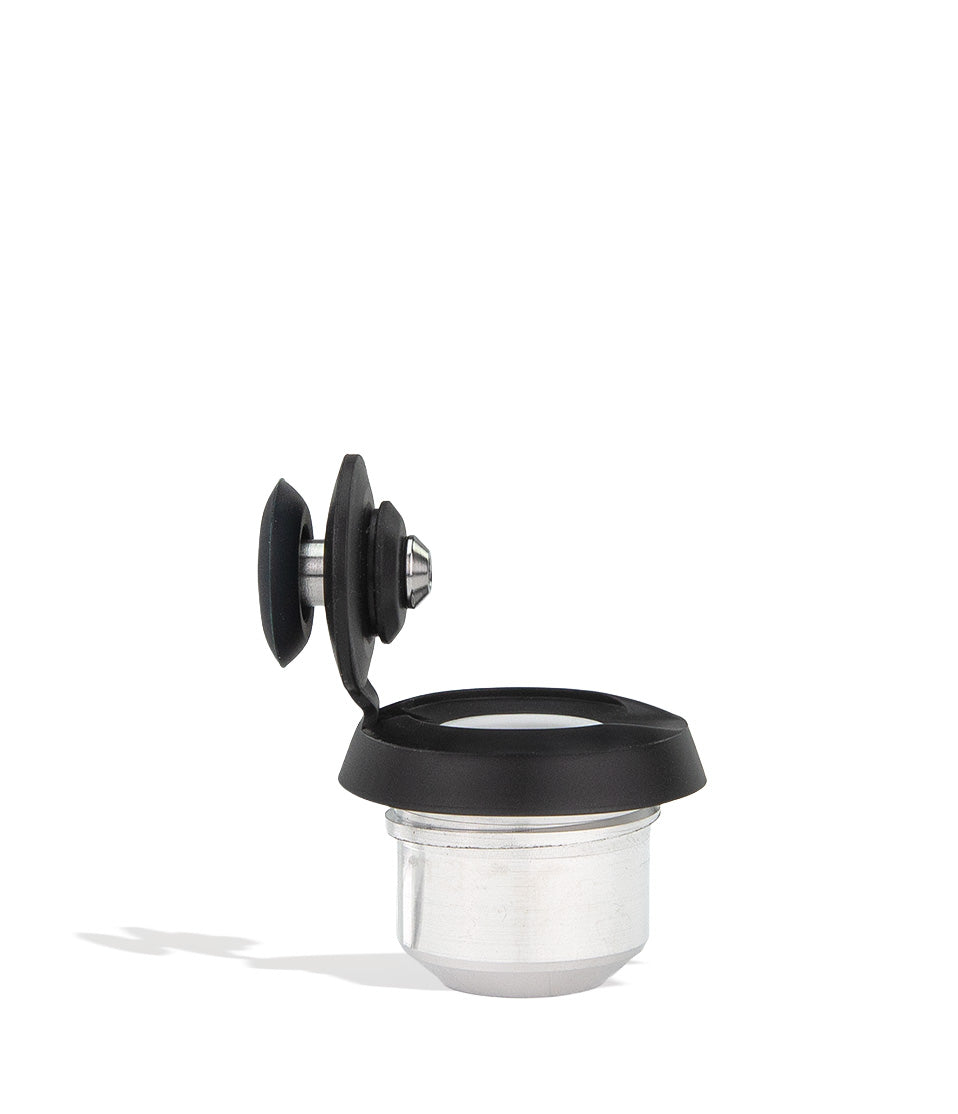
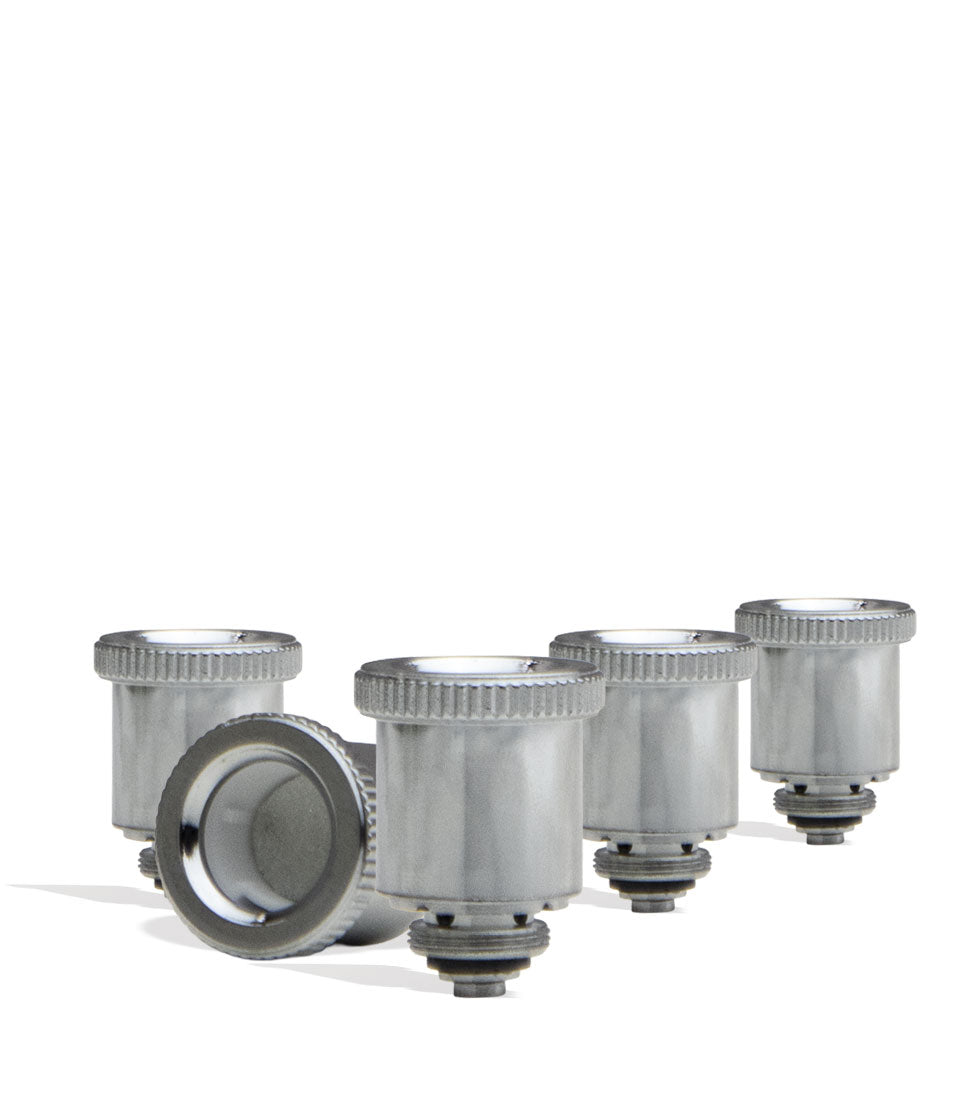
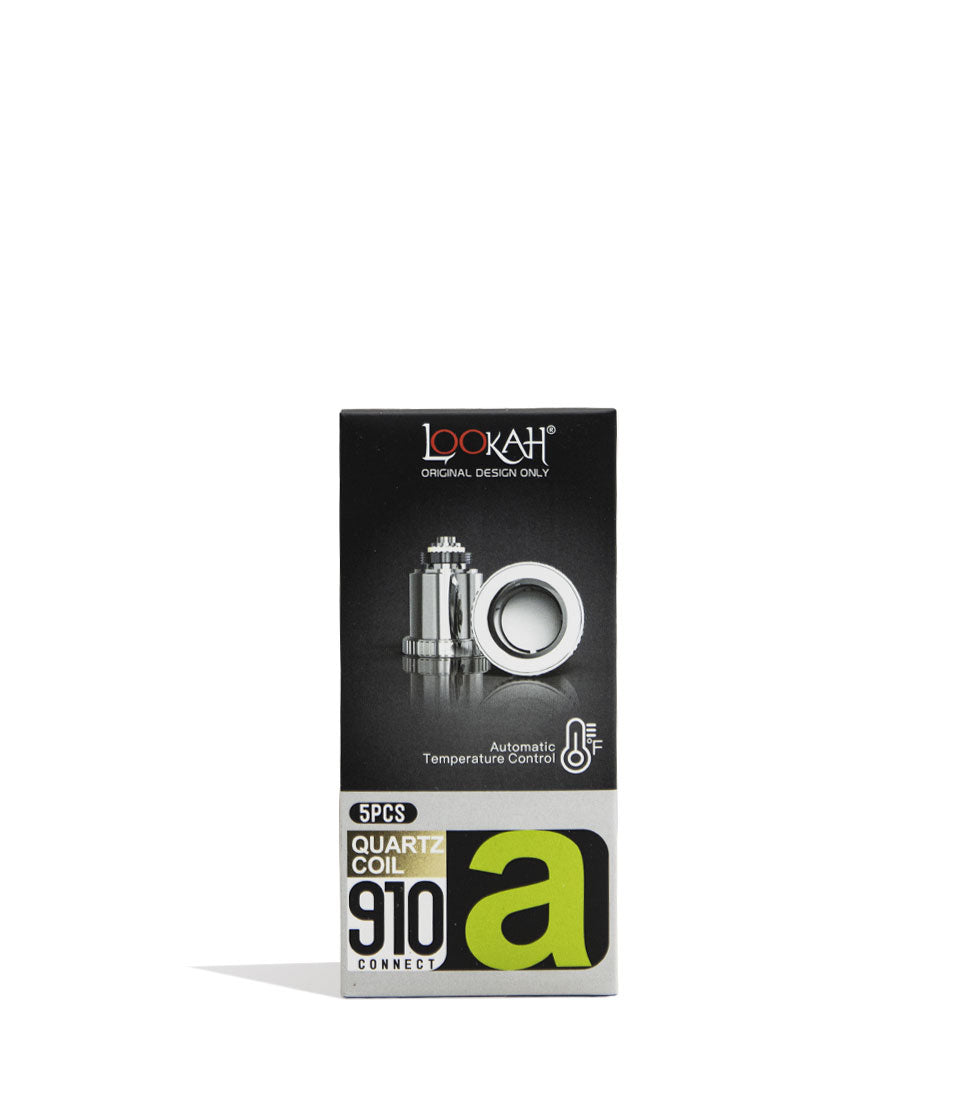
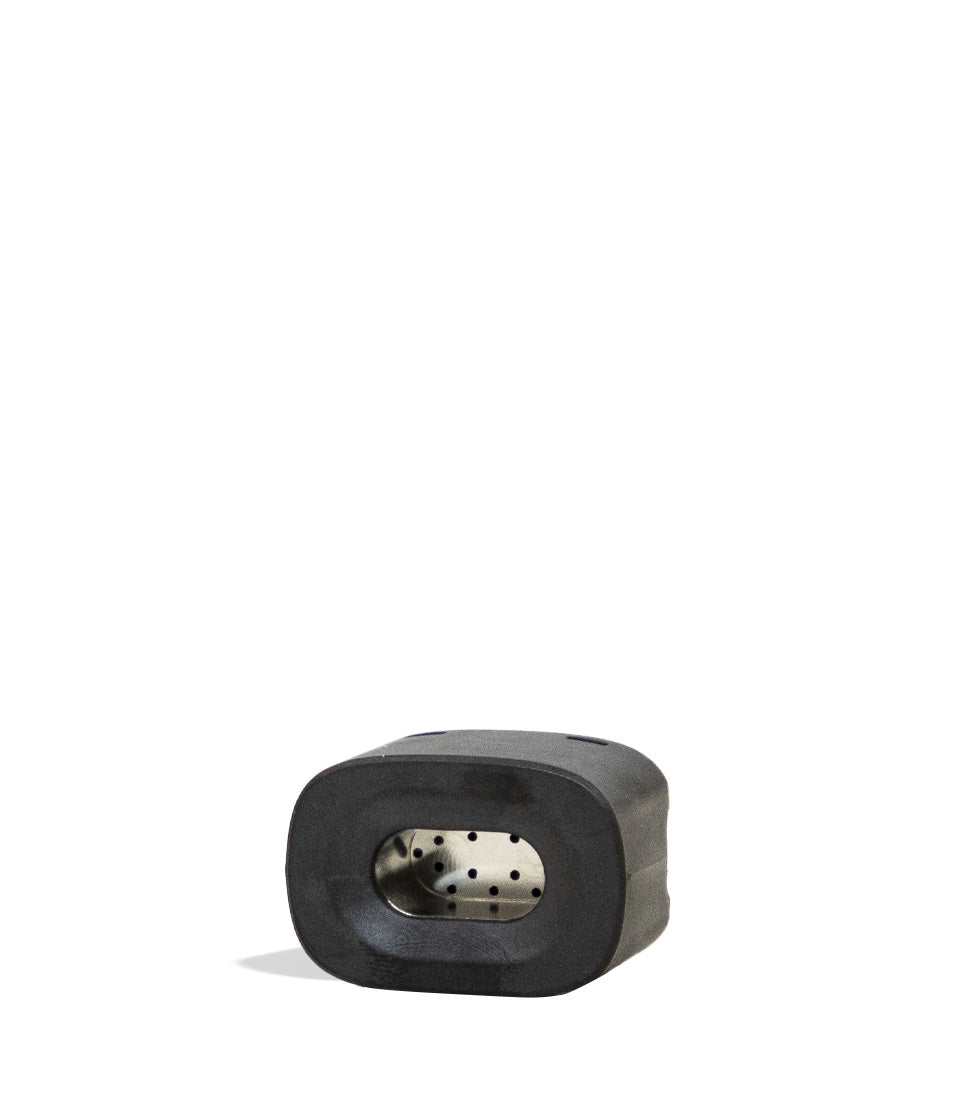
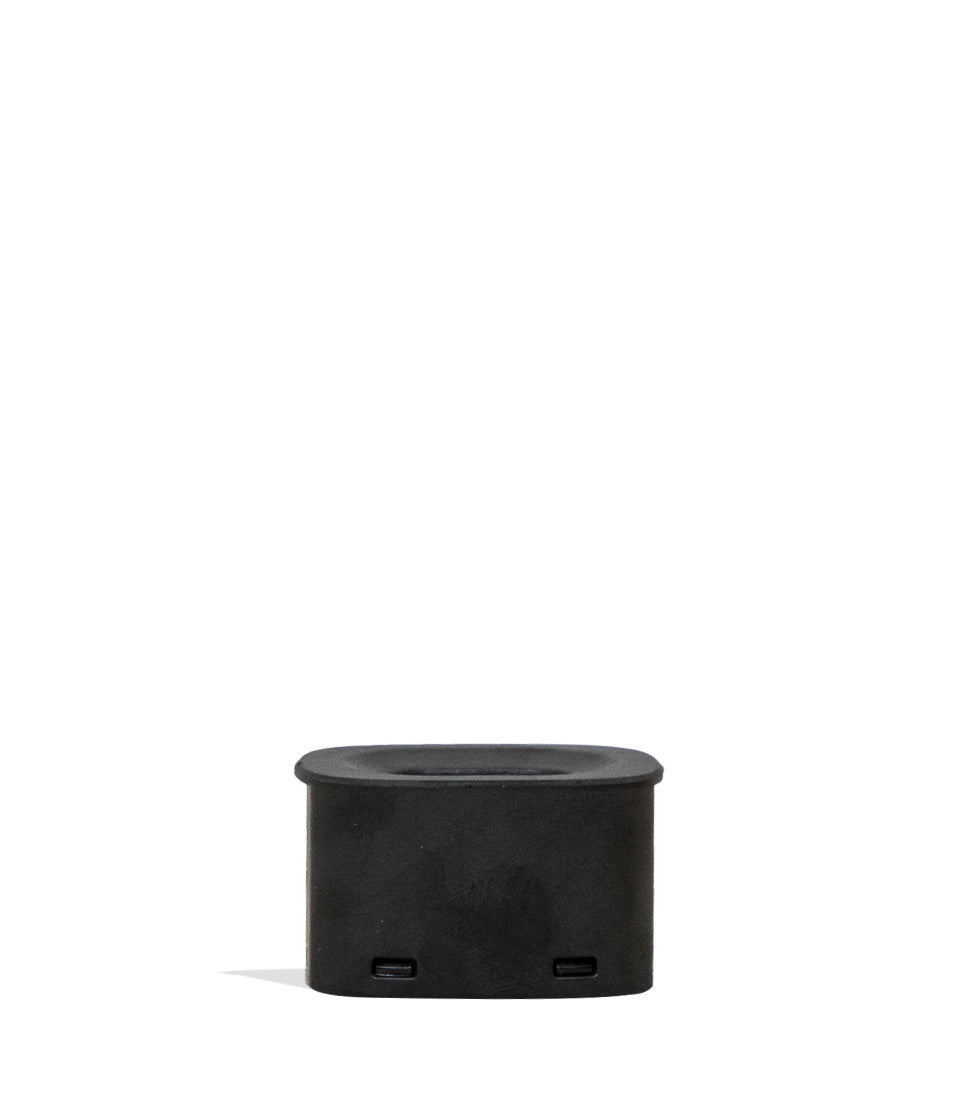
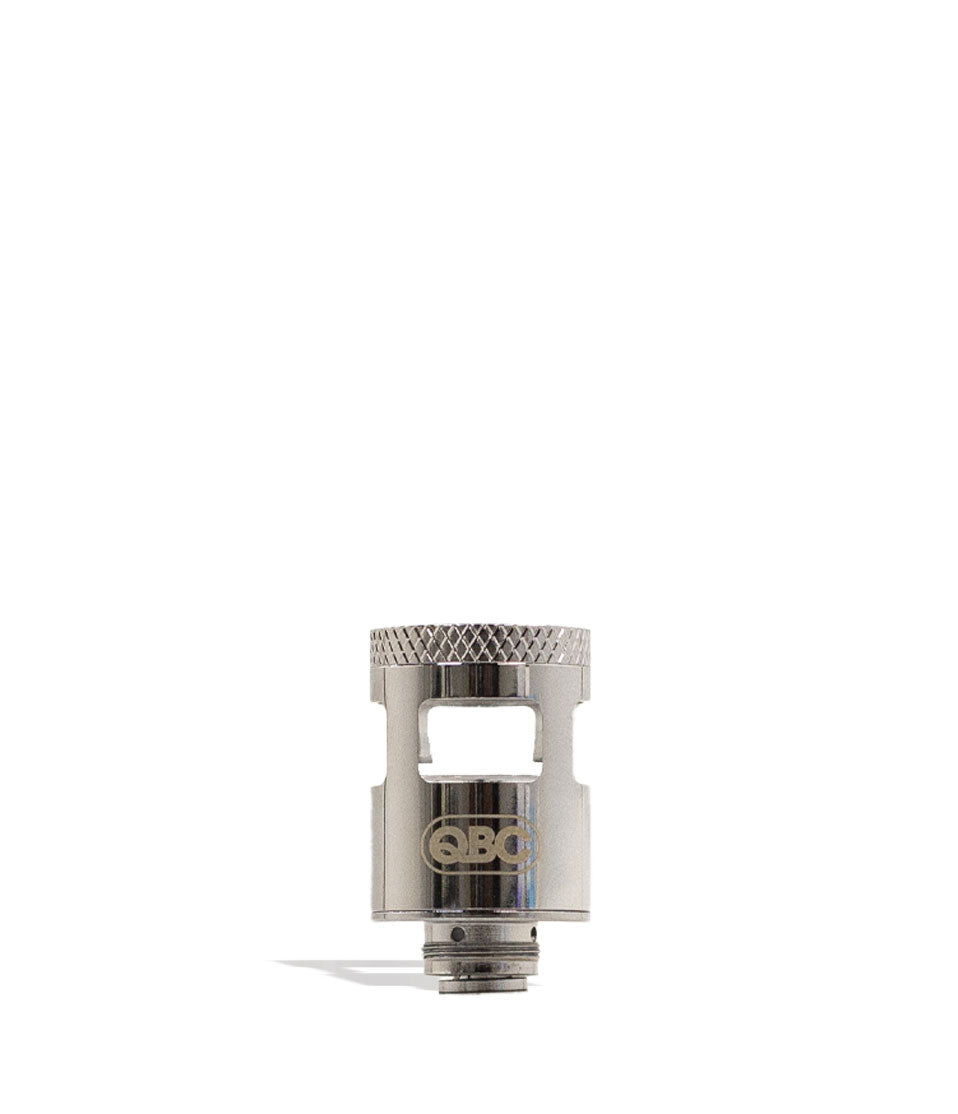
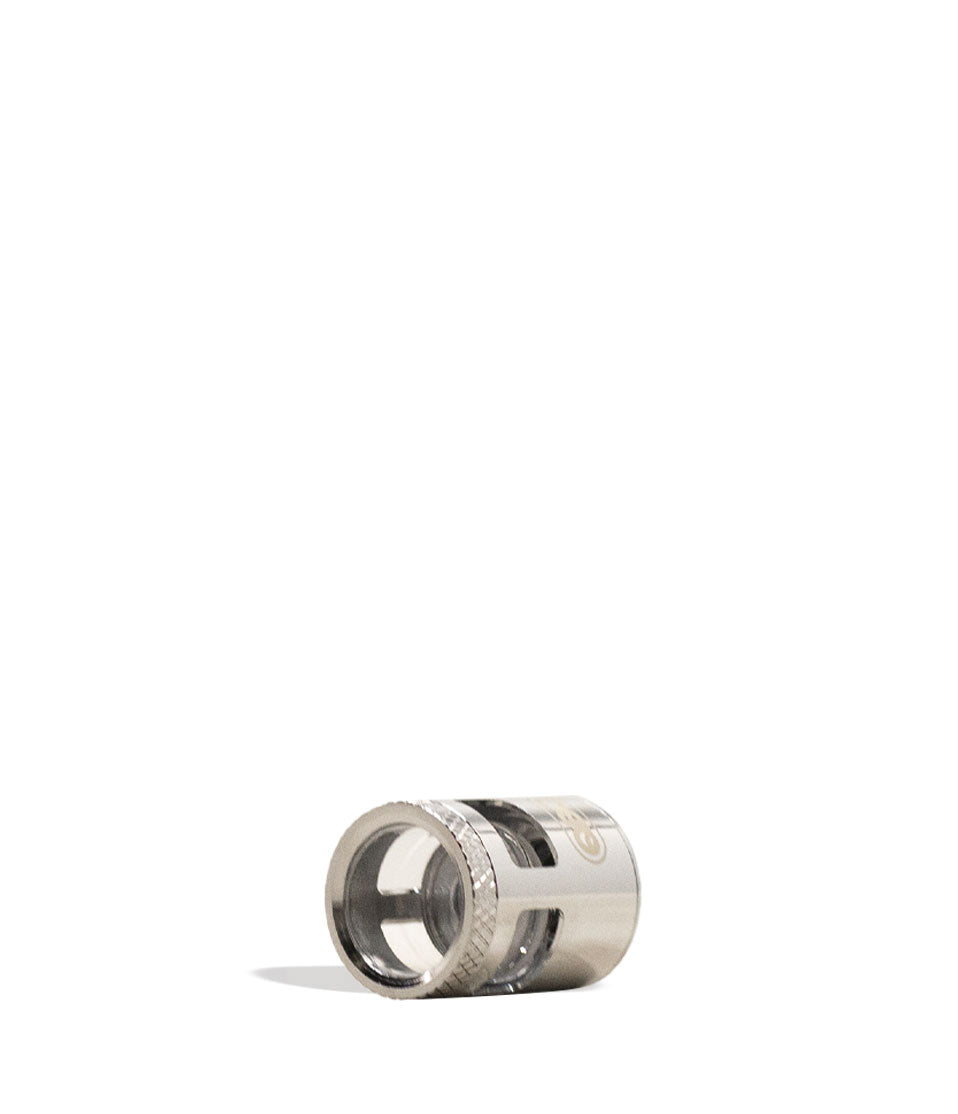
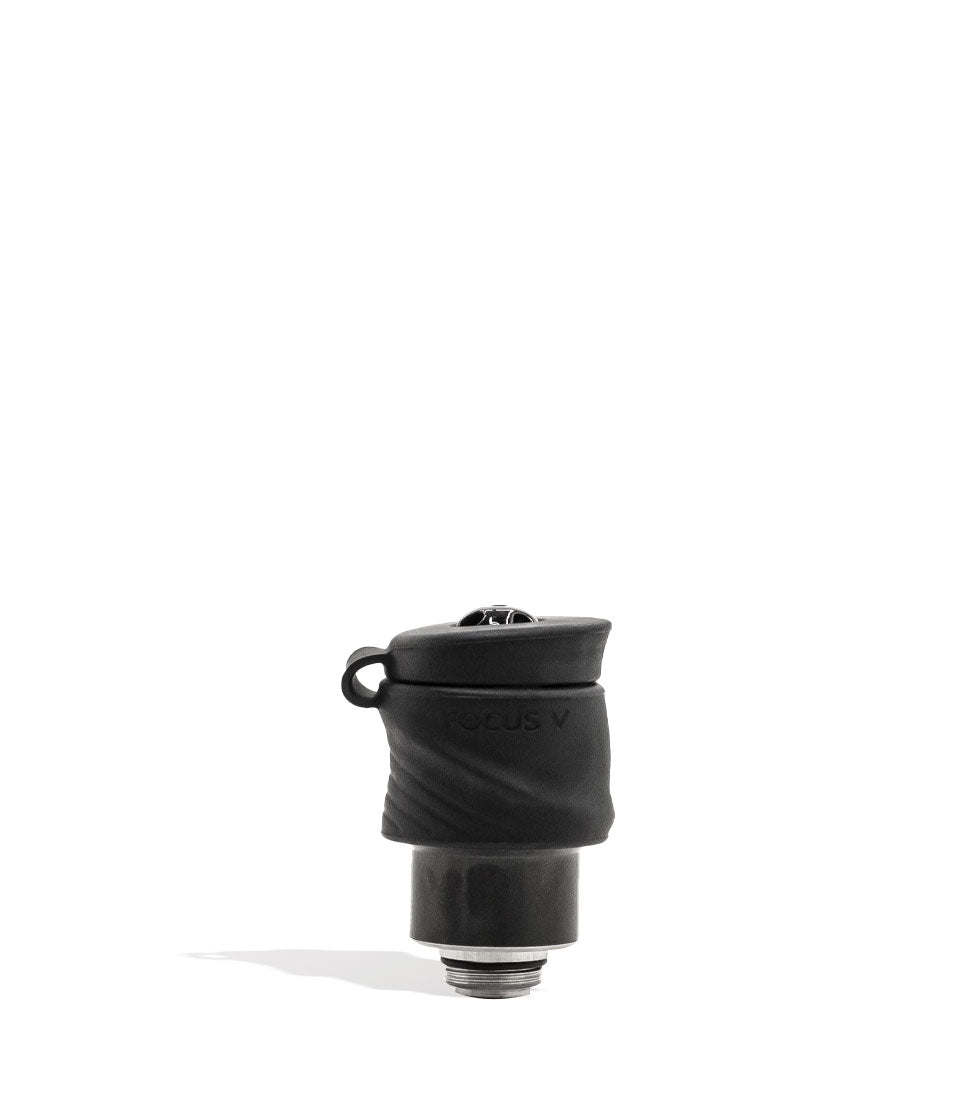
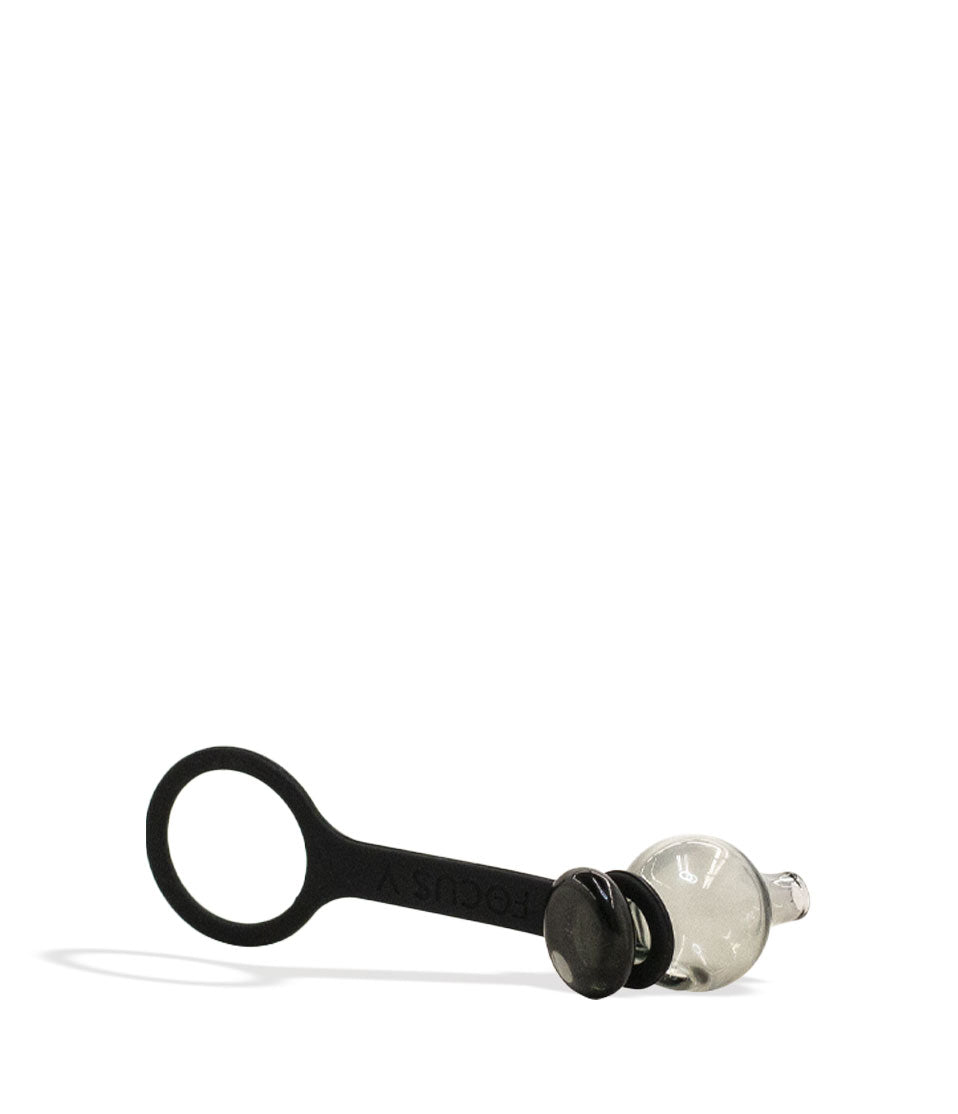
How-To
Complete How-To
From here, the walkthrough gets specific: the product details and buying considerations that turn the summary above into an actual decision.
Welcome to the world of atomizers!
Get ready to cyber chase your clouds to a whole new level of mind blowing satisfaction, because Got Vape is here today to explain step-by-step how to use an atomizer for simple, effective vaping.
Whether you are screwing a pre-filled 510 oil cartridge onto a pocket battery, packing a ceramic dry herb chamber, or locking a quartz wax coil into a smart e-rig, the atomizer is the true beating heart of your setup and actively transforms your flower into silky smooth vapor.
With over 20+ years of vaping experience, the Got Vape Crew has all of the insider tips you need to get the absolute most from your atomizer and enjoy your clouds as intended, with all of the potency and pure flavor you can handle.
Keep reading this Got Vape exclusive and by the end you’ll be attaching, loading, tuning, and maintaining any atomizer like a seasoned professional!
Table of Contents:
Atomizer Usage Quick Reference Guide
1. Inspect & Attach Your Atomizer Properly
2. Load Your Atomizer (Concentrates, Dry Herbs & Cartridges)
3. Choose The Right Temperature Or Voltage Setting
4. Prime, Fire & Take Slow, Steady Draws
5. Clear The Chamber Right After Your Session
6. Deep Clean Your Atomizer & Connection Threads
7. Know When To Replace Your Atomizer
Got Vape Crew Atomizer Tips
Master Your Atomizer Sessions
Atomizer Usage Quick Reference Guide
In a rush to start blowing flavorful clouds? Here is a fast breakdown covering the essential steps to install, load, operate, and maintain your atomizer regardless of what material you are vaping:
| # | STEP | HOW TO | GOT VAPE CREW TIP |
|---|---|---|---|
| 1 | Attach Atomizer | Align threads or locking tabs cleanly and twist clockwise until flush with your battery. | Stop once finger-tight; overtightening crushes insulator rings and causes connection errors. |
| 2 | Load Material | Pack fluffy dry herb loosely, drop a rice-sized dab for wax, or attach a 510 oil cart. | Never overpack your chamber; airflow is required to vaporize oils and roast herbs evenly. |
| 3 | Choose Heat Setting | Select the proper voltage or temperature preset for your specific material. | Use lower volts for oil carts (2.0V – 2.8V) and exact degree tuning for dry herbs (375°F – 420°F). |
| 4 | Prime & Inhale | Run a brief pre-heat if vaping thick wax or oil, then draw slowly from the mouthpiece. | Sip gently rather than ripping hard so hot liquid oil stays in the coil and herb doesn’t combust. |
| 5 | Clear Chamber | Wipe wax out with a cotton swab, or dump vaped dry herb using a cleaning brush. | Cleaning while the chamber is still warm prevents permanent carbon buildup and sticking. |
| 6 | Deep Clean | Power off battery, remove atomizer, clean with 99% ISO, and air-dry 100%. | Never fire or reattach a damp atomizer; wait 30 to 60 minutes for full evaporation. |
1. Inspect & Attach Your Atomizer Properly
First things first, before you load a single drop of concentrate or pinch of flower, you need to make sure your atomizer is properly connected to your battery or base. A secure, clean electrical connection is what allows power to flow smoothly into the heating element without misfires or blinking error lights.
Whether you are using a universal 510-threaded cartridge, a wax coil, or a dry herb heating chamber, follow these installation steps:
- Inspect the Contacts: Check the gold firing pin on the bottom of your atomizer and the connector well on your battery to ensure both are free of pocket lint, dust, or sticky residue.
- Align Threads Straight: Set the atomizer squarely onto the connector port before turning. If you feel resistance right away, back it off and re-align so you never cross-thread the metal housing.
- Twist Clockwise Until Flush: Gently turn the atomizer clockwise (or lock the bayonet tabs into place) until it rests completely flush against the battery rim.
- Do Not Overtighten: Once the atomizer feels finger-tight and snug, stop turning. Cranking down with excessive force can crush the silicone insulator ring beneath the center pin, push the contact pin too deep, and trigger “No Atomizer” or short-circuit warnings.
Taking five seconds to seat your atomizer straight and snug prevents 90% of common connection headaches before your session even begins. It only costs you a moment or two and the end results will be infinitely better. So don’t sell your sessions short and make sure your atomizer attached correctly.
2. Load Your Atomizer (Concentrates, Dry Herbs & Cartridges)
Because atomizers are built specifically for different materials, how you pack them dictates how well they perform. Overpacking suffocates airflow, while underpacking can lead to thin, wispy clouds.
Loading Concentrates (Wax, Shatter, Rosin):
- Scoop up a small amount of concentrate (the size of a grain of rice) using a stainless steel dab tool or heated hot knife.
- Carefully place it directly onto the center floor of the ceramic bucket or quartz coil.
- Avoid smearing wax high up along the inner chamber walls or over side airflow holes to prevent messy leaks.
Loading Dry Herbs (Flower):
- Use a multi-piece metal grinder to shred your flower into a fluffy, medium-fine consistency.
- Pinch the ground herb and drop it loosely into the ceramic or stainless steel oven.
- Tamp it down very lightly. Never pack the chamber rock hard , hot air needs space to circulate through the bud to roast it evenly without combustion.
Loading Oil Cartridges (510 Carts):
- If you are using a pre-filled dispensary cartridge, simply screw it on and you are ready to go.
While it can be hard to slow down right before your start seshing, taking the time to carefully pack your chamber is going to pay off big time. While vaporizers are incredible devices, they do need to be treated right in order to get the best results. Thus if you want true atomizer success, make sure to pack it right.
3. Choose The Right Temperature Or Voltage Setting
Once your atomizer is attached and loaded, it is time to dial in your heat level. Depending on your device and material, you may be toggling between preset voltage tiers or selecting exact degree profiles.
Thanks to the sophisticated tech in atomizers, they are able to work with a wide variety of precision temperatures. This allows you to drastically alter how you vapor is produced, letting you dial in on factors including flavor, extraction speed, vapor density, and more.
Got Vape Crew Recommends:
- Oil Cartridges (2.0V – 3.2V): 510 oil cartridges perform best at lower voltages. Stay between 2.0V and 2.6V for live resin to preserve flavor, and push up to 3.0V – 3.2V for thicker distillates to get dense clouds without burning the tiny coil.
- Dry Herbs (350°F – 430°F): Vaporizing flower requires precise baking. Lower temps (350°F – 380°F) yield incredible flavor and light clouds, while higher temps (390°F – 430°F) provide thick vapor and full extraction of active compounds.
- Concentrates (450°F – 600°F+ or 3.0V – 4.2V): Solid concentrates need higher thermal energy to melt and boil. Use 450°F – 500°F (or lower voltages) for tasty live rosin, and push up to 550°F+ (or 3.7V+) for dense shatters and maximum cloud output.
If you are trying out a brand-new atomizer or a fresh batch of material, always start on the lowest setting first. You can easily step the temperature up on your next cycle, whereas starting too hot can scorch your material and leave burnt residue behind. That’s why it’s always best to go slow with your atomizer and see how things go before diving head first into the deep end.
4. Prime, Fire & Take Slow, Steady Draws
With your temperature locked in, you are ready to vaporize. If you are using a thick oil cartridge or a wax coil, running a 10-second pre-heat cycle (usually 2 clicks of the power button) melts the oil perfectly so the atomizer is primed for a massive hit.
Once your atomizer reaches operating temperature, how you inhale makes all the difference:
- Sip, Don’t Rip: Place your lips over the mouthpiece and take a slow, gentle, sustained draw lasting 5 to 8 seconds.
- Maintain Chamber Heat: Pulling too aggressively rushes cold ambient air into the chamber, cooling down the heating floor faster than the battery can keep it hot and thinning out your clouds.
- Prevent Oil Spillover: Hard vacuum suction pulls hot, liquid concentrate straight up the chamber walls and down into the internal air vents before it has time to vaporize, leading to sticky clogs and spitback in wax pens and cartridges.
Patience pays off massively with atomizers. Give the heating element a moment to properly prepare your material, and you will be rewarded with thick, velvety clouds on every exhale. While it can be counter intuitive, this slow and steady approach lets you enjoy far larger clouds and much better extraction.
5. Clear The Chamber Right After Your Session
The single best habit you can adopt to keep any atomizer performing like brand new is clearing the chamber immediately after every single session while the unit is still warm.
Leaving spent residue sitting inside an atomizer after it cools down causes major problems. It bakes dark carbon crust onto the walls, clogs air intake holes, and taints the pure flavor of your next fresh session.
- For Wax Atomizers: Wait just a few seconds for intense peak heat to drop, then wipe out the dish with a dry cotton swab while the leftover oil is still warm and liquid.
- For Dry Herb Atomizers: Use a dedicated cleaning brush or pick tool to empty the “AVB” (already vaped bud) out of the oven immediately. Brushing it out warm prevents sticky plant resins from cementing to the chamber walls.
- For Oil Cartridges: Always store your pen upright in a cool place to prevent warm oil from leaking out of the mouthpiece or flooding the bottom threads.
Atomizers like to be squeaky clean when not in use. It allows them to always be ready when you need them the next time, all while saving you time with less need for deep cleaning. If you take the time to clear your atomizer and keep it clean, then your overall maintince is going to be a lot easier.
6. Deep Clean Your Atomizer & Connection Threads
Even with diligent post-session clearing, sticky resins and golden reclaim will gradually collect around threads and airpaths over weeks of regular use. Performing a routine deep clean restores unrestricted airflow, clean flavor, and reliable electrical conductivity.
Safe Atomizer Deep Cleaning Steps:
- Power Off Your Device: Always shut down your battery completely (usually 5 rapid clicks) before removing or cleaning hardware.
- Clean With 91%+ or 99% Isopropyl Alcohol: Check your device manual first. Some removable ceramic wax atomizers can be soaked in 99% isopropyl alcohol, while dry herb ovens should simply be scrubbed thoroughly using a cotton swab dampened in 99% ISO. Never submerge an entire dry herb vape or oil cartridge in liquid.
- Wipe Battery Connection Pins: Use an ISO-dampened Q-tip (blotted on a paper towel so it is damp, never dripping) to clean the gold contact pin and threads on your battery base.
- Air-Dry 100% Before Reassembly: Place your cleaned parts on a microfiber towel in a well-ventilated area for 30 to 60 minutes until every trace of alcohol has completely evaporated. Never fire or attach a damp atomizer.
As mentioned, if you don’t take care of clearing your chamber, then you’ll need to break out the deep clean. Luckily, this longer process is able to complete refresh your atomizer and transform even the dirtiest of setups back to their original prime. Stick with isopropyl alcohol, let everything dry, and you’ll be in good shape.
7. Know When To Replace Your Atomizer
Atomizers are hardworking heating components with a natural lifespan. Over hundreds of thermal cycles, heating wires fatigue and ceramic or quartz surfaces eventually wear down. This means that even if you’ve done everything right with your atomizer, they can sometimes fail on you due to the cumulative effects of your sessions.
It is time to swap in a fresh replacement atomizer (or a new cartridge) if you notice any of these signs:
- Lingering Burnt or Metallic Taste: Your hits taste harsh or burnt even after a thorough 99% ISO cleaning and fresh material load.
- Weak or Uneven Heating: Your battery is fully charged and set to your usual temperature, yet the atomizer struggles to produce vapor.
- Visible Cracks or Damage: Hairline fractures in a ceramic bucket, chipped quartz, or snapped heating coils.
- Persistent Connection Errors: Your device repeatedly flashes “No Atomizer” or short-circuit warnings even after cleaning both the atomizer base and battery threads.
Keeping a spare replacement atomizer in your stash box ensures a worn-out coil never cuts a great session short and you don’t to vaping on pause till you track down a new one.
Got Vape Crew Atomizer Tips
Here are a few of our favorite Got Vape Crew Tips after more than two decades working with atomizers of all shapes and sizes:
- Always pack dry herb loosely to allow for convective airflow, and stick to a grain-of-rice sized dab for concentrates.
- Never poke or scrape inside a ceramic or quartz atomizer with sharp metal tools that can crack the dish or sever a wire.
- Twist atomizers clockwise only until finger-tight to protect internal rubber insulator rings.
- Keep cleaning brushes, rigid cotton swabs, and 99% ISO wipes right next to your station for immediate post-hit cleanup.
- Start on low temperature or voltage presets first to experience pure terpene profiles before cranking up the heat.
- Always keep a fresh backup atomizer on hand so you are ready for instant swaps anytime.
At the end of the day, if you take care of your atomizer, then it’ll take care of you. By following our steps and pacing yourself, you’ll be able to ensure you get the best from your atomizer.
Master Your Atomizer Sessions
At the end of the day, getting peak performance out of any atomizer comes down to simple, repeatable habits. Attaching your chamber snugly without overtightening, loading the correct amount of material, dialing in the right heat level, drawing slowly, and clearing the bowl right after every hit will keep your clouds dense, smooth, and packed with flavor.
Treat your atomizer with care, keep your connections clean with 99% ISO, and enjoy effortless sessions every single time you press the fire button.
Have any more questions about atomizer compatibility, dry herb ovens, or temperature tuning? The Got Vape Resource Center is always packed with step-by-step guides, troubleshooting walkthroughs, and gear breakdowns. Thanks for stopping in with the Got Vape Crew, and stay cloudy out there!
Frequently Asked Questions
How-To FAQs
Quick answers to what shoppers usually ask before putting this guidance to use.
Why Does Overtightening My Atomizer Cause "No Atomizer" Or Short-Circuit Errors?
How Much Concentrate Or Dry Herb Should I Pack Into My Atomizer?
What Temperature Or Voltage Should I Use For Cartridges, Flower, And Wax?
Why Is Clearing My Chamber Right After A Hit So Important?
How Can I Tell If My Atomizer Just Needs A Deep Clean Or Needs To Be Replaced?
Got Vape Trust Center
About This Resource
Here's a look at who put this guide together, how it was fact checked, and how the Got Vape team keeps it current.
Editorial Standards
- Written for shoppers, not search engines.
- Checked for accuracy and plain, practical usefulness before it goes live.
- Grounded in the manufacturer specs and product documentation we can verify.
- Revisited whenever products, regulations, or category trends shift enough to matter.
- Shaped by years of hands-on time with this gear, not just spec sheets.
- Written to help you land on the right device without the guesswork.
Research Methodology
We built this walkthrough around the actual steps, from unboxing through everyday use, based on time spent with the device and the questions people ask most.
- Hands-on product experience
- Step-by-step setup and use
- Cleaning, care, and troubleshooting
- Common questions answered
- Safe and responsible use
- Real-world use considerations
- Editorial review for clarity and accuracy
Supporting Sources
Below are the references this guide draws on, listed so you can check them yourself.
Article Information
Intended Audience
- Everyday customers
- First-time buyers
- Experienced enthusiasts
- Dry herb users
- Concentrate users
- Anyone upgrading their setup
Editorial Policy
We revisit Got Vape guides on a regular basis rather than publishing them once and walking away. If a product spec, regulation, or category trend changes enough to matter, the article gets updated and the review date moves with it.
Keep Exploring
Related Resources
A few more Got Vape guides worth a look if you want to get even more out of your setup.
How-To
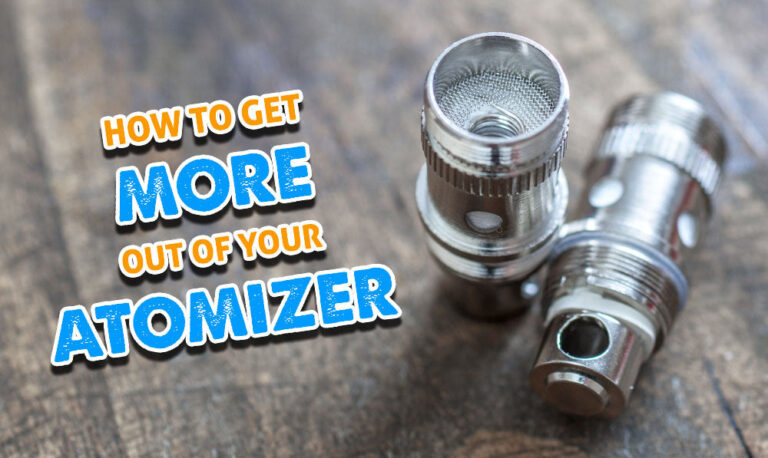
Start getting more from your atomizers and enjoy longer life spans with the help of this Got Vape exclusive. Learn the keys to ...
Read Resource →
How-To
Find out how to use an E-Rig with the help of the Got Vape Crew! Discover how you can rip harder hitting and more delicious dab...
Read Resource →
How-To
Learn how to use a dry herb vaporizer with the expert help of the Got Vape Crew. Wether it's your first time or you want to imp...
Read Resource →
How-To
Get more from your 510 battery with the help of the Got Vape Crew! Follow along as we breakdown using your 510 battery step-by-...
Read Resource →